skip to main |
skip to sidebar
Hyderabadi mirchi ka saalan is a recipe that I’ve wanted to try, but for one reason or another never got around to making. I’ve never had it anywhere before either. (And on an aside, the next time I’m in Hyderabad, I’m so going to collar a native Hyderabadi and go on a gastronomic tour of the best that this city has to offer. I do understand that it won’t be THE BEST - because I’d really rather not eat non-vegetarian food - and I understand that THE BEST biriyani is definitely not vegetarian. Oh well. I’m sure I’ll be happy with the saalan and other such recipes.)
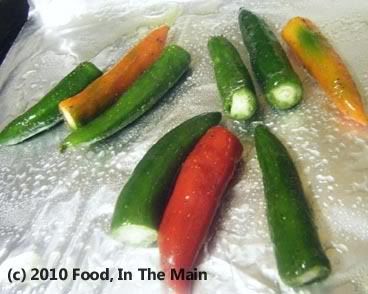
Anyway, I came across a recipe in Bong Mom’s Cookbook for something approaching saalan without using coconut, and felt very thrilled because I had some jalapeno chillies, once green but now rapidly becoming orange and red - to use up.

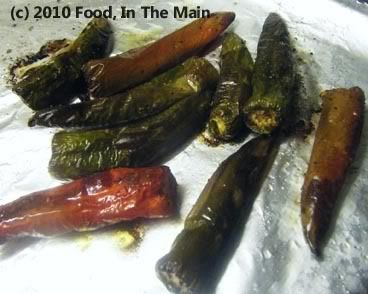
The recipe also said to roast the chillies in the oven (which is another thing I’d been meaning to try, and now I have). Of course, I didn’t really notice that Bong Mom’s roasted chillies in her photo were only very mildly brown after 40 minutes. No, all I registered was that the recipe mentioned “30-40 minutes roasting”, and so, blithely blind to any note of caution (such as “these are my toaster oven settings”), I set off to roast the chillies in my regular, fan-driven, electric oven at a blistering 190C.
Boy, was it ever blistering! It very nearly blistered my poor jalapenos to charcoal. Only a serendipitous check at 20-odd minutes saved the chillies from a horrendous death by burning. Perhaps because the chillies had been over-roasted, they felt very insubstantial when I took ‘em off the tray – quite limp to the touch, really, and I wondered if I’d entirely burnt the taste and heat from them as well. (No, I hadn’t, thankfully, as I discovered later. I also discovered that the ideal size – for serving and eating purposes - would have been about 1.5”-2” long, rather than 4” or thereabouts.)
Apart from that, though, the recipe went swimmingly well. I used light soy milk in place of regular milk, and I don’t think it made much difference to the final result... although after I’d poured it in and smelt the milk’s sweetish aroma, I had a few moments of doubt. I needn’t have worried – you couldn’t have said that the dish contained soy milk, once it was finished.
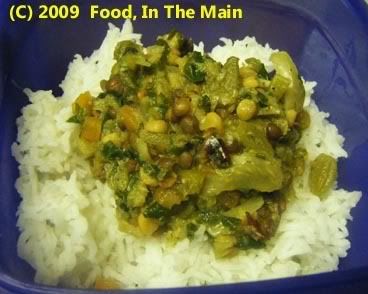
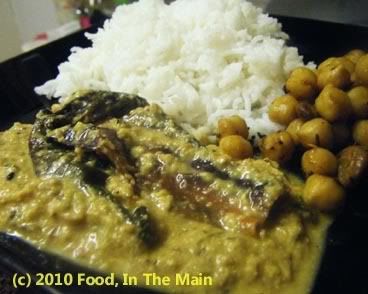
MAN was the curry tasty, though! I had it with plain basmati rice and some sautéed roasted chickpeas. The mild sauce was the perfect foil for the heat from the chillies - but if I was making this dish using bell peppers, I would definitely up the heat quotient for the sauce. It would be too boring for me otherwise... although perhaps chilli-intolerant people would disagree.
Recipe for: Roasted jalapeno curry
Ingredients:
10 jalapeno peppers (or bell peppers or long "bajji" chillies, cut into 2.5" pieces)
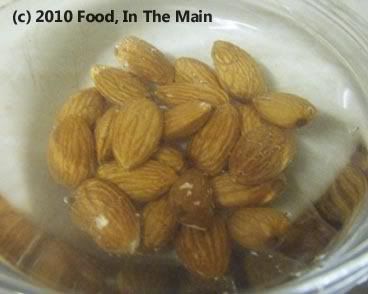
10 almonds (with or without skin, soaked in water for 30 min)
1 medium onion, sliced
2 cloves garlic
1" piece ginger, grated
1 medium tomato, cut into small chunks
1 cup light soya milk (or use regular milk)
1/2 tsp nigella seeds
1 tsp cumin seeds
3 tsp oil
1 tbsp kasoori methi
1/4 tsp turmeric
1/2 tsp sweet paprika Salt to taste
Chopped coriander for garnish
Method:
1. Toss the chillies with 1 tsp oil, salt and pepper and roast in the oven for 20 minutes or so at 180C/350F.
They should have brown spots here and there. (Try not to burn them, which I nearly did.)
2. While the chillies are roasting, put the almonds in hot water and let soak for 30 minutes or so. Reserve.
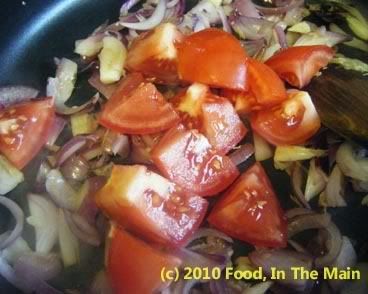
3. Heat 1 tsp oil in a pan and add the onions, garlic and ginger.

4. When the onions begin to soften, toss in the chopped tomatoes.
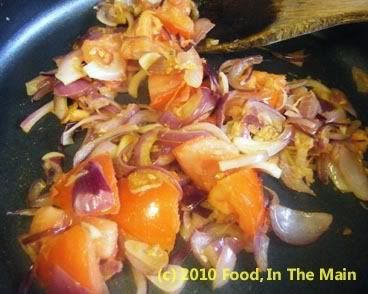
5. Fry for 3-4 minutes till the tomatoes turn soft, then turn off the heat and let the mixture cool.
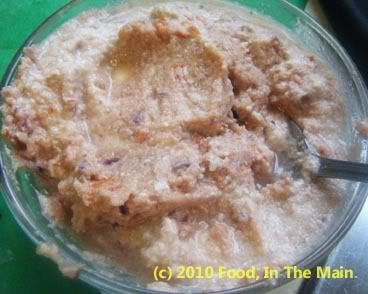
6. Grind the cooled tomato-onion masala along with the almonds (you can remove the skin if you like, but I didn't)
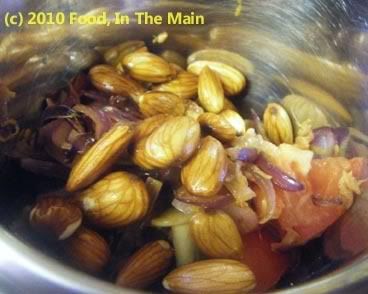
to a fairly smooth paste. Mine is pinkish, probably because of the red onion I used, as well as the almond skins.
7. In a pan, heat the remaining oil, then add the cumin and nigella seeds.
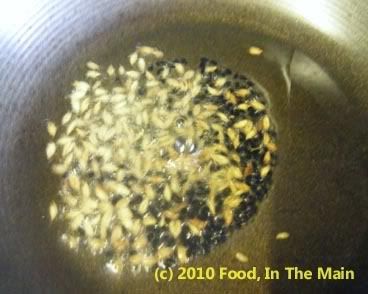
8. Let the seeds fry for 30 seconds, then add the ground paste and mix in well.
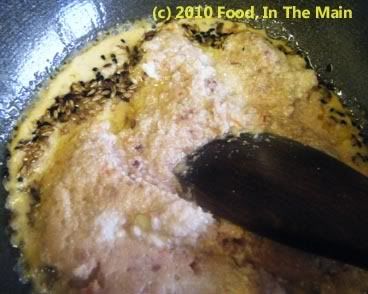
9. Add the paprika (if using), turmeric powder and kasoori methi.
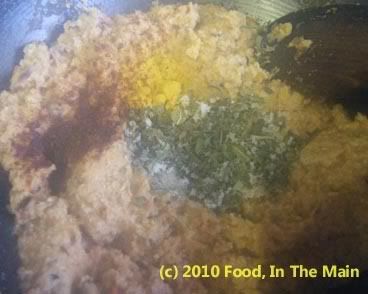
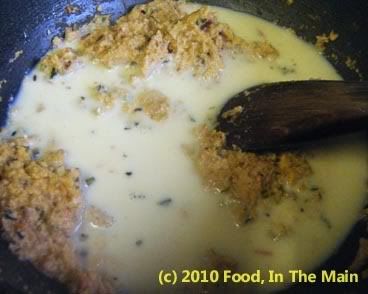
10. Pour in the soya milk, add salt to taste, and stir till the mixture is homogenised.
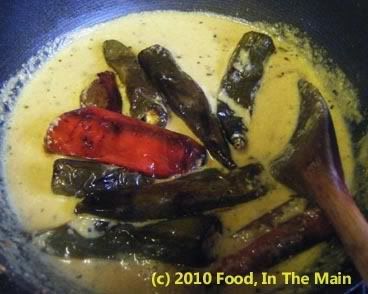
11. Let the sauce come to a gentle boil on medium heat (about 4 minutes), then add the roasted chillies.
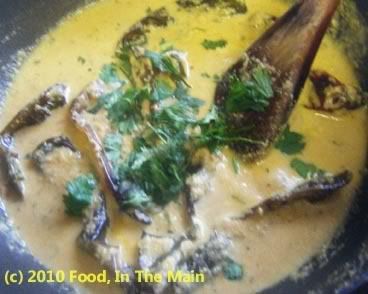
12. Stir it all gently, let it simmer for 3-4 minutes, then add the chopped coriander. Serve hot with plain basmati rice, jeera rice, ghee rice or any mild pulao. Also good with chapaties.
Take-out. Take-away. Call it what you will, all it means is that you're going to be eating something cooked in some pokey little kitchen by Bangladeshi cooks (most likely if it's a takeaway in the Midlands) who labour under the misapprehension that a bucketload of oil is a good substitute for taste and flavour. I might be doing a disservice to the rare takeaway place which doesn’t follow this rule of thumb, but on the whole, my statement holds true, sadly enough.
I don’t see why takeaways shouldn’t be able to do good, healthy, wholesome food, considering they have at hand all the resources they need. Various friends have asked me – probably only in jest – why I don’t start my own takeaway, but the thought just doesn’t appeal. I do like cooking, but if I had to do it all day every day, whether from home or a business premises, I would come to hate it very quickly. (I admit that about the only activity - if you can call it that - I could or would do all day, every day, all the time would be reading... but nobody’s paying me to read books just for personal enjoyment, more’s the pity.)
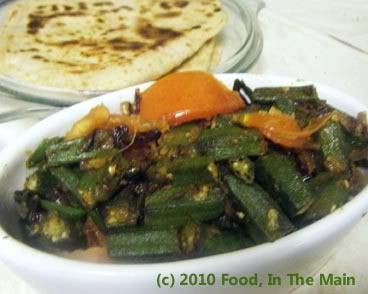
Anyway, since I had a couple of packets of okra from India (via Tesco, of course - "eat local" doesn't even come into the question!) to use up and Pete likes okra, I decided to make a restaurant-style side dish – with plenty of green chillies (fried separately) for myself, and with no chillies for him. Both versions were just so simple but tasty. To harp away on the same topic, I honestly don’t understand how the takeaway chefs could oilify (new word there) a basic dish like this and ruin it. Shame that most takeaway eaters will never realise what they're missing in the way of authentic fare. If they only knew...
Recipe for: Take-away style bhindi (okra) bhaji
Ingredients:
500 gm okra (about 4 cups, sliced 1" long)2 small onions2 small tomatoes1 large garlic clove, sliced into thin matchsticks3-4 green chillies, sliced diagonally into strips2 tsp cumin seeds1 tsp coriander powder1/2 tsp turmeric powder1 tsp Kitchen King masala (or use garam masala)Salt to taste2 tsp oil
Method:
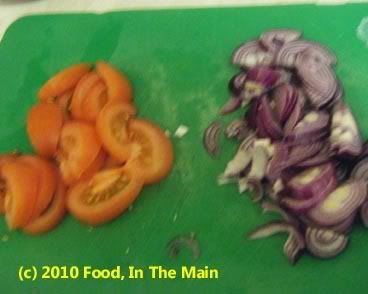
1. Slice the tomatoes into 1/2-cm thick wedges and slice up the onions thinly.
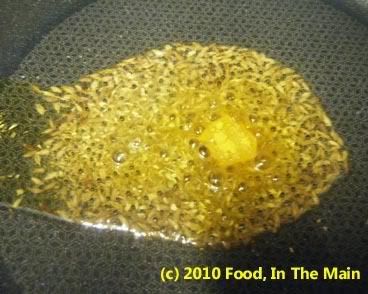
2. Heat the oil in a pan and add the cumin seeds and turmeric powder; fry for 20 seconds. They should become a darker shade of brown.
3. Add the sliced onions and garlic, and green chilli strips (if using), and stir-fry till they begin to turn translucent, about 5 minutes.

4. Now add the okra and stir it in. Let it cook on medium-high heat, stirring once in a while.

5. Once the okra is cooked and the onions are nicely browned, add the tomato wedges.
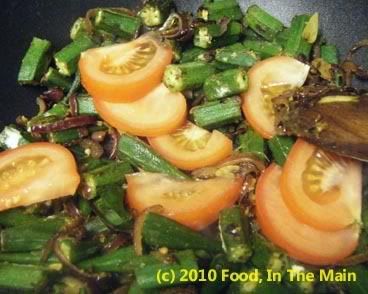
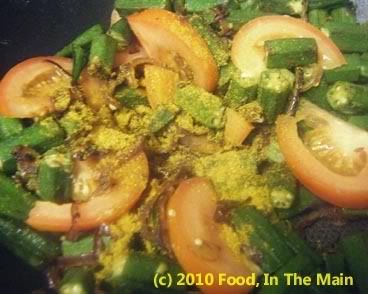
6. Stir-fry on high for 2-3 minutes or till the tomatoes JUST begin to soften. They should not get mushy. Add the Kitchen King/garam masala and salt to taste, and mix it in. Cook the okra for another couple of minutes. Serve warm with chapaties and any dal.
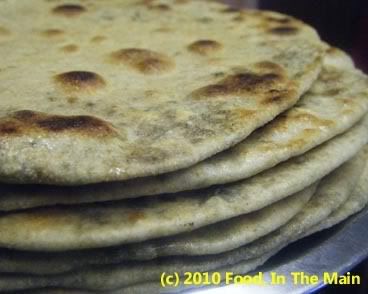
I've always thought that puris referred to only one thing - small, airy, puffed up fry-breads made with plain or wholewheat flour. When I came across a recipe for "besan ki puri" on The Veggie Hut, I fully expected it to be a deep-fried recipe, differing from a regular "atte ki puri" (wheatflour puris) by the addition of besan or chickpea/gram flour. I was quite surprised to find that these besan ki puri were merely shallow-fried, and they looked like regular chapaties or parathas. So perhaps besan ki puri is a regional or colloquial name for this type of stuffed paratha/chapati, although I'm not sure where this recipe originated or which State it's from.
The recipe was interesting, though - I'd never come across a seasoned chickpea flour filling for chapaties, nor even heard of such. The filling was simple enough to make, and certainly I found it a lot easier to handle while rolling out the chapaties. (Wetter fillings have been known to squirt out annoyingly no matter how gently I wielded the belan (rolling pin).)
Until now I've only had the western-type pastry rolling pin, very large and very heavy and the same width from end to end, compared to the Indian ones which are far lighter and tapered towards the ends. I've recently acquired one of the latter kind, so yaaay! I'll have to see if they make a difference while rolling out chapaties. It could well be that my faulty technique, and not the rolling pin, is the factor that brings the filling leaping so joyfully and messily out of the chapati dough...
Anyway, what I discovered while rolling out these chickpea-flour-filled chapaties is that I got a few air pockets at the start... but some light pressure while rolling them out ensured that the air leaked away gently instead of literally tearing its way out of the dough. That's my kitchen tip for the day.
PS. The term "kitchen tip" does NOT imply that my kitchen is a rubbish area. Just so you're aware.
Recipe for: Chapaties with gram flour filling
Ingredients:
3 cups wheat flour
Salt to taste
water as required
For the filling:
1 cup chickpea/gram flour
5-6 green chillies, chopped finely
1 tbsp coriander powder
1/2 tsp cumin powder
2 tbsp dried fenugreek leaves (kasoori methi)
1 tsp red chilli powder
3-4 tbsp water 1 tbsp oil
Salt to taste
Pam or other non-stick spray (or oil for cooking)
Method:
1. Put the flour into a deep mixing bowl, add a little salt and knead to a smooth pliable dough using as much water as required. Cover the dough and let it rest for 15-20 minutes. 2. Heat the oil in a frying pan and add the green chillies, coriander powder, cumin powder and kasoori methi.
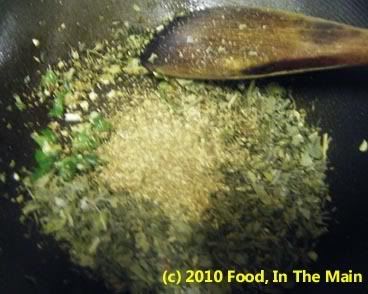
3. Stir-fry them for 30 seconds on high heat.
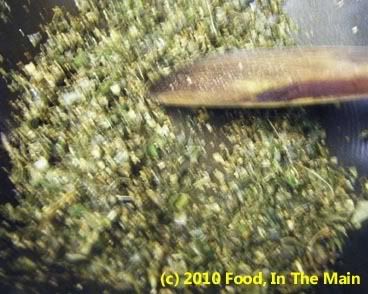 4. Add the besan (gramflour/chickpea flour), stir till the ingredients are well mixed.
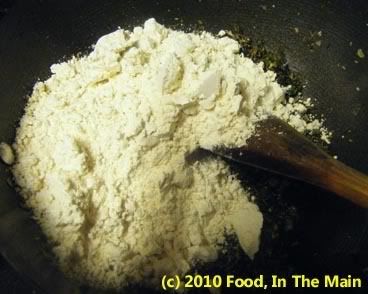
5. Continue stir-frying on medium heat, till the flour turns a darker shade and emits a roasted aroma. Be careful not to burn the flour. 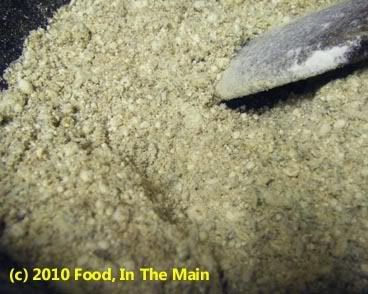
6. Add the turmeric powder, red chilli powder and salt to taste, and mix well. 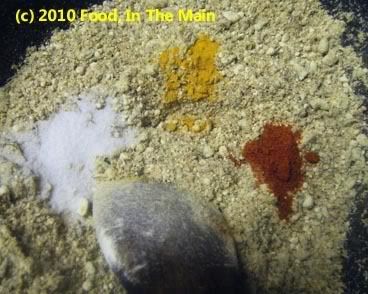
7. Now add water, tbsp by tbsp, stirring between each addition, 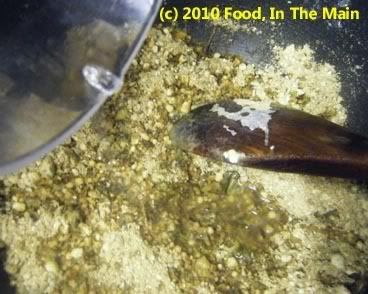 until the roasted flour begins to come together in clumps.
  Only add enough water to lightly moisten all the flour, but it's better to stop while the flour is still a bit dry than to add too much and make it sticky wet. If that happens, the best thing to do is start over. Let the filling cool completely once it has become moist.
8. To make the chapaties, pinch off a ping-pong ball sized piece of dough. Flatten it in a saucer of dry flour, shake off the excess flour, then roll the dough out into a 4" circle. Place 2 tbsp of the filling in the centre. 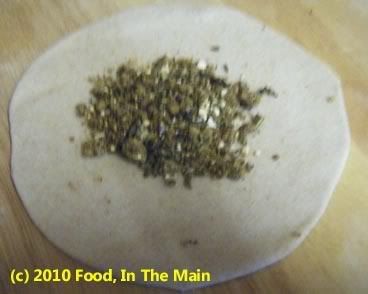
Bring the edges of the chapati together to enclose the filling completely. 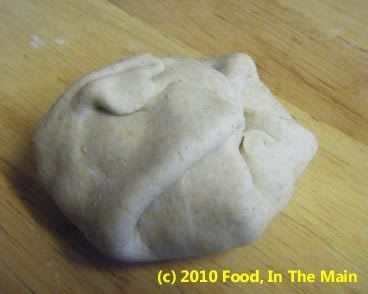
Turn it over so that it lies seam-side down, then start rolling it out again. If any air pockets are visible (the puffed up area), continue rolling but do it more gently, so as to get rid of the air. 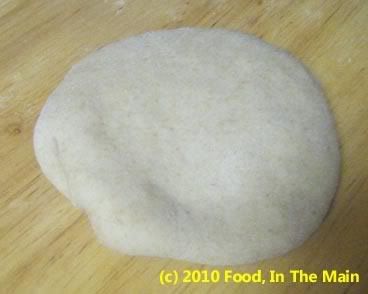
Continue rolling out the chapati till it is evenly thin all over. 
9. Heat a tava or frying pan on medium heat, then place a chapati on the tava for 10-15 seconds, or till small brown spots appear. 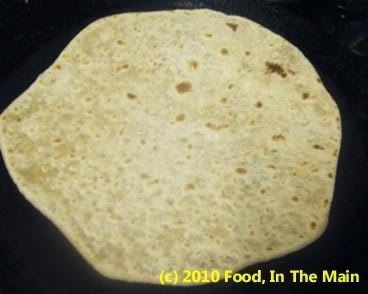
Turn it over and spray the partially cooked side with Pam, then flip it over again to spray that side as well. 10. Cook on medium heat for about 2 minutes for each side, pressing down with a spatula to let the chapati cook evenly all over. Keep the cooked chapaties covered and warm in a clean cloth-lined plate while you make the rest of the chapaties the same way. They can be cooked till very crisp (which will take longer), almost like a cracker, if you like. 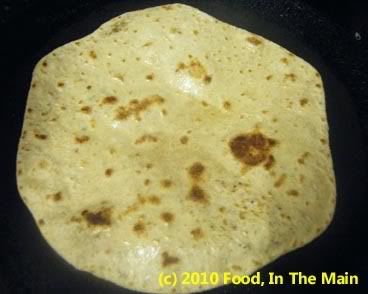
11. Serve hot with a curry, or with pickles and yogurt.
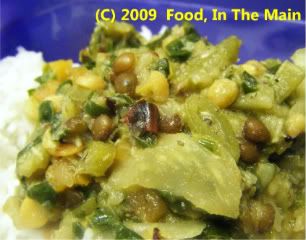
I’ve always liked kootu with lots of dal in it, even when some of the kootus have plenty of cooked and mashed dal in them to start with. If any time my mother made vazhakkai kootu, for instance, which has cooked mashed tur dal to thicken it, I would still want lots of cooked-but-firm chana dal in it, as well as plenty of crunchy fried urad dal in the tempering. Nothing less would do.
I like lots of urad dal tempering in dry vegetable dishes too, and always have. And because I do my own cooking, I’m at perfect liberty to use vast quantities of any dal I like without anybody questioning the authenticity of what are meant to be traditional recipes.
Still, I’m not so wrapped up in my own quirks that I don’t realise that other people might not share my preferences, so I usually tone down the quantities of dals in the recipes I publish on this blog, in the hope that I (and my recipes) will come across as normal to readers. (I’m not entirely sure that the ploy works, though. Does it?)
This kootu is pretty simple, and you can use pretty much whatever vegetables you have at hand (but I wouldn’t recommend okra, fresh or frozen). I use a pressure-cooker to cook the vegetables and dal together, but if you don't have one, or don't like to use it, the dals can be cooked separately, the vegetables steamed or boiled separately, and then brought together from Step 7. I'd recommend the pressure-cooker, though - it makes things much simpler. I personally feel that the dals make it not only nutritious but also very tasty. Have the kootu over rice, with a couple of microwaved appalam/poppadums and any pickle (I recommend mango thokku) and a cup of yogurt on the side, and you will discover one of the many ways to gain entry into my personal foodie heaven.
Recipe for: Two-dal vegetable kootu
Ingredients:
2.5 cups vegetables cut up small (I used cabbage, carrots, runner beans, potatoes and spinach)
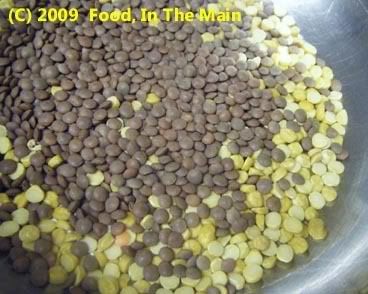
1/4 cup chana dal
1/4 cup whole masoor dal
1/2 tsp turmeric powder
2 dried red chillies, chopped up fine1 tsp oil2 tbsp urad dal2 tsp brown mustard seeds1 tsp cumin seeds1/4 tsp asafoetida powder (optional)Salt to tasteAbout 2.5 cups water, or as required
Grind to a smooth paste:
3 tbsp grated fresh or frozen coconut (thawed)
4-5 green chillies (or to taste)
1/2 tsp cumin seeds
1 tbsp rice flour
Method:
1. If using cabbage, shred finely. Chop up any other vegetables you're using into small even-sized pieces.

2. Wash the two dals in cold water.
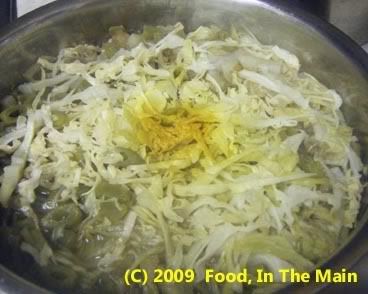
3. In an appropriately sized vessel that can go in your pressure cooker, place the dals at the bottom, then add the "hard" vegetables (like potatoes, carrots, etc), and finally the easy-cook vegetables like cabbage and frozen peas. If using spinach, DO NOT add to the vessel at this point.
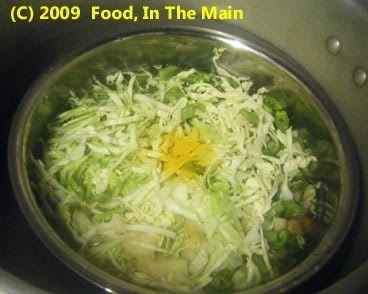
Top with the turmeric powder and add enough water to just about cover the vegetables.
4. Pressure-cook for three whistles, and let the pressure drop naturally before opening the cooker.
5. In a pan, heat the oil. Add the mustard seeds, chopped dried red chillies, cumin seeds, urad dal and asafoetida powder. Cover and let the mustard seeds pop (about 30 seconds). The urad dal should have turned a golden brown.

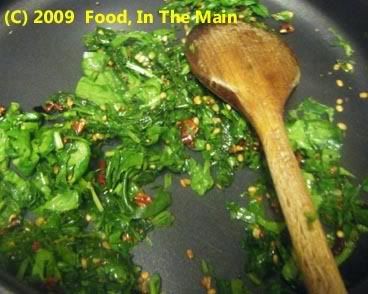
6. Add the spinach leaves now (if using)

and stir fry till it is wilted but still green.
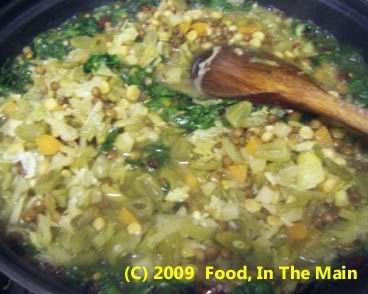
7. Lower the heat and add the cooked dal + vegetables to the pan (the liquid will sputter, so be careful).
8. Pour in the ground coconut masala.
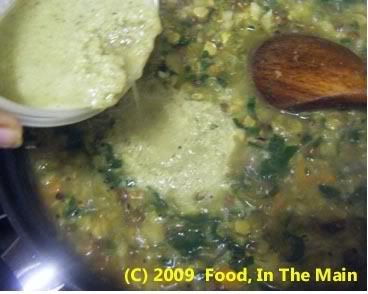
Add salt to taste and mix well. Add more water if required (the kootu can be thick or a bit runny, depending on your taste. I keep it thick if it's a side dish for rotis or chapatis, and a bit runnier if it's to be served over rice.)
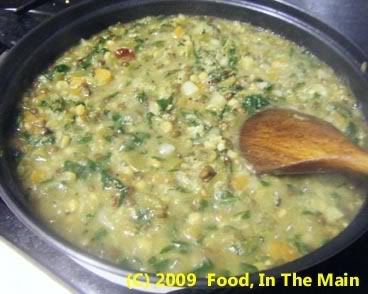
9. Serve hot over plain steamed white rice, or with chapaties.