skip to main |
skip to sidebar
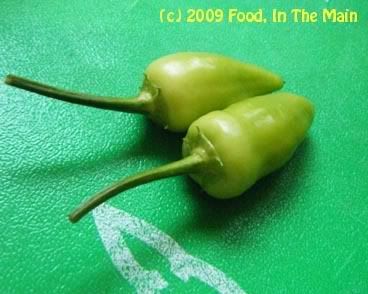 There's no real reason to post the photo above (even though I used the chillies in the recipe), just as there was no real reason to take the photo in the first place. My heatless green chillies have been remarked on enough times, and photographed and posted enough times on this blog, that any regular reader would likely recognise them and wait with sinking heart for the inevitable whine about how chillies with no heat aren't worth the time...
But I'm not going to whine this time. Besides, I grew the darn things from scratch - and just the fact that the plant survived and the chillies fruited is remarkable enough in itself to merit a mention without the accompanying whine.
The reason I took the photo is because I thought the two chillies looked really cute. Yes, anthropomorphising food items is probably not, strictly speaking, entirely normal - but sue me, I thought they were cute. Like little green mice with long tails, plotting to raid the pantry in secret.
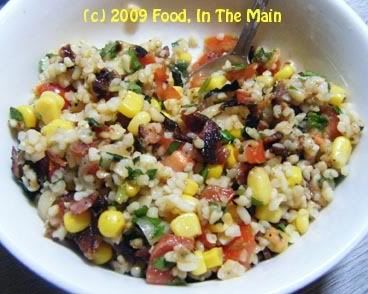
Thanks for indulging me in my moment of whimsy. Now back to the real world and on with the recipe. It's totally fat-free (aside from the garnish of roasted peanuts, which is entirely optional - so any nit-picking anonymous dissenting commenters please take note, without the garnish, this IS totally fat-free) and makes a nice cold (or warm) vegetarian "salad". For non-vegetarians and fishytarians, serve warm as a side with roasted meat dishes, or as a light lunch mixed with smoked mackerel or tuna chunks (as Pete did).
Recipe for: Fat-free bulgur salad
Ingredients:
1 cup bulgur wheat
1 large onion
Handful of herbs of choice (I used mint, oregano, chives and basil)
2 green chillies, de-seeded and chopped fine (optional)
1 cup canned sweetcorn, drained
1 medium tomato, chopped
3 tbsp lemon juice
Salt to taste
Fresh ground black pepper to taste
Handful of roasted peanuts (optional, for crunch)
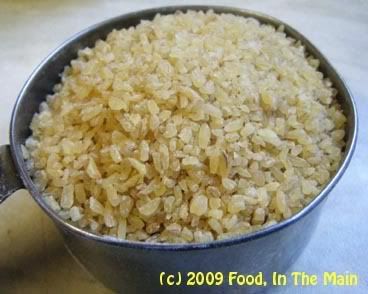
1. Cook the bulgur wheat according to the packet instructions (or boil 1.75 cups water, add the bulgur, stir well, let it boil for 2 minutes, then turn the heat off, cover the pan tightly and let the bulgur sit for 20 minutes undisturbed. Fluff with a fork to separate the grains.)
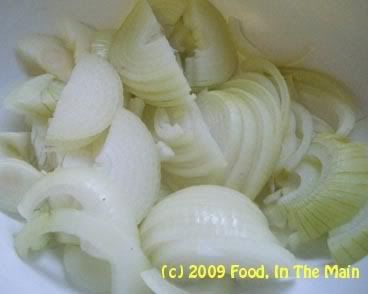
2. Slice the onion thinly.
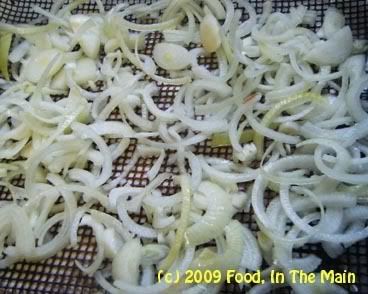
3. Toss the sliced onions with the lemon juice and place under a hot grill for 5-7 minutes,
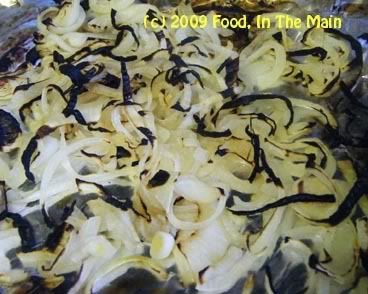
or till the onions start browning slightly and are done to taste. Remove from the oven.
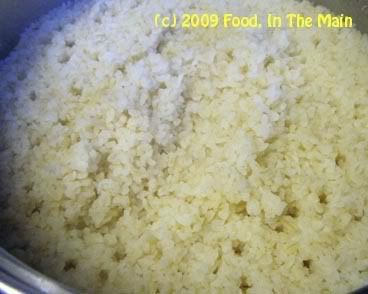
4. Fluff up the cooked bulgur and place in a large bowl.
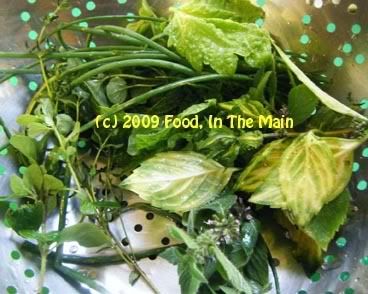
6. Chop the herbs finely and add to the bowl.
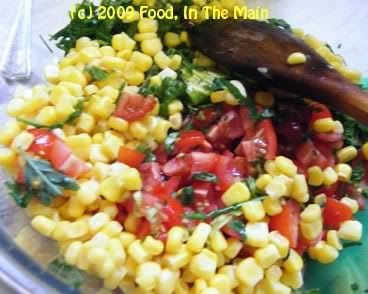
7. Add the chopped tomato and the sweetcorn,
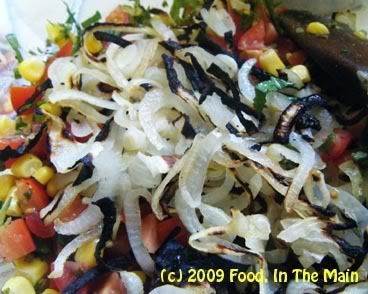
and the grilled onions.
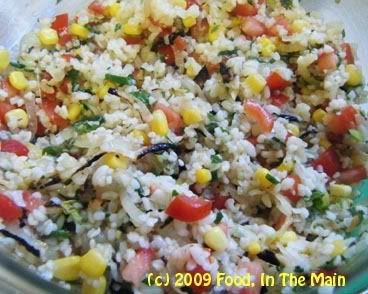
8. Mix with a large fork, add salt to taste. Squeeze a little more lemon juice over, if required. Garnish with roasted peanuts if desired, for crunch, and serve the bulgur as a side dish with fish, or eat by itself as a healthy snack or a light lunch.
It's been so long since I've posted a recipe on here, and I was feeling so reluctant to move my a** after a hugely long travel blog that I decided the only to ease myself back into the food blog world was to post a simple recipe. Preferably from someone other than me. That someone, of course, is my Kiwindian friend, KiwiGee, and the star of the recipe is the groundnut.
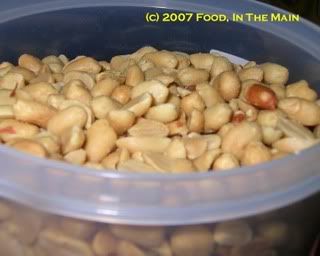
This recipe has been languishing in my "recipes to make" folder for ages, mainly because I was not able to get my hands on copra (dry coconut). On being informed that desiccated coconut would do just as well, I bought a bagful - only, of course, to have two holidays come up in quick succession with not much time in between for anything much except to write a Slavonian food-logue.
And now, since no more holidays seem to be in the offing this year, I have no more excuses to put off writing food posts! So here goes.
In her email to me, KiwiGee said: "This recipe is a variation of the traditional thengai podi (for Tamilians) and chutney podi (for Kannadigas). I learnt the original chutney podi from my MIL and the variation is from sister Gayathri in NZ. I tend to use quite a few peanuts in my cooking nowadays as I keep exploring more and more avenues of vegetarian iron sources…"
So here it is, the perfect vegetarian iron source and a very scrummy powder to mix with plain rice and ghee.
Two things to note:
1. Powder the peanuts separately and do it in short bursts so as not to heat the motor of your mixie. Otherwise you'll end up with peanut butter. Which is nice enough, but not the result we're looking for here.
2. Be careful even while grinding the desiccated coconut - it also tends to exude oil and lump up if you run the mixie for too long and the coconut gets warm.
Recipe for: Groundnut chutney powder

Ingredients:
250 gms peanuts (I cheated a bit and used ready roasted peanuts)
50 gms dried red chillies (not Indian red – u’d die then, this is the mild sort that I get here* - in NZ)
50 gms copra (dried coconut, grated fine), or unsweetened desiccated coconut
Salt – to taste
Hing powder – a pinch
Jaggery (or sugar) – 1 tbsp
Tamarind - 1 tbsp (small ball) - NOT the paste!
Methi (fenugreek) seeds – 1 tsp
Method:
1. Dry fry methi seeds till they are dark brown, keep aside.
2. Dry fry peanuts (if using raw ones) till they go slightly brown, keep aside.
3. Then dry fry the copra/desiccated coconut powder, red chillies and tamarind and keep aside. (Note: I tore up the tamarind into small pieces so that they would fry more evenly) Let all the ingredients cool completely.
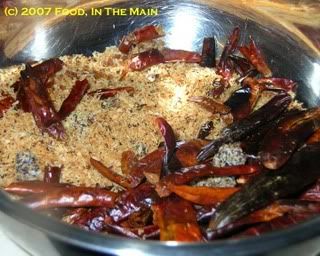
Important: All the ingredients have to be dry fried separately as indicated. This thing won’t work otherwise…
4. First, grind the red chillies, along with copra, tamarind and methi seeds as finely as you can.
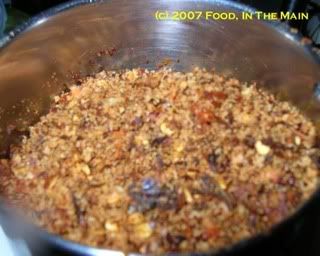
This picture is at the half-way stage of grinding!
5. Then grind the fried peanuts to as smooth a powder as possible, after adding hing and salt.
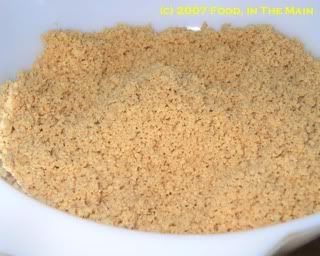
Beware: the peanuts are really oily so they can stuff up your food processor when you grind them. That’s why you need to grind them last, after all the other stuff has been reduced to powder…
6. Mix well and store in dry bottles/jars. DO NOT refrigerate.
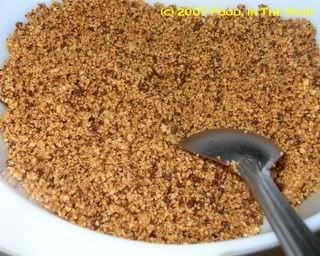
7. Serve with ghee and hot rice (yuM).
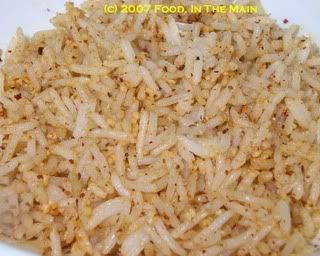
Can also be used as side dish for idli, dosa and with sandwiches etc…


