skip to main |
skip to sidebar
It feels like a really long time since I’ve written anything, and I’m finding it a bit difficult to get started. You’re not likely to know, unless I specifically mention it here, that I’ve deleted half-a-dozen different starting lines and spent over a quarter of an hour staring at a blank page between deletions. Yes, I have specifically mentioned it here so that you’d all know. I’m determined to continue with this opening paragraph no matter where it goes – no more deletions!
Isn’t the ability to compose and instantly delete a total godsend? That, or it has a lot to answer for - depending on how you look at it. I’m sure that if I was writing this long-hand, I would think harder, write more carefully and delete a lot less – and I’d also write a lot, lot less! (I’m firmly on the side of “godsend”, just so you know. Three cheers for computers and instant deletions - and the instant “undo delete” facility, too).
It doesn’t help that I’ve just come back from a trip to Seattle and I’m still missing my family – specifically, my little 9-month-old niece. Although I took my laptop with me, I literally didn’t even take it out of my suitcase for the 2 weeks that I was in the States. And since I didn't cook anything except a particularly bad cake, it certainly wasn’t worth the time and effort that would’ve been required to blog about, and so my laptop stayed in its case. Add that to the general lethargy I was feeling before the trip, and it explains the long silence on this blog.
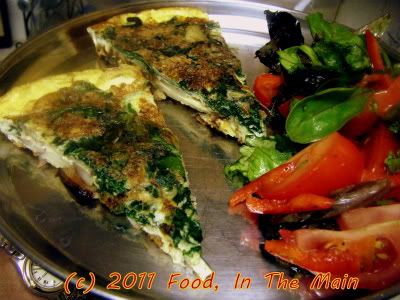
That’s not to say that I didn’t have any good intentions – I did take photos while making this frittata, just a day before we left for Seattle when we had my mother-in-law staying with us. There’s a glut of spinach (in the frittata AND in the side salad) because I was doing my best to finish what I could of it along with the eggs.
For a last-minute effort, this was an absolutely delicious frittata. Granted, it’s pretty hard to make a bad-tasting frittata. The most difficult part here was sliding the frittata from the frying pan onto a large plate, prior to flipping it back into the pan again… but if you have a cast-iron frying pan that can go directly into the oven, there’s no dicey sliding or flipping involved in browning the top of the frittata – it can be grilled as it is.
(Note to self: MUST get large cast-iron frying pan. Wonder if I can float a loan to buy a top-of-the-range pre-seasoned cast-iron pan...)
Recipe for: Spinach potato frittata
Ingredients:
6 large eggs
2 medium onions, thinly sliced
2 cups spinach
2 medium potatoes, thinly sliced
2 tbsp olive oil
4 tbsp milk or cream
3/4 tsp dried herbs (I used an Italian mix), optional
3 tbsp chopped mixed herbs to taste (I used sage, basil, lemon thyme and a bit of rosemary)
Salt and pepper to taste
Method:
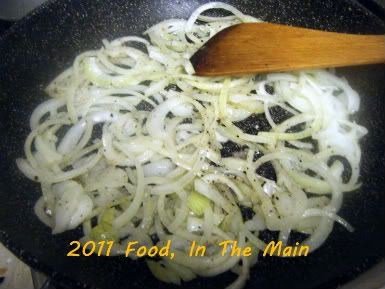
1. Heat the olive oil in a large frying pan and saute the onions till they're soft and just turning pale brown.
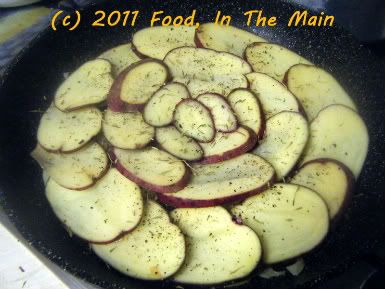
2. Arrange the sliced potatoes over the onions. Add the dried herbs if using and cover the pan till the potatoes are cooked.
3. In the meantime, break the eggs into a large bowl and add pepper to taste.
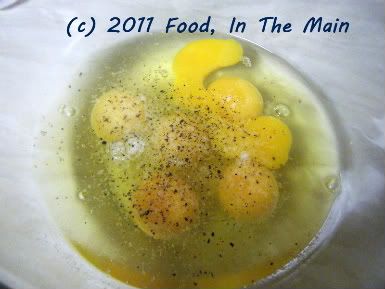
4. Then add the milk or cream
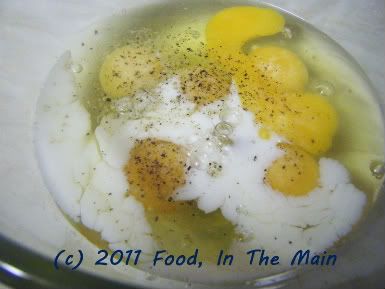
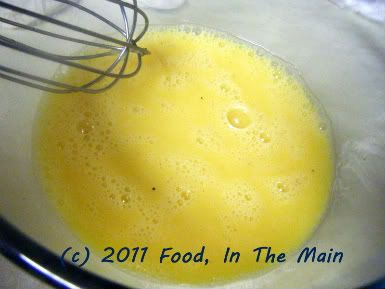
and beat the eggs till lightly frothy.
5. Stir the cooked potatoes gently, turning them over if desired.
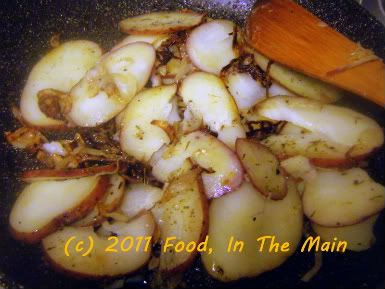
6. Add the spinach and cover the pan for 2-3 minutes, till the spinach starts to wilt.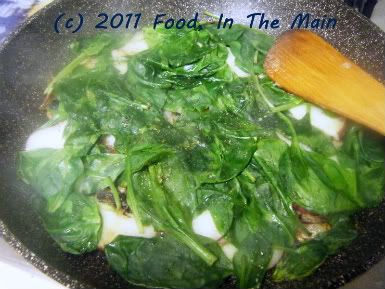
7. Add salt to taste and the chopped fresh herbs to the beaten eggs and pour it over the vegetables.
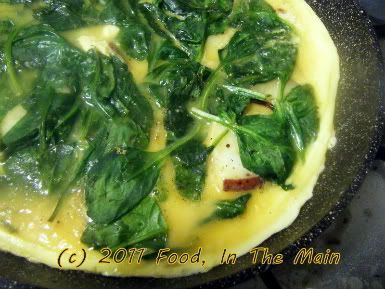
8. Cook over medium-low heat with the pan covered, till the frittata is mostly set - it should jiggle a bit in the centre, but the eggs should not be runny. Loosen the frittata carefully around the edges and slide it gently onto a large plate (ideally it should be bigger than the frying pan). Place the hot pan over the frittata on the plate, and carefully flip the plate so that the top part of the frittata becomes the bottom. (The frittata should now be a lovely golden brown to look at.) Put the frying pan back on the heat and cook the frittata for 2-3 minutes longer to brown the bottom.
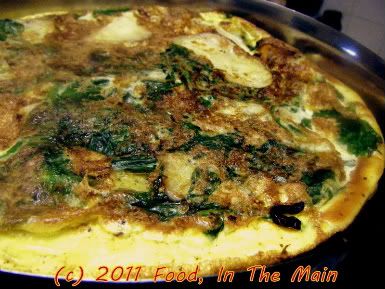
Serve the frittata cold or hot.
RECIPE: SPINACH POTATO FRITTATA
Ingredients:
6 large eggs
2 medium onions, thinly sliced
2 cups spinach
2 medium potatoes, thinly sliced
2 tbsp olive oil
4 tbsp milk or cream
3/4 tsp dried herbs (I used an Italian mix), optional
3 tbsp chopped mixed herbs to taste (I used sage, basil, lemon thyme and a bit of rosemary)
Salt and pepper to taste
Method:
1. Heat the olive oil in a large frying pan and saute the onions till they're soft and just turning pale brown.
2. Arrange the sliced potatoes over the onions. Add the dried herbs if using and cover the pan till the potatoes are cooked.
3. In the meantime, break the eggs into a large bowl and add pepper to taste.
4. Then add the milk or cream and beat the eggs till lightly frothy.
5. Stir the cooked potatoes gently, turning them over if desired.
6. Add the spinach and cover the pan for 2-3 minutes, till the spinach starts to wilt.
7. Add salt to taste and the chopped fresh herbs to the beaten eggs and pour it over the vegetables.
8. Cook over medium-low heat with the pan covered, till the frittata is mostly set - it should jiggle a bit in the centre, but the eggs should not be runny. Loosen the frittata carefully around the edges and slide it gently onto a large plate (ideally it should be bigger than the frying pan).
Place the pan over the frittata on the plate, and carefully flip the plate so that the frittata falls back into the pan; the top part becomes the bottom. The frittata should be a lovely golden brown to look at. Put the frying pan back on the heat and cook the frittata for 2-3 minutes longer to brown the bottom. Serve the frittata cold or hot.
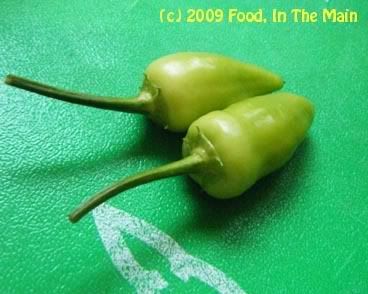 There's no real reason to post the photo above (even though I used the chillies in the recipe), just as there was no real reason to take the photo in the first place. My heatless green chillies have been remarked on enough times, and photographed and posted enough times on this blog, that any regular reader would likely recognise them and wait with sinking heart for the inevitable whine about how chillies with no heat aren't worth the time...
But I'm not going to whine this time. Besides, I grew the darn things from scratch - and just the fact that the plant survived and the chillies fruited is remarkable enough in itself to merit a mention without the accompanying whine.
The reason I took the photo is because I thought the two chillies looked really cute. Yes, anthropomorphising food items is probably not, strictly speaking, entirely normal - but sue me, I thought they were cute. Like little green mice with long tails, plotting to raid the pantry in secret.
Thanks for indulging me in my moment of whimsy. Now back to the real world and on with the recipe. It's totally fat-free (aside from the garnish of roasted peanuts, which is entirely optional - so any nit-picking anonymous dissenting commenters please take note, without the garnish, this IS totally fat-free) and makes a nice cold (or warm) vegetarian "salad". For non-vegetarians and fishytarians, serve warm as a side with roasted meat dishes, or as a light lunch mixed with smoked mackerel or tuna chunks (as Pete did).
Recipe for: Fat-free bulgur salad
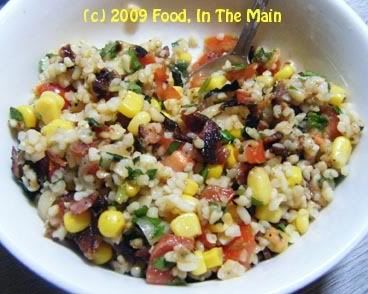
Ingredients:
1 cup bulgur wheat
1 large onion
Handful of herbs of choice (I used mint, oregano, chives and basil)
2 green chillies, de-seeded and chopped fine (optional)
1 cup canned sweetcorn, drained
1 medium tomato, chopped
3 tbsp lemon juice
Salt to taste
Fresh ground black pepper to taste
Handful of roasted peanuts (optional, for crunch)
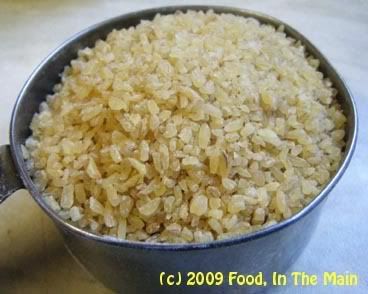
1. Cook the bulgur wheat according to the packet instructions (or boil 1.75 cups water, add the bulgur, stir well, let it boil for 2 minutes, then turn the heat off, cover the pan tightly and let the bulgur sit for 20 minutes undisturbed. Fluff with a fork to separate the grains.)
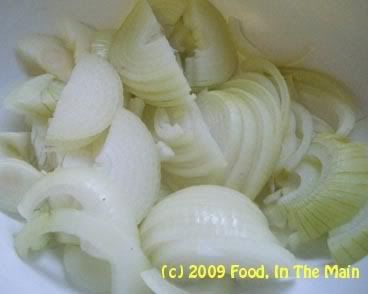
2. Slice the onion thinly.
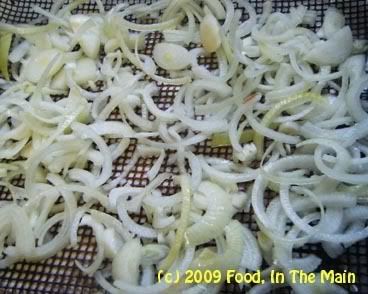
3. Toss the sliced onions with the lemon juice and place under a hot grill for 5-7 minutes,
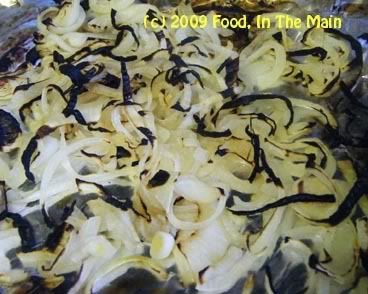
or till the onions start browning slightly and are done to taste. Remove from the oven.
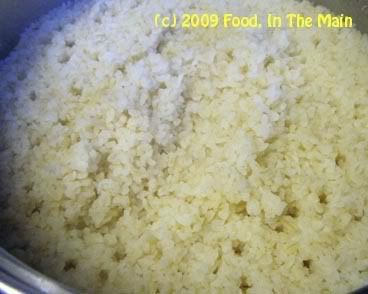
4. Fluff up the cooked bulgur and place in a large bowl.
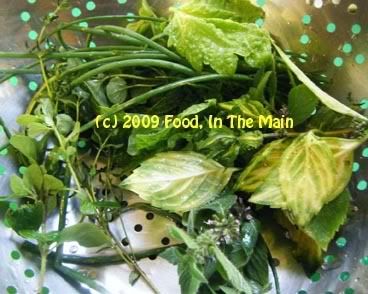
6. Chop the herbs finely and add to the bowl.
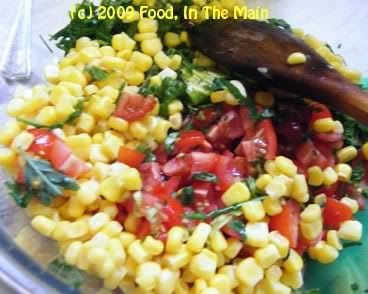
7. Add the chopped tomato and the sweetcorn,
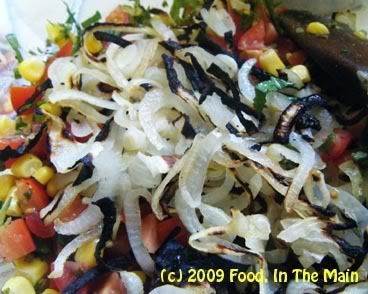
and the grilled onions.
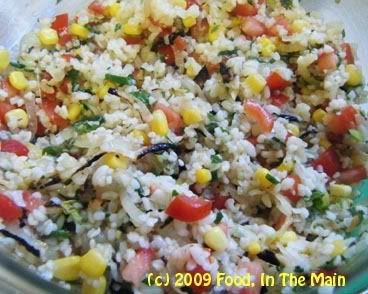
8. Mix with a large fork, add salt to taste. Squeeze a little more lemon juice over, if required. Garnish with roasted peanuts if desired, for crunch, and serve the bulgur as a side dish with fish, or eat by itself as a healthy snack or a light lunch.
Gini asked me for photos of my growing herbs, so here they are. And I've thrown in a few rose photos too, just for the heck of it (ok, it's really because I'm proud of my beautiful, fragrant, colourful babies!) :)
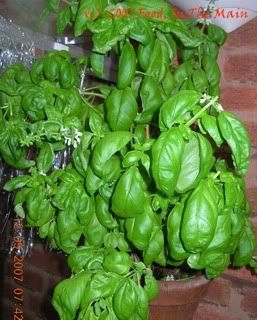
Italian basil - it nearly died last winter but somehow one stem stayed alive - and now look how it's grown!
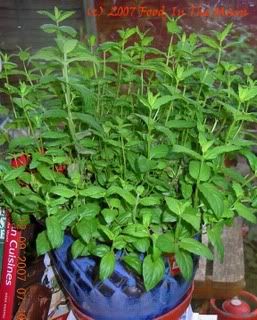
This is the mint I didnt kill (or havent killed yet, anyway)... it needs to be cut back a bit because it's growing leggy rather than bushy. Right after this photo session, methinks...
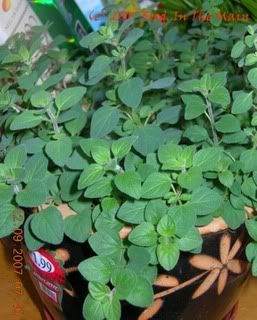
Oregano - what a lovely fresh aroma to this herb!
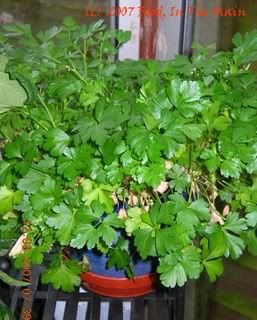
Flat leaf parsley - I also have the curly variety but it seems to be yellowing quickly.
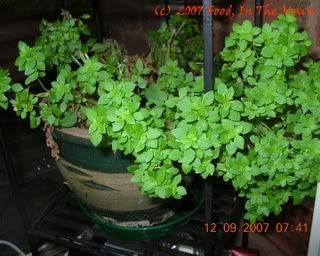
Thai basil - a little pepperier than the Italian, but not as much as holy basil. I remember the tulsi in my grandmother's place, which used to make my tongue tingle and go a little bit numb at the same time.
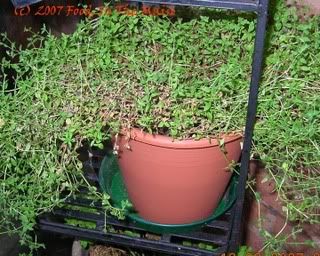
Finally, it's thyme...
...for the roses (anybody note the pun?) :D


My herbs - curly and flat leaf parsley, Italian and Thai basil, oregano, mint, thyme and rosemary - are all growing like crazy at the moment, and I'm throwing them into practically everything I make, to try and keep up with their profusion. It's lovely to have fresh herbs handy, but somewhat difficult to know what to do with them since I dont need to use them all every day! (If only I could grow coriander in the amounts I need - but that's not really feasible, as it's the one herb which I DO tend to use a whole lot).
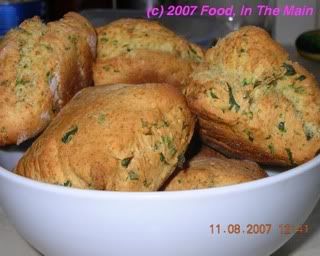
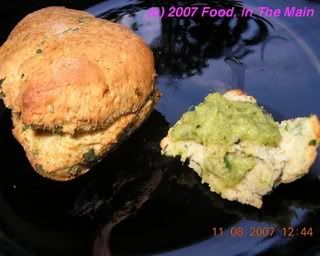
One of the recipes I tried out today was scones with fresh herbs. It's a quick, painless - and eggless - recipe and believe me, the scones are LOVELY! I'm sure you could add some chopped green chillies to give your tastebuds a kick-start, but I didnt because of the rather gentler palates around me!

The scones are gorgeous served warm, split and spread with garlic butter, as an accompaniment for soup. (Mine was courgette-mint soup - recipe coming). I also tried some with celery chutney as a dip - yummy!
Recipe for: Five-herb eggless scones
Ingredients:
1 cup plain flour
1/2 tsp salt
1/4 tsp baking soda
1/2 tsp baking powder
1 tbsp butter
1/3 cup milk (or as required)
2 tbsp fresh finely chopped herbs (thyme, rosemary, parsley, oregano, basil)
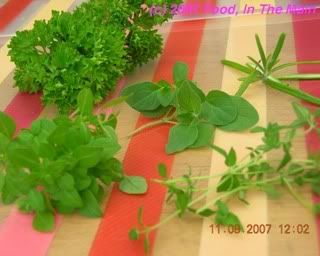
Centre: Oregano; Clockwise from top right: Rosemary, thyme, Thai basil, curled parsley
Method:
1. Preheat the oven to 220C and lightly flour a baking sheet
2. Sift the flour, salt, baking soda and baking powder into a bowl.
3. Rub in the butter till the mixture resembles fine breadcrumbs.
4. Mix in the herbs.
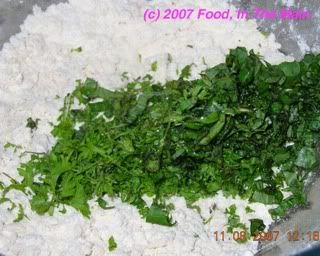
5. Gradually add enough milk to make a light, spongy dough.
6. Turn the dough onto a lightly floured surface and knead till smooth.
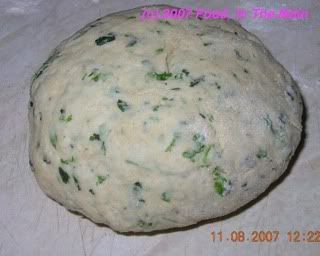
7. Roll it to 1” thick. Cut into rounds with a floured 2” cutter, if desired. (I just cut them through with a pizza cutter, so I got four triangles and two square shapes!).
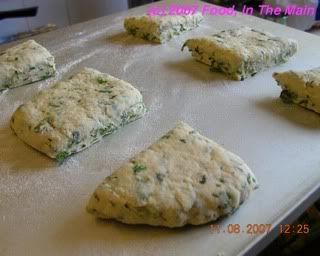
8. Place the scones on the prepared baking sheet and bake for 10-15 minutes or till well risen and golden brown.
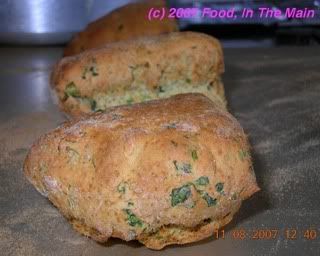
9. Serve warm, split and buttered if you like, along with soup.
