skip to main |
skip to sidebar

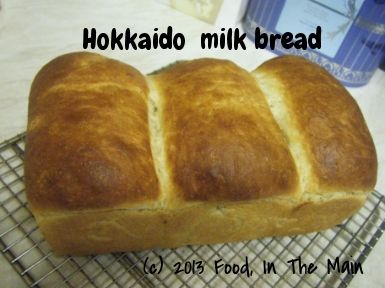 Last month's baking challenge saw me at my whiny worst, because the croissants that we were supposed to make nearly got the better of me. But I persevered, rather to my surprise, and at least I can say "I tried it". This month's challenge was much more in keeping with my ability and my interest, because I can make bread. I can knead dough. I've been experimenting with different types of bread, with different proportions of strong white, wholewheat, wholemeal spelt and wholemeal rye flours. Mostly they've been successful bakes.
That is why this Hokkaido bread didn't faze me. Yes, the dough was irritatingly sticky. Yes, I kneaded the dough by hand, because I don't have a machine to do the job... but to be fair, I didn't put my entire being into the kneading. That's because of the technique recommended by Dan Lepard of the Guardian newspaper (jeez, the number of times I've mentioned this man in my posts, he should be paying me a commission!).
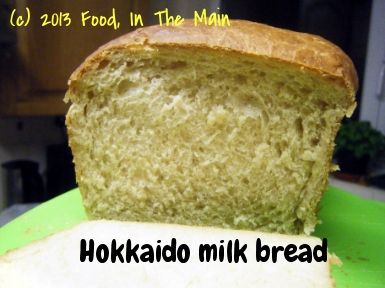
Anyway, I didn't do a 10-second knead with this dough, but I certainly didn't knead for 15 minutes at a time either. It turned out so soft and buttery, it was unbelievable. I made one big loaf, and some Nutella rolls and some with a spicy potato filling. They all turned out incredibly moreish. I'm planning to use the tangzhong technique with regular baking flours rather than just all-purpose. The tangzhong will continue to be made with AP flour, though. However, that's for another post. In the meantime, thank you once again, Aparna Balasubramanian, for introducing me to this bread technique that was completely new to me.
Recipe for: Hokkaido milk bread
 (Original Recipe from 65 Degrees Tangzhong “65C Bread Doctor” by Yvonne Chen, and adapted from Kirbie’s Cravings)
http://kirbiecravings.com/2011/05/hokkaido-milk-toast.html
Ingredients:
For The Tangzhong (Flour-Water Roux)
1/3 cup all-purpose flour
1/2 cup water
1/2 cup milk
For The Dough:
2 1/2 cups all-purpose flour
3 tbsp sugar
1tsp salt
2 tbsp powdered milk
2 tsp instant dried yeast
1/2 cup milk (and a little more if needed)
1/8 cup cream (25% fat)
1/3 cup tangzhong (use HALF of the tangzhong from above)
1/4 tsp salt
25gm unsalted butter (cut into small pieces, softened at room temperature)
1/2 to 3/4 cup mini chocolate chips if making the rolls
Method:
The Tangzhong (Flour-Water Roux):
Whisk together lightly the flour, water and milk in a saucepan until smooth and there are no lumps. Place the saucepan on the stove, and over medium heat, let the roux cook till it starts thickening. Keep stirring/ whisking constantly so no lumps form and the roux is smooth.
If you have a thermometer, cook the roux/ tangzhong till it reaches 65C (150F) and take it off the heat. If like me, you don’t have a thermometer, then watch the roux/ tangzhong until you start seeing “lines” forming in the roux/ tangzhong as you whisk/ stir it. Take the pan off the heat at this point.
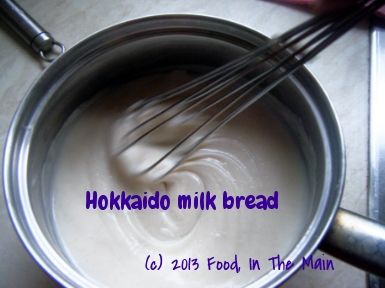
Let the roux/ tangzhong cool completely and rest for about 2 to 3 hours at least. It will have the consistency of a soft and creamy crème patisserie. If not using immediately, transfer the roux to a bowl and cover using plastic wrap. It can be stored in the fridge for about a day. Discard the tangzhong after that.
The Bread Dough:
I made this bread by hand. This dough dough is a bit sticky and can take some time and effort to knead by hand. If you have some sort of machine which will do the kneading for you, use it. Don’t punish yourself. And do not add more flour to make it less sticky either!
Put the flour, salt, sugar, powdered milk and instant yeast in a large bowl and pulse a couple of times to mix. In another small bowl mix the milk, cream and Tangzhong till smooth and add to the bowl. Mix with a wooden spoon until the dough comes together. Now add the butter and knead till you have a smooth and elastic dough which is just short of sticky.
The dough will start out sticky but kneading will make it smooth. If the dough feels firm and not soft to touch, add a couple of tsps of milk till it becomes soft and elastic. When the dough is done, you should be able to stretch the dough without it breaking right away. When it does break, the break should be form a circle.
Form the dough into a ball and place it in a well-oiled bowl turning it so it is well coated. Cover with a towel, and let the dough rise for about 45 minutes or till almost double in volume.
Place the dough on your working surface. You don’t need flour to work or shape this dough. This recipe makes enough dough to make one loaf (9” by 5” tin), 2 small loaves (6” by 4” tins) or 1 small loaf (6” by 4”) and 6 small rolls (muffin tins). Depending on what you are making, divide your dough. If you are making 1 loaf, divide your dough in 3 equal pieces. If you are making two smaller loaves, divide your dough into 6 equal pieces.
The shaping of the portions, whether for the loaf or the rolls, is the same.
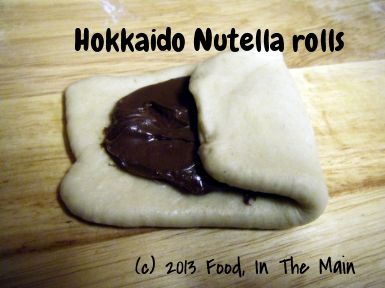
Roll out each portion of the dough with a rolling pin into an oval shape, about 1/8” thick. If you are using a filling, spread it on the dough now, before shaping it into a ball with your hands, bringing the edges to cover the filling.
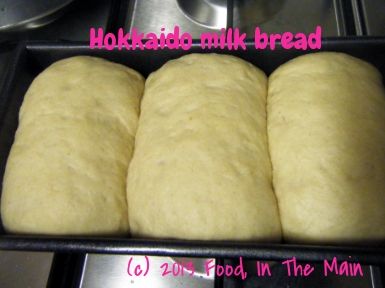
Roll this folded dough with the rolling pin so the unfolded edges are stretched out to form a rectangle. Roll the rectangle from one short edge to the other, pinching the edges to seal well. Do this with each of the three larger pieces and place them, sealed edges down, in a well-oiled loaf tin.
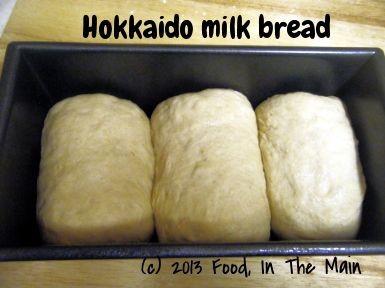
Cover with a towel and leave the dough to rise for about 45 minutes.
To make the rolls fold them in the same manner described above, but before rolling them up, put in the filling.
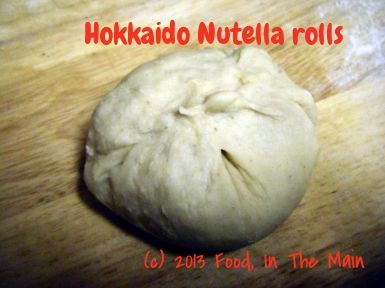
Turn the roll over so the seam side is down, and shape it with both hands, sort of cupping it so that the top is smooth and tight, and the underside is sealed.
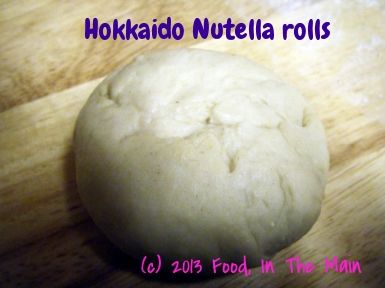
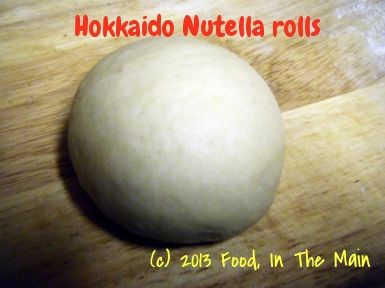
Carefully brush the tops of the rolls and the loaf with milk (or cream) and bake them at 170C (325F) for about 20 to 30 minutes till they are done (if you tap them they’ll sound hollow) and beautifully browned on top.
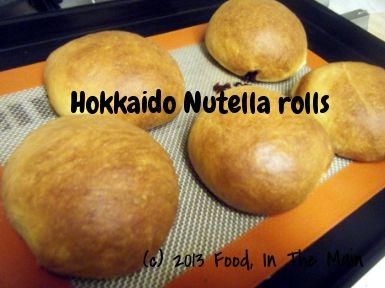
Let them cool on the tray for about 5 minutes and then transfer to a rack till slightly warm or cool.

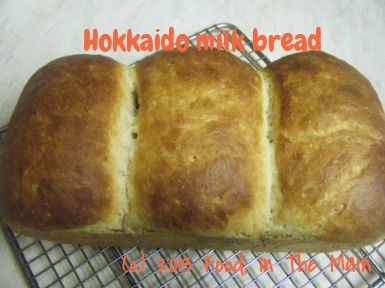
Serve or else store in a bread bin. This bread stays soft and delicious even the next day. This recipe makes enough dough to make one loaf (9” by 5” tin), 2 small loaves (6” by 4” tins) or 1 small loaf (6” by 4”) and 6 small rolls (muffin tins).
I made a version of this soup last month when I was with my family in Seattle, to go with the herby cheese pull-apart bread that was our first baking challenge set by Aparna Balasubramaniam. The soup is not exactly as I made it the first time, because mixed vegetable soup can be whatever you make of it.
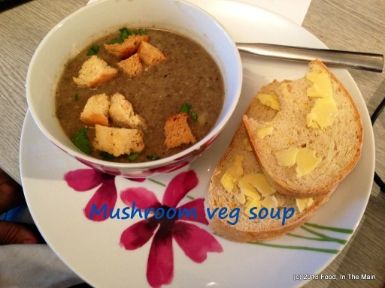
If you're a wannabe Masterchef contestant or judge, or have more money than sense, you can use expensively exotic ingredients - mushrooms that have been grown in soil imported from a remote corner of the Brazilian rain forest and watered with dew gathered in moonlight on a full moon night in June; the rarest blue-spotted heirloom potatoes from Venezuela that have been hand picked by an endangered tribe (gotta support them, don't y'know); cream from milk where the cattle were exclusively hand fed on the finest grass prepared by Cordon Bleu chefs while classical music was played by the London Philharmonic live in their air-conditioned, state-of-the-art barn (the cows' barn, I mean, not the London Philharmonic's. The London Philharmonic wouldn't be allowed to live in the same building as these super-exclusive posh cows!)... you get the idea.
OR, you could just use whatever vegetables you have in your refrigerator that need using up, and standard chestnut or white mushrooms (or whatever you can get), to make this soup. It's a guide more than a recipe, anyway.
That said, though, I bought the mushrooms specifically to make this soup. But because I have more sense than I have money, I bought them from the "reduced for quick sale" section. Yay me!
Recipe for:
Vegetable-mushroom soup
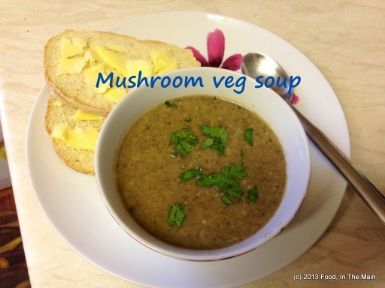
Ingredients:
4 small onions, sliced thinly
2 baby leeks (green and white parts), sliced thinly
4 cups mixed mushrooms (I used portobello/cremini, shiitake and oyster), sliced
1 medium potato, chopped (skin on)
1 medium carrot, chopped
1 litre (4-5 cups) vegetable stock/broth
1 tsp dried thyme or Italian herb mix
1 bay leaf
4 sprigs fresh thyme
1 tbsp olive oil + 1 tbsp butter
2 tbsp sour cream/Greek yogurt or full fat milk (optional)
Salt and pepper to taste
2 tbsp parsley for garnish
Method:
1. Heat the oil and butter in a large pan, add the onions and leeks and cook over medium heat till they begin to soften (about 5 minutes), stirring frequently.
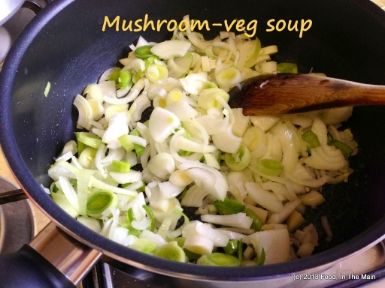
2. Add the mushrooms and cook for 2-3 minutes or till they start to reduce.
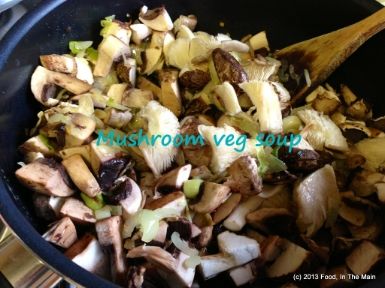
3. Add the potatoes and carrots along with the dried herbs and bay leaf. Stir for a couple of minutes.
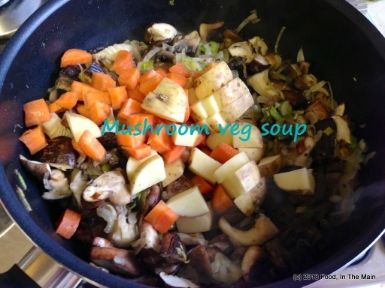
4. Then add the stock and the fresh thyme sprigs.
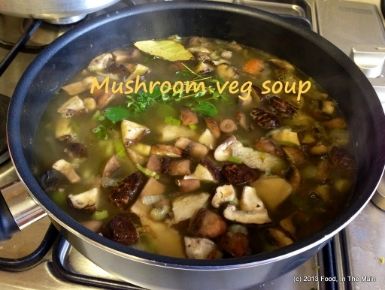
Bring this to a boil, cover the pan and let the stock simmer for 10-15 minutes or till the carrots and potatoes are soft and cooked.
5. Fish out the fresh thyme sprigs and bay leaf, then turn off the heat. Let the soup cool, then blend it to a smooth consistency.
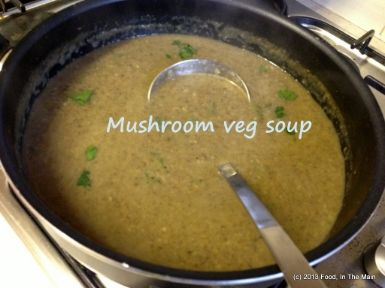
If you would like a bit more texture to the soup, blend only about 3/4 of the soup smooth, then add it to the remaining unblended soup in the pan. Add the milk or sour cream/yogurt, if using, and stir it in. Add salt and pepper to taste. Reheat on low heat till thoroughly warmed, but do not let it boil. Serve with parsley sprinkled on top, and croutons if you like, and crunchy buttered toast on the side.
It feels like a really long time since I’ve written anything, and I’m finding it a bit difficult to get started. You’re not likely to know, unless I specifically mention it here, that I’ve deleted half-a-dozen different starting lines and spent over a quarter of an hour staring at a blank page between deletions. Yes, I have specifically mentioned it here so that you’d all know. I’m determined to continue with this opening paragraph no matter where it goes – no more deletions!
Isn’t the ability to compose and instantly delete a total godsend? That, or it has a lot to answer for - depending on how you look at it. I’m sure that if I was writing this long-hand, I would think harder, write more carefully and delete a lot less – and I’d also write a lot, lot less! (I’m firmly on the side of “godsend”, just so you know. Three cheers for computers and instant deletions - and the instant “undo delete” facility, too).
It doesn’t help that I’ve just come back from a trip to Seattle and I’m still missing my family – specifically, my little 9-month-old niece. Although I took my laptop with me, I literally didn’t even take it out of my suitcase for the 2 weeks that I was in the States. And since I didn't cook anything except a particularly bad cake, it certainly wasn’t worth the time and effort that would’ve been required to blog about, and so my laptop stayed in its case. Add that to the general lethargy I was feeling before the trip, and it explains the long silence on this blog.
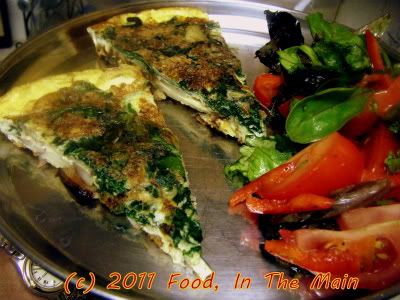
That’s not to say that I didn’t have any good intentions – I did take photos while making this frittata, just a day before we left for Seattle when we had my mother-in-law staying with us. There’s a glut of spinach (in the frittata AND in the side salad) because I was doing my best to finish what I could of it along with the eggs.
For a last-minute effort, this was an absolutely delicious frittata. Granted, it’s pretty hard to make a bad-tasting frittata. The most difficult part here was sliding the frittata from the frying pan onto a large plate, prior to flipping it back into the pan again… but if you have a cast-iron frying pan that can go directly into the oven, there’s no dicey sliding or flipping involved in browning the top of the frittata – it can be grilled as it is.
(Note to self: MUST get large cast-iron frying pan. Wonder if I can float a loan to buy a top-of-the-range pre-seasoned cast-iron pan...)
Recipe for: Spinach potato frittata
Ingredients:
6 large eggs
2 medium onions, thinly sliced
2 cups spinach
2 medium potatoes, thinly sliced
2 tbsp olive oil
4 tbsp milk or cream
3/4 tsp dried herbs (I used an Italian mix), optional
3 tbsp chopped mixed herbs to taste (I used sage, basil, lemon thyme and a bit of rosemary)
Salt and pepper to taste
Method:
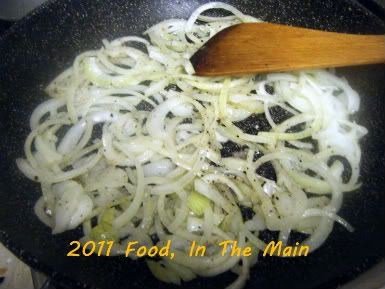
1. Heat the olive oil in a large frying pan and saute the onions till they're soft and just turning pale brown.
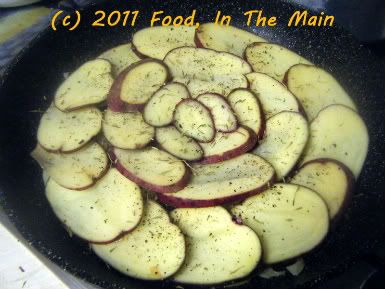
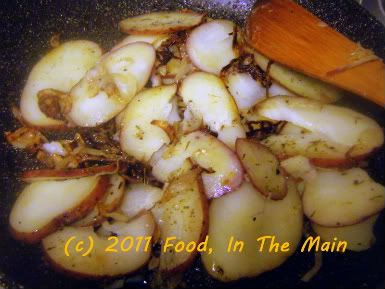
2. Arrange the sliced potatoes over the onions. Add the dried herbs if using and cover the pan till the potatoes are cooked.
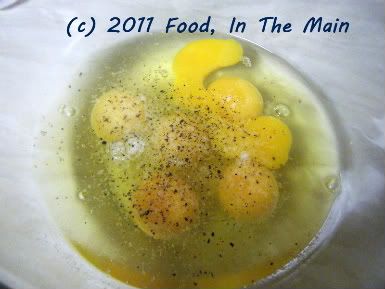
3. In the meantime, break the eggs into a large bowl and add pepper to taste.
4. Then add the milk or cream
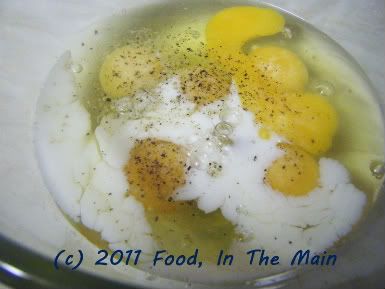
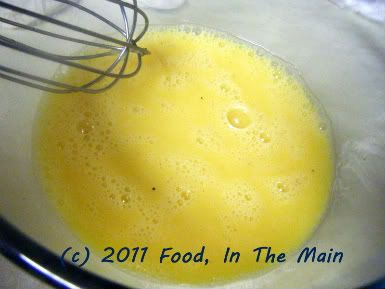
and beat the eggs till lightly frothy.
5. Stir the cooked potatoes gently, turning them over if desired.
6. Add the spinach and cover the pan for 2-3 minutes, till the spinach starts to wilt.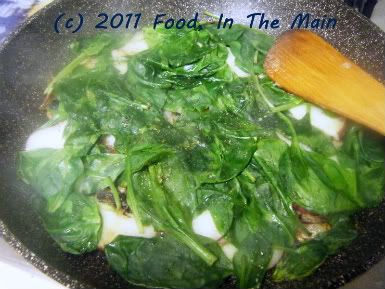
7. Add salt to taste and the chopped fresh herbs to the beaten eggs and pour it over the vegetables.
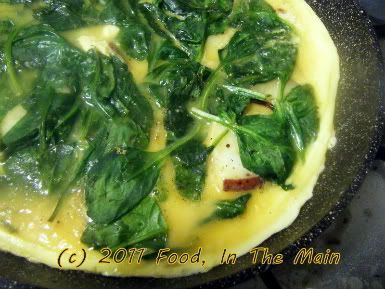
8. Cook over medium-low heat with the pan covered, till the frittata is mostly set - it should jiggle a bit in the centre, but the eggs should not be runny. Loosen the frittata carefully around the edges and slide it gently onto a large plate (ideally it should be bigger than the frying pan). Place the hot pan over the frittata on the plate, and carefully flip the plate so that the top part of the frittata becomes the bottom. (The frittata should now be a lovely golden brown to look at.) Put the frying pan back on the heat and cook the frittata for 2-3 minutes longer to brown the bottom.
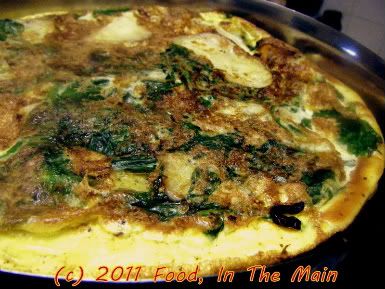
Serve the frittata cold or hot.
RECIPE: SPINACH POTATO FRITTATA
Ingredients:
6 large eggs
2 medium onions, thinly sliced
2 cups spinach
2 medium potatoes, thinly sliced
2 tbsp olive oil
4 tbsp milk or cream
3/4 tsp dried herbs (I used an Italian mix), optional
3 tbsp chopped mixed herbs to taste (I used sage, basil, lemon thyme and a bit of rosemary)
Salt and pepper to taste
Method:
1. Heat the olive oil in a large frying pan and saute the onions till they're soft and just turning pale brown.
2. Arrange the sliced potatoes over the onions. Add the dried herbs if using and cover the pan till the potatoes are cooked.
3. In the meantime, break the eggs into a large bowl and add pepper to taste.
4. Then add the milk or cream and beat the eggs till lightly frothy.
5. Stir the cooked potatoes gently, turning them over if desired.
6. Add the spinach and cover the pan for 2-3 minutes, till the spinach starts to wilt.
7. Add salt to taste and the chopped fresh herbs to the beaten eggs and pour it over the vegetables.
8. Cook over medium-low heat with the pan covered, till the frittata is mostly set - it should jiggle a bit in the centre, but the eggs should not be runny. Loosen the frittata carefully around the edges and slide it gently onto a large plate (ideally it should be bigger than the frying pan).
Place the pan over the frittata on the plate, and carefully flip the plate so that the frittata falls back into the pan; the top part becomes the bottom. The frittata should be a lovely golden brown to look at. Put the frying pan back on the heat and cook the frittata for 2-3 minutes longer to brown the bottom. Serve the frittata cold or hot.
I call these “apple pie muffins” not because they use cinnamon or smell of apple pie – okay, they DO smell of apple pie because of the spices but that’s beside the point – but because they literally have apple pie filling in them. Bramley apple pie filling from a tin, to be precise. Pete had been asking me to make these muffins, but I’d been stalling as I didn’t think his suggestion would work out.
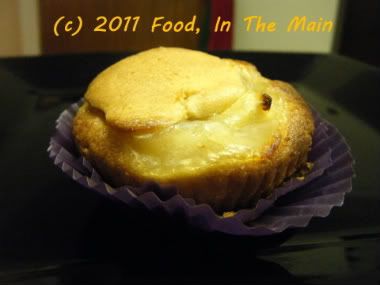
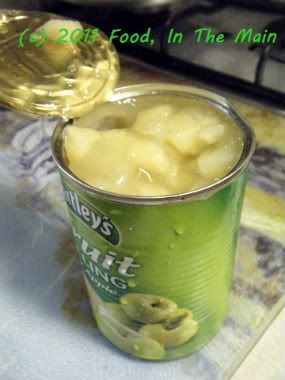 Wet apple pie filling in the middle of a muffin, I thought, would make them soggy after baking, so I offered to make apple muffins using chopped-up apples in the batter. But no, he didn’t want chopped-up-apple muffins, although (he hastened to add) those were pretty good the last time I’d made them. He wanted apple-pie filling IN the muffins, as filling.
So, since I could see no graceful way out of it, I made the muffins as specified, with apple pie filling plopped into the centre (and topped with a little more batter - my idea).
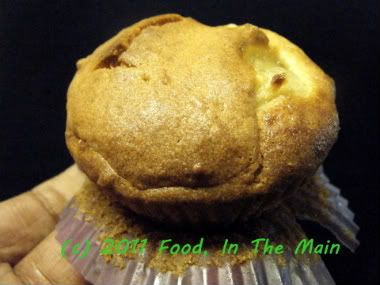
To my genuine surprise, the apple pie filling didn’t make the muffins soggy in the centre. The idea actually worked out really well, although next time I will add some cinnamon powder to the apple pie filling to freshen its rather bland taste. Well, it was tinned filling after all, not fresh.
The bottomline, though, is that Pete’s idea was a yummilicious success – and for that, hats off to him.
Recipe for: Apple pie muffins
 Ingredients:
1/2 cup butter/margarine
1/3 cup sugar
4 tbsp cream
2 eggs
1 cup self-raising flour
1/2 tsp baking powder
1 tsp cinnamon/mixed spice
2 tsp vanilla extract
1/2 tin ready-made Bramley apple pie filling
Method:
1. In a large bowl, cream the butter and sugar till fluffy.
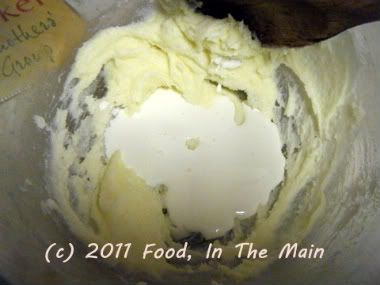
2. Beat in the cream.
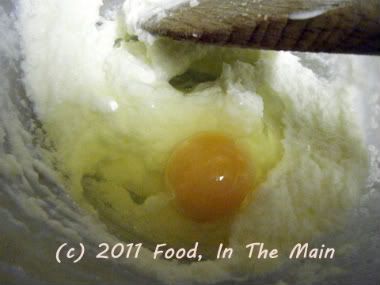
 3. Beat in the eggs one at a time.
 4. Lightly fold in the flour and baking powder.
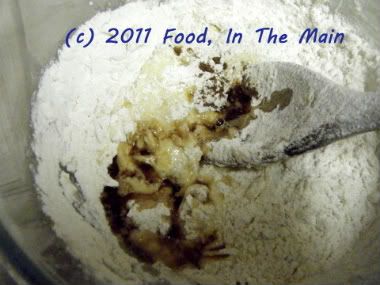
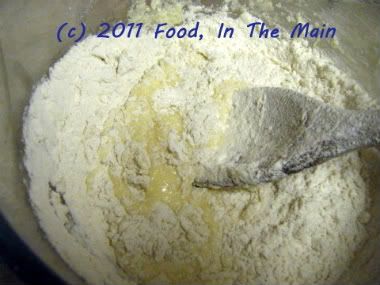 5. Add the mixed spice/cinnamon and vanilla and stir till the wet and dry ingredients are just mixed. The batter should be thick.
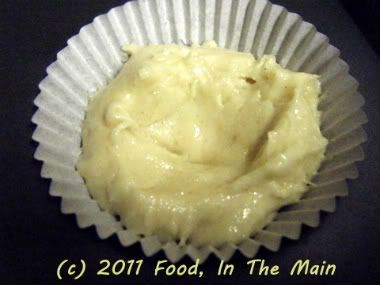
 6. Place paper muffin cases in a muffin pan, and add the dough into each case by the rounded tablespoonful. Take a small spoon and make a dip in the middle of the dough.
 7. Now place a teaspoonful of the apple filling in the dip, then a tsp of the dough on top of the filling.
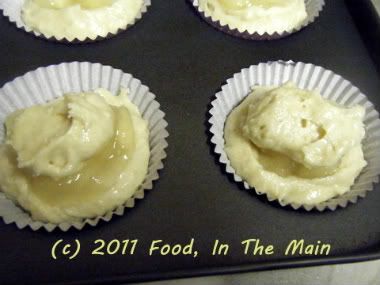 Continue till all the cases are filled.
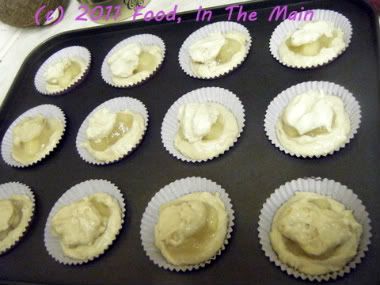 8. Bake the muffins at 180C for 20-25 minutes, testing after 20 minutes to see if they are cooked. The muffins should be golden on top.
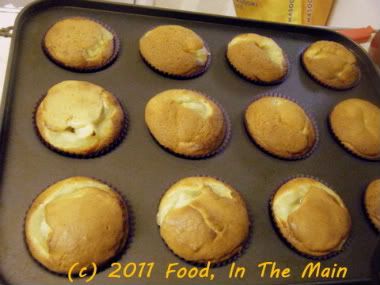 9. Remove the tray from the oven and let the muffins cool. Serve warm.
 RECIPE: APPLE PIE MUFFINS
Ingredients:
1/2 cup butter/margarine
1/3 cup sugar
4 tbsp cream
2 eggs
1 cup self-raising flour
1/2 tsp baking powder
1 tsp cinnamon/mixed spice
2 tsp vanilla extract
1/2 tin ready-made Bramley apple pie filling
Method:
1. In a large bowl, cream the butter and sugar till fluffy.
2. Beat in the cream.
3. Beat in the eggs one at a time.
4. Lightly fold in the flour and baking powder.
5. Add the mixed spice/cinnamon and vanilla and stir till the wet and dry ingredients are just mixed. The batter should be thick.
6. Place paper muffin cases in a muffin pan, and add the dough into each case by the rounded tablespoonful. Take a small spoon and make a dip in the middle of the dough.
7. Now place a teaspoonful of the apple filling in the dip, then a tsp of the dough on top of the filling. Continue till all the cases are filled.
8. Bake the muffins at 180C for 20-25 minutes, testing after 20 minutes to see if they are cooked. The muffins should be golden on top.
9. Remove the tray from the oven and let the muffins cool. Serve warm.


