Showing posts with label baking powder. Show all posts

Monday, January 25, 2016

Pineapple upside down cake

All these years of blogging, all these cakes I've made... and I've never posted a pineapple upside down cake recipe! It's kinda retro and old fashioned, apparently, but I've never understood how anything can be "in fashion" or "outdated" when it comes to food - especially if it's a tasty, delicious recipe. Who cares if it's from the '70s or the '50s or the '80s? For heaven's sake, it's FOOD, not fashion. It annoys me tremendously when some idiot foodista or television chef somewhere labels a particular greens or grain or fruit as "fashionable" or "healthy" or "THE must-have item", and the entire bleddy food blog world immediately features it, so that there is a landslide of samey same posts. I dislike food fads with a passion! Okay, my soapbox rant is over for today. 

So, pineapple cake. I only made it because Pete bought a bag of fresh pineapple "fingers" that was so acidic and sharp, it could have stripped the enamel from your teeth no problem. He then had the brainwave of making pineapple upside down cake. Or rather, getting me to make it. Since I had a simple, one-bowl sort of recipe (based on a BBC Good Food recipe) for this cake, I acceded to his request. 

While the recipe called for pineapple syrup and vanilla extract to flavour the cake, I didn't have either ingredient, my pineapple being fresh rather than canned. But there was enough pineapple juice at the bottom of the bag, which I substituted for the syrup. And then simply ignored the fact that there was no vanilla extract in my store cupboard. It didn't matter, anyway. The cake smelt amazing as it baked, so fragrant and pineappley, and it tasted as beautiful as it smelt. I love this cake - I just can't understand why it took me so long to post the recipe!

Recipe for: Pineapple upside down cake
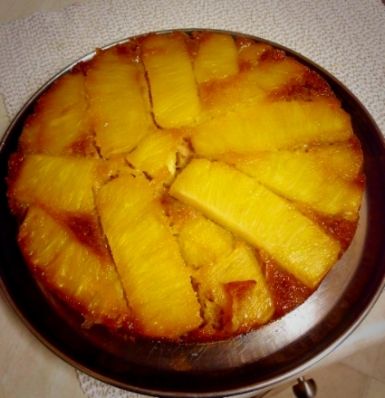
 photo 2d2ece7f-b3c8-47c1-b7db-79daeb003197_zps6kmbngue.jpg

Ingredients: 

For the topping

50 gm softened butter
50 gm soft light brown sugar
Fresh pineapple fingers or tinned pineapple slices

For the cake

100 gm softened butter
100 gm soft light brown sugar
125 gm plain flour
1 tsp baking powder
1/2 tsp baking soda
2 large eggs
2 tbsp pineapple juice
1 tsp vanilla extract (if you have it)

Method:

1. Preheat the oven to 180C/350F. 

2. Beat the butter and sugar for the topping until soft and creamy. Spread this as best as possible around the bottom and halfway up the sides of a 7" round cake pan. 

3. Arrange the pineapple slices and cherries (if using) over this such that the entire bottom of the tin is covered with as few spaces as possible. 

4. In a big bowl, add all the cake ingredients and beat until the batter is soft and smooth, and the ingredients well mixed. 

5. Drop the batter by spoonfuls over the pineapple rings and spread evenly to cover.

6. Bake for 30-45 minutes until a tester inserted in the cake comes out clean. The cake could take longer than 45 minutes, or be done in less. Test at 35 minutes, then every 5-7 minutes until it is cooked. 

7. Let it sit in the pan for 10 minutes, then turn it out onto a serving plate. Eat warm, with or without vanilla ice cream.

Monday, April 30, 2012

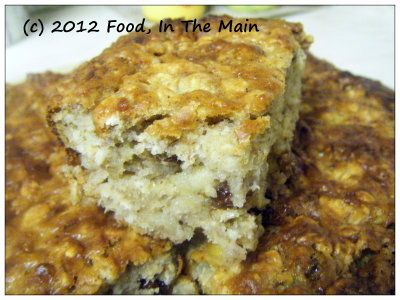
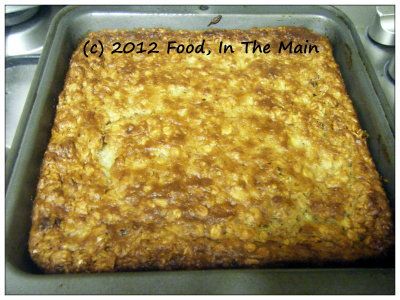
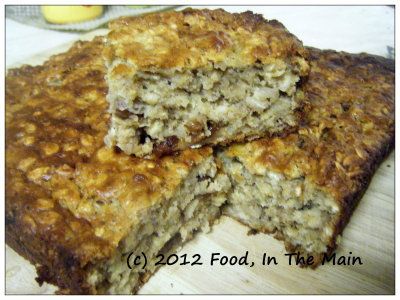
Oaty banana snack cake

DSCF8122
I don't know where I got this recipe - it was in my collection of recipes, hand-written in those days when I (presumably) didn't have a printer handy. I can't imagine why else I would have written it out painstakingly rather than printing it. Once upon a time, I used to be an enthusiastic letter writer, writing chatty letters of up to a dozen pages to penpals and friends. In fact, the number of handwritten pages doubled if I was writing to my German penpals at the time, because I'd have to compose my letter in "rough" (because of the many stop-starts and cross-outs) and then copy it out again in "fair". 

And to think that now, if I have to write more than 10 lines at a stretch, I get cramps in my hand...! Yes, actual cramps - and honestly I don't know whether that's due to old age or the unaccustomedness of exerting pressure on a pen with my fingers. I did attempt to write longhand letters to a couple of old friends recently, but the effort didn't last beyond two exchanges. The fact that I don't write anymore has no bearing on my love for writing paper and fountain pens - I just LOVE both!

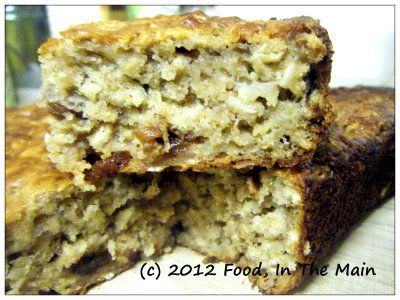
Um... yes, I do realise that pens, paper and handwritten letters have no bearing on this recipe. The cake is chewy with oats, rich with the flavour of bananas and not very sweet. I used an expensive brand of orange oil extract because I didn't have any oranges (for zest). But do use actual fresh orange zest (and 1/4 cup of orange juice) if you have them. The batter is thick enough to take the optional 1/4 cup of juice without becoming overly runny.

Recipe for: Oaty banana cake
DSCF8120
Ingredients:
1-1/2 cups oats (I used organic jumbo oats)
1 cup all-purpose flour
1 tsp baking powder
1/2 tsp baking soda
1/4 tsp salt
1 tsp cinnamon powder
1/3 heaping cup demerara sugar (or use brown sugar)
1/3 cup sultanas or raisins
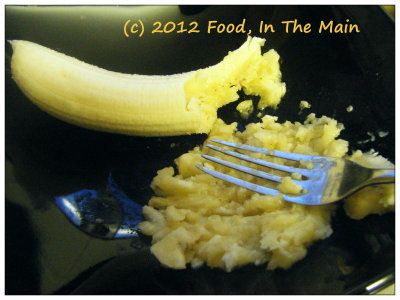
1 cup mashed ripe bananas (two medium)
DSCF8107
1 large egg
1 cup yogurt (I used low-fat Greek style)
2 tsp vanilla extract
1 tbsp orange zest or 2 tsp orange oil extract
2 tbsp oil
1/4 cup orange juice (optional)

Method:
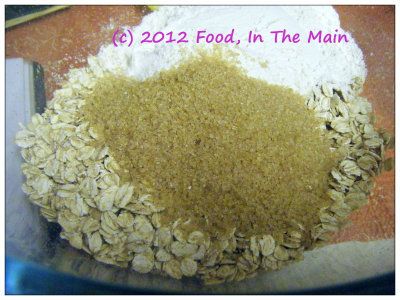
1. Mix together the oats, flour, sugar, baking powder, baking soda, salt, raisins and cinnamon powder in a large bowl.
DSCF8102-1
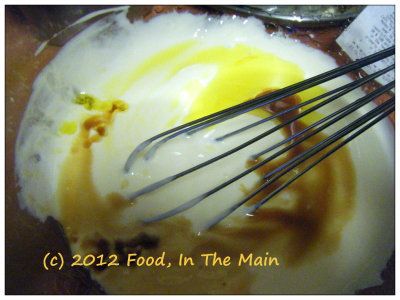
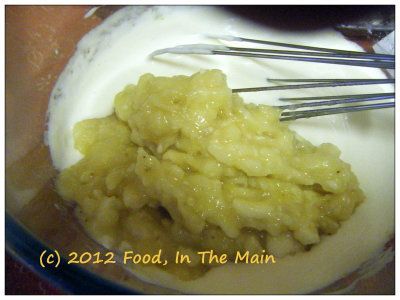
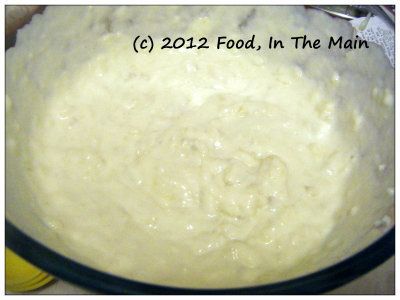
2. In another bowl, lightly beat the egg, then whisk in the yogurt, oil, vanilla extract, orange zest
DSCF8105
and mashed bananas.
DSCF8108
DSCF8109
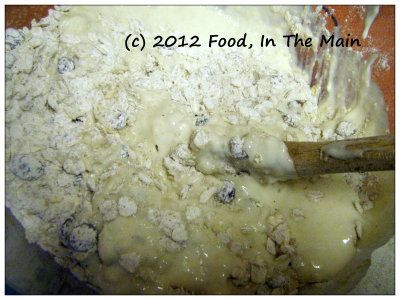
3. Pour the wet batter into the dry mix,
DSCF8110
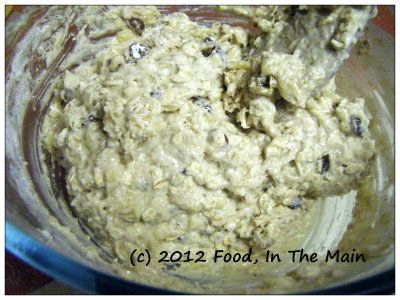
then lightly stir until just mixed.
DSCF8111
Do not overbeat. The batter will be quite thick.
4. Spray a 7" square baking pan with Pam (or grease thoroughly with butter, if you like), and pour the batter into the pan.
5. Bake at 180C/350F for about 30-40 minutes, or till a tester comes out clean.
DSCF8112
Check the cake after 30 minutes and keep an eye on it thereafter. Once the cake is done, let it remain in the pan for 5  minutes. Remove to a wire cooling rack.
DSCF8118
When the cake is cool, cut into bars and serve. 

RECIPE: OATY BANANA SNACK CAKE
Ingredients:
1-1/2 cups oats (I used organic jumbo oats)
1 cup all-purpose flour
1 tsp baking powder
1/2 tsp baking soda
1/4 tsp salt
1 tsp cinnamon powder
1/3 heaping cup demerara sugar (or use brown sugar)
1/3 cup sultanas or raisins
1 cup mashed ripe bananas (two medium)
1 large egg
1 cup yogurt (I used low-fat Greek style)
2 tsp vanilla extract
1 tbsp orange zest or 2 tsp orange oil extract
2 tbsp oil 
1/4 cup orange juice (optional)
Method:
1. Mix together the oats, flour, sugar, baking powder, baking soda, salt, raisins and cinnamon powder in a large bowl. 
2. In another bowl, lightly beat the egg, then whisk in the yogurt, oil, vanilla extract, orange zest and mashed bananas. 
3. Pour the wet batter into the dry mix, then lightly stir until just mixed. Do not overbeat. The batter will be quite thick. 
4. Spray a 7" square baking pan with Pam (or grease thoroughly with butter, if you like), and pour the batter into the pan. 
5. Bake at 180C/350F for about 30-40 minutes, or till a tester comes out clean. Check the cake after 30 minutes and keep an eye on it thereafter. Once the cake is done, let it remain in the pan for 5  minutes. Remove to a wire cooling rack. When the cake is cool, cut into bars and serve. 

Sunday, April 29, 2012

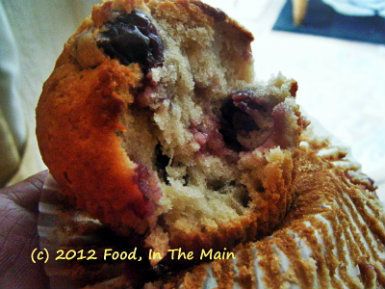
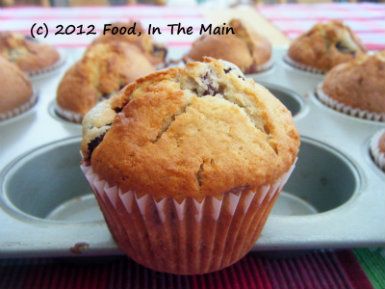
Cherry muffins

DSCF8097
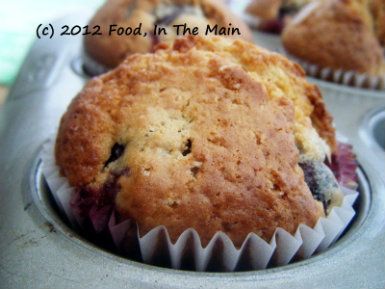
This is a simple muffin recipe - not that muffins are overly complicated things to make, but there are recipes which do turn them into a full-scale production. For this one, however, you mix the dry and the wet separately, then introduce the wet to the dry to make the batter, fold the cherries in briefly and voila! Bob's your uncle and the muffin batter is all ready to go in the muffin pans. (If, by the way, Bob IS your uncle, do say hello from me. I don't have an uncle Bob in my life.)
Recipe for: Cherry muffins
DSCF8096

Ingredients:
2 cups sour cherries (I used canned cherries, drained)
2-3/4 cups all-purpose flour
2/3 cup sugar
2 tsp baking powder
2 tsp vanilla extract
4 tbsp butter, melted
2 large eggs
1 cup milk

Method:
1. Mix together the flour, baking powder and sugar in a large bowl.
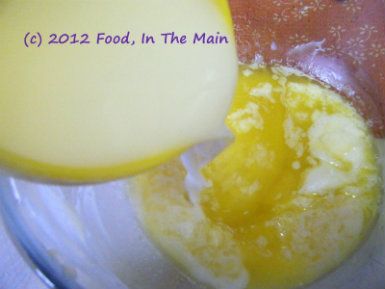
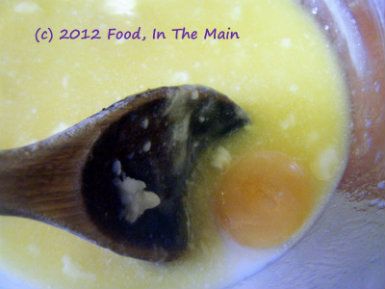
2. In a smaller bowl, mix the melted butter,
DSCF8091
milk,
DSCF8091
eggs and vanilla
DSCF8092
and stir till well combined.

3. Make a well in the flour, then pour in the wet milk mixture and stir together lightly until the flour is just combined.
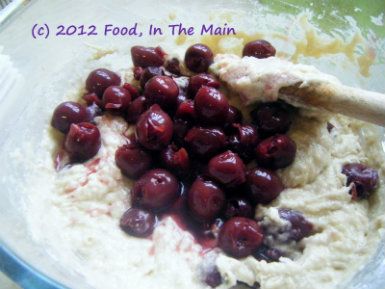
4. Stir in the cherries,
DSCF8093
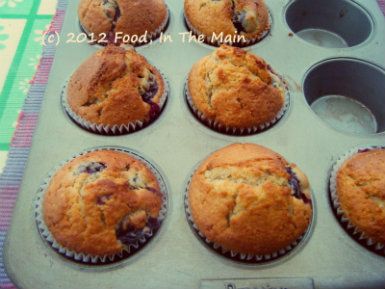
 then spoon the batter into a muffin pan lined with paper cases. Bake at 180C for about 30 minutes, till the muffins are golden brown on top.
DSCF8094
Remove from the oven and let the muffins cool in the pan for 10 minutes.
DSCF8095
Serve warm.


RECIPE: CHERRY MUFFINS

Ingredients:
2 cups sour cherries (I used canned cherries, drained)
2-3/4 cups all-purpose flour
2/3 cup sugar
2 tsp baking powder
2 tsp vanilla extract
4 tbsp butter, melted
2 large eggs
1 cup milk

Method:
1. Mix together the flour, baking powder and sugar in a large bowl.
2. In a smaller bowl, mix the melted butter, milk, eggs and vanilla and stir till well combined.
3. Make a well in the flour, then pour in the wet milk mixture and stir together lightly until the flour is just combined.
4. Stir in the cherries, then spoon the batter into a muffin pan lined with paper cases. Bake at 180C for about 30 minutes, till the muffins are golden brown on top. Remove from the oven and let the muffins cool in the pan for 10 minutes. Serve warm.

Tuesday, July 12, 2011

Baked cabbage-onion masala vada

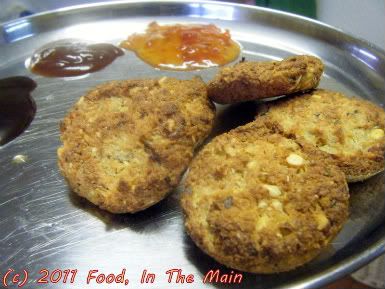
I was inspired to make these baked vadas – or rather, reminded that such a thing existed on my blog – by a new friend based in Australia when she wrote to me saying that she had made the vadas (adding flaxseed as per the original recipe on The Taste Tinkerer’s blog). That’s when I suddenly remembered how LOVELY the baked vadas had tasted and wondered why on earth (and how on earth too) I’d not made them in such a long time!

And naturally I wanted them immediately (or as close to immediately as I could get) – so I ended up soaking the dals at around 10.30 p.m, just as Pete was delicately putting forward a suggestion of retiring to bed. But I wasn’t sleepy – no, the Sandman had been pushed into the background (and was probably sulking at being so rudely dismissed). I wanted to make those vadas there and then. Also, I was thrilled that I had flaxseeds at hand… and when you’re in the grip of a sudden obsession backed by having all the requisite ingredients – well, ya gotta do what ya gotta do, as they say.


By the way, I soaked the dals in very hot water for quick results because of the lateness of the hour, but the preferable method is to soak the dals in water for a few hours so that they rehydrate naturally.

So by 11 p.m, I was doing what I hadda do with the soaked dals, adding finely shredded cabbage as well as onions to make the batter... and 15 minutes later, the Sandman had officially given up on Pete as well, as he (Pete) had been awakened well and truly by the AMAZING aroma of the baking vadas that was wafting around the house.

By 11.40 p.m or so, I was taste-testing very hot baked masala vadas fresh from the oven, while Pete watched me somewhat grumpily – he was left out of the whole vada love-fest because they contained (to him) insane amounts of fresh chillies. Well, how was I to know he’d want some too?

But don’t worry, gentle reader… I satisfied his suddenly-awakened vada craving the next evening by baking some more vadas just for him at a reasonable hour of the evening, to the general satisfaction and happiness of all concerned (the Sandman included).

Recipe for: Baked cabbage-onion masala vadaPhotobucket
Ingredients:

1/2 cup chana dal
1/2 cup toor dal
1/3 cup flax seeds
1/3 cup red onion, chopped
1/3 cup green cabbage, shredded
Photobucket
3-5 fresh green/red chillies
3-4 tbsp roasted peanuts, coarsely crushed
1" piece ginger
a few curry leaves, torn up (optional)
1 tsp baking powder
1 tbsp oil
Salt to taste
Oil-spray/Pam

1. Soak the chana dal and toor dal for 3-4 hours.

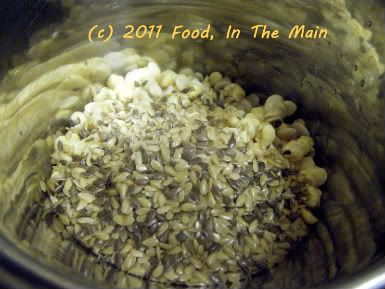
2. Grind a handful of the dals along with the flax seeds, red chillies and ginger to a smooth paste, adding a little water.
Photobucket
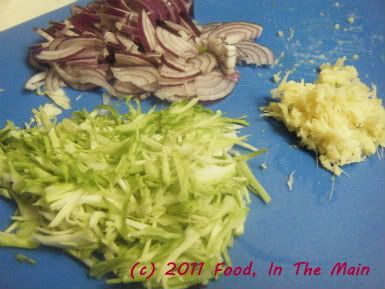
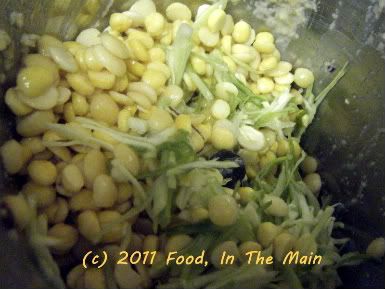
3. Next, add the remaining dal, the red onion and cabbage and grind to a coarse consistency using as little water as possible. The batter must be thick enough to hold its shape when made into patties.
Photobucket
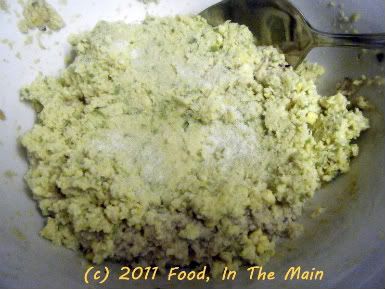
4. Turn the batter out into a bowl and add the 1 tbsp oil, salt to taste, peanuts and 1 tsp baking powder. Stir thoroughly to ensure the ingredients are mixed in evenly.
Photobucket
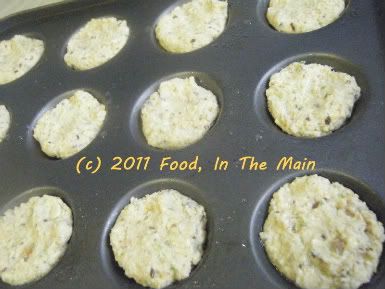
4. Grease a small cupcake or mini-muffin tray, then place lime-sized pieces of the batter in the depressions, patting them level with the top of the tray.
Photobucket
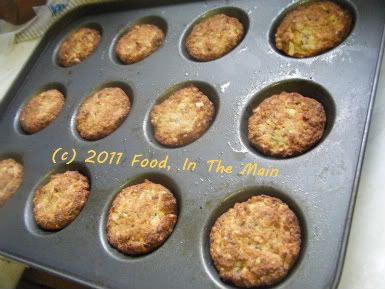
5. Heat the oven to 180C/350F. Spray the tops of the batter with Pam or brush lightly with oil, and bake for 15-20 minutes in the middle of the oven, turning the tray around mid-way. When the vadas are golden brown on top, turn off the heat.
Photobucket
Let the vadas remain in the tray for 5 minutes, then turn them out. Serve hot as a snack with dips or chutney. These are best eaten hot and fresh, as they tend to become somewhat dry the next day and aren't as much fun to eat as a snack.

RECIPE: BAKED CABBAGE-ONION MASALA VADA

Ingredients:
1/2 cup chana dal
1/2 cup toor dal
1/3 cup flax seeds
1/3 cup red onion, chopped
1/3 cup green cabbage, shredded
3-5 fresh green/red chillies
3-4 tbsp roasted peanuts, coarsely crushed
1" piece ginger
a few curry leaves, torn up (optional)
1 tsp baking powder
1 tbsp oil
Salt to taste
Oil-spray/Pam

Method:

1. Soak the chana dal and toor dal for 3-4 hours.
2. Grind a handful of the dals along with the flax seeds, red chillies and ginger to a smooth paste, adding a little water.
3. Next, add the remaining dal, the red onion and cabbage and grind to a coarse consistency using as little water as possible. The batter must be thick enough to hold its shape when made into patties.
4. Turn the batter out into a bowl and add the 1 tbsp oil, salt to taste, peanuts and 1 tsp baking powder. Stir thoroughly to ensure the ingredients are mixed in evenly.
5. Grease a small cupcake or mini-muffin tray, then place lime-sized pieces of the batter in the depressions, patting them level with the top of the tray.
6. Heat the oven to 180C/350F. Spray the tops of the batter with Pam or brush lightly with oil, and bake for 15-20 minutes in the middle of the oven, turning the tray around mid-way. When the vadas are golden brown on top, turn off the heat.
7. Let the vadas remain in the tray for 5 minutes, then turn them out. Serve hot as a snack with dips or chutney. These are best eaten hot and fresh, as they tend to become somewhat dry the next day and aren't as much fun to eat as a snack.

Wednesday, February 23, 2011

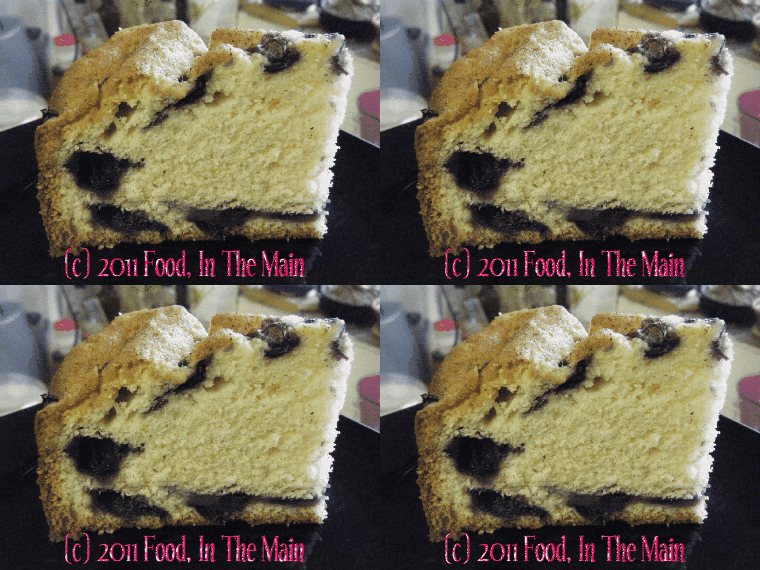
Blueberry cake

I usually opt for the simplest cake recipes, as I’ve said before (often) (TOO often, sigh regular readers – and if you’re not sighing, regular readers, you should be). The simpler, the better. My most favourite cake recipes are one-bowl affairs where fussy sifting and beating and careful folding and so on do not figure in the instructions.

But this time, in a dramatic departure from my usual modus operandi, the recipe involves fussy separating, AND beating, AND sifting, AND careful folding AND plenty of elbow grease. Sounds disgusting, doesn’t it, especially the elbow grease? If you usually make use of an electric egg beater, you can safely omit the elbow grease, but the rest of the dramatic departure method still holds good. Don’t say you haven’t been warned. And don't ask why I went for the dramatic departure. I still can't believe I chose a recipe where I had to whip the egg whites by hand... 

Anyway, after seeing the finished cake, I thought that the procedure had been fussy for no real reason… but on reflection (and after tasting), I think it resulted in a lighter, fluffier, higher rising cake – especially considering that the cake tin I’d used had seemed a bit too big for the amount of batter involved.

And what a delicious cake it was, too.


Recipe for: Blueberry cake
Photobucket
Ingredients:
2 eggs, separated
1/4 cup + 1/2 cup sugar
1/2 cup butter/margarine, softened
1/4 tsp salt
2 tsp vanilla extract
1-1/2 cups flour
1 tbsp flour to coat berries
1 tsp baking powder
1/3 cup milk
1-1/2 cup fresh blueberries
cinnamon sugar for topping

Method:

1. Preheat oven to 180C.

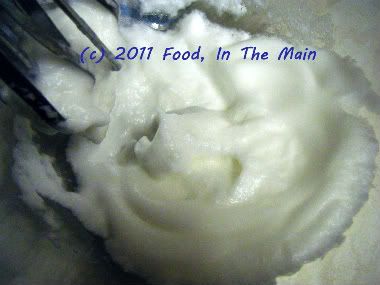
2. Beat egg whites until it forms soft peaks.
Photobucket
Beat in 1/4 cup of sugar.
Photobucket
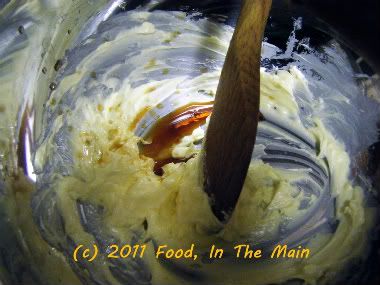
3. In another bowl, cream margarine/butter.
Photobucket
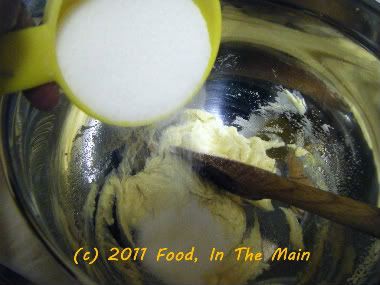
Add salt, vanilla, and remaining sugar gradually.
Photobucket
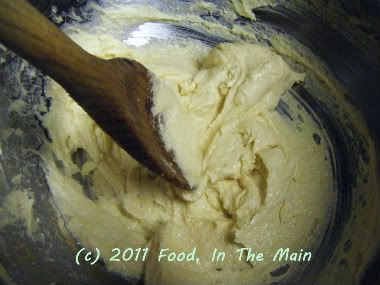
4. Add egg yolks and beat until creamy.
Photobucket
5. Mix flour with baking powder.Photobucket
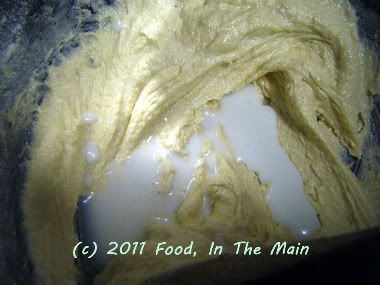
Add alternately to creamed mixture with milk.
Photobucket
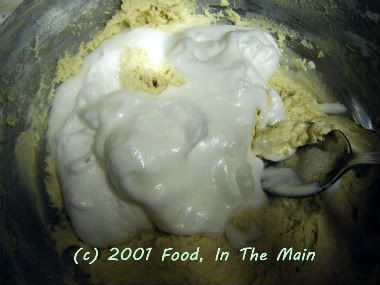
6. Fold in beaten egg whites.
Photobucket
7. Turn out half the batter into an 8" round pan that has been sprayed with Pam.
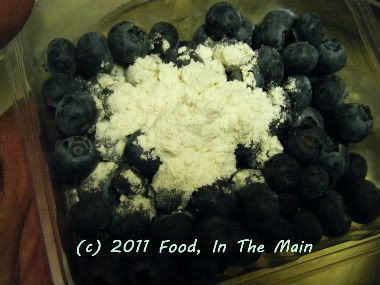
8. Coat the blueberries with 1 tablespoon of flour,
Photobucket
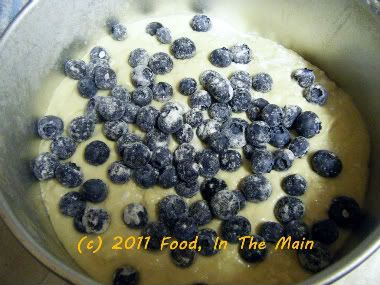
then add half of the berries to the batter in the pan, as far as possible spacing them out evenly without letting them touch the edges of the pan.
Photobucket
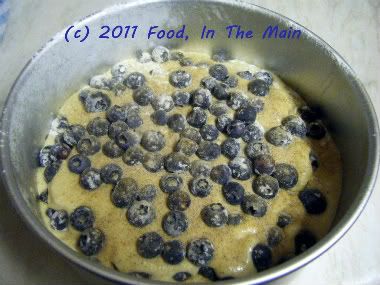
9. Pour in the remaining batter over the berries, then sprinkle the rest of the berries over the top.
10. Sprinkle cinnamon sugar over the top of the batter.
Photobucket
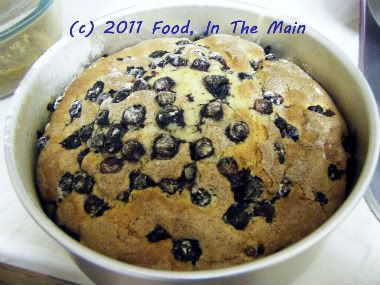
Bake in the oven for about an hour or so, or till a cake tester inserted in the centre comes out clean.
Photobucket
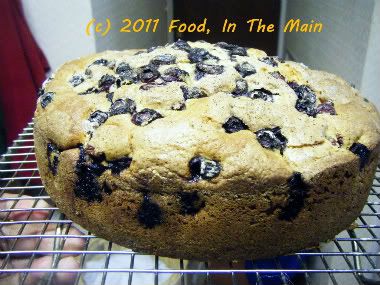
11. Let the cake remain in the pan for 10 minutes, then remove to a wire rack.
Photobucket
Serve warm with a cup of coffee or tea.
Photobucket

RECIPE: BLUEBERRY CAKE

Ingredients:
2 eggs, separated
1/4 cup + 1/2 cup sugar
1/2 cup butter/margarine, softened
1/4 tsp salt
2 tsp vanilla extract
1-1/2 cups flour
1 tbsp flour to coat berries
1 tsp baking powder
1/3 cup milk
1-1/2 cup fresh blueberries
cinnamon sugar for topping

Method:
1. Preheat oven to 180C.
2. Beat egg whites until it forms soft peaks.
Beat in 1/4 cup of sugar.
3. In another bowl, cream margarine/butter. Add salt, vanilla, and
remaining sugar gradually.
4. Add egg yolks and beat until creamy.
5. Mix flour with baking powder.
Add alternately to creamed mixture with milk.
6. Fold in beaten egg whites.
7. Turn out half the batter into an 8" round pan that has been sprayed with Pam.
8. Coat the blueberries with 1 tablespoon of flour, then add half of the berries to the batter in the pan, as far as possible spacing them out evenly without letting them touch the edges of the pan.
9. Pour in the remaining batter over the berries, then sprinkle the rest of the berries over the top.
10. Sprinkle cinnamon sugar over the top of the batter. Bake in the oven for about an hour or so, or till a cake tester inserted in the centre comes out clean.
11. Let the cake remain in the pan for 10 minutes, then remove to a wire rack. Serve warm with a cup of coffee or tea.

Monday, February 07, 2011

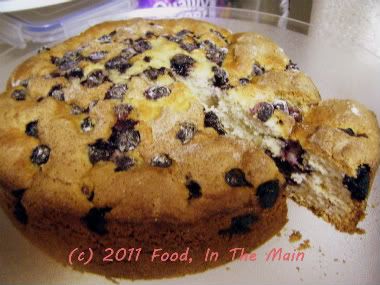
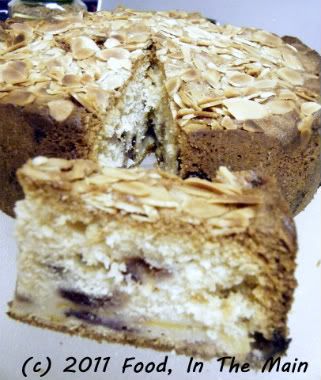
Blueberry nectarine cake

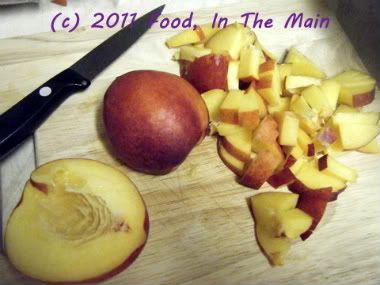
Perfectly ripe nectarines – ready to eat now” is what the label on the package said. HA! The nectarines were anything but perfectly ripe… and unless you like your tongue twisting itself into a knot while your eyes do the Lalita Pawar squint, they most certainly were NOT ready to eat “now” or any time in the near future. Man, were they sour or what!

So there were these four nectarines taking up valuable fridge space and not getting any riper for being in there… and I had to do something with them before I forgot about them. Naturally, the first thing that came to mind was “CAKE”. To my husband’s mind, that is, not mine.

To add to the nutrition quota of fresh fruit cake (and thereby pay lip service to the "healthy" aspect), I threw in a cupful of blueberries left over from a previous muffin making day.

I have only one thing to say about the cake – actually, it’s Pete’s thing I’m going to say because I don’t want to sound like I’m praising my own effort – “It’s sensational”.

I think that about covers my opinion, too.

Recipe for: Blueberry nectarine cake
Photobucket
Ingredients:
1 cup butter/margarine, softened
1 cup sugar
3 large eggs
1/3 cup cream/milk
1-1/2 tsp vanilla extract
2 cups all-purpose flour
4 tbsp flaked almonds
1-1/2 tsp baking powder
1/4 tsp salt
1 cup fresh blueberries
2 large nectarines, chopped
Photobucket
Method:
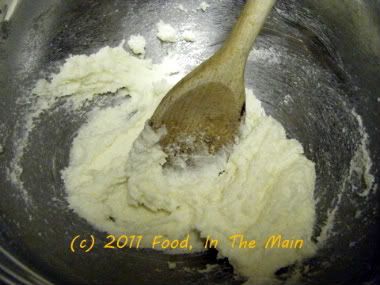
1. Beat butter/margarine until creamy. Gradually add sugar, beating until light and fluffy.
Photobucket
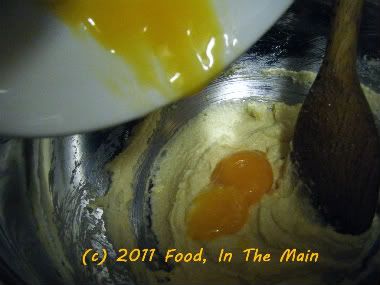
2. Add eggs, one at a time, beating just until the yolk disappears.
Photobucket
3. Add vanilla, beating just until blended.
Photobucket
4. Sift together flour, baking powder, and salt. Gradually add flour mixture to butter mixture, stirring well.
Photobucket
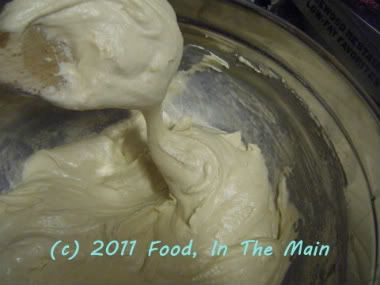
5. Add cream/milk and stir it in, then beat the batter fo 2 minutes till well blended.
Photobucket
The batter will be fairly thick.
Photobucket
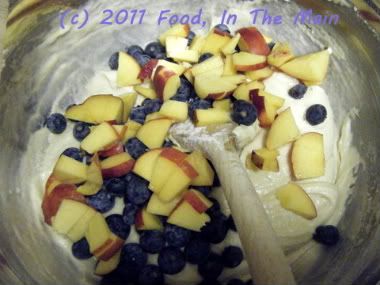
6. Gently fold in nectarines and blueberries. Pour batter into a deep 8" round cake pan.
Photobucket
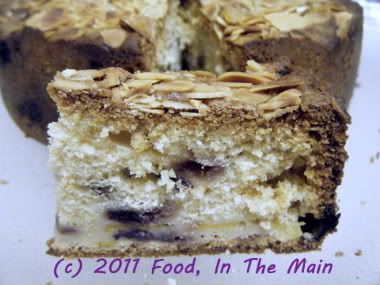
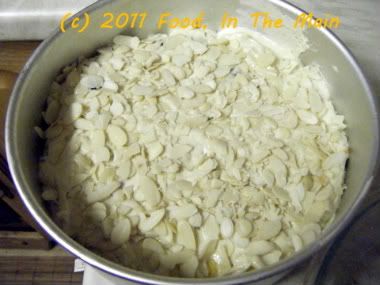
7. Sprinkle the flaked almonds evenly over the top, then press them in lightly. Not ALL the way in, but just enough that the batter rises over the edges when the cake is in the oven.
Photobucket
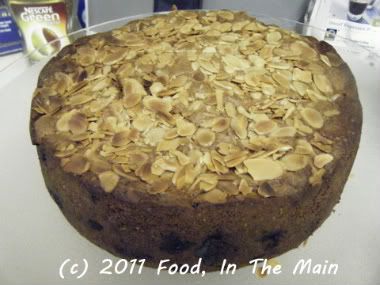
8. Bake at 180°C for 40 minutes or so, until a wooden pick inserted in centre comes out clean. Cool the cake in the pan for 10 minutes, then turn it out onto a wire rack.
Photobucket
Serve warm. For a decadent option, serve warm with vanilla-flavoured double cream.
Photobucket
Note: For the best taste, warm every subsequent cake slice for 20-30 seconds in the microwave before serving.

RECIPE: BLUEBERRY NECTARINE CAKE

Ingredients:
1 cup butter/margarine, softened
1 cup sugar
3 large eggs
1/3 cup cream/milk
1-1/2 tsp vanilla extract
2 cups all-purpose flour
4 tbsp flaked almonds
1-1/2 tsp baking powder
1/4 tsp salt
2 large nectarines, chopped
1 cup fresh blueberries


Method:
1. Beat butter/margarine until creamy. Gradually add sugar, beating until light and fluffy.
2. Add eggs, one at a time, beating just until the yolk disappears.
3. Add vanilla, beating just until blended.
4. Sift together flour, baking powder, and salt. Gradually add flour mixture to butter mixture, stirring well.
5. Add cream/milk and stir it in, then beat the batter fo 2 minutes till well blended. The batter will be fairly thick.
6. Gently fold in nectarines and blueberries. Pour batter into a deep 8" round cake pan.
7. Sprinkle the flaked almonds evenly over the top, then press them in lightly. Not ALL the way in, but just enough that the batter rises over the edges when the cake is in the oven.
8. Bake at 180°C for 40 minutes or so, until a wooden pick inserted in centre comes out clean. Cool the cake in the pan for 10 minutes, then turn it out onto a wire rack. For a decadent option, serve warm with vanilla-flavoured double cream.
Note: For the best taste, warm every cake slice for 20-30 seconds in the microwave before serving.