Showing posts with label egg. Show all posts

Sunday, November 13, 2016

Triple ginger white-chocolate cookies


Okay, I have a confession to make - I might as well be up front about it. I hate white chocolate. I think it's far too sweet and it isn't even proper chocolate. Another confession: I've kind of gone off chocolate bakes in general, although I did like my orgasmic brownies. More to the point, everybody else liked it a lot more, so they disappeared very quickly. 

The problem of the day was there was half a bar of white chocolate in my cupboard that had been there for absolutely ages - possibly even years, because I can't remember the last time I used white chocolate in anything! Still, I didn't want to throw it away because I'm stingy like that. 

I was toying with the idea of making a white chocolate and raspberry something but wasn't sure what that should be - apart from the small matter of not having any raspberries in the house. My husband tried to convince me to let the white chocolate be and make ginger nut biscuits instead. I make a really mean spicy ginger nut biscuit that he loves, but I wasn't in the mood because they're quite labour-intensive. Also because I didn't want that white chocolate sitting around for a single moment longer. So, as a compromise, I finally decided I would make cookies with ginger AND the white chocolate. And that is how these cookies happened. 

My husband thought the cookies were lovely. Some friends who popped by also thought the same, so they went back home happily accompanied by a dozen. My husband was happy, my friends were happy. I tried a cookie myself and I thought it was ok (considering it contained white chocolate). Still, I was happy too, because no more white chocolate in the house... and no more coming in ever if I have a say in it! 

Recipe for:
Triple-ginger white chocolate cookies

 photo 6fcea889-71aa-4fe5-9764-eff51452c169_zpsrpteivsy.jpg

Ingredients:

2 tsp grated ginger
1 tsp ginger powder
2 tbsp chopped stem ginger
225gm plain flour
3/4 tsp baking soda
1 large egg
150gm butter
100gm light brown sugar
50gm dark brown sugar
150gm white chocolate, chopped into small pieces (or use white chocolate chips)
2 tsp vanilla extract
1/2 tsp nutmeg

Method:

1. In a large bowl, cream together the butter and sugar until light and fluffy. Add the egg and the vanilla and beat until well combined.

2. Now add the flour, grated ginger, nutmeg and ginger powder to the bowl and mix with a wooden spoon until it comes together in a dough. Fold in the chopped stem ginger and the white chocolate until they are evenly distributed. Refrigerate the dough for at least 30 minutes, as it will be too sticky to work with otherwise.

3. Preheat the oven to 180C/350F. While the oven is heating, form walnut-sized balls from the chilled dough and place 1.5 inches apart on a baking sheet lined with non-stick foil. Bake for about 10 minutes or until the cookies are golden brown. (The time will vary a little depending on your oven - mine is a fan-assisted oven.) If you have to bake the cookies in batches like I did (because I only have one baking sheet that I actually like), remember to keep the dough refrigerated between bakes so that it doesn't soften too much.

The cookies will be quite soft at first, so leave them on the tray for 2 minutes before carefully removing them to a wire rack to cool completely. They will crisp up as they cool.

If you like your cookies crisp around the edges but softer in the middle (I do), take them out of the oven after about 8-9 minutes. My husband likes them crisp so I baked his for the full 10 minutes.

Saturday, August 20, 2016

Lime-vanilla sugar cookies

The basic sugar cookie recipe was from a colleague who made hers first from a recipe on the back of some cookie mix or other. She brought some leftover cookies to work just before Christmas break last year, and they were SO delicious that I asked her for the recipe. I'm not really a cookie person - either eating or making - but her cookies really were incredibly moreish. 

The first time I made the plain sugar cookies was last Saturday - they turned out really well, and Pete loved them. He insisted that we should take some to a friend's barbeque party. She had two types of desserts for the guests but her daughter decided that she was going to make herself a dessert with my cookies, layering them with strawberries that been macerated with sugar, and clotted cream (like an ersatz strawberry shortcake) and declared it a superhit. 

In the meantime, my friend's husband was quietly putting away cookie after cookie, looking sheepish when he was rumbled, but not letting it stop him from taking a couple more. There must have been at least 40 cookies in the container, but by the end of the party they were all gone to the last crumb. That was definitely a pleasing result in my eyes, both because the cookies came out so well and because everyone liked them, from the 7-year-old granddaughter to the 70-year old neighbour!

All week since, Pete had been begging me to make some more. Yesterday I chose to make them but give it a citrusy twist, because I love citrus-flavoured things. Lime was my flavouring of choice. Again, the cookies turned out really well - which I guess convinced me that it wasn't a fluke the first time around (really, I'm not famous for baking cookies). 

I liked these lime-flavoured cookies quite a lot myself, and so did Pete. And so did Pete's son and his girlfriend who dropped by. Like me, Andy is not really a cookie person, but he said "these are the best cookies I've ever eaten" and went on to prove it by eating half a dozen in quick succession. As for his girlfriend, she scarfed down a few, and then took charge of the bag containing the 2-3 dozen that I packed for them to take away. I'm not sure Andy will be seeing very much of them, unless he is V E R Y nice to her... 

By the way, I got about 60 cookies from the amount of dough that this recipe makes - but mine were small, about the diameter of an Oreo. If you make bigger cookies, you will get fewer (yes, well, duh). I also toyed with the idea of icing them with a simple lemon icing (lemon juice + icing sugar mixed to a spreadable consistency) but laziness got the better of me. Besides, I didn't really think the icing was essential. 

One last tip - the dough is best worked with when chilled.  

Recipe for: Lime-vanilla sugar cookies


 photo 20e51a30-6f41-48d7-b81b-2b913b8d297b_zpsxsjczgof.jpg

Ingredients:

150gm softened unsalted butter
150gm caster (superfine) sugar
300gm plain (AP) flour
1.5 tsp best-quality vanilla extract
1/2 tsp pure lime oil (optional)
Zest of one lime
1 medium egg, beaten

Method:

1. Cream butter and sugar using a wooden spoon in a large mixing until light and fluffy (I did this by hand, takes about 7-8 minutes).

2. Add the beaten egg, the lime zest, lime oil and vanilla extract and beat it in. 

3. Add the flour in 4-5 installments, mixing just until incorporated. When it comes together into a rough dough, dust your hands with some flour and form the dough into a ball. Place the ball on some clingfilm or a sheet of non-stick foil and flatten it evenly till about 1/2 inch thick. Cover completely and place in the refrigerator to chill for about an hour. 

4. Scatter some flour on your working space. Turn out the chilled dough onto the floured space and gently roll the dough out until it is evenly 3-4mm thick. You may need to dip the rolling pin into flour now and then to stop the dough sticking. You can divide the dough into two before rolling out, to make it easier. Keep the other half chilled in the meantime. 

5. Using a cookie cutter of choice, stamp out the cookies, dipping the cutter into flour each time. Re-roll the remaining dough and cut out until the dough is used up. 

6. Transfer the cookies onto a sheet lined with non-stick foil or baking paper, leaving about an inch in between them as they will spread a little. Place the cookie sheet in the fridge again to chill for 15 minutes. 

7. Preheat your oven to 180C/350F (mine is a fan-assisted oven) and bake the cookies for 10-11 minutes or until they are a pale golden brown. You can turn the sheet around after 5-6 minutes to let them brown evenly, if you like. 

8. Let them cool on the sheet for a couple of minutes, then transfer carefully to a cooling rack until completely cool. Store in an airtight jar. 

Sunday, February 24, 2013

We Knead to Bake # 2 - Classic croissants

 photo 596730c7-f2a9-422c-afa7-6ae90f0bc3e3_zpsa17df698.jpg

Original version of the recipe on Fine Cooking

Aparna's post on her blog My Diverse Kitchen

Let's get one thing clear from the start - making croissants was not my first choice, nor even my hundredth choice. In fact, it didn't even figure as a fleeting choice on my "would like to try" list. But I made them. I made them because it was the recipe for February in the "We Knead to Bake" challenge. There is no way that I would have tried this otherwise, none. I cannot stress that enough. I wish I could say that I enjoyed the three-day process so much that I wanted to do it all over gain... I COULD say it, but it would be a big fat lie.

Do you think this might be a bit of a negativity overkill?

Ok, to be fair, I'm glad I tried the recipe. Glad that Aparna made me go way outside my comfort zone (it took me a week to make my way back - ha ha). Glad that I know how much hard work goes into making the flaky, buttery, delicious croissants that I love. Glad that there are bakeries and cafes where I can walk in and simply buy a croissant. And, most of all, glad that faced up to my croissant demon... and if I didn't quite vanquish it, at least I can say truthfully that I didn't just give up.

My croissants were reasonably good, more than edible (jeez, all that butter - why WOULDN'T they be tasty!), and the ones with chopped chocolate filling were actually extremely moreish. I only did a few of those, though, perhaps about 4. The rest were plain croissants. While Pete liked them, and so did I, I just felt that the end result was not good enough for the effort that went into making them. I guess I'm just being picky, and I guess that's because I do love a well-made, fresh, flaky croissant.

I think I need a tame croissant baker who would be at my beck and call for baked goods. Any takers?


 photo f2f168bd-2598-4ee7-86fe-5681113c6a1d_zps5af51b4b.jpg

Recipe for: Classic croissants

Ingredients:


For the dough:
2 cups all-purpose flour, and a little more for dusting/ rolling out dough
1/4 cup plus 1 tbsp cold water
1/4 cup plus 1 tbsp cold milk (I used 2%)
1/8 cup granulated sugar
20gm soft unsalted butter (1.5 tbsp)
1/2 tbsp plus scant 1/4 tsp instant yeast
1 tsp salt

For the butter layer:
125 gm cold unsalted butter
Or 1 egg for egg wash
Finely chopped dark or plain chocolate for filling (optional)


Method:

Day 1 - Make the dough (and refrigerate overnight)
Combine all the ingredients for the dough in the bowl of a stand mixer fitted with the dough hook. You can also use a food processor with the plastic blade, or do this by hand.
Mix everything on low speed for 3 minutes, scraping the sides of the mixing bowl once if necessary. Then mix further on medium speed for 3 minutes. Lightly flour a 10-inch pie pan or a dinner plate. And place the ball of dough on this.
Gently shape the dough into a flat ball by pressing it down before storing it in the fridge, this makes rolling out next morning easier. Making a tight ball will strengthen the gluten which you do not need. Lightly dust the top of the dough with flour and wrap well with plastic so it doesn’t dry out. Refrigerate overnight.

Day 2 - Make the butter layer
The next day, cut out 2 pieces of parchment or waxed paper into 10” squares each. Cut the cold butter into 1/2-inch-thick slabs. Place these pieces on one piece of parchment/ waxed paper so they form a 5- to 6-inch square. Cut the butter further into pieces as required to fit the square. Top with the other piece of parchment/ waxed paper.
Using a rolling pin, pound the butter with light, even strokes. As the pieces begin to stick together, use more force. Pound the butter until it flattens out evenly into a square that’s approximately 7-1/2”. Trim the edges of the butter to make a neat square. Put the trimmings on top of the square and pound them in lightly with the rolling pin. Refrigerate this while you roll out the dough.

Laminate the dough
Unwrap and lay the dough on a lightly floured work surface. Roll it out to a 10-1/2-inch square, and brush off the excess flour. Take the butter out from the refrigerator —it should be cold but pliable. If it isn’t refrigerate it till it is. This so that when you roll out the dough with the butter in ti, neither should it be soft enough to melt, or hard enough to break. Unwrap the butter and place it on the square of dough in the centre, so that it forms a “diamond” shape on the dough.
Fold one flap of dough over the butter toward you, stretching it slightly so that the point just reaches the middle of the butter square. Bring the opposite flap to the middle, slightly overlapping the previous one. Similarly repeat with the other two so that the dough forms an envelope around the butter. Lightly press the edges together to completely seal the butter inside the dough to ensure the butter doesn’t escape when you roll out the dough later.
Lightly flour the top and bottom of the dough. With the rolling pin, firmly press along the dough uniformly to elongate it slightly. Now begin rolling instead of pressing, focusing on lengthening rather than widening the dough and keeping the edges straight.
Roll the dough into an 8” by 24” rectangle. If the ends lose their square shape, gently reshape the corners with your hands. Brush off the excess flour. Mark the dough lightly equally into three along the long side. Using this as a guideline, pick up one short end of the dough and fold 1/3rd of it back over the dough, so that 1/3rd of the other end of dough is exposed. Now fold the 1/3rd exposed dough over the folded side. Basically, the dough is folded like 3-fold letter before it goes into an envelope (letter fold). Put the folded dough on a floured baking sheet, cover with plastic wrap, and freeze for 15 to 20 minutes to relax and chill the dough.
Repeat the rolling and folding, this time rolling in the direction of the two open ends (from the shorter sides to lengthen the longer sides) until the dough is about 8” by 24”. Once again fold the dough in thirds, brushing off excess flour and turning under any rounded edges or short ends with exposed or smeared layers. Cover once again with plastic wrap and freeze for another 15 to 20 minutes.
Roll and fold the dough exactly in the same way for the third time and put it baking sheet. Cover with plastic wrap, tucking the plastic under all four sides and refrigerate overnight.

Day 3 - Divide the dough
The next day, unwrap and lightly flour the top and bottom of the dough. Cut the dough along the longer side into halves. Cover one half with plastic wrap and refrigerate it while working on the other half.
“Wake up the dough up” by pressing firmly along its length with the rolling pin. Don’t widen the dough but simply begin to lengthen it with these first strokes. Slowly roll the dough into a long and narrow strip, approximately 8” by 22”. If the dough sticks as you roll, sprinkle with flour.
Once the dough is about half to two-thirds of its final length, it may start to resist rolling and even shrink back. If this happens, fold the dough in thirds, cover, and refrigerate for about 10 minutes; then unfold the dough and finish rolling.
Lift the dough an inch or so off the table at its midpoint and allow it to shrink from both sides and prevent the dough from shrinking when it’s cut. Check that there’s enough excess dough on either end so that when you trim the edges to straighten them, you have a strip of dough that is 20’ inches long. Now trim the edges so they’re straight. Cut the dough into equal sized triangles, marking them off first if you prefer, before cutting.

Shape the croissants
Now work with one piece of triangular dough at a time. Using your rolling pin, very lightly roll (do not make it thin but only stretch it slightly) the triangle to stretch it a little, until it is about 6” long. This will give your croissants height and layers. You can stretch it by hand too, but if you don’t have the practise, your stretching could be uneven.
Using a sharp small knife, make a 1/2- to 3/4-inch-long notch in the centre of the short side of each triangle. The notch helps the rolled croissant curl into a crescent.
Place the triangle on the work surface with the notched side closest to you. This is the time to add your filling, if you're using any. With one hand on each side of the notch, begin to roll the dough away from you, towards the pointed end.
Flare your hands outward as you roll so that the notched “legs” become longer. Roll the triangle tight enough but not too tight to compress it, until you reach the “pointy” end which should be under the croissant.
Now bend the two legs towards you to form a tight crescent shape and gently press the tips of the legs together (they’ll come apart while proofing but keep their crescent shape).
Shape all the triangles like this into croissants and place them on a greased or parchment lined baking sheet leaving as much space between them as they will rise quite a bit.

Proof the croissants
Brush the croissants with milk (or a mix of milk and cream). If you use eggs, make an egg wash by whisking one egg with 1 tsp water in a small bowl until very smooth. Lightly brush this on each croissant.
Refrigerate the remaining milk/ milk+cream (or egg wash) for brushing the croissants again later. Place the croissants in a cool and draft-free place (the butter should not melt) for proofing/ rising for about 1 1/2 to 2 hours. They might need longer than 2 hours to proof, maybe as much as 3 hours, so make sure to let croissants take the time to proof. The croissants will be distinctly larger but not doubled in size. They’re ready if you can see the layers of dough from the side, and if you lightly shake the sheets, the croissants will wiggle.

Bake the croissants
Just before the croissants are fully proofed, pre-heat your oven to 200C (400F) in a convection oven or 220C (425F) in a regular oven. Brush the croissants with milk/ milk+cream (or egg wash) a second time, and place your baking sheets on the top and lower thirds of your oven (if regular) or bake one tray at a time in the convection oven.
Bake them for about 15 to 20 minutes till they’re done and golden brown on top and just beginning to brown at the sides. In a regular oven, remember to turn your baking sheets halfway through. If they seem to be darkening too quickly during baking, lower the oven temperature by 10C (25F). Cool the croissants on the baking sheets on racks.
Serve warm. This recipe makes 10 mini croissants.

Monday, April 30, 2012

Oaty banana snack cake

DSCF8122
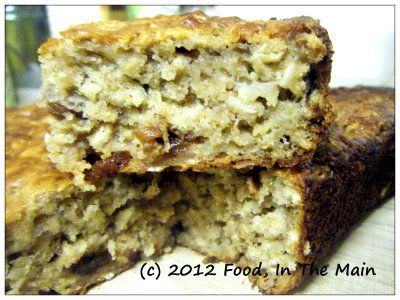
I don't know where I got this recipe - it was in my collection of recipes, hand-written in those days when I (presumably) didn't have a printer handy. I can't imagine why else I would have written it out painstakingly rather than printing it. Once upon a time, I used to be an enthusiastic letter writer, writing chatty letters of up to a dozen pages to penpals and friends. In fact, the number of handwritten pages doubled if I was writing to my German penpals at the time, because I'd have to compose my letter in "rough" (because of the many stop-starts and cross-outs) and then copy it out again in "fair". 

And to think that now, if I have to write more than 10 lines at a stretch, I get cramps in my hand...! Yes, actual cramps - and honestly I don't know whether that's due to old age or the unaccustomedness of exerting pressure on a pen with my fingers. I did attempt to write longhand letters to a couple of old friends recently, but the effort didn't last beyond two exchanges. The fact that I don't write anymore has no bearing on my love for writing paper and fountain pens - I just LOVE both!

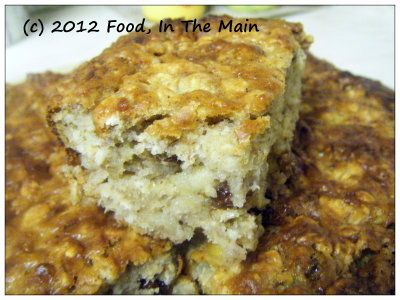
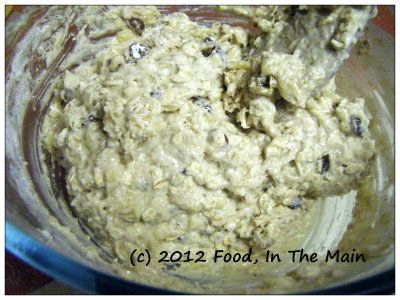
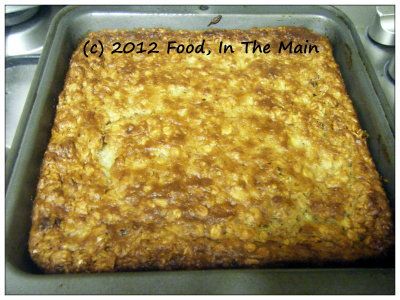
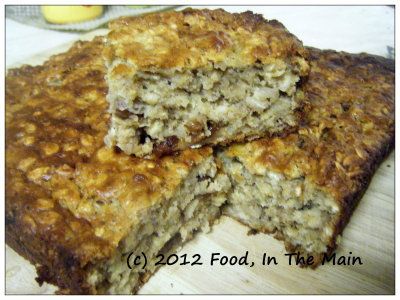
Um... yes, I do realise that pens, paper and handwritten letters have no bearing on this recipe. The cake is chewy with oats, rich with the flavour of bananas and not very sweet. I used an expensive brand of orange oil extract because I didn't have any oranges (for zest). But do use actual fresh orange zest (and 1/4 cup of orange juice) if you have them. The batter is thick enough to take the optional 1/4 cup of juice without becoming overly runny.

Recipe for: Oaty banana cake
DSCF8120
Ingredients:
1-1/2 cups oats (I used organic jumbo oats)
1 cup all-purpose flour
1 tsp baking powder
1/2 tsp baking soda
1/4 tsp salt
1 tsp cinnamon powder
1/3 heaping cup demerara sugar (or use brown sugar)
1/3 cup sultanas or raisins
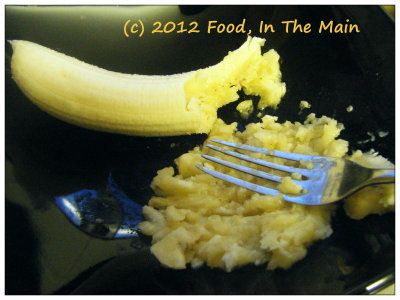
1 cup mashed ripe bananas (two medium)
DSCF8107
1 large egg
1 cup yogurt (I used low-fat Greek style)
2 tsp vanilla extract
1 tbsp orange zest or 2 tsp orange oil extract
2 tbsp oil
1/4 cup orange juice (optional)

Method:
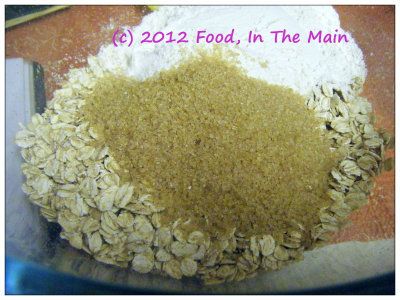
1. Mix together the oats, flour, sugar, baking powder, baking soda, salt, raisins and cinnamon powder in a large bowl.
DSCF8102-1
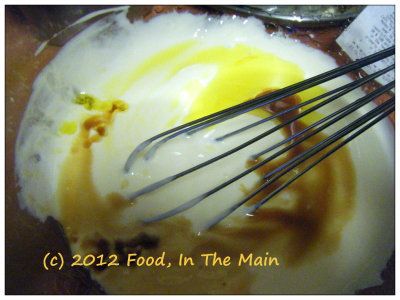
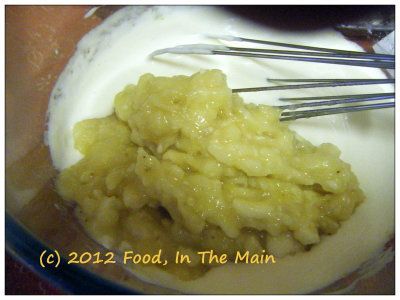
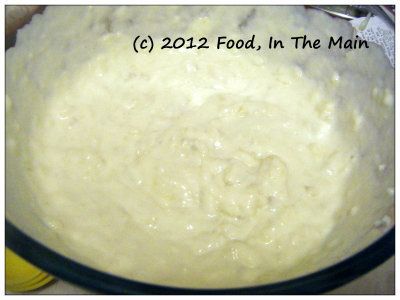
2. In another bowl, lightly beat the egg, then whisk in the yogurt, oil, vanilla extract, orange zest
DSCF8105
and mashed bananas.
DSCF8108
DSCF8109
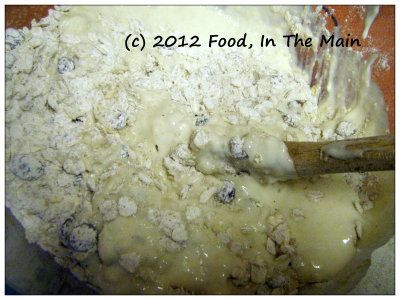
3. Pour the wet batter into the dry mix,
DSCF8110
then lightly stir until just mixed.
DSCF8111
Do not overbeat. The batter will be quite thick.
4. Spray a 7" square baking pan with Pam (or grease thoroughly with butter, if you like), and pour the batter into the pan.
5. Bake at 180C/350F for about 30-40 minutes, or till a tester comes out clean.
DSCF8112
Check the cake after 30 minutes and keep an eye on it thereafter. Once the cake is done, let it remain in the pan for 5  minutes. Remove to a wire cooling rack.
DSCF8118
When the cake is cool, cut into bars and serve. 

RECIPE: OATY BANANA SNACK CAKE
Ingredients:
1-1/2 cups oats (I used organic jumbo oats)
1 cup all-purpose flour
1 tsp baking powder
1/2 tsp baking soda
1/4 tsp salt
1 tsp cinnamon powder
1/3 heaping cup demerara sugar (or use brown sugar)
1/3 cup sultanas or raisins
1 cup mashed ripe bananas (two medium)
1 large egg
1 cup yogurt (I used low-fat Greek style)
2 tsp vanilla extract
1 tbsp orange zest or 2 tsp orange oil extract
2 tbsp oil 
1/4 cup orange juice (optional)
Method:
1. Mix together the oats, flour, sugar, baking powder, baking soda, salt, raisins and cinnamon powder in a large bowl. 
2. In another bowl, lightly beat the egg, then whisk in the yogurt, oil, vanilla extract, orange zest and mashed bananas. 
3. Pour the wet batter into the dry mix, then lightly stir until just mixed. Do not overbeat. The batter will be quite thick. 
4. Spray a 7" square baking pan with Pam (or grease thoroughly with butter, if you like), and pour the batter into the pan. 
5. Bake at 180C/350F for about 30-40 minutes, or till a tester comes out clean. Check the cake after 30 minutes and keep an eye on it thereafter. Once the cake is done, let it remain in the pan for 5  minutes. Remove to a wire cooling rack. When the cake is cool, cut into bars and serve. 
Tuesday, January 12, 2010

Honey cake

If someone gave you an orange, an apple, some brewed coffee, cloves and some honey, would your first thought be: “Oooh, now I can bake a cake!”? No? Thought not.

No surprise, it would certainly never have crossed my mind that these were actually ingredients for a very special cake, had I not come across these items in a recipe on the Net, led there by a series of blog hops (starting with Shankari & Rajesh’s blog,
Sacramento Spice, where she has a regular feature called “Sundays with Marlena Spieler”, showcasing Jewish recipes).

Eventually I moved on to google for general information on Jewish culture and Jewish food traditions, and pretty soon I was goggling at a cake recipe that called for the apparently random selection of ingredients I'd mentioned earlier. This cake is traditionally baked on the Jewish New Year, or Rosh Hashanah, and symbolises a sweet start to the year.

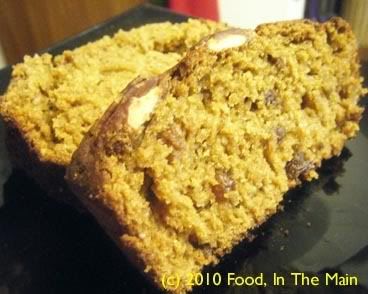
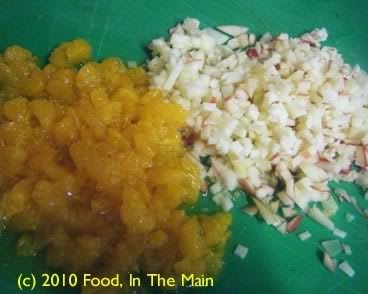
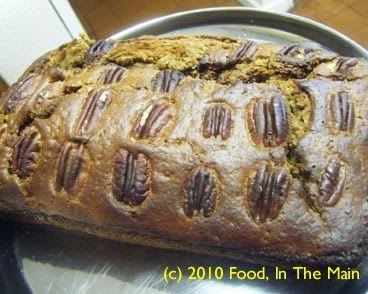
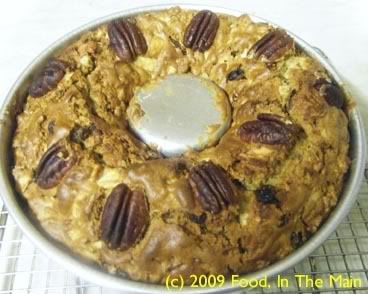
When I made the cake, even knowing that it was from a tried and tested traditional recipe didnt stop me wondering how it would turn out. I had to use a small can of mandarin orange rather than the whole fresh orange (peel pith and all) the recipe called for (because I didnt have it), and I substituted strong instant coffee for the brewed stuff (because ditto)... and decorated the top of the cake with whole pecans, but those were the ONLY changes from the original.

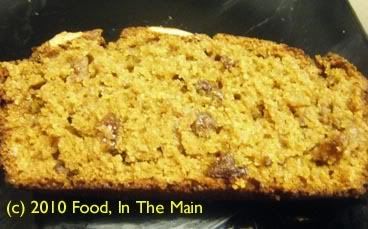
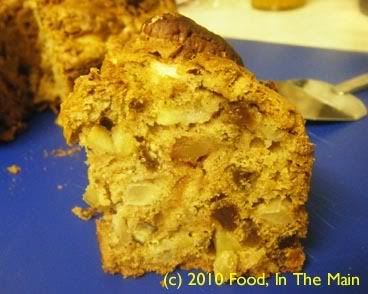
The cake was surprisingly good - surprising to me, because I couldn't help considering the combination of ingredients somewhat outlandish - very moist and with deep flavours, and it stayed that way for the couple of days that it survived before being demolished.


honey

It's too late - or maybe too early? - to offer good wishes for a happy Jewish New Year (because it occurs around September)... and it's wee bit too far into this new year 2010 as well for new year wishes, but I'll take the opportunity to wish everybody many happy cake experiences, both baking and eating, for the year and the decade to come. I can do that, can't I?

Recipe for:
Honey cake

honey

Ingredients:

1/4 cup vegetable oil
1/4 cup dark brown sugar
1/4 cup dark honey
1 egg

honey

1 small orange, left unpeeled and cut up small (I used a small tin of chopped mandarins without peel)
1 small apple, cored and chopped (no need to peel)
1/2 cup strong brewed coffee (I used instant)
1-1/2 cups flour
3/4 tsp baking soda
1/2 tsp baking powder
1/4 tsp allspice
1/4 tsp cinnamon
1/8 tsp ground cloves
1/8 tsp salt
1/4 cup raisins
15-20 whole pecan nuts (optional)

Method:

1. Preheat oven to 350F/180C. Spray a nonstick 1.5 pound loaf pan with Pam.

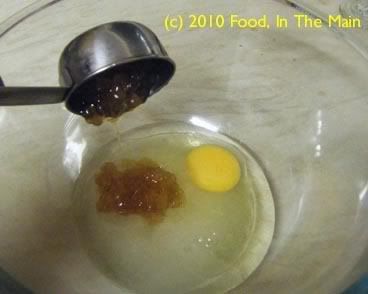
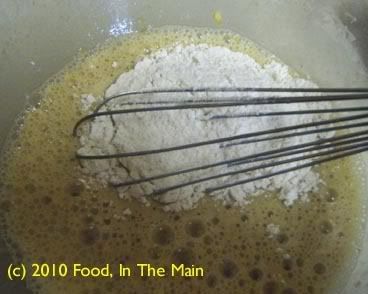
2. In a large bowl, combine the oil, sugar, honey and egg.

honey

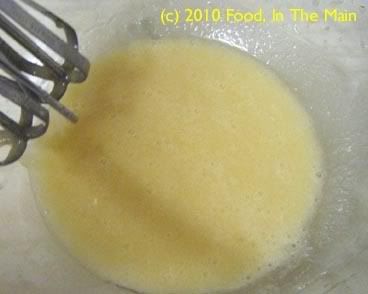
Beat till mixed. (I used a manual beater).

honey

3. In a blender, combine the orange and apple, add the coffee

honey

and puree the mixture. It doesn't have to be very smooth.

honey

4. In another bowl, place the flour, baking soda, baking powder, spices and salt.

honey

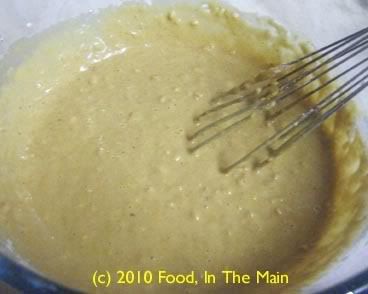
5. Add a third of the fruit and coffee mix to the oil-honey-egg mixture, stirring well.

honey

6. Add a third of the flour mixture, stirring again.

honey

Continue adding in this manner till all the ingredients are combined.

honey

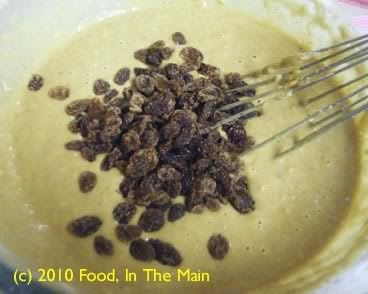
7. Add the raisins and stir them in.

honey

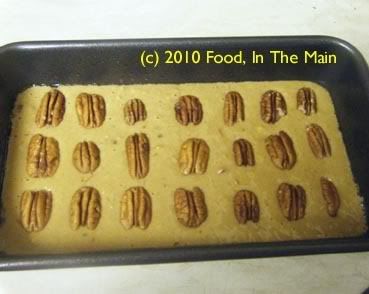
8. Pour the batter in a loaf pan. Arrange the pecan nuts on top, pressing them very gently into the batter.

honey

Bake for 35-40 minutes, or till a cake tester or toothpick inserted in the cake comes out clean.

10. Let the cake stay in the pan for 5 minutes, then turn out onto a wire rack and cool completely.

honey

Serve at room temperature.

Friday, January 01, 2010

Apple pecan snack cake

Hello to my readers, bloggers and non-bloggers both, on the first day of the new year, and the new decade! Here's hoping that the year brings everybody only the best of everything, and lots of love and laughter too.

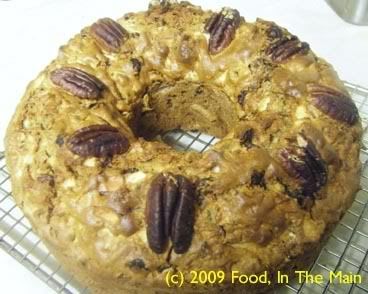
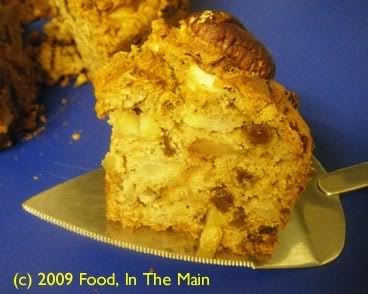
I thought I'd start the first post of 2010 with a recipe for something sweet - a simple snack cake, chunky with tart apples and crunchy with toasted pecans. You can't go wrong with it (fingers crossed as I say this, though, because I'm a prime example of someone who can make a disaster of success!) and it's good just by itself, or for a more decadent dessert, serve warmed, with a dollop of thick organic Jersey cream, sprinkled with glittering demerara sugar, if you like.

Recipe for:
Apple pecan snack cake

Photobucket

Ingredients:

3 tart apples, cored and chopped
1 cup sugar
1/2 cup raisins
1/4 cup pecans, toasted lightly and chopped + 10 or so whole toasted pecans for decorating cake (optional)
1/4 cup oil
2 tsp vanilla extract
1 large egg, beaten
2 cups AP flour
1 tsp baking soda
1/2 tsp baking powder
1 tsp cinnamon powder
1/2 tsp cardamom powder (optional)

Method:

1. Preheat oven to 350F/180C. Spray a 7" round cake pan (I used a bundt pan) with Pam or other spray.

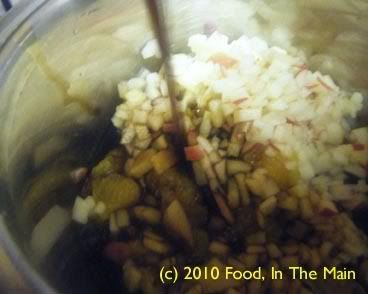
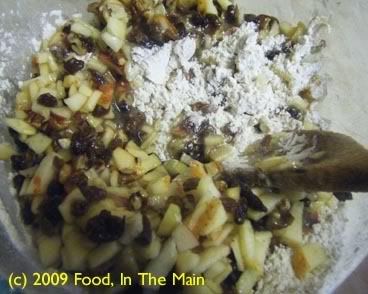
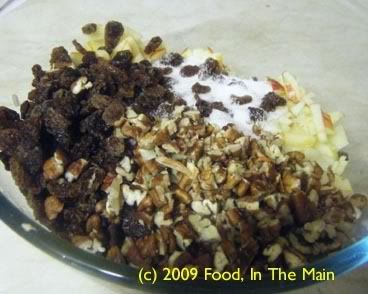
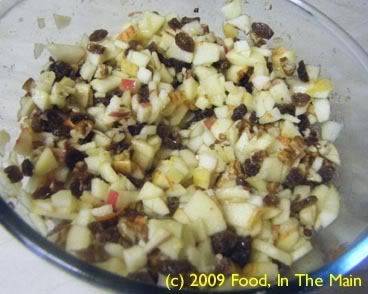
2. In a large mixing bowl, combine the apples, sugar, raisins and chopped pecans.

Photobucket

Mix well and let stand for 30 minutes.
Photobucket

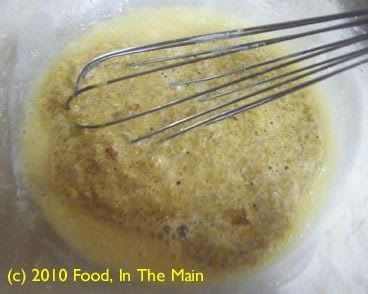
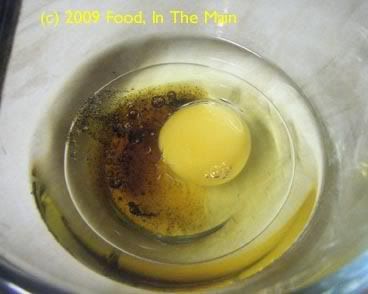
4. In a small bowl, add the oil. vanilla and egg.

Photobucket

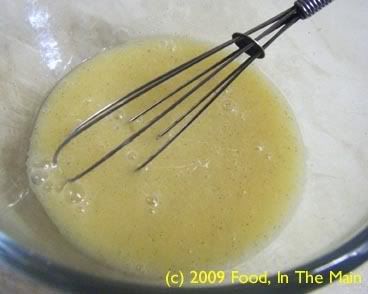
Whisk till well combined.

Photobucket

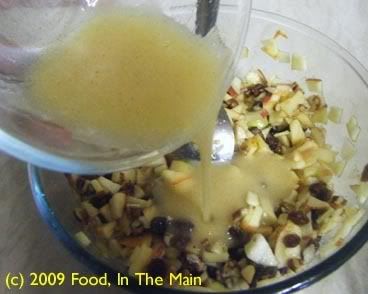
5. Pour this mixture into the apple mixture and stir in.

Photobucket

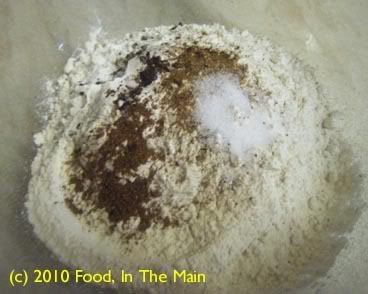
6. Sift together the flour, baking soda and powder, cinnamon and cardamom powder (if using).

Photobucket

7. Stir the flour mixture into the apple mixture about a third at a time. Stir just enough to moisten the wet ingredients - dont over mix.

Photobucket

8. Pour the batter into the pan.

Photobucket

Arrange the remaining whole pecans decoratively on the top. Push them in only very slightly.

Bake for 35-40 minutes or till a tester comes out clean and the cake has pulled away from the sides of the pan.

Photobucket

Let the cake remain in the pan for 10 minutes, then turn out onto a wire rack to cool.

Photobucket

Serve warm by itself, or with some cream if desired.

Photobucket

Wednesday, November 25, 2009

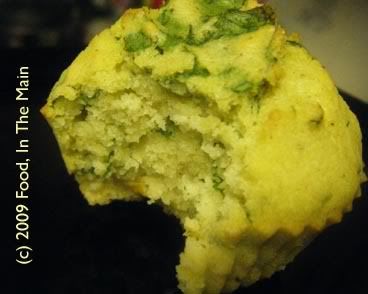
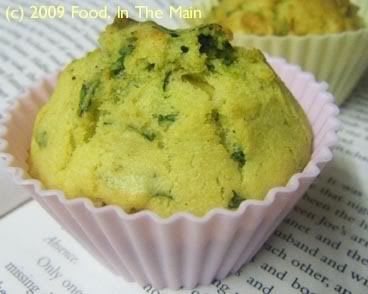
Spinach corn muffins

Photobucket

When I tasted cornbread for the first time (I made it myself) I have to say that I was not particularly impressed – it was so bland! Now, I know that at that point, I considered all foods bland that were not chilli-hot. That’s an attitude endemic to (most of) us Indians because so much of our food contains chillies and/or strong spices and flavourings. If you’re used to loading vegetables with lots of masala, for instance, plain boiled green beans with just salt and pepper would definitely be termed as “bland”. It’s not just vegetarians, either – even non-veg Indians find it difficult to face plain roasted chicken (or other meat)… they usually like their meat cooked in a spicy sauce or maybe coated in a fiery masala.

I remember going with my friend Lakshmi (or KiwiGee fame, such as it is) to a restaurant in Mount Road that specialised in “western” food (I cant remember the restaurant name now, it was many years ago while I was working in the Indian Express). We had been there before and enjoyed the vegetable au gratin – or maybe it was the sheer novelty of it, vegetables in a cheesy white sauce - and decided it was time we educated another colleague and friend in the ways of international cuisine.

Poor chap, he had the most awful struggle to get it down. He was through-and-through a traditional South Indian - he wasn't even really into North Indian cuisine, and he had probably never wanted to try anything European at all. But he was a sweet uncomplaining pal, and he let himself be forced by us into having a go.


Two forkfuls into the gratin, and he turned green and said he couldn’t finish it. We, being cruel to be kind, perhaps – or maybe just determined to introduce him to “sophisticated” food - sat there, one on either side of him, insisting that he shouldn’t give up so easily. He sprinkled crushed red chillies, stirred in industrial quantities of chilli sauce, and in general did all he could to mask the blandness of the white sauce and the grilled cheese topping… but in the end, he just balked at eating any more of it. For quite a while after that I think he avoided any mention of “treats” from us…

What I didn’t realize then, I do now – that it takes a conscious effort to let your taste buds slow down and adjust to fewer spices, and enjoy the real flavour of whatever vegetable you’re eating...
or even get used to the lack of chillies and the presence of unfamiliar spices and seasonings. Of course, in this I speak mostly for myself and my taste buds, which sadly did not grow up amidst authentic international cuisine and therefore were ignorant and inexperienced in many ways for the longest time.

So anyway, long story short, I did eventually learn to like vegetables that weren’t cooked to mush, steamed veg that had the most basic of seasonings - I may have mentioned this before, but fresh green beans cooked just so, eaten immediately with just a sprinkling of salt is probably one of my greatest pleasures now! - pasta that did not have crushed red chillies (at the very least) sprinkled all over it, cheese-on-toast without sliced green chillies on it… and so on. I tried to keep my mind and tastebuds open to new flavours and give new foods at least one good try before condemning them.

But this cornbread – plain cornbread without cheese or onions or anything else savoury... it literally WAS too bland and boring. It was just blah - and blah it remained despite my sternest lectures to myself to be open-minded. I didn’t bother with making cornbread again for ages, until I came across other recipes for it on the Net (this after I had started this food blog) and decided to give the whole thing another go.

Now of course I adore cornbread – as long as there’s no sweetness involved. I don’t understand or like the addition of honey or sugar. I do add onions, scallions, quick-cook vegetables like spinach, cheese (although not excessively) but, most important of all, green chillies. Yes, I'm aware that I lectured about chillies or the lack thereof, thanks - but there are SOME things which totally require heat. Cornbread, as far as I’m concerned, is one of those things. That’s how it has to be. It’s just one of those things.

These muffins make a nice snack by themselves or, more traditionally, you could serve them with chili con (or sin, in my case) carne. I didnt use fresh chillies this time - I just chopped up some super-hot-but-fruity sliced manzano chillies in vinegar that were lurking in my fridge, and used those.

Recipe for:
Spinach corn muffins

Photobucket

Ingredients:

1 cup yellow cornmeal
1 cup plain flour
1 large egg
1 cup milk (I used semi-skim)
1/2 cup canned corn niblets
1/8 cup oil
1/2 cup spinach leaves, shredded
1 tbsp baking powder
1/2 tsp freshly milled black pepper
2 tsp finely chopped jalapeno peppers (I used manzano chillies)
salt to taste

Method:

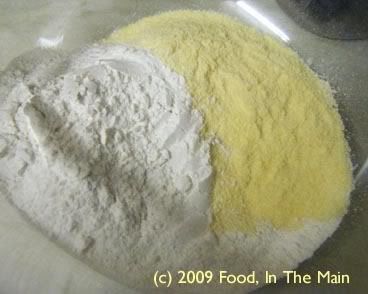
1. In a medium mixing bowl, mix together the cornmeal, flour, baking powder and salt.

Photobucket

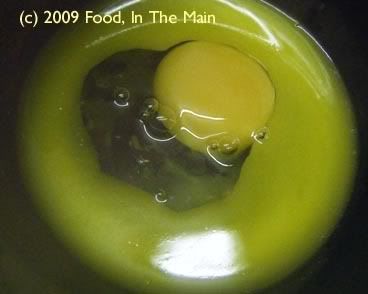
2. In another, smaller bowl, whisk together the oil and egg.

Photobucket

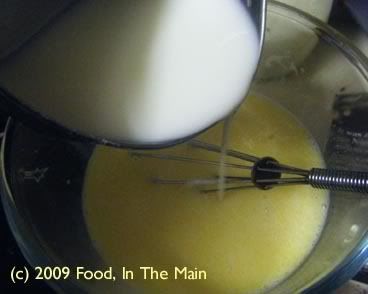
3. Pour in the milk and stir it in.

Photobucket

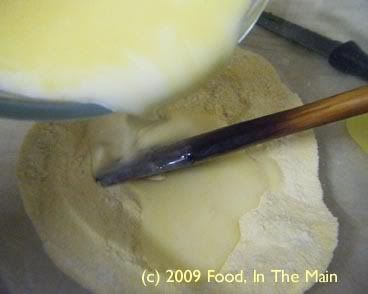
4. Pour the egg-milk mixture into the bowl containing the flour

Photobucket

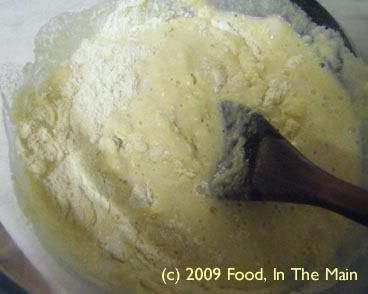
and stir till just combined. Do not beat.

Photobucket

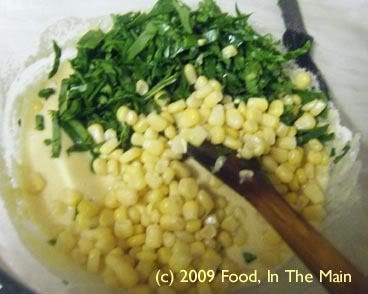
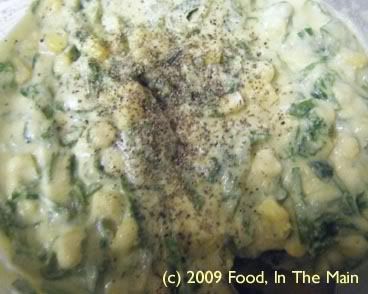
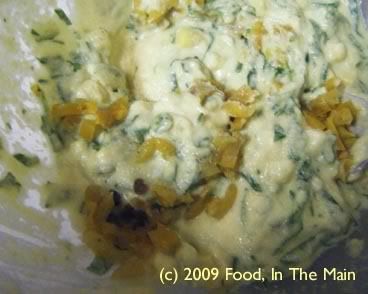
5. Add the corn and spinach and stir them in gently.

Photobucket

6. Sprinkle the ground pepper

Photobucket

and add the jalapenos (if using), and stir them in.

Photobucket

7. Fill muffin pans with the batter about 3/4 of the way to the top and bake in a 180C/350F oven for about 15 minutes. Test to see if the muffins are done; if not, give them another 5 minutes. Let cool in the pan for 10 minutes, and serve warm.
Photobucket