Showing posts with label flour. Show all posts

Monday, May 21, 2012

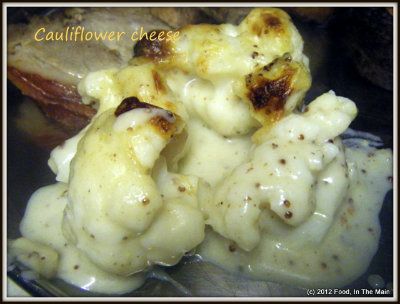
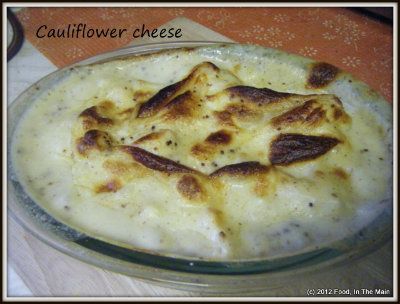
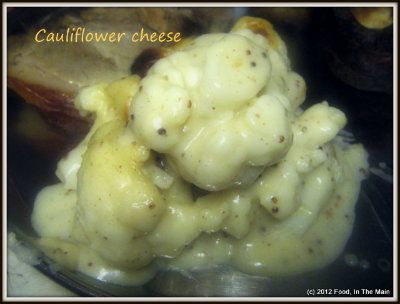
Cauliflower cheese

While I could probably eat my weight in green cabbage and would do so willingly, cauliflower isn't as welcome on my plate. While there are a couple of ways of making cauliflower that can be snuck past my fussy tastebuds (think oven-roasted cauliflower or cauliflower usili), there is literally only one way that Pete can be persuaded to eat this vegetable - and that is if it's hidden under a layer of cheese and white sauce. Yesterday turned out to be the day that I made this for my husband for the first time, because there was just too much cauliflower for one person to finish off especially when that person is not particularly fond of this smelly vegetable (but ask her to eat potatoes and see what happens - just stay a safe distance away while you watch!).
Oh, do you remember me saying that mustard just loves cheese? I proved it for the umptieth time with this recipe.
Recipe for:
Cauliflower cheese
DSCF8258a
Ingredients:

1/2 small cauliflower, separated into more or less evenly sized florets
1/2 cup + 2 cups milk + more as required
1/2 cup Cheddar cheese, grated
2 tbsp butter
2 tbsp plain flour
1 tbsp wholegrain prepared mustard
freshly ground black pepper, to taste
sea salt, to taste

Method:
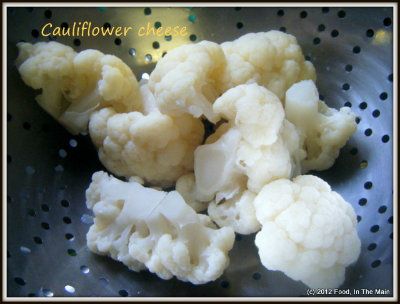
1. Cook the cauliflower with 1/2 cup milk and enough water to cover the florets, until done but not overcooked. (It is cooked when a skewer goes through the thickest part of the floret without too much resistance.
DSCF8248a
Drain and place in an oven-safe casserole dish.
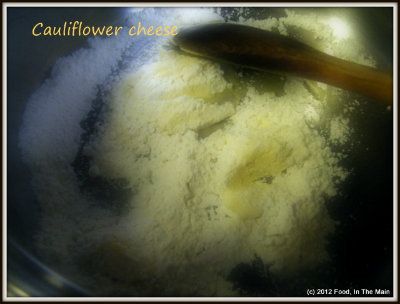
2. Heat a heavy-based saucepan and put the flour and butter in.
DSCF8249a
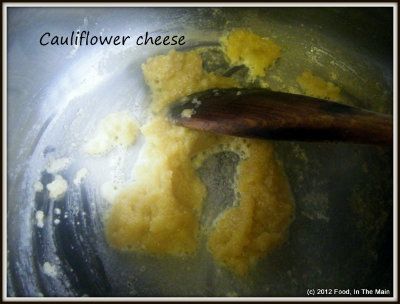
Cook it on medium heat, stirring continuously until the butter and flour are well incorporated and the flour smells good (3-4 minutes).
DSCF8250a
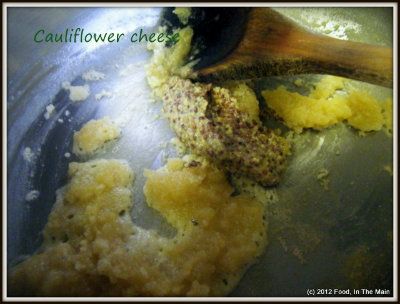
3. Stir in the mustard,
DSCF8251a
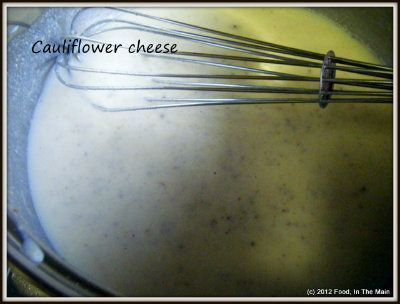
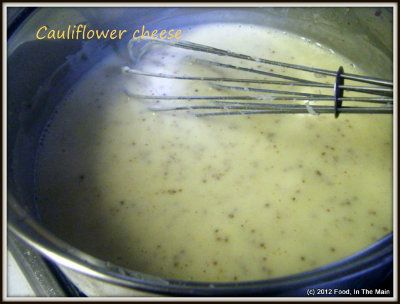
then add the remaining 2 cups milk all at once and whisk the mixture well so that there are no lumps.
DSCF8252a
Add the cheese and stir till it melts in.
DSCF8253a
5. Cook the sauce till it thickens and becomes glossy (about 5 minutes on medium-low heat), stirring it to stop it catching on the bottom.
DSCF8254a
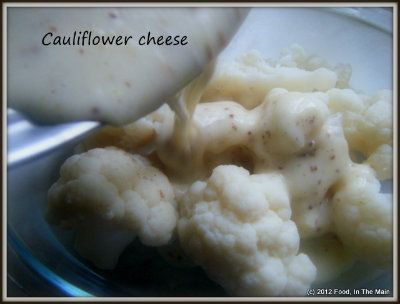
6. Add salt and pepper to taste. Pour the sauce over the cooked florets.
DSCF8255a
You can sprinkle on some more cheese now if you like.
DSCF8256a
7. Cook it at 180C/350F for 15-20 minutes until the sauce is bubbling and the top is golden brown.
DSCF8257a
Let the cauliflower cheese rest for 2-3 minutes before serving it up.
DSCF8259a


RECIPE: CAULIFLOWER CHEESE
Ingredients:

1/2 small cauliflower, separated into more or less evenly sized florets
1/2 cup + 2 cups milk + more as required
1/2 cup Cheddar cheese, grated
2 tbsp butter
2 tbsp plain flour
1 tbsp wholegrain mustard
freshly ground black pepper, to taste
sea salt, to taste

Method:
1. Cook the cauliflower with 1/2 cup milk and enough water to cover the florets, until done but not overcooked. The cauliflower is cooked when a skewer goes through the thickest part of the floret without too much resistance. Drain and place in an oven-safe casserole dish.
2. Heat a heavy-based saucepan and put the flour and butter in. Cook it on medium heat, stirring continuously until the butter and flour are well incorporated and the flour smells good (3-4 minutes).
3. Stir in the mustard, then add the remaining 2 cups milk all at once and whisk the mixture well so that there are no lumps. Add the cheese and stir till it melts in.
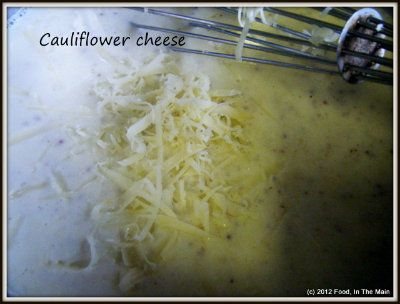
5. Cook the sauce till it thickens and becomes glossy (about 5 minutes on medium-low heat), stirring it to stop it catching on the bottom.
6. Add salt and pepper to taste. Pour the sauce over the cooked florets. You can sprinkle on some more cheese now if you like.
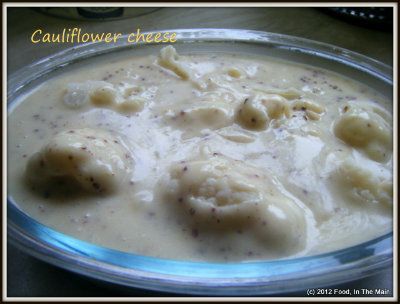
7. Cook it at 180C/350F for 15-20 minutes until the sauce is bubbling and the top is golden brown. Let the cauliflower cheese rest for 2-3 minutes before serving it up.

Saturday, May 12, 2012

Baked jalapeno poppers

The first time I ate these little things was at a work party in Singapore and they were the frozen store-bought type - but they were so delicious that I made a pig out of myself over them. I don't remember eating anything else that evening, actually. It could have just been the relief of finding something to eat that was vegetarian (our office parties had plenty of delicious looking things to eat, 98% of them barred to me), but that was not the real reason I monopolised the poppers - the real reason was a sort of disbelieving greed that something could be so darn good. I didn't imagine that replicating them at home was possible, so I didn't bother. I didn't even know what they were called, other than the generic "stuffed pepper".

Eventually, though, years later and thanks to the Internet and food websites, I discovered that the peppers were called jalapenos, and that the stuffed ones had a name - poppers. Going by my own experience, I imagined that was because you couldn't stop popping them into your mouth. Pop pop pop...

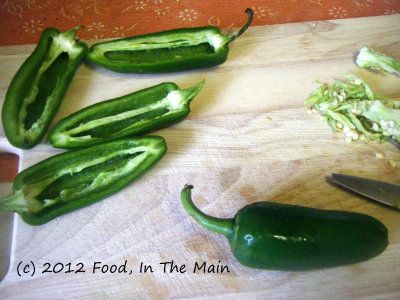
Anyway, if I was making these just for myself, I would not have bothered to remove the innards from the jalapenos. But as there were other less chilli-tolerant people who would be trying out the poppers, I removed every last vestige of seeds and pith that I could manage. So, stuffed with cheese as they were, the poppers didnt quite give me that hit of heat I would've ideally liked. That said, they were still quite, quite delicious. One of the few things, in my opinion, that are just as gorgeous baked as deep-fried. 

Don't get me wrong, just because they are baked doesn't mean these jalapenos are low in fat or can be classified as health food (oh how I wish...!) - far from it. But they're that much less fattier than deep-fried, that's all. They're best had fresh and warm - I don't think I would recommend eating them oven-hot, because the cheese would probably strip the lining from your cheeks. Eat them warm, though, and tell me these poppers aren't the scrummiest thing you've ever tasted...

Recipe for: Baked jalapeno poppers
DSCF8181a
Ingredients:
10 jalapenos, all of a size
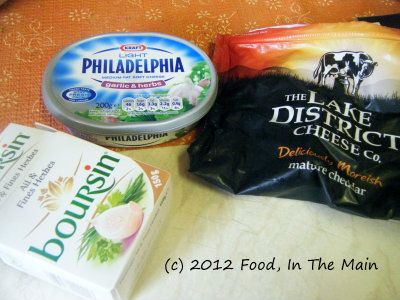
1/3 cup garlic-herb cream cheese
1/3 cup Boursin cheese
1/3 cup grated mature Cheddar cheese
DSCF8164a
2 tsp milk
1/2 tsp ground pepper
1/2 cup plain flour
1/2 tsp garlic powder
1 egg + 1 egg white
Breadcrumbs as required (1 generous cup)
Water


Method:
1. Halve the jalapenos lengthwise and carefully remove the seeds and pith without cutting through the flesh.
DSCF8158a
DSCF8159a
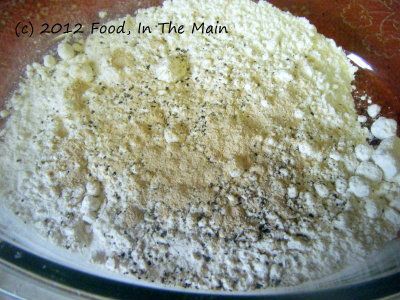
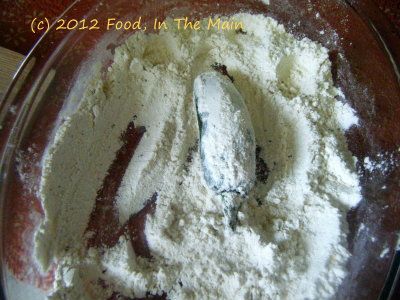
2. Mix the flour, pepper and garlic powder in a shallow, wide bowl.
DSCF8160a
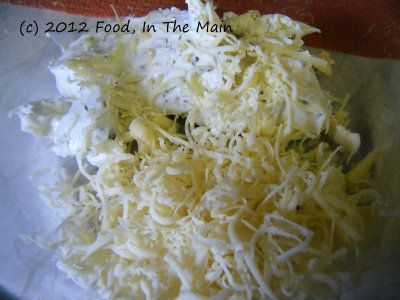
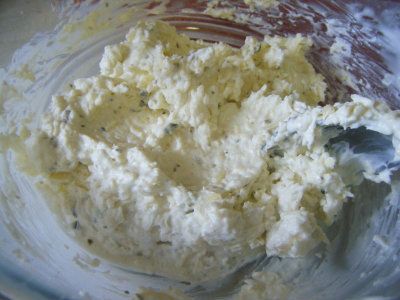
3. Put the cream cheese, Boursin and cheddar in a bowl and mix together well.
DSCF8165a
Dribble in the milk and blend again.
DSCF8167a
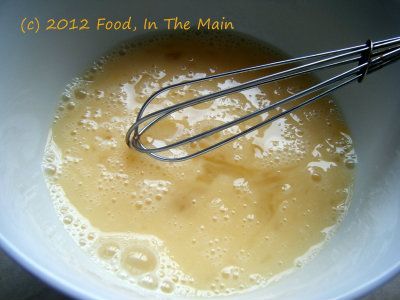
4. Whisk the egg and egg white till well blended but not foamy.
DSCF8162a
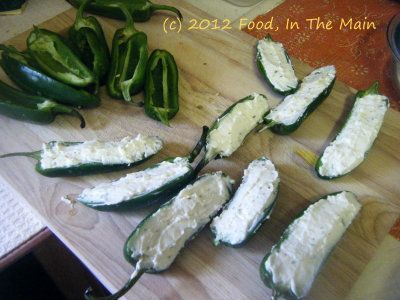
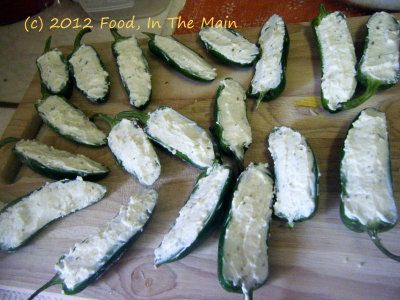
5. Fill the jalapeno halves with the cream cheese mixture.
DSCF8169a
DSCF8170a
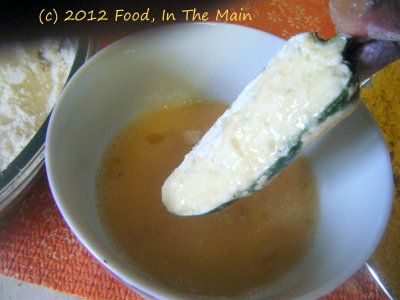
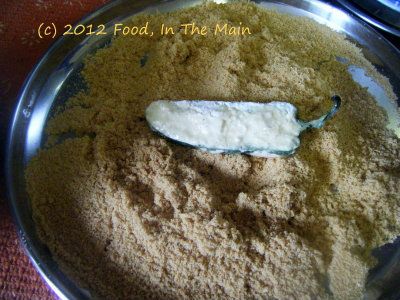
6. Put some plain water in a shallow bowl. Dip each filled jalapeno first in the water, then in the flour so that both sides are well covered,
DSCF8177a
then in the beaten egg,
DSCF8174a
and finally in the breadcrumbs.
DSCF8175a
Place on a non-stick foil-covered baking tray.
DSCF8179a
7. Heat the oven to 180C/350F and bake the jalapenos for about 30-40 minutes - it took 30  minutes in my fan-assisted oven.
DSCF8180a
8. Serve warm or at room temperature.

RECIPE: BAKED JALAPENO POPPERS
Ingredients:
10 jalapenos, all of a size
1/3 cup garlic-herb cream cheese
1/3 cup Boursin cheese
1/3 cup grated mature Cheddar cheese
2 tsp milk
1/2 tsp ground pepper
1/2 cup plain flour
1/2 tsp garlic powder
1 egg + 1 egg white
Breadcrumbs as required (1 generous cup)
Water
Method:
1. Halve the jalapenos lengthwise and carefully remove the seeds and pith without cutting through the flesh. 
2. Mix the flour, pepper and garlic powder in a shallow, wide bowl.
3. Put the cream cheese, Boursin and cheddar in a bowl and mix together well. Dribble in the milk and blend again. 
4. Whisk the egg and egg white till well blended but not foamy. 
5. Fill the jalapeno halves with the cream cheese mixture. 
6. Put some plain water in a shallow bowl. Dip each filled jalapeno first in the water, then in the flour so that both sides are well covered, then in the beaten egg, and finally in the breadcrumbs. Place on a non-stick foil-covered baking tray. 
7. Heat the oven to 180C/350F and bake the jalapenos for about 30-40 minutes - it took 30  minutes in my fan-assisted oven.
8. Serve warm or at room temperature. 

Wednesday, November 25, 2009

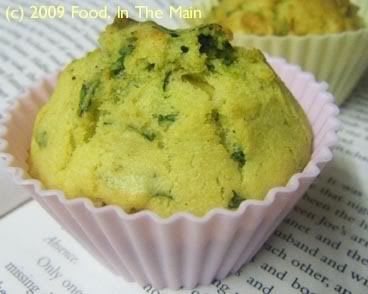
Spinach corn muffins

Photobucket

When I tasted cornbread for the first time (I made it myself) I have to say that I was not particularly impressed – it was so bland! Now, I know that at that point, I considered all foods bland that were not chilli-hot. That’s an attitude endemic to (most of) us Indians because so much of our food contains chillies and/or strong spices and flavourings. If you’re used to loading vegetables with lots of masala, for instance, plain boiled green beans with just salt and pepper would definitely be termed as “bland”. It’s not just vegetarians, either – even non-veg Indians find it difficult to face plain roasted chicken (or other meat)… they usually like their meat cooked in a spicy sauce or maybe coated in a fiery masala.

I remember going with my friend Lakshmi (or KiwiGee fame, such as it is) to a restaurant in Mount Road that specialised in “western” food (I cant remember the restaurant name now, it was many years ago while I was working in the Indian Express). We had been there before and enjoyed the vegetable au gratin – or maybe it was the sheer novelty of it, vegetables in a cheesy white sauce - and decided it was time we educated another colleague and friend in the ways of international cuisine.

Poor chap, he had the most awful struggle to get it down. He was through-and-through a traditional South Indian - he wasn't even really into North Indian cuisine, and he had probably never wanted to try anything European at all. But he was a sweet uncomplaining pal, and he let himself be forced by us into having a go.


Two forkfuls into the gratin, and he turned green and said he couldn’t finish it. We, being cruel to be kind, perhaps – or maybe just determined to introduce him to “sophisticated” food - sat there, one on either side of him, insisting that he shouldn’t give up so easily. He sprinkled crushed red chillies, stirred in industrial quantities of chilli sauce, and in general did all he could to mask the blandness of the white sauce and the grilled cheese topping… but in the end, he just balked at eating any more of it. For quite a while after that I think he avoided any mention of “treats” from us…

What I didn’t realize then, I do now – that it takes a conscious effort to let your taste buds slow down and adjust to fewer spices, and enjoy the real flavour of whatever vegetable you’re eating...
or even get used to the lack of chillies and the presence of unfamiliar spices and seasonings. Of course, in this I speak mostly for myself and my taste buds, which sadly did not grow up amidst authentic international cuisine and therefore were ignorant and inexperienced in many ways for the longest time.

So anyway, long story short, I did eventually learn to like vegetables that weren’t cooked to mush, steamed veg that had the most basic of seasonings - I may have mentioned this before, but fresh green beans cooked just so, eaten immediately with just a sprinkling of salt is probably one of my greatest pleasures now! - pasta that did not have crushed red chillies (at the very least) sprinkled all over it, cheese-on-toast without sliced green chillies on it… and so on. I tried to keep my mind and tastebuds open to new flavours and give new foods at least one good try before condemning them.

But this cornbread – plain cornbread without cheese or onions or anything else savoury... it literally WAS too bland and boring. It was just blah - and blah it remained despite my sternest lectures to myself to be open-minded. I didn’t bother with making cornbread again for ages, until I came across other recipes for it on the Net (this after I had started this food blog) and decided to give the whole thing another go.

Now of course I adore cornbread – as long as there’s no sweetness involved. I don’t understand or like the addition of honey or sugar. I do add onions, scallions, quick-cook vegetables like spinach, cheese (although not excessively) but, most important of all, green chillies. Yes, I'm aware that I lectured about chillies or the lack thereof, thanks - but there are SOME things which totally require heat. Cornbread, as far as I’m concerned, is one of those things. That’s how it has to be. It’s just one of those things.

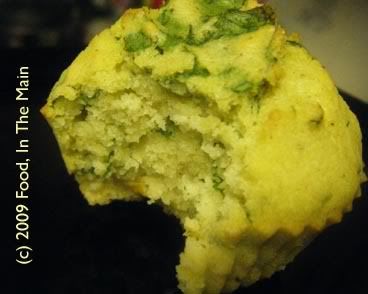
These muffins make a nice snack by themselves or, more traditionally, you could serve them with chili con (or sin, in my case) carne. I didnt use fresh chillies this time - I just chopped up some super-hot-but-fruity sliced manzano chillies in vinegar that were lurking in my fridge, and used those.

Recipe for:
Spinach corn muffins

Photobucket

Ingredients:

1 cup yellow cornmeal
1 cup plain flour
1 large egg
1 cup milk (I used semi-skim)
1/2 cup canned corn niblets
1/8 cup oil
1/2 cup spinach leaves, shredded
1 tbsp baking powder
1/2 tsp freshly milled black pepper
2 tsp finely chopped jalapeno peppers (I used manzano chillies)
salt to taste

Method:

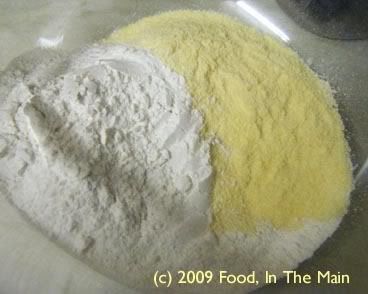
1. In a medium mixing bowl, mix together the cornmeal, flour, baking powder and salt.

Photobucket

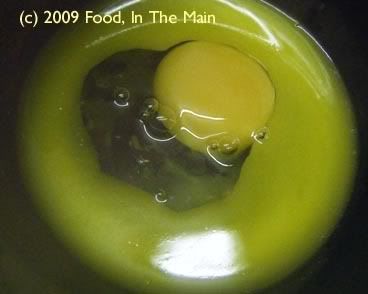
2. In another, smaller bowl, whisk together the oil and egg.

Photobucket

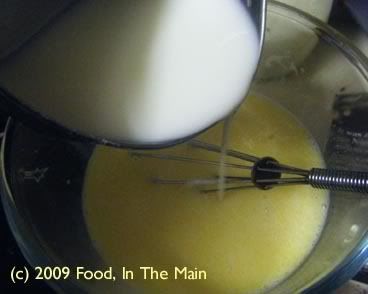
3. Pour in the milk and stir it in.

Photobucket

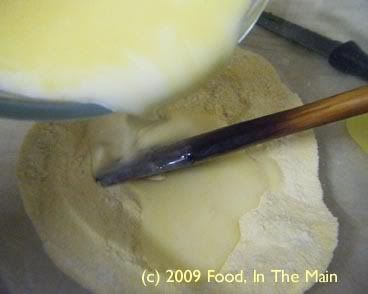
4. Pour the egg-milk mixture into the bowl containing the flour

Photobucket

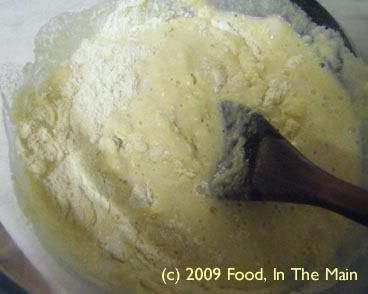
and stir till just combined. Do not beat.

Photobucket

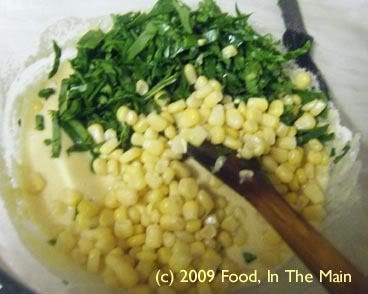
5. Add the corn and spinach and stir them in gently.

Photobucket

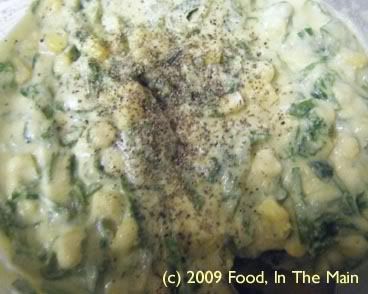
6. Sprinkle the ground pepper

Photobucket

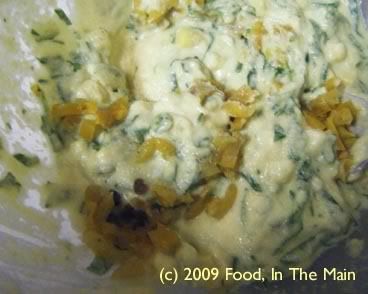
and add the jalapenos (if using), and stir them in.

Photobucket

7. Fill muffin pans with the batter about 3/4 of the way to the top and bake in a 180C/350F oven for about 15 minutes. Test to see if the muffins are done; if not, give them another 5 minutes. Let cool in the pan for 10 minutes, and serve warm.

Photobucket

Friday, October 31, 2008

Power fruit cake

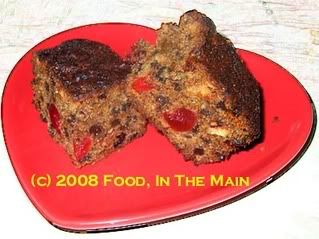
Anybody remember the powering-up war-cry of He-Man (of He-Man and the Masters of the Universe fame) – “Iiiiiiiiiiiiiiiiiiii’ve got the POWER!”? Well, if this cake had a voice – and the exaggerated V-shaped over-muscular animated cartoon body of He-Man - that’s what it would be shouting – “Iiiiiiiiiiiiiiiiiiiiiiiii’ve got the POWERRRRR!”. And it would be right, it’s got dried goji berries, blueberries, cranberries, sour cherries and currants, not to mention almonds, and if that doesn’t make a powerful cake, I don’t know what does.

Recipe for:
Power fruit cake

Photobucket

Ingredients:

1/2 cup brown sugar
1 cup butter, cut into pieces
2 cups mixed fruit (I used cranberries, goji berries, blueberries, dried sour cherries and currants)
1/4 cup sliced almonds (or other chopped nuts of choice)
1 tsp mixed spice
1/4 tsp clove powder
1/4 tsp cinnamon powder
1/4 tsp cardamom powder
1/2 pint milk
1 cup glace cherries washed of excess syrup and dried on kitchen paper
2 eggs, beaten
1 cup self-raising flour
1 tsp soda bicarb

Method:

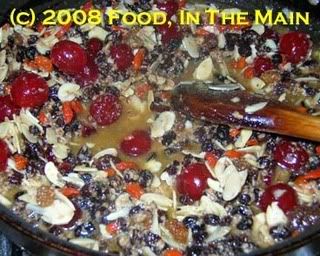
1. Place the sugar, butter, fruit, spices and milk in a large saucepan and bring to the boil.

Photobucket

Boil for a minute or two, then switch off the heat and let the mixture cool. It might look curdled as it cools, but dont worry, all will be well.

2. Preheat the oven to 160C.

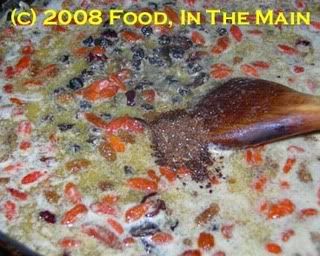
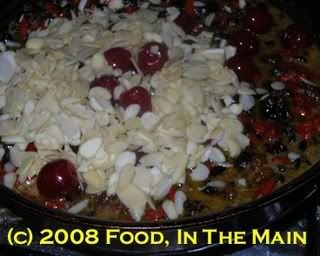
3. Add the nuts to the fruit mixture and stir,

Photobucket

then add the beaten eggs and mix well.

Photobucket

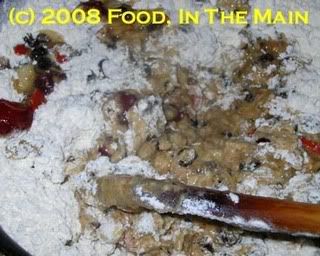
4. Add the flour and fold through the mix. The batter will be quite thick.

Photobucket

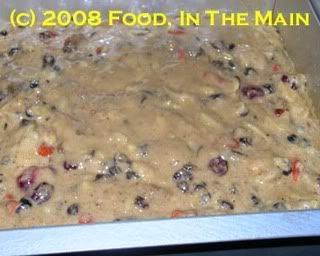
6. Place the mixture in a greased, deep square 8" cake tin.

Photobucket

Bake for about 1 hour, checking that the cake isnt burning on the top, after about 30 minutes. If it looks like browning too quickly, cover the top with brown paper.

7. The cake might need more than an hour to cook, or less, depending on the sort of oven you have. After 40 minutes, check the cake with a skewer to see if it's cooked. If not, check every 7 minutes until the tester comes out clean.

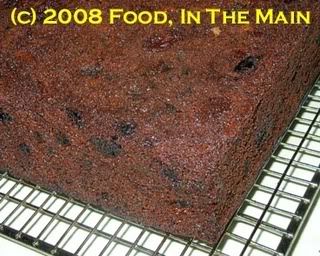
Photobucket

8. Cool in the cake tin for 5 minutes, then turn out onto a wire rack and cool completely.

Tuesday, August 05, 2008

No-knead bread - the second rising

So, it turns out that “slow rising” in the refrigerator really means “no rising at all whatsoever, not a millimetre, no way no how, uh-HUH”, as far as I’m concerned.

But wait, that’s not the beginning. In the beginning there was dough, which happened when flour and a bit of yeast and some water were stirred together.

This time around, though, I thought I would let it rise in the fridge overnight, to see if a slow rising would really give rise to a better crumb. So the dough went into the fridge one Wednesday evening, and because I really don’t have the time to spare for baking bread in the morning on workdays, it remained there all the next day as well.

When I came back from work on Thursday evening, I peeked into the fridge and found the dough still sitting there in its bowl, giving an astonishingly good impression of a large unresponsive lump. Thinking that it perhaps needed more fridge time, I left it there overnight. Friday morning, it still hadn’t moved from its original position, so I took it out of the fridge and placed it in the conservatory with a towel over the top of the bowl. That Friday, of course, turned out surprisingly warm with the sun shining all day. In the closed conservatory, the temperature must have been quite high, so the dough had risen nicely, as it was meant to.
I did the smell test to make sure that the dough hadn’t turned from friendly yeasty to dangerously beasty, and found it had a nice sourdoughy sort of aroma. I tipped it out of the bowl and briefly kneaded it on a well-floured surface, greased a length of silicone paper, transferred the dough on to that and put the whole thing back in the bowl, paper and all, for the second rising. (Odd phrase, that... has the ring of something supernatural in a religious sort of way, doesn’t it?). Only, as it turned out, I’d forgotten we were going out, so I couldn’t leave the dough outside as I wouldn’t have the time to bake it later.

Back it went into the fridge.

The next day, Saturday, the dough was as I had left it the previous evening – cosy in the bowl, cocooned in its wrapping of silicone paper, and not even a hundredth of a millimetre higher. Evidently it resented being out in the cold.

So I took it out and put it back in the conservatory so that it could thaw out and begin the second uprising. (Yeah, if that sounds like a battle, at that point it was so a battle between me and the dough!) It stayed out there for 4-5 hours, but at least it had risen to the challenge. I gave it a second smell test, which it passed without much trouble. It seemed rather more sticky inside than the first time around, with the top surface being kind of dry, like a skin had formed on it.

By this time I had no idea what would happen to the dough if I baked it – would it explode in the oven? The only way to find out was to bake it.

I turned on the oven to 220C, and when it had reached the right temperature, I turned out the dough into my Pyrex casserole, pulling it off the silicone paper…

… and then realisation struck. The bowl was meant to have heated up in the oven before the dough was put into it to bake.

As Homer Simpson would say in this situation - D’oh! (oh yeah, pun intended)


Oh well. Too late to do anything about it now, so I popped the covered casserole into the heated oven and let the bread bake for 40 minutes (10 minutes extra to make up for the casserole not being pre-heated), then uncovered it and baked it for 20 minutes more – by which time the top of the bread was beginning to look close to being burnt. Hastily removed from the oven, the loaf looked allright.

Fifteen impatient minutes later, I tried to up-end the casserole to see if the bread had stuck to it or would fall out (as per the first time). It didn’t pop out. Uh-oh. That probably meant disaster.

I waited another 15 minutes, then tried to prise out the bread with a strong metal spatula… and to my surprise, I found that the bread had stuck to the bottom of the dish in only one bit. After some huffing and puffing, I managed to lever the loaf out whole, with only that little burnt bit left stuck to the casserole – which I thought was a miracle in itself.

And the best part? The bread tasted just as lovely as the first time, despite everything that had happened to the dough. So I’m here to confirm that it really IS quite difficult to ruin no-knead bread, no matter how disorganised you are as a baker. I will also add that the dough probably didn’t become beasty because of having been refrigerated off and on, rather than being outside for 3 days straight.

If any of you find yourself baking this bread in my patented method as described above, for heavens sake remember to grease the casserole dish before putting the dough in it (but ONLY if you’ve neglected to pre-heat your chosen baking dish). Otherwise be prepared to do battle with the casserole dish for possession of the baked bread because by golly it will resist you with every ounce of gluten it has.

Thursday, July 03, 2008

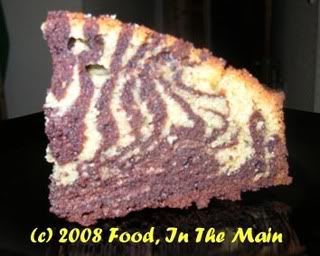
Tiger cake

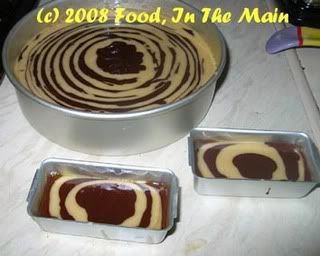
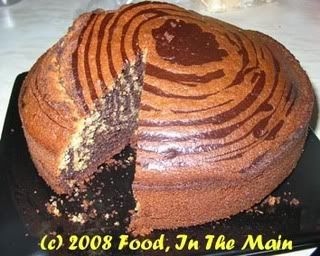
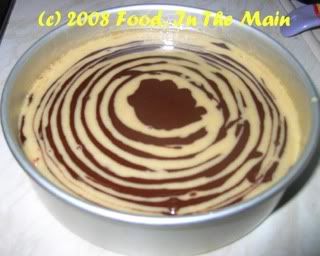
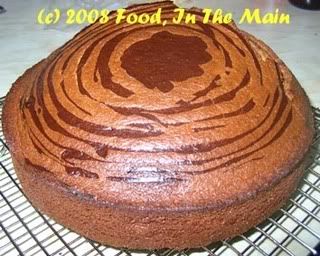
Relax, folks, this cake is just a zebra masquerading as a tiger :) I thought the "stripes" looked more tigerish than zebraesque, so I renamed it. What's in a name, after all.

Whoever thought up this technique was (is?) a genius in his or her own way. Such a simple thing to do, with such spectacular results (especially if done perfectly) - no fiddly procedures, no cutting cakes into shapes, or glueing them with icing or marzipan to construct edifices. Just two batters used alternately. Absolute genius, I tell you.

My cousin Hema and I made this cake - or rather, Hema made it under instructions. Normally I shy away from baking cakes that use more than two eggs - maximum 3 - but this time as I was instructing, it seemed better to follow the recipe exactly instead of improvising. (She can learn improvisation by herself!)

As it turned out, we should have gone with our instinct and "loosened" the chocolate batter which had become thicker than the plain one by addition of cocoa powder. Because we didnt do that in the first place, the first few layers of chocolate didnt fall easily off the spoon and didnt quite make it to the centre of the cake pan.


Oh well... live and learn. (The recipe below has the correct revised measurements.)

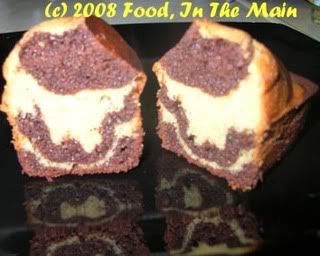
Despite our initial hiccup, the inside of the cake looked spectacular when cut.


It had risen rather a lot on one side while baking - probably because the batter was not mixed quite right? - and I surreptitiously pushed it down (carefully!) with the heel of my hand when nobody was looking. Not too much and not too hard, though, because I didnt want to ruin it totally!

All in all, this is a nice cake and excellent for impressing your guests and making them think you're a baking genius!


Previous recipes baked with Hema:
Peanut butter cookies, Cashew vanilla cookies, Cranberry orange cookies


Edited to add: Thanks, Divya, for pointing out that I'd said 1/2 tbsp cocoa powder, instead of 1/2 cup! 1/2 tbsp would have done no good at all! Thanks for being so observant! (Recipe has been updated) :)

Recipe for:
Tiger cake


Ingredients:

4 eggs
1 cup sugar
1 cup milk
1 cup oil
1 tsp vanilla extract
2 cups plain flour
2 tsp baking powder
1/4 tsp salt
1/2 cup dark cocoa powder
Milk as required

Method:

1. In a large mixing bowl, combine eggs and sugar until creamy and light in colour.


2. Add milk and oil and continue beating till well blended.

3. Add vanilla. Gradually add flour and then beat until the batter is smooth.

4. Divide mixture into 2 equal portions. Keep one portion plain.

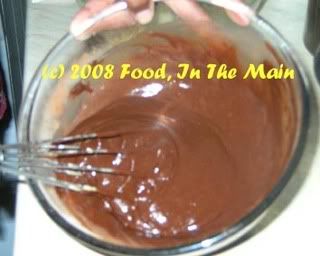
5. Add cocoa powder to the other and mix well. Add enough milk to thin out the batter to the consistency of the plain portion.


6. Preheat oven to 180C. Scoop a ladle of plain batter into the middle of the baking pan.

7. Then scoop a ladle of the cocoa batter and pour it in the centre on top of the plain batter. Continue this way until the batters are finished. The more you "layer" them, the more stripes you will get in the finished cake.


Do NOT spread the batter or tilt the pan to distribute the mixture.

8. Bake for 40 minutes or till the cake tests done.