skip to main |
skip to sidebar
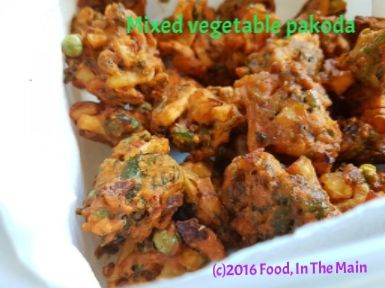
I've posted a pakoda recipe before, but I thought I'd do a post on this version because, for one, it IS slightly different and for another, I really REALLY like my photo and think it deserves to be enshrined on my blog for posterity to view over and over.
HAHAHAHA!
My mother's version (which is the only one I've used all these years) for vegetable pakoda does not involve ginger-garlic paste. This time I decided to add it, and gosh, what a difference it made to the taste! The mint also added a refreshing note. I recommend it.
Oh, and while you're considering my recommendation, make sure you guys admire my beautiful photo of the pakodas. I recommend that too.
Recipe for: Mixed vegetable pakoda
Ingredients:
1 medium potato
10-12 green beans
1/5 small cauliflower
1 medium carrot
1 cup spinach
1/4 cup green peas
1 medium onion
1 tbsp ginger-garlic paste
2 tbsp finely chopped mint
1 tsp omam/ajwain/oregano seeds
1 tsp red chilli powder
1 tsp coriander powder
1.5 - 2 cups chickpea flour
2 tbsp rava/semolina
Salt to taste
Oil for deep frying
Method:
1. Peel the carrot. Chop all the vegetables into thin 1/2-inch long strips.
2. Heat the oil in a deep wok. While the oil is heating, in a large mixing bowl, mix together all the chopped vegetables, spice powders, grated ginger and garlic, the semolina and the chickpea flour. Mix well, then add salt to taste and mix again. Add 1/4 cup water and mix with your hands to a thick dough. It should not be runny at all, because the vegetables will exude water. And once the dough is mixed, use it straightaway.
3. Drop a small piece of dough in the oil - if it floats to the top rightaway, the oil is ready. Drop the mixture carefully into the oil by the tablespoonful. Don't crowd the oil or the pakodas will not be crisp and soak up the oil. Once they are an even golden brown, remove from the oil and drain onto kitchen paper.
4. Serve warm. Great with drinks.
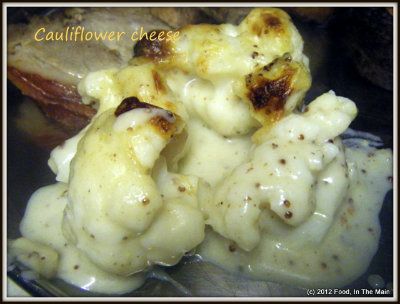
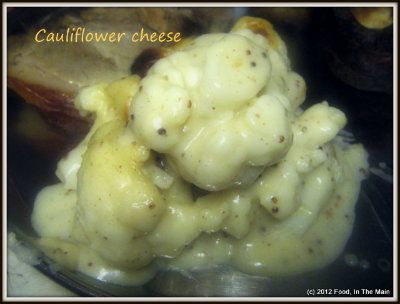
While I could probably eat my weight in green cabbage and would do so willingly, cauliflower isn't as welcome on my plate. While there are a couple of ways of making cauliflower that can be snuck past my fussy tastebuds (think oven-roasted cauliflower or cauliflower usili), there is literally only one way that Pete can be persuaded to eat this vegetable - and that is if it's hidden under a layer of cheese and white sauce. Yesterday turned out to be the day that I made this for my husband for the first time, because there was just too much cauliflower for one person to finish off especially when that person is not particularly fond of this smelly vegetable (but ask her to eat potatoes and see what happens - just stay a safe distance away while you watch!).
Oh, do you remember me saying that mustard just loves cheese? I proved it for the umptieth time with this recipe.
Recipe for: Cauliflower cheese
Ingredients:
1/2 small cauliflower, separated into more or less evenly sized florets
1/2 cup + 2 cups milk + more as required
1/2 cup Cheddar cheese, grated
2 tbsp butter
2 tbsp plain flour
1 tbsp wholegrain prepared mustard
freshly ground black pepper, to taste
sea salt, to taste
Method:
1. Cook the cauliflower with 1/2 cup milk and enough water to cover the florets, until done but not overcooked. (It is cooked when a skewer goes through the thickest part of the floret without too much resistance.
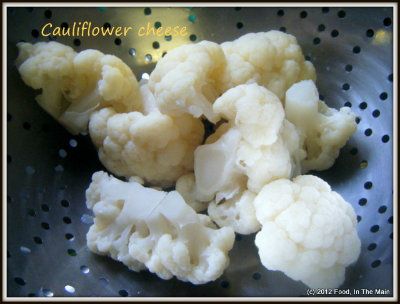
Drain and place in an oven-safe casserole dish.
2. Heat a heavy-based saucepan and put the flour and butter in.
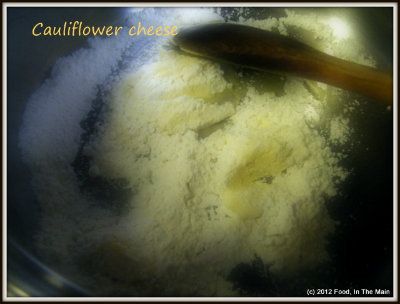
Cook it on medium heat, stirring continuously until the butter and flour are well incorporated and the flour smells good (3-4 minutes).
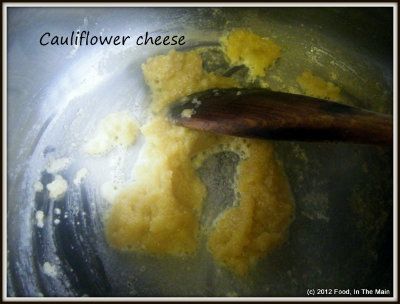
3. Stir in the mustard,
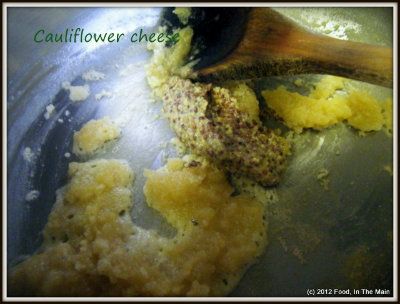
then add the remaining 2 cups milk all at once and whisk the mixture well so that there are no lumps.
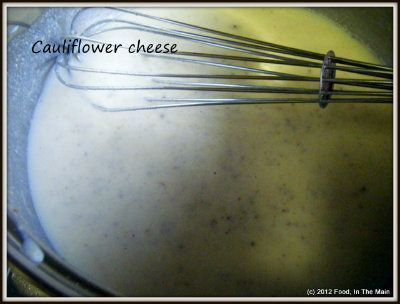
Add the cheese and stir till it melts in.
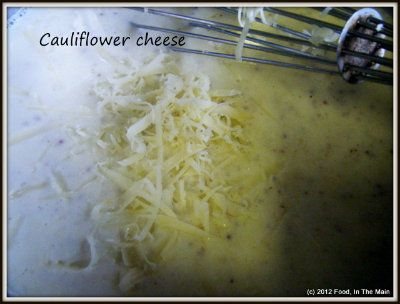
5. Cook the sauce till it thickens and becomes glossy (about 5 minutes on medium-low heat), stirring it to stop it catching on the bottom.
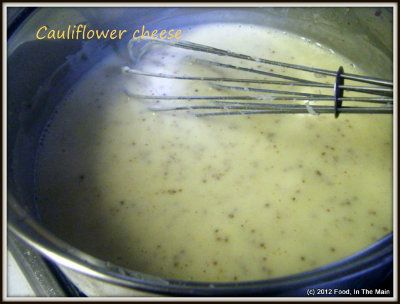
6. Add salt and pepper to taste. Pour the sauce over the cooked florets.
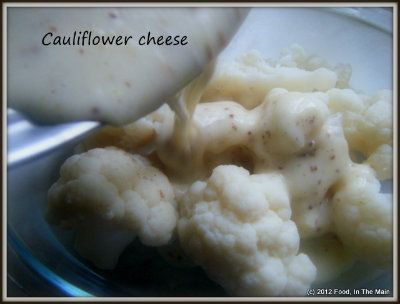
You can sprinkle on some more cheese now if you like.
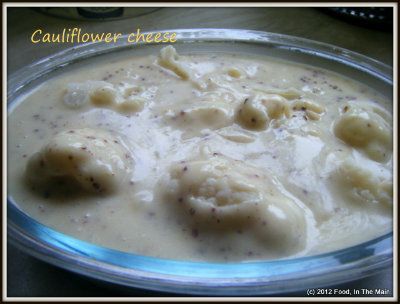
7. Cook it at 180C/350F for 15-20 minutes until the sauce is bubbling and the top is golden brown.
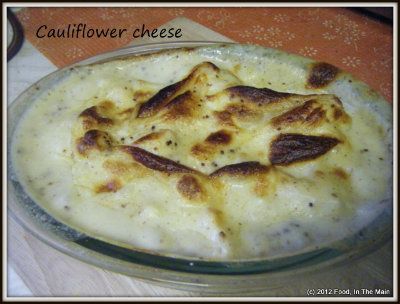
Let the cauliflower cheese rest for 2-3 minutes before serving it up.
 RECIPE: CAULIFLOWER CHEESE
Ingredients:
1/2 small cauliflower, separated into more or less evenly sized florets
1/2 cup + 2 cups milk + more as required
1/2 cup Cheddar cheese, grated
2 tbsp butter
2 tbsp plain flour
1 tbsp wholegrain mustard
freshly ground black pepper, to taste
sea salt, to taste
Method:
1. Cook the cauliflower with 1/2 cup milk and enough water to cover the florets, until done but not overcooked. The cauliflower is cooked when a skewer goes through the thickest part of the floret without too much resistance. Drain and place in an oven-safe casserole dish.
2. Heat a heavy-based saucepan and put the flour and butter in. Cook it on medium heat, stirring continuously until the butter and flour are well incorporated and the flour smells good (3-4 minutes).
3. Stir in the mustard, then add the remaining 2 cups milk all at once and whisk the mixture well so that there are no lumps. Add the cheese and stir till it melts in.
5. Cook the sauce till it thickens and becomes glossy (about 5 minutes on medium-low heat), stirring it to stop it catching on the bottom.
6. Add salt and pepper to taste. Pour the sauce over the cooked florets. You can sprinkle on some more cheese now if you like.
7. Cook it at 180C/350F for 15-20 minutes until the sauce is bubbling and the top is golden brown. Let the cauliflower cheese rest for 2-3 minutes before serving it up.
I don’t particularly like ready-made curry pastes, so I very rarely buy them and even more rarely use them. But recently, when we had guests over for dinner, my husband bought a small bottle of mild tandoori paste to make a side-dish of oven-roasted tandoori turkey chunks, with leftover turkey. (It was a hit, incidentally.)
However, there was still a half-bottle of paste left. I didn’t really know what to do with the paste – Perhaps make something else for Pete with it? ... but he didn’t really fancy that. Throw it away? ... but I didn’t really want to do that. Make something for myself with it? ... hmm, maybe, but what?
For a couple of days the bottle sat in the fridge while I debated what to do with its contents. I knew that if I didn’t decide to make SOMEthing with it soon, the question would become moot as it would have to be dumped - like it or not – because the use-by time of the opened jar was three days.
I even considered praying for a miracle from heaven, specifically from the god in charge of the Food Wastage (Prevention & Control) Department. I was all set to do so, but then the thought struck me that merely hoping for a miracle could be considered as good as a prayer, given that the hope was in a good cause i.e, non-wastage of food.
Still, Food Wastage (Prevention) Dept gods presumably follow the example set by their Big Boss in helping only those who help themselves - so I didn’t give up racking my brains for some idea of what to make, even while awaiting the miracle. For the umpteenth time I opened the fridge door, hoping for a) inspiration, or b) a miracle... but no, the jar hadn't helpfully and miraculously disappeared, it was still there on the shelf along with its contents.
Disappointed, I was about to shut the door again when I noticed some decaying leaves in the vegetable section and suddenly realised that they belonged to a head of cauliflower I had bought a few days ago. (I often have a cauliflower slowly withering in the fridge, although it is always bought with the virtuous intention of using it “to make something healthy” – a perverse virtue and intention, if anything, because I’m not crazy about cauliflower. So why do I buy it, you ask? Because I like the virtuous feeling I get when I decide to cook a vegetable I don’t like very much.) Anyway... aha! Inspiration had arrived and it looked very much like a cauliflower.
(I wasn't particularly surprised that the miracle hadn't happened - I probably didn't believe in it enough. Please let's not confuse the issue by suggesting that the inspiration WAS the miracle! Let's be very clear that they are two separate and very different things. Inspiration = my work. Miracle = godly work in the form of disappearing half-bottle of tandoori paste. Which didn't happen.)
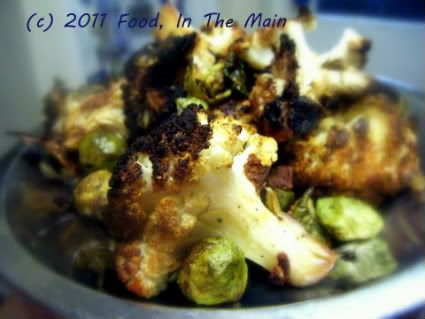
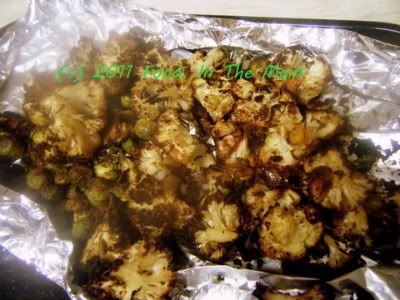
So that's what I made - oven-roasted tandoori cauliflower. I didn't parboil the cauliflower (although I should have) because it felt like too much work. I just trimmed the hard stem underneath and cut the head into quarters (again, I should have broken them into florets, but laziness struck again). Then I spread the tandoori paste over the quarters and made a foil packet in which to steam-cook the pieces in the oven. It took blinkin' AGES before the cauliflower pieces were even part-cooked, so I would definitely recommend parboiling the cauliflower. The recipe below reflects this rather than the method I followed.
Oh, and the baby brussels sprouts you see in the photo? They have nothing to do with the recipe so feel free to ignore them. There were fewer than a dozen and I threw them in with the cauliflower because I didn't want to save them for another occasion.
Recipe for: Oven roasted tandoori cauliflower
 Ingredients:
1 medium cauliflower
4-5 tbsp tandoori paste (readymade)
1/2 tsp freshly ground black pepper
1 tbsp oil
2-3 slices of lime or lemon
Method:
1. Cut the cauliflower into large florets.
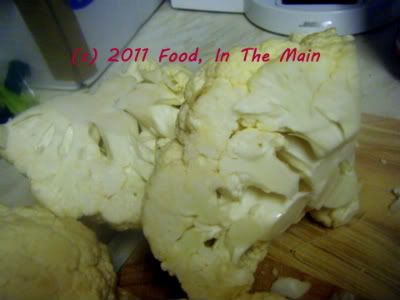 2. Dunk the florets in a pan of boiling water for 3-4 minutes, or until they are partly cooked. Then drain and pat dry. Mix the oil and tandoori paste together, then smear the paste evenly over the florets.
 At this point you can let them marinate for an hour or so, before baking.
3. Place the cauliflower florets on a tray covered with foil which has been greased with oil or sprayed with a non-stick spray.
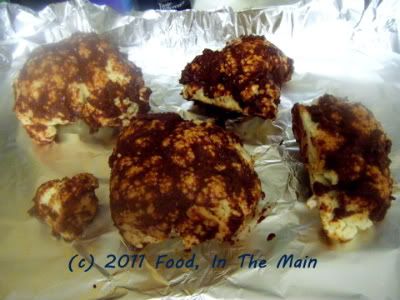 Bake the florets at 200C for 15-20 minutes, carefully turning them over after 10 minutes or so. The florets should be cooked and beginning to lightly char, but not so soft that they fall apart when touched.
 4. Serve hot with a squeeze of lemon over.
RECIPE: OVEN ROASTED TANDOORI CAULIFLOWER
Ingredients:
1 medium cauliflower
4-5 tbsp tandoori paste/marinade (readymade)
1/2 tsp freshly ground black pepper
1 tbsp oil
2-3 slices of lime or lemon
Method:
1. Cut the cauliflower into large florets.
2. Dunk the florets in a pan of boiling water for 3-4 minutes, or until they are partly cooked. Then drain and pat dry. Mix the oil and tandoori paste together, then smear the paste evenly over the florets. At this point you can let them marinate for an hour or so, before baking.
3. Place the cauliflower florets on a tray covered with foil which has been greased with oil or sprayed with a non-stick spray. Bake the florets at 200C for 15-20 minutes, carefully turning them over after 10 minutes or so. The florets should be cooked and beginning to lightly char, but not so soft that they fall apart when touched.
4. Serve hot with a squeeze of lemon over.
4. Serve hot with a squeeze of lemon over.
RECIPE: OVEN ROASTED TANDOORI CAULIFLOWER
Ingredients:
1 medium cauliflower
4-5 tbsp tandoori paste/marinade (readymade)
1/2 tsp freshly ground black pepper
1 tbsp oil
2-3 slices of lime or lemon
Method:
1. Cut the cauliflower into large florets.
2. Dunk the florets in a pan of boiling water for 3-4 minutes, or until they are partly cooked. Then drain and pat dry. Mix the oil and tandoori paste together, then smear the paste evenly over the florets. At this point you can let them marinate for an hour or so, before baking.
3. Place the cauliflower florets on a tray covered with foil which has been greased with oil or sprayed with a non-stick spray. Bake the florets at 200C for 15-20 minutes, carefully turning them over after 10 minutes or so. The florets should be cooked and beginning to lightly char, but not so soft that they fall apart when touched.
4. Serve hot with a squeeze of lemon over.
Powerhouse muffins - what else could you possibly call muffins that have, as part of the ingredients, peanut butter, mashed banana, fresh pineapple, flaxseed powder, toasted skin-on almonds, raw cauliflower...
Wait, what? Cauliflower? That smelly vegetable? In a sweet muffin? Oh yes, you read that right, people. This muffin recipe actually does have raw cauliflower as an ingredient. If you're like me, you'd be wondering why anybody would want to add cauliflower to a muffin. (If you're not like me and you routinely add inappropriate ingredients to your recipes and make a success of them, what are you doing reading this blog in the first place??? My conservative - in terms of mixing and matching food ingredients - blog will hold no surprises for you!)
But while I might not come up with weird and wonderful food ideas all on my own, I'm still capable of recognising weird and wonderful food ideas when I come across them on other blogs. And, assuming the weirdness and wonderfulness does not seem completely insane to me, I can be intrigued into trying out the weird and the wonderful for myself, just to see if the weird and the wonderful can actually come together and make something edible and tasty.
I really, really didn't think the muffins would turn out well - in the sense that they would appeal to my tastebuds, especially with me knowing about the cauliflower. (I would have preferred to make them without me knowing, to be honest, but I just couldn't bend reality enough. Should have tried harder, maybe...) I was doubtful about the muffins' edibility mainly because I'm not one of those people who eat dreadful-tasting things merely on the dubious grounds that they're "healthy". My healthy has to come strongly disguised as tasty, let me tell you.
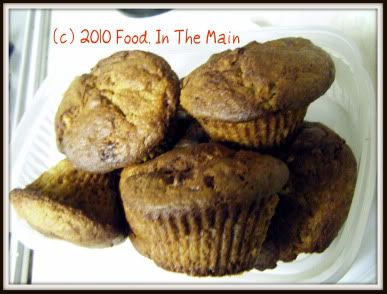
Anyway, as I was saying, I was sufficiently taken up with the thought of trying out the muffins on Pete (what, did you think I'D actually eat one first???), so I went ahead and made them, with a couple of minor changes in ingredients and quantities. (The original recipe can be found here.) As it turned out, even if I'd wanted to be the guinea pig, Pete didn't give me the chance. He sneaked one while it was quite hot and still cooling on the countertop, and pronounced them "lovely". To be fair, they smelt really rather nice.
I let him eat the muffin fully and start on another before I said: "The muffins are nice, are they?"
"Oh yeah, really soft and fruity."
"Oh good," I said, happily. "So do you want to know what's in them?"
He regarded me suspiciously, mid-bite. "What? I suppose you're going to say it's something dreadful?"
"Depends on what you'd consider dreadful." I grinned at him. "It's got pureed cauliflower in it!"
He looked at the half-eaten muffin in his hand like it was an apple in which he'd found half a worm.
"Cauliflower?" he repeated in pained disbelief. "What in god's name made you think of making muffins with cauliflower?"
"It was a recipe I saw on a blog," I said. "Obviously it works, because you couldn't taste or smell the cauliflower. Glad you tasted it first, though."
He made a few noises like he was going to be sick, while swallowing the rest of the muffin. "For god's sake, don't sppring this sort of thing on me!" he grumbled.
And then he went back to the kitchen to get himself another muffin.
Recipe for: Powerhouse muffins
Ingredients:
1/2 (heaped) cup light brown sugar
1/4 cup peanut butter (I used chunky, and I'm glad I didnt use 1/2 cup as I found the peanut butter taste far too strong - and sort of overbaked, too, when I tasted a muffin)
1 large banana, mashed with a fork
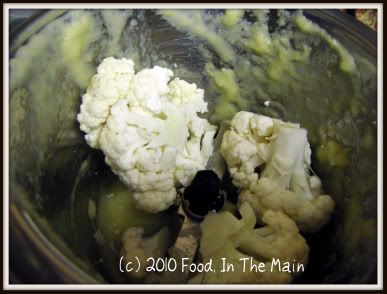
1/2 cup raw cauliflower puree (leave out the stem, use just the "flowers" in the puree)
1/4 cup fresh pineapple puree
1 large egg
1 cup whole-wheat self-raising flour
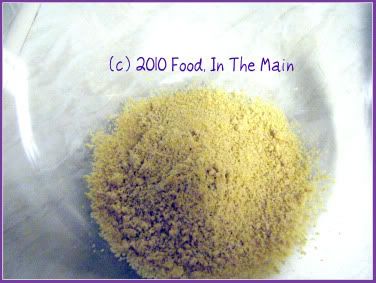
1/4 cup powdered flaxseeds
1/2 tsp baking powder
1/2 tsp baking soda
2 tsp vanilla extract
15-20 skin-on almonds (toasted and chopped)
Method:
1. Heat oven to 180C/350F. Spray 12-cup muffin tray with non-stick spray or use silicone liners (which I sprayed anyway).
2. Mix brown sugar, flaxseed powder,
mashed banana, pineapple
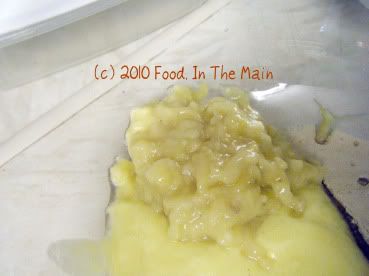
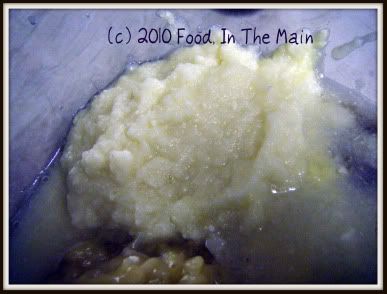
and cauliflower purees,
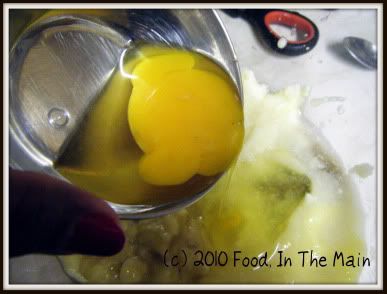
egg,
peanut butter,
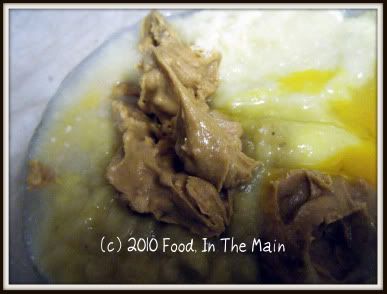
and vanilla extract. Mix well.
3. In a separate bowl, mix flour, baking power and baking soda.
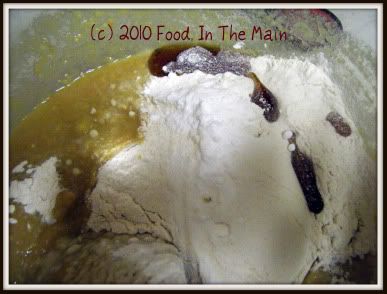
Pour into puree mixture, stirring just until mixed. The batter will be lumpy.
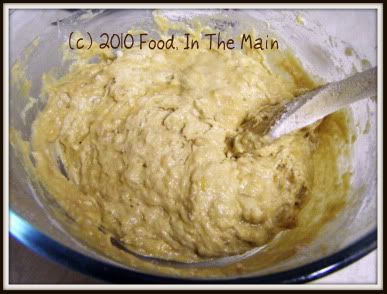
Lightly stir in the chopped toasted almonds.
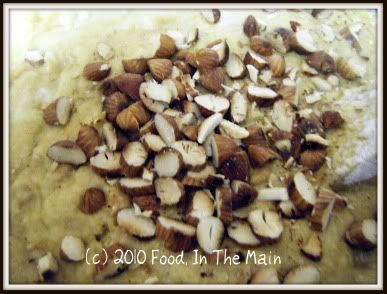
4. Divide batter into muffin cups and bake till the muffins are done (20 minutes or more, depending on your oven).
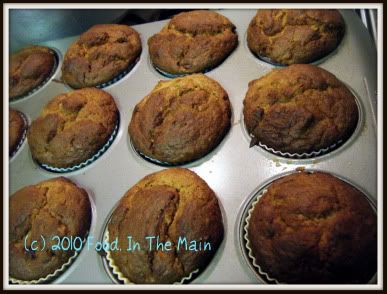
Test with a toothpick to check. Best served warm and fresh, but can be reheated to good effect in a microwave oven.
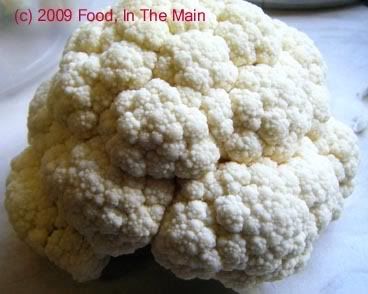 Cauliflowers were not my favourite vegetable when I was a younger person, and there were very few dishes made with it that I liked then. The rare occasions on which I had cauliflower anything were usually in restaurants... usually with the hapless vegetable deep-fried into submission and labeled as manchurian (or manjoori, or manjoorian, or manchuri, and even menjurien - depending on the restaurant, and with the variations limited solely by the creativity of the employee in charge of writing out the menu).
I don’t remember my mother making anything with cauliflower that make me feel more kindly towards the vegetable – and let me hasten to add that it wasn’t her fault, it was more than likely just me being pig-headed about changing my opinion.
But when amma made cauliflower usili with it the last time she was here, this smelly vegetable shone in an entirely new light. Yes I know, usili is hardly a new concept, but let’s just say that I hadn’t thought about cauliflower usili as a viable recipe… and really, the smell of cooking cauliflower put me off trying it for myself – it comes only next to the smell of cooking carrots for unpleasantness. This time when amma made it – with masoor dal, no less - I made sure to click photos so that the recipe could be recorded for posterity and potential cooks/homemakers/foodies. I may or may not make it myself – only time and desperation will tell – but I do vouch for its utter scrumminess.
Er - just wondering... who else has the problem of reverting to Enid Blytonish expressions of approval when it comes to food enthusiasm? Malory Towers or St Clare’s, anyone?
Recipe for: Cauliflower masoor-dal usili
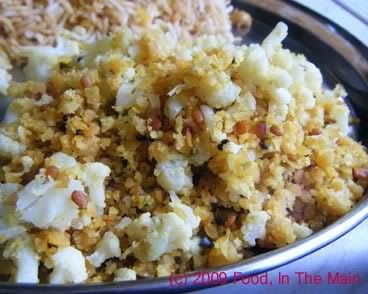
Ingredients:
1 medium head of cauliflower, broken into florets
1 cup masoor dal
3-4 fresh green chillies (or to taste)
2 tsp urad dal
1 tsp mustard seeds
4-5 fresh curry leaves
1/4 tsp asafoetida powder
1 tsp oil
Salt to taste
1. Wash masoor dal in 2-3 changes of water, then soak in water for 2o minutes.
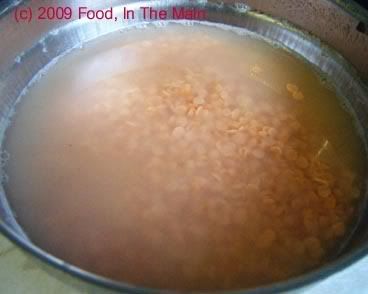
2. Grind to a coarse paste with green chillies and 1/2 tsp salt.
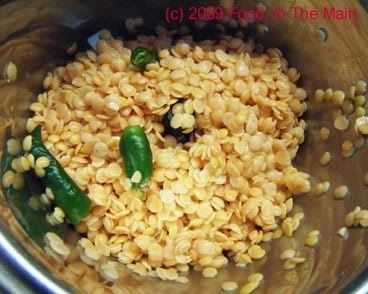
3. Steam the ground dal for 12 minutes in a steamer.
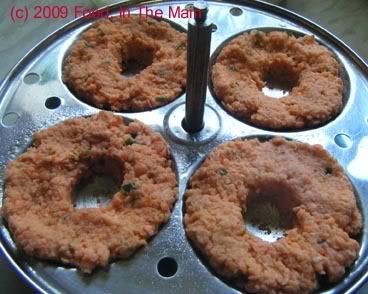
4. Wait 5 minutes, then remove the steamed dal cakes and break them up.
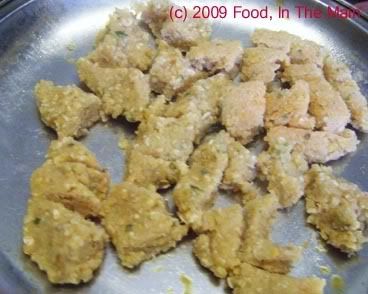
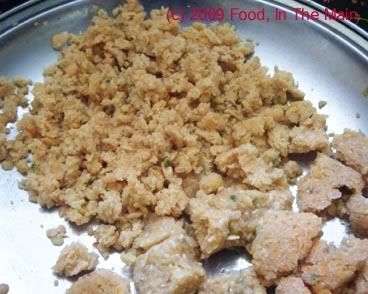
5. Use your fingers to crumble the dal to small pieces. There should be no large lumps left.
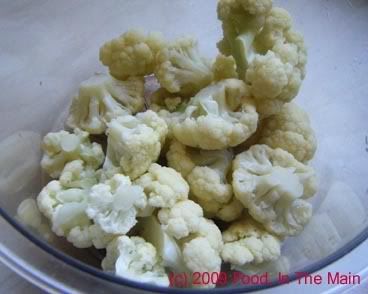
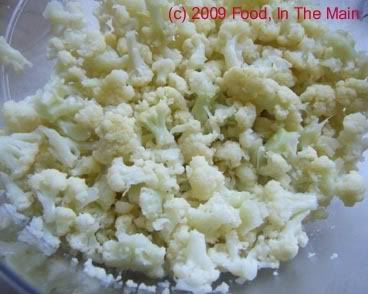
6. Steam the cauliflower florets till they're done but not mushy.
7. Mash the cooked florets gently with a spoon to break them up into small pieces - pea-sized or smaller if possible.
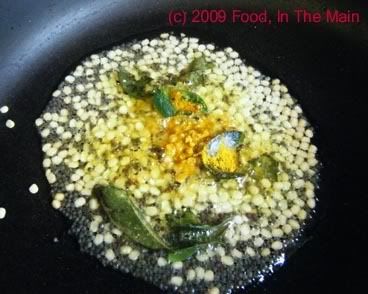
8. Heat the oil in a pan, add the mustard seeds, curry leaves, asafoetida powder, turmeric powder and urad dal. Cover the pan while the mustard seeds pop.
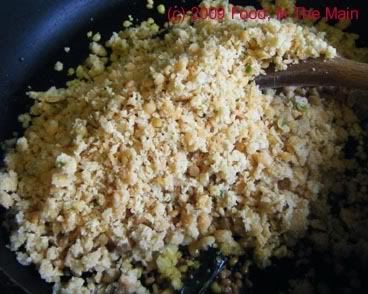
9. When the urad dal turns golden brown, add the crumbled cooked dal and mix well.
10. After a couple of minutes, add the cauliflower pieces and another 1/2 tsp salt (remember the dal is already salted, so don't add too much salt).
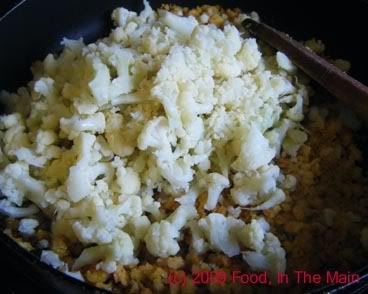
11. Mix the dal and vegetables lightly till it's all evenly distributed. When the usili is thoroughly heated, turn the heat off.
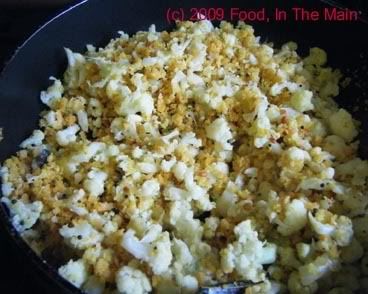
12. Serve hot as a side dish with plain cooked rice and any dal-less gravy (mor kozhambu, vattha kuzhambu, etc) or thogayal.
There are days when trying to get some inspiration can be as elusive and exasperating an exercise as trying to grab a handful of water. The harder you try to grab it, the less there is in hand. Since my previous post, I seem to have developed the written equivalent of speechlessness. A blank page reflects a blank mind... or is it the other way around? Whatever, I decided that I would write at least one paragraph before posting a recipe (and yes, there are recipes waiting to see the light of publication, as it were) - and never mind if it has nothing to do with food or food writing.
So that was the paragraph.
And here's the recipe.
Recipe for: Tomato-vegetable rice

Ingredients:
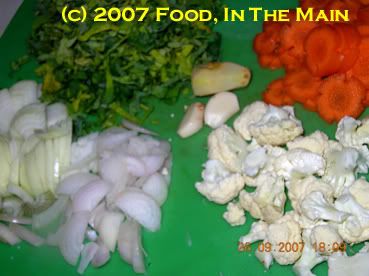
2 cups vegetables of choice, chopped (I used cauliflower, spinach and carrots)
1 large onion + 5 shallots, sliced thin (or use two onions)
1 tsp ginger-garlic paste
3 tomatoes + 1 tomato, chopped
½ cup frozen peas
1 cup loosely packed fresh coriander leaves
4-5 green chillies, slit (or as per taste)
1-1/4 cups uncooked basmati rice, soaked for 20 minutes
1 tsp coriander powder
½ tsp cumin powder
2 tsp oil
Salt to taste
A few fresh curry leaves
Water as required
Method:
1. Grind 3 tomatoes and the coriander leaves to a smooth paste. Reserve.

2. Heat the oil in a wide pan and add the green chillies, coriander and cumin powder and curry leaves. Fry for 30 seconds or so on high heat.

3. Add the sliced onions and stir, frying till the onions begin to turn translucent and pale brown.

Then add the remaining chopped tomato and let it cook till it starts to mush down.

4. Add the remaining vegetables and mix well, letting them cook on medium heat for about 4 minutes, until the spinach wilts.

5. Then add the rice (after draining all the water) to the pan

and stir on high heat till it is well mixed in.

6. Add the frozen peas now and stir them in.

7. Now measure out the ground tomato-coriander paste in a cup and pour it in. Add as much water as required to make a total of 2-1/4 cups liquid. Add salt to taste and stir it all in.

8. Let the water-tomato paste mixture come to a bubbling boil, then turn down the heat, smoothen the top and cover tightly with a lid.

9. After 20 minutes, turn off the heat. Let the pan stay covered for another 10 minutes. Then uncover, gently stir the rice mixture, and serve hot with poppadoms and raita.


