Showing posts with label tomato. Show all posts

Thursday, November 03, 2016

Blackeyed bean curry

I love my local "Indian" shop in Wellington. Del, the owner, is a really nice man with a great sense of humour and enough knowledge of rugby to engage with Pete. Plus, he keeps adding new products, especially in the fresh frozen section. I might not get a wide variety of fresh and exotic vegetables there, although most of the Indian staples are easily available, but there's plenty in the frozen section to keep me happy.

Like the fresh frozen black eyed beans that I bought the other day. (I also bought a couple of bags of some type of mystery greens, but that's another story.) I guess my foodie friends will understand when I say that my cup of happiness ranneth (new word!) over when I saw the fresh beans and green chickpeas in the freezer section. 

I made a curry the same evening with the black eyed beans - really tasty it was, too. I won't say that it will rock your world, although it should. (Mine wobbled a bit on its axis.)

Recipe for: Blackeyed bean curry
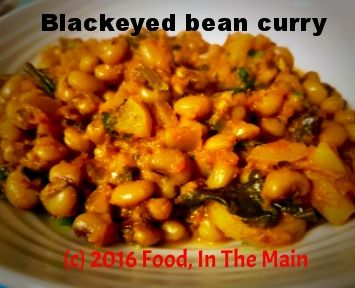
  
 photo 3c815a01-06df-43e4-b706-5b7b4fe807a1_zpsxbpircn9.jpg

Ingredients:

2 tsp oil
2 cups fresh frozen blackeyed beans
1 medium potato, sliced into strips
3 large tomatoes, chopped fine
1 large onion, chopped fine
3-4 green chillies, minced (or to taste)
1" piece ginger, grated
2 cloves garlic, minced
1/2 tsp coriander powder
1/2 tsp cumin powder
1 tsp Kitchen King masala (or garam masala)
1-2 cups water
1/4 cup yogurt
Salt to taste
Juice of half a lime
Coriander leaves for garnish

Method:

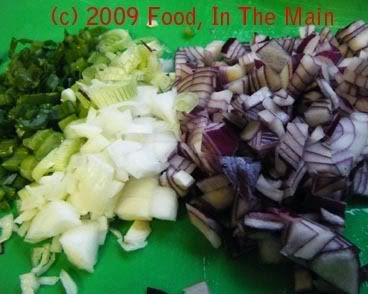
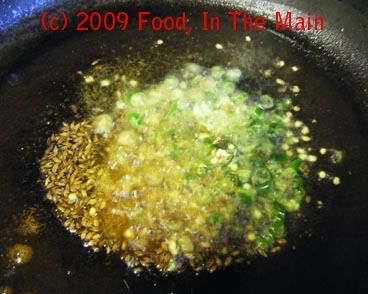
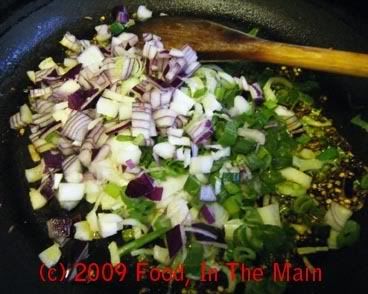
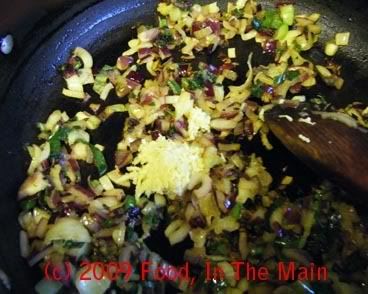
1. Heat the oil in a saucepan and add the onion, green chillies, ginger and garlic along with the coriander and cumin powder. Mix well and fry on medium heat for 2-3 minutes, stirring frequently, until the onion starts to soften.

2. Now add the chopped tomatoes and sliced potatoes and stir-fry for 4-5 minutes. Add the frozen blackeyed beans, pour in a cupful of water and bring the mixture to a boil. Then cover the pan, turn down the heat and let the beans cook for 10 minutes. Stir once in a while so that the masala does not burn. Add a little more water if required.

3. Once the potatoes and beans are cooked, and the sauce is thick, stir in the yogurt over medium heat. Do not let it boil after adding the yogurt. Add salt to taste and mix it in, then the lime juice. Turn off the heat, sprinkle the beans with the chopped coriander and serve hot with rice or chapaties. 

Saturday, May 30, 2015

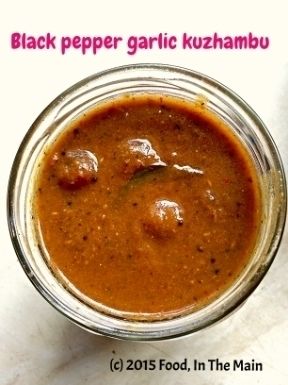
Black pepper garlic kuzhambu

I simply had to post this kuzhambu recipe, because it is just literally so lip-smackingly good - thick, tangy, hot, spicy, a tiny bit sweet and entirely irresistible! The recipe is from a foodie group on Facebook of which I am a member, and I can't seem to find it again on FB (which I wanted to do for crediting purposes on my blog). I am SO pleased that I wrote it down on a piece of paper when I saw it on FB (not having had access to a printer or my own computer at that point). I state freely that this is not my own recipe, and I do really wish I knew whose it was. All I DO know for certain that it is comfort food whose ingredients are good for health.

I made the kuzhambu and refrigerated it just before going on a week-long trip on a narrowboat with my husband. It was a lovely, relaxing, stressfree holiday, with the most gorgeous, eye-poppingly pretty scenery... but that's only by the way. The main thing is, I knew that the food I would be eating on the boat (and off it, at the various canal-side pubs that we stopped at) would not be spicy enough for me, and I would be dying for something to tickle my palate when we got back.

And so it turned out.

I certainly enjoyed the food en route, but I couldn't wait to get stuck into hot and spicy comfort food when we got home - and this kuzhambu was absolutely just the thing. I could not have asked for anything better. All I had to do was make some rice - and because it was too late to make any vegetable side-dish to accompany it (and because I was much too hungry), I just microwaved a couple of poppadoms and ladled the kuzhambu on the rice. It tasted like heaven - but there was rather too much of the kuzhambu on the rice, because it was so full-on hot and peppery. It's really meant to be mixed with rice in small amounts, not in quantities like regular sambar or rasam. I had to tone the spice quotient down somewhat with a large dollop of Greek yogurt on the side of my plate, but that was a wonderful combination anyway.

Oh, and if you're wondering why I didn't mention the taste of the large amounts of garlic that went into the kuzhambu, it's because it doesn't come across as overly garlicky. So don't worry about it, and don't skimp on the garlic; in fact, next time I will probably add even more garlic. It's good for you, anyway, so no harm done.

One other thing - the correct amount of salt is essential, otherwise the kuzhambu tends to be on the sweetish side. I'm used to making do with less salt in my cooking than (after all, you can always add more, but you can't really undo oversalting disasters!) but in this case I did have to add some more. So, it would probably be best to start by adding 3/4 tsp salt, then taste-testing to see if your palate requires more. Let your tongue and palate be the judge.

Happy eating!


Recipe for: Black pepper garlic kuzhambu

 photo Pepper20garlic20kuzhambu_zpsa6inuc2n.jpg

Ingredients:

1/4 cup baby shallots/sambar onions
1 tbsp tamarind paste, dissolved in 1/2 cup water
1/2 tsp turmeric powder
1 tsp jaggery (raw palm sugar) (optional)
1 tbsp neutral oil
Salt to taste

To grind:

1-2 tsp black peppercorns (more if you love your black pepper)
6-8 dried red chillies
1 whole head of garlic (about 1/8 cup garlic cloves, peeled and chopped into chunks if very large)
2 tsp cumin seeds
1 medium onion
1 medium tomato
3 sprigs curry leaves

To temper:

1 tbsp nallennai (unrefined sesame oil)
1/2 tsp vendhayam (methi/fenugreek seeds)
2 tsp mustard seeds
10 curry leaves

Method:

1. Heat 1/2 tbsp oil in a small pan and add the first four items on the "To grind" list. Saute for 2-3 minutes on med-high, stirring, until the chillies turn a darker shade of red and the garlic is starting to turn colour. Then add the remaining ingredients and fry until the garlic is golden. Allow to cool, then grind to a smooth paste. Set aside till required.

2. Heat the remaining neutral oil, add the small onions and fry till golden (approx 3-4 minutes). Add the tamarind water, salt to taste, turmeric and jaggery. Bring it to a boil and let it bubble for 2 minutes.

3. Now add the ground paste and 2 cups water and mix well. Bring to a boil again and let it simmer for 10 minutes, or until it is thick enough to coat the back of a spoon.

4. As a final touch, heat the nallennai in a small pan, then add the mustard seeds and curry leaves. Cover and let the mustard seeds pop. Now tip in the fenugreek seeds and fry for 30 seconds or until the seeds turn a darker shade of brown. Be careful not to burn the seeds or they will be horribly bitter. Pour the tempering over the kuzhambu and stir it in. Let it simmer for another 3 minutes, then take the pan off the heat.

Serve sparingly over steamed white rice with a dollop of ghee, any dry vegetable curry and microwaved poppadoms.

Tuesday, June 08, 2010

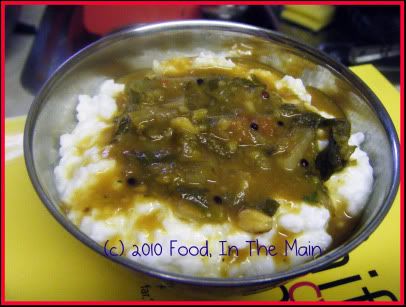
Vendhaya keerai (fenugreek greens) sambar

I'm not going to say this is an original idea, but - for me at least - it was inspired by the "keerai-kuzhambu" that happened fairly often when we were growing up. It was a generic name for a new dish born of the marriage of leftovers (basically, keerai (spinach) and whatever kuzhambu had been made - usually sambar or vetral kuzhambu) and served with pazhaya sadam (old cooked rice soaked in water overnight and made up the next day into a loose mix with buttermilk), or with dosas or idlis - but never with fresh rice, I guess we kids didn't think it deserved that accolade!

I've merely reprised the role of keerai-kuzhambu, as it were, by using vendhaya keerai (methi/fenugreek greens) instead of regular, to make fresh sambar. However, that didn't stop me from eating the sambar with curd rice.

Recipe for:
Vendhaya keerai (fenugreek greens) sambar

Photobucket

Ingredients:

1/2 cup toor/tuvar dal
2 green chillies, slit (optional)
Fresh methi (fenugreek greens), leaves and tender stems chopped finely
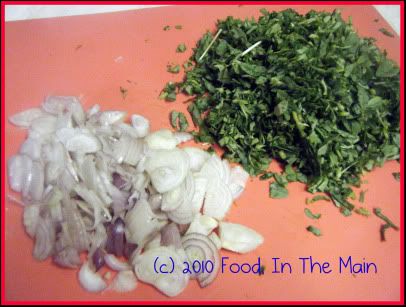
5-6 shallots, sliced thin

Photobucket

2-3 cloves garlic, minced
1 medium tomato, chopped
1.5 tsp tamarind paste dissolved in 4 cups water
2 tsp oil
1/3 tsp turmeric powder
1 small sprig curry leaves (6-10 leaves)
1 tsp mustard seeds
1/2 tsp cumin powder
1/4 tsp asafoetida powder (optional)
2 tsp sambar powder
1 tbsp rice flour
1 tbsp chopped coriander leaves for garnish

Method:

1. Pressure-cook the tur/tuvar dal 1.25 cups water, 1/4 tsp turmeric powder and two slit green chillies. Remove the green chillies after the dal is cooked, and mash the dal smooth.
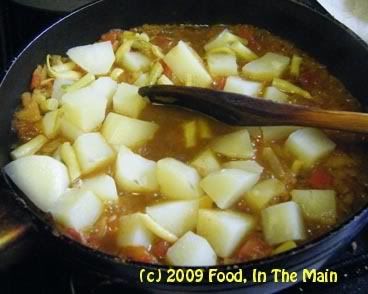
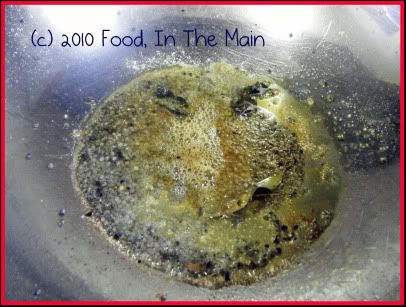
2. Heat the oil in a deep-sided pan and add the curry leaves, mustard seeds, cumin powder and asafoetida powder. Cover and let the mustard seeds pop.

Photobucket

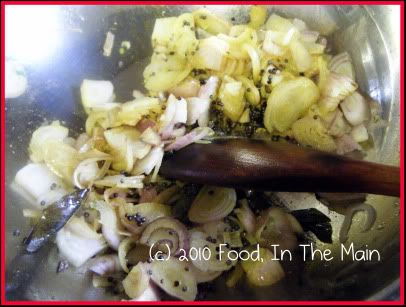
3. Once the mustard seeds have popped, add the sliced shallots and garlic. Cook over medium-high heat till the shallots start to soften.

Photobucket

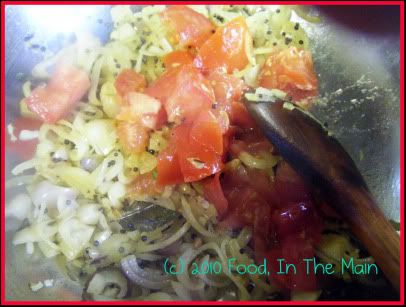
4. Add the chopped tomato and let it cook till it begins to turn mushy.

Photobucket

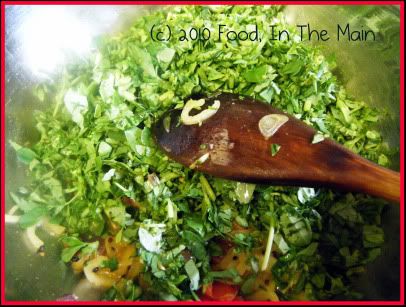
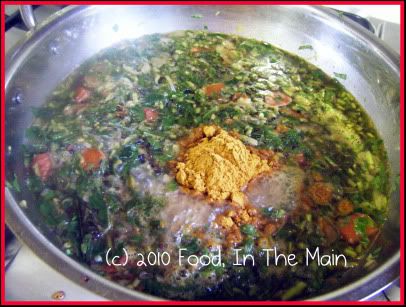
5. Now add the chopped vendhaya keerai (fenugreek greens) and stir till it's well mixed with the contents of the pan. Let it cook on med-low heat till completely wilted.

Photobucket

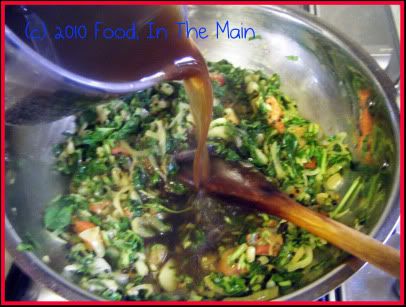
6. Now pour in the tamarind water and bring it to a brisk boil.

Photobucket

7. Once the water is boiling, add the sambar powder and mix it in.

Photobucket

Let this boil for 10-15 minutes, then add the cooked tur/tuvar dal along with the rice flour dissolved in 4-5 tbsp water. Add salt to taste, bring the sambar back to the boil, then reduce the heat and let it simmer for another 5 minutes.
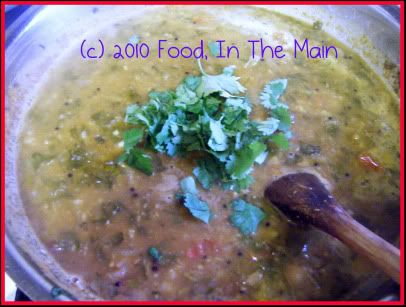
8. Sprinkle the chopped coriander and serve hot over plain rice, or as a side dish with curd rice.

Photobucket

Thursday, October 15, 2009

Black chickpeas in tamarind gravy (kala chana puli kuzhambu)

Here’s a sort of Southie version of kala chana masala, cooked with tomato and onions and tamarind and sambar masala to make a tangy, spicy and really mouth-wateringly aromatic puli kuzhambu.

Yep, that’s it. No more story to this than the preceding.

And you thought I couldn’t be brief and pointful… (as opposed to pointless)


Recipe for: Kala chana puli kuzhambu

Photobucket

Ingredients:

1 can black chickpeas (kala chana)
1 large tomato
1 large onion
2 green chillies
pinch of asafoetida powder
1/2 tsp turmeric powder
1 tsp coriander powder
1/4 tsp roasted fenugreek powder
1 heaped tsp sambar powder
1/2 tsp red chilli powder (or to taste)
1-1/2 tsp tamarind paste
2 tsp oil
1 tbsp rice flour
2 cups water (more if reqd)
Salt to taste

1. Slice the onion, chop the tomato and vertically slit the green chillies.

Photobucket

2. Dissolve the tamarind paste in 1/2 cup hot water, add the rice flour and whisk it in so that there are no lumps. Reserve.

Photobucket

3. Heat the oil in a pan, add the coriander powder, the asafoetida powder, the turmeric powder and the green chillies, and fry these for 30 seconds.


Photobucket

4. Add the sliced onions and stir-fry till they begin to soften.


Photobucket

5. Add the chopped tomato now and cook it till it begins to turn mushy.


Photobucket

6. Next add the roasted fenugreek powder, the red chilli powder and the sambar powder and stir it all in. Fry this for 2 minutes.


Photobucket

7. Then add the drained black chickpeas to the pan

Photobucket
and stir for 2-3 minutes till they are coated well with the masala.

Photobucket

8. Pour in the tamarind water now, add another 1-1/2 cups water and salt to taste. Bring it to a bubbling boil, then reduce the heat to medium-low and simmer the kuzhambu for 10 minutes or till it comes "together" and is no longer watery. That is, it should be fairly thick.

Photobucket
Let the kuzhambu "rest" covered for 10 minutes, then serve it hot over cooked rice.

Wednesday, October 14, 2009

Tomato shallot coconut chutney

I think the previous post exhausted any reserves I might have had of creative writing (my euphemism for "blagging"), so all I have to say about this recipe is that it’s a variation of tomato chutney - or of coconut chutney, or onion chutney... I leave it to you, dear readers, to decide. I personally don’t bother overmuch about the nomenclature of anything edible, so long as it tastes good.

Recipe for:
Tomato shallot coconut chutney

Photobucket


Ingredients:

3-4 shallots
1 tomato
3-4 green chillies (or as per taste)
3-4 tbsp fresh coconut, grated
3-4 tbsp fresh coriander leaves
1-1/2 tsp oil
1/2 tsp mustard seeds
1 tsp urad dal
a few curry leaves
pinch of asafoetida

Salt to taste

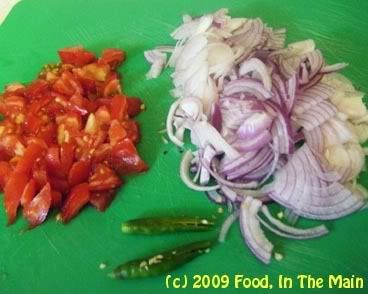
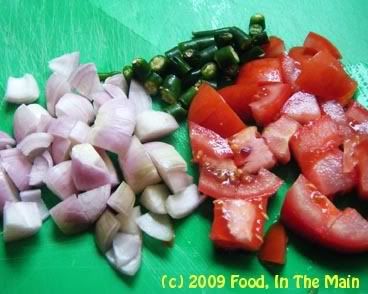
1. Chop the shallots, tomato and green chillies into small pieces.

Photobucket

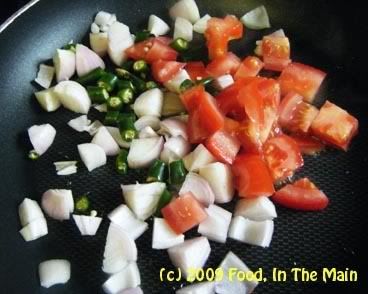
2. Heat the 1 tsp oil in a small pan and add the chopped tomatoes, shallots and chillies.

Photobucket

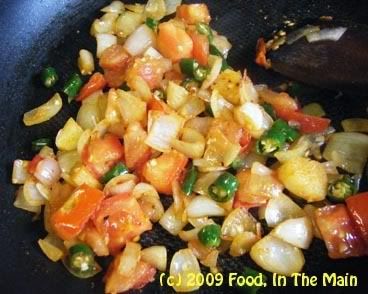
3. Fry on medium high heat till the onions become soft and the tomatoes mushy.

Photobucket

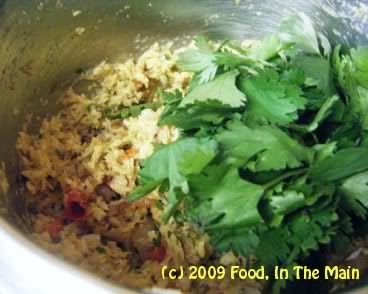
4. Let the cooked vegetables cool, then grind to a smooth paste along with the coconut and coriander leaves, using 3-4 tbsp of water. Remove to a serving bowl and mix in salt to taste.


Photobucket

5. Heat the remaining 1/2 tsp oil, add the mustard seeds, asafoetida powder, curry leaves and urad dal, cover and let the seeds pop and the dal turn golden. Pour this tempering over the chutney, stir it in and serve as an accompaniment with dosas, idlis, rotis, etc.

Monday, October 12, 2009

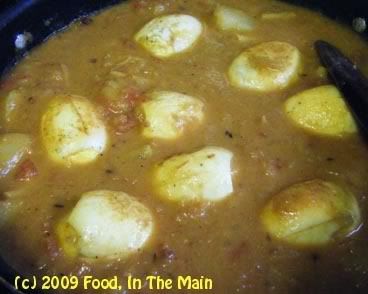
Sweet-sour roasted egg curry

This recipe came about because of something that we had eaten at a restaurant called “Saffron” in Shrewsbury. It’s slightly different from the run-of-the-mill takeaways because it offers different types of fish cooked in a sauce chosen by the customer and spiced as specified. It also had a couple of different vegetarian dishes on offer, one of which I tried because it seemed interesting – potatoes in tamarind sauce.

It was interesting – in fact, it was better than that. It was superb, the sauce a perfect balance of sweet and sour and spicy... but the chilli hit snuck in very quietly behind the tangy explosion on the tongue. The only thing that stopped the dish from being perfect was the amount of oil in it, but once I had spooned out the worst of the stuff, the sauce was delicious. In fact, Pete liked it so much that I declared I would try and replicate it at home.

A few weeks later, I had still not done anything about it (big surprise). But then circumstances butted in and forced my hand. I’ll list the circs because I’m sure y’all would want to know – hey, it’s interesting, allright?

Circ 1 - Nearly a dozen eggs that were very close to their use-by date

Circ 2 – Pete’s son’s friend who was staying over unexpectedly

Circ 3 - A nearly empty tin of Alphonso mango puree

Circ 4 – Some new potatoes... oh all right, potatoes that had been new awhile ago, but were now on the verge of parenthood right there in my potato bin.

Circ 5 – Pete, who had been persistently NOT forgetting to remind me to make “that tamarind thing” for the umptyninth time (and that was just counting that week).

(Told ya the circumstances would be interesting. Or perhaps not. But this post needed content, and one way or the other it's now got a decent amount of text in it.)

Anyway, given all that, what could I do but get down to making that tamarind thing. Which incidentally turned out very nicely, thank you for asking.

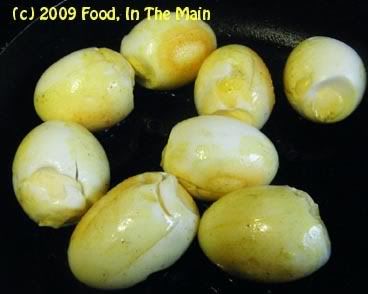
PS. I read on somebody's blog that making slits in the boiled eggs would allow the sauce to flavour the interior of the eggs while they were simmering in the sauce. I am here to say that the slits did nothing of the sort. But this didn't detract from the taste, so I didnt worry about the unreceptive eggs one bit.

And if unreceptive eggs should happen to happen to you too, neither should you. Not one bit.

Recipe for:
Sweet-sour roasted egg curry

Photobucket

Ingredients:

8 eggs, hard boiled and peeled
3 tsp oil
1/2 tsp cumin powder
1 tsp coriander powder
1/2 tsp turmeric powder
2 onions - 1 chopped fine, 1 pureed
1 tomato, chopped fine
1/4 cup slow-roasted tomato puree (or just puree one tomato)
2 medium potatoes, peeled and cut into 1cm chunks
3 tbsp mango puree (if this isn't available, use 1 heaped tbsp jaggery or dark brown sugar)
1 tbsp sugar
1 tsp tamarind paste
3/4 cup milk
Water as required
1 tsp garam masala
1 tsp red chilli powder (or to taste)
Salt to taste

1. Heat 2 tsp oil in a large pan and add the 1/2 tsp cumin powder, 1 tsp coriander powder and turmeric powder. Let them sizzle for 20 seconds.
Photobucket

2. Make four deep vertical slits in the hard boiled eggs, being careful not to cut all the way through to the other side.
Photobucket

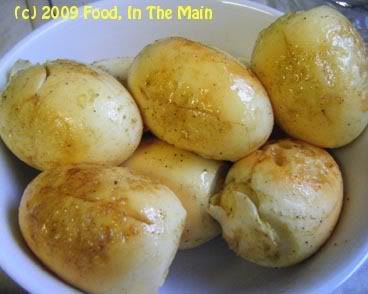
3. Fry the eggs in the tempered oil over medium heat, turning them over gently from time to time, till they are lightly golden all over and the surface is slightly blistered.
Photobucket
Remove the eggs from the oil and reserve.

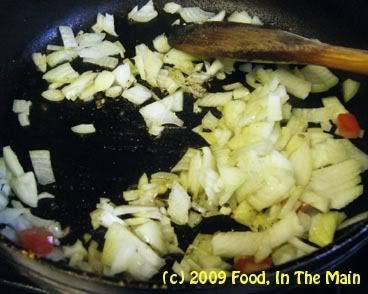
4. Add the remaining 1 tsp oil to the pain now and fry the chopped onions for 2-3 minutes.
Photobucket

5. Then add the chopped tomatoes and let them cook till they begin to turn mushy.
Photobucket

6. Meanwhile, in a small jug or glass, put in the tamarind paste and 1 tbsp sugar, add 1/2 cup warm water and whisk to mix.
Photobucket

7. Then add the mango puree (or jaggery/brown sugar) and red chilli powder and whisk again.
Photobucket

8. Pour this into the pan over the tomato-onion mixture,
Photobucket

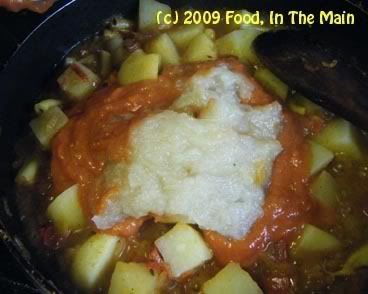
then add the peeled chopped potatoes
Photobucket

and the pureed tomato and onion.
Photobucket

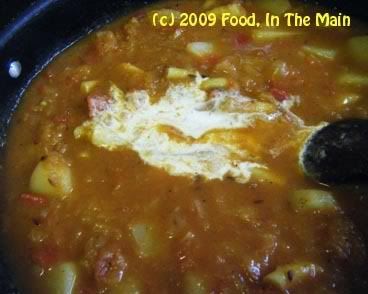
9. Stir it all in, then pour in the milk, and mix.
Photobucket
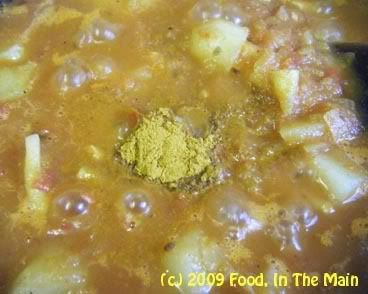
Bring the mixture to a boil, then lower the heat and cover the pan and let the contents simmer for 10 minutes, or till the potatoes are nearly done.


Taste the sauce now for the sweet-sour-hot balance. Add some lemon juice if required (or amchur if you have it) if it needs to be a bit more sour.

10. Now add the garam masala and stir it in, then add salt to taste and finally the roasted boiled eggs. Simmer the eggs gently in the masala for 7-10 minutes, turning them over occasionally and being careful not to break them, until the potatoes are completely cooked.
Photobucket
Let the curry rest for 5 minutes, then garnish with chopped coriander and serve with any simple pulao or plain white rice.

Wednesday, April 29, 2009

Posh bread upma

Ready, Steady, Cook used to be one of the cookery-cum-gameshow programmes that I watched with great enthusiasm in those far-off days when I was unemployed (on the insistence of the Home Office in the UK, I should add, and not because I was too lazy to work) and had lots of time on my hands. At that time I was unfamiliar with most British TV productions, actors, celebrities and shows – not to mention, show formats - so it was all new to me.

I still remember how horrified I was by Anne Robinson’s incredible rudeness to the participants on her quiz show, The Weakest Link, the first time I watched it. I couldn’t imagine anyone from other quiz shows I’d seen thus far – say, Mastermind UK, or Mastermind in India (with Siddharth Basu) – being so rude and getting away with it. And there didn’t seem to be any real reason for such personal attacks on what was meant to be a cerebral show. It took a while for me to realise that it was only a gimmick with Anne Robinson (ah, those days of innocence) and she was probably not as evil in real life... but the whole thing still took some getting over. Certainly, there was no way I could have faced that level of nastiness with the equanimity displayed by her victims, had I been a contestant.

Equally, I also still remember how instantly I was drawn to Ainsley Harriot’s goofy good looks, ebullient personality and permanent good cheer on Ready, Steady, Cook. The show format was also something I’d never seen before, and I was totally impressed by the amazing spur-of-the-moment decisions by the chefs on the show to make this recipe or that recipe based on what was in the bags they were given. Oh, for those days of innocence... I didn’t realise that it was all rehearsed and the chefs most likely knew what food items they were going to get from the contestants and, therefore, very likely also knew what they would be making with it.

This I discovered only during the application process for the show, when a very dear friend,
Ammani (who’s way more enterprising, energetic, enthusiastic and extroverted than I could ever hope to be) persuaded me to apply to the show as a participant along with her. We had to fill out forms telling them about ourselves, our interests, our achievements thus far, and so on. I guess this was to see if we would be interesting enough for the show (and I really do feel that the reason we didn’t make the show was my exhaustive list of non-achievements. Had Ammani gone for a different partner, it would have been a cinch for them.)

Anyhow, along with our life stories, we also had to list the ingredients that we would be bringing along for the chefs, assuming we met the show’s criteria. A-ha! That was when the penny dropped for me - and that was when all the chefs that I collectively admired so much collectively cracked at their weak point and collectively toppled off their pedestals, leaving behind only their feet of clay. (Most of them eventually clambered back on, but the pedestals were only footstools and their feet remained clayey.)

But like I said, in the beginning it was all new to me, and I watched the chefs with a level of awe that they probably didn’t totally deserve, taken in by what I thought was unrehearsed improvisation, watching the recipes they made – and all in just 20 minutes cooking time! The level of energy was always high, given the time constraints, and Ainsley Harriot's presence made the show all the more lively.

Another thing I came to realise as I watched episode after episode was that the recipes weren’t really new, as such. Perhaps they differed a little in their list of ingredients (compared to the classic originals on which the chefs based their recipes), but that was all, and the differences only arose because of what they were given to work with. There were staple recipes from various cuisines – stir fries, bhajis, curries, casseroles, etc – which featured again and again.

I’m not complaining, really. It was just something that came as a slightly surprised realisation. For instance, the classic fish-and-chips, with salt and vinegar and mushy peas on the side, would be re-marketed by a chef as “posh fish and chips” on the show – maybe the chips would be sprinkled with rosemary, or instead of deep-fried chips they would have pan-fried potatoes, or add herbs to the mushy peas, etc and so on. And definitely the plating would be as showy as possible, to accentuate the difference between the regular stuff dished out by your corner chippie and the chef-cooked posh fish-and-chips.

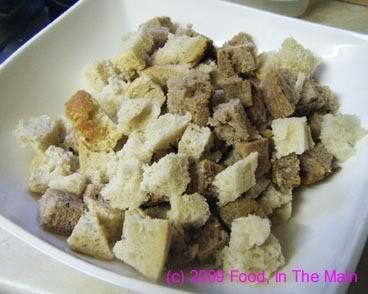
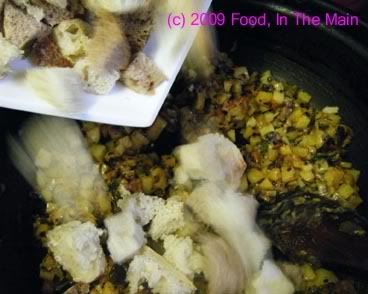
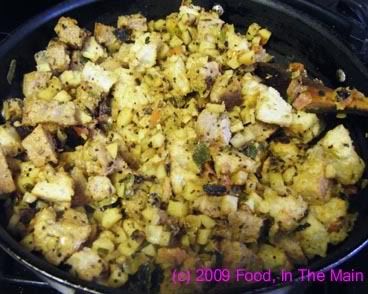
And thus, gentle reader, I finally, finally come to the point of this post – my recipe today, which is for “posh” bread upma. It’s posh because I didn’t use ordinary bread... instead, I made use of some whole-wheat walnut pave loaf and some stone-baked boule which were left over from the previous day’s meal.

Photobucket

They did make a difference, because using good bread always makes a difference. You can make bread upma with ordinary sliced white bread from your local Tesco, and it will be edible - but as like as not, the bread will not hold its own against the rest of the masala that makes up this dish, simple though the masala is.

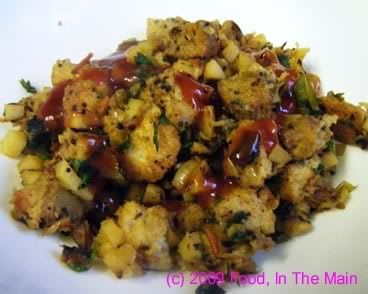
I know, I know... you’re probably wondering why this fuss over bread upma, a perfectly common dish that requires no specialty ingredients or cooking process – just stale leftover bread as the base. But bread upma is a really savoury, very delicious quick meal when you’re short of ingredients and time. You can make it as basic as you like or jazz it up – and mine is sort of poshed up. Seriously, though, the bread I used took on the flavour of the masala but didn’t itself turn to mush. It retained some bite and the small pieces of walnut only added to the upma's overall yumminess.

Stale bread is preferable for this dish, because of its firmer texture. But stale good quality bread is best, because it really makes this dish posh. In the style of Ready Steady Cook, anyway.

Recipe for:
Posh bread upma

Photobucket

Ingredients:

4 cups stale good quality bread, cut into bite sized cubes (I used walnut bread and stone-baked crusty boule)
5-6 salad potatoes, chopped into small cubes
2 medium tomatoes, chopped
2 onions, chopped
1 small leek, chopped
5-6 fresh green chillies (or to taste), sliced into thin rings
3 tbsp yogurt (I used low-fat Greek yogurt)
1/2 tsp turmeric powder

1/4 tsp asafoetida powder (optional)
1 tsp mustard seeds
1 tsp cumin seeds
a few curry leaves
1 tbsp oil
Salt to taste

3-4 tbsp roughly chopped coriander leaves for garnish

Method:

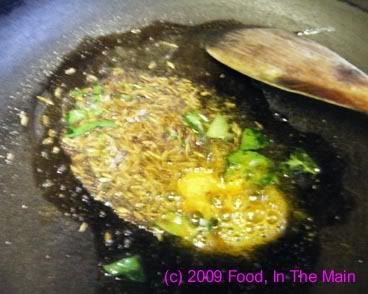
1. Heat the oil in a wide-bottomed pan and add the green chillies, curry leaves, cumin seeds and turmeric powder and asafoetida and mustard seeds. Cover the pan and let the mustard seeds pop.

Photobucket

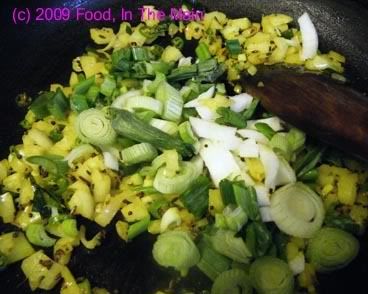
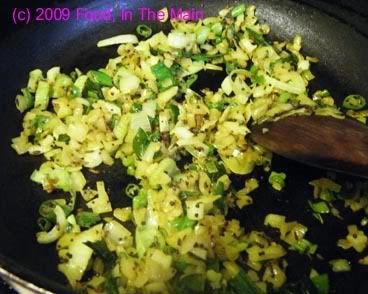
2. Add the chopped onions and leek next,

Photobucket

stir well and cook on a medium high flame till the onions soften and turn translucent and the leek has wilted.

Photobucket

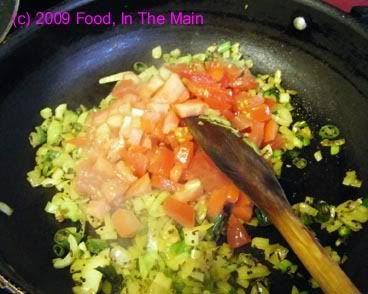
3. Now add the chopped tomatoes and cook till they soften and break down.

Photobucket

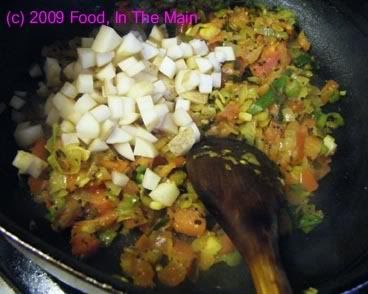
4. Next, add the cubed potatoes, stir well, cover and cook till the potatoes are done. Salad potatoes retain their shape even when cooked, but if you're using floury or mealy potatoes, make sure they dont break down completely.

Photobucket

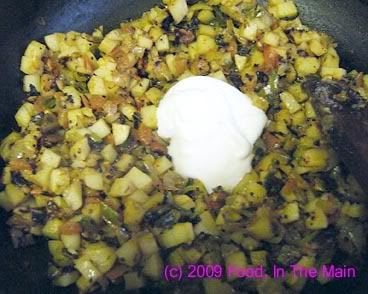
5. When the potatoes are cooked, stir in the yogurt. Turn the heat up and stir-fry for 2 minutes, till the moisture from the yogurt reduces.

Photobucket

6. Add salt to taste and mix well. (Remember that the bread will have salt in it, so dont over-salt the masala). Add the bread now and mix carefully till the masala coats the bread evenly.


Photobucket

7. Turn the heat to medium-low and fry the bread with the masala till it starts to crisp up a little at the bottom.

Photobucket

8. Sprinkle the coriander leaves, mix it all with a wide spatula and serve hot with tomato ketchup.

Thursday, April 09, 2009

Tomato rice

One of the most dismaying things that can happen to a food blogger is to find that somehow the bandwagon has been missed; that by some freak mischance, a recipe featured possibly in 99.99% of all food blogs – Indian food blogs, I hasten to add – has somehow been omitted from your own blog! Oh, that feeling of being left out in the cold, alone and separate from the buzzing masses of bloggers-with-recipes-in-common is too terrible to describe on a family-friendly blog like this one... so I will, in the interests of preventing readers from weeping all over their keyboards while reading, not describe the pathos of the situation any more.

Seriously, though, I was rather taken aback, while idly flipping down the “Rice” category on my blog, to find that I didn’t seem to have a recipe for tomato rice. It’s not that I haven’t made tomato chutney or thokku – I do have a couple of recipes for those, and one of the ways to make tomato rice is to mix that thokku with cooked rice. It’s the most basic of ways to make this savoury flavoured rice, so it doesn’t require any more instruction than “Mix the tomato thokku with cooked rice in a proportion that is pleasing to your palate”. (In fact, stopping that instruction at “rice” is probably enough!)

Photobucket

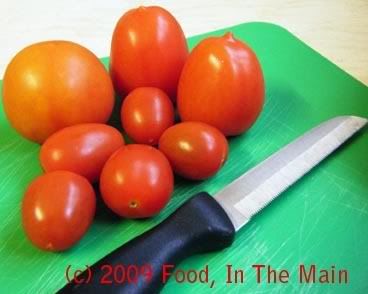
Still, to not have a recipe for tomato rice from scratch, on a blog like mine which purports to list simple basic recipes – well, that was so not on! So I rummaged in my fridge and came up with two ripe plum tomatoes, a few cherry tomatoes and a regular tomato, along with a salad onion – and some further rooting about revealed the existence of a lone red onion as well.

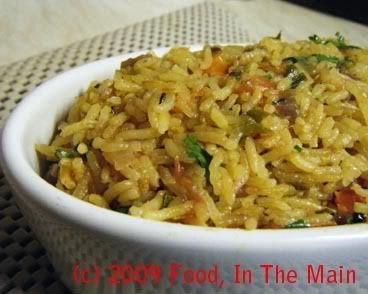
That was plenty for tomato rice for two... and so, my blog now has my version of tomato rice, and I am no longer in the cold. What a warm, fuzzy feeling of acceptance and belonging it is, to be sure… even if it’s only in my mind!

Recipe for:
Tomato rice

Photobucket

1 cup basmati rice, soaked for 30 minutes
2 cups chopped tomatoes (the better the quality, the better the final taste)
1 large red onion, chopped
1 salad onion with the green bits, chopped (optional)

Photobucket

1 tsp grated ginger
1 tsp cumin seeds
½ tsp garam masala
3-4 fresh green chillies, sliced into thin rings (or to taste)
1/3 tsp asafetida powder
½ tsp turmeric powder
Salt to taste
1-1/2 cups water
2 tsp oil
1 tsp butter
Coriander leaves for garnish

Method:

1. Heat the oil in a pan with a tight-fitting lid. Add the cumin seeds, sliced green chillies, turmeric and asafoetida powders and fry them for 40 seconds on high heat, stirring.

Photobucket

2. Add the chopped onions and mix well, frying till the onions become soft and translucent.

Photobucket

3. Now add the grated ginger and stir it in.

Photobucket

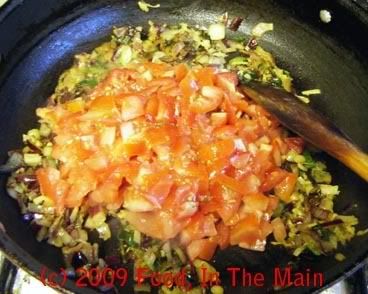
4. Next, toss in the chopped tomatoes

Photobucket

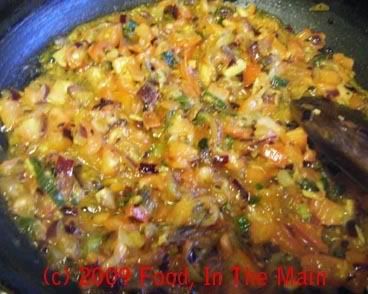
and fry till they begin to turn soft.

Photobucket

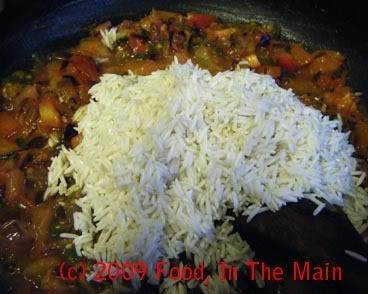
5. Now add the drained basmati rice and stir it in.

Photobucket

Fry this mixture on high heat, stirring all the time, till it starts to become somewhat dry and tries to clump together.

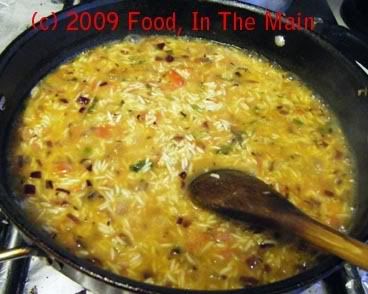
6. At this point, pour in the 1-1/2 cups water, add the salt and stir it in well. Bring the mixture to a boil.

Photobucket

7. Stir in the butter, if using.

Photobucket

8. Put the lid on the pan once the water is boiling, then turn down the heat and let it cook undisturbed for 15 minutes. Then turn off the heat and let the rice sit covered for up to 30 minutes, but a minimum of 15. Now take off the lid, sprinkle the coriander leaves and gently mix with a fork.

Photobucket

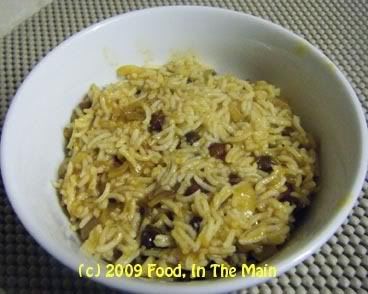
9. Serve warm with a chilled raita and potato chips. This rice tastes even better after a few hours, so it can be made in advance and reheated just before serving.