skip to main |
skip to sidebar
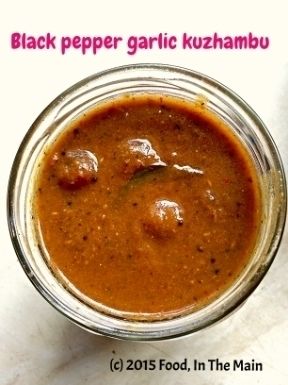
I simply had to post this kuzhambu recipe, because it is just literally so lip-smackingly good - thick, tangy, hot, spicy, a tiny bit sweet and entirely irresistible! The recipe is from a foodie group on Facebook of which I am a member, and I can't seem to find it again on FB (which I wanted to do for crediting purposes on my blog). I am SO pleased that I wrote it down on a piece of paper when I saw it on FB (not having had access to a printer or my own computer at that point). I state freely that this is not my own recipe, and I do really wish I knew whose it was. All I DO know for certain that it is comfort food whose ingredients are good for health.
I made the kuzhambu and refrigerated it just before going on a week-long trip on a narrowboat with my husband. It was a lovely, relaxing, stressfree holiday, with the most gorgeous, eye-poppingly pretty scenery... but that's only by the way. The main thing is, I knew that the food I would be eating on the boat (and off it, at the various canal-side pubs that we stopped at) would not be spicy enough for me, and I would be dying for something to tickle my palate when we got back.
And so it turned out.
I certainly enjoyed the food en route, but I couldn't wait to get stuck into hot and spicy comfort food when we got home - and this kuzhambu was absolutely just the thing. I could not have asked for anything better. All I had to do was make some rice - and because it was too late to make any vegetable side-dish to accompany it (and because I was much too hungry), I just microwaved a couple of poppadoms and ladled the kuzhambu on the rice. It tasted like heaven - but there was rather too much of the kuzhambu on the rice, because it was so full-on hot and peppery. It's really meant to be mixed with rice in small amounts, not in quantities like regular sambar or rasam. I had to tone the spice quotient down somewhat with a large dollop of Greek yogurt on the side of my plate, but that was a wonderful combination anyway.
Oh, and if you're wondering why I didn't mention the taste of the large amounts of garlic that went into the kuzhambu, it's because it doesn't come across as overly garlicky. So don't worry about it, and don't skimp on the garlic; in fact, next time I will probably add even more garlic. It's good for you, anyway, so no harm done.
One other thing - the correct amount of salt is essential, otherwise the kuzhambu tends to be on the sweetish side. I'm used to making do with less salt in my cooking than (after all, you can always add more, but you can't really undo oversalting disasters!) but in this case I did have to add some more. So, it would probably be best to start by adding 3/4 tsp salt, then taste-testing to see if your palate requires more. Let your tongue and palate be the judge.
Happy eating!
Recipe for: Black pepper garlic kuzhambu
Ingredients:
1/4 cup baby shallots/sambar onions
1 tbsp tamarind paste, dissolved in 1/2 cup water
1/2 tsp turmeric powder
1 tsp jaggery (raw palm sugar) (optional)
1 tbsp neutral oil
Salt to taste
To grind:
1-2 tsp black peppercorns (more if you love your black pepper)
6-8 dried red chillies
1 whole head of garlic (about 1/8 cup garlic cloves, peeled and chopped into chunks if very large)
2 tsp cumin seeds
1 medium onion
1 medium tomato
3 sprigs curry leaves
To temper:
1 tbsp nallennai (unrefined sesame oil)
1/2 tsp vendhayam (methi/fenugreek seeds)
2 tsp mustard seeds
10 curry leaves
Method:
1. Heat 1/2 tbsp oil in a small pan and add the first four items on the "To grind" list. Saute for 2-3 minutes on med-high, stirring, until the chillies turn a darker shade of red and the garlic is starting to turn colour. Then add the remaining ingredients and fry until the garlic is golden. Allow to cool, then grind to a smooth paste. Set aside till required.
2. Heat the remaining neutral oil, add the small onions and fry till golden (approx 3-4 minutes). Add the tamarind water, salt to taste, turmeric and jaggery. Bring it to a boil and let it bubble for 2 minutes.
3. Now add the ground paste and 2 cups water and mix well. Bring to a boil again and let it simmer for 10 minutes, or until it is thick enough to coat the back of a spoon.
4. As a final touch, heat the nallennai in a small pan, then add the mustard seeds and curry leaves. Cover and let the mustard seeds pop. Now tip in the fenugreek seeds and fry for 30 seconds or until the seeds turn a darker shade of brown. Be careful not to burn the seeds or they will be horribly bitter. Pour the tempering over the kuzhambu and stir it in. Let it simmer for another 3 minutes, then take the pan off the heat.
Serve sparingly over steamed white rice with a dollop of ghee, any dry vegetable curry and microwaved poppadoms.
Cassava/tapioca is one of the many root vegetables I like because of its association with the years that I lived in Dar-es-Salaam as a kid. I mainly knew it in its roasted or fried form, although I also liked its boiled and salted avatar. I’d seen recipes for cassava from fresh, but never any for dried cassava.
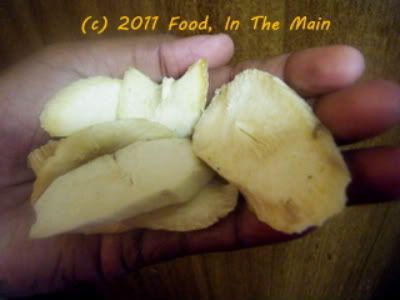
I'd come into possession of dried cassava pieces a few weeks ago, when I had tagged along with Pete to York (or somewhere thereabouts) where he was to meet someone to collect some esoteric sound equipment. The ride was itself worth it for the scenery, but even better was the fact that the meeting point turned out to be right next to a reasonably big “Indian” store – well, it was actually an Iraqi store, but it contained enough Indian/Mediterranean/Middle-Eastern stuff to make me happy.
I wanted to explore the shop, but Pete said his contact would be there imminently and the whole exchange wouldn’t take 5 minutes, so I resigned myself to a quick trip into the store to get some whole urad dal which I’d run out of. I saw plenty of interesting things in there to make me wish I could browse for a bit, but I didn’t hang around as we had a 3-hour drive back to Shrewsbury (and I was working the next day, so it was in my best interests to get back home as soon as possible) - and I was on a promise to my husband, in any case.
I believe that keeping my virtuous promise to Pete (“I’ll only be a minute at the shop, honest” - which he didn’t really believe since he knew what I was like) was instantly rewarded in the form of a serendipitous call from Pete’s contact to say that he was running late by about 30-40 minutes. I must have lit up the street with my delighted smile, because my husband gave me a grin and said “Oh all right, go on with you, only don’t buy up the shop will ya?”
I didn’t buy up the shop, but I did have a thoroughly enjoyable time browsing every aisle and its contents, trying to figure out what the items were (made somewhat difficult because sometimes I didn’t know the script or the language), and finding things to buy that I didn’t know I wanted to try until I saw them. Among other, more mundane things, I bought two (to me) exotic items - a bag of dried cassava/tapioca pieces, and something called “mograbiyeh”, made of semolina (which Google revealed later was like couscous, except the grains were the size of peppercorns).
I reserved the mograbiyeh for later and decided to experiment with the dried cassava/tapioca first. To be honest, I didn’t have the first idea what to make with it, but I figured Step 1 would be to rehydrate them. So I turned out a third of the bag into a bowl of water and let it soak overnight. I still didn’t know what Step 2 ought to be, and Google didn’t really suggest any recipes specifically using dried cassava.
I decided to bake the rehydrated pieces (which, I assumed, had been originally cooked and then dried) in the oven, because I really do love cassava chips and I had my Dar-es-Salaam memories in mind. Sadly, they mostly turned into baked wood chips and had to be consigned to the bin, my teeth not being what they once were.
My second experiment was to soak and then deep-fry the pieces to see if that would make better chips. The experiment was a success in a way, because the end result was definitely better wood chips; but in terms of edibility, not so much. My teeth continued to be not what they once were.
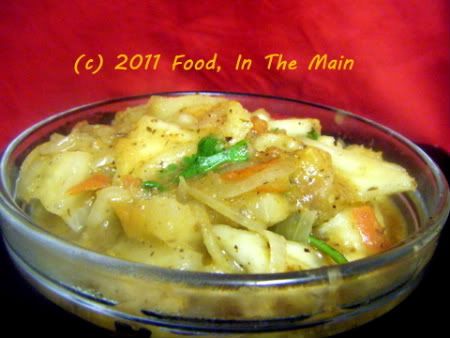
Now there was only the final third of the bag left to play around with, and I decided that the only thing to do now was improvise a curry. So I did. And here it is in recipe form, in all its successful glory.
Recipe for: Cassava/tapioca in flaxseed masala
 Ingredients:
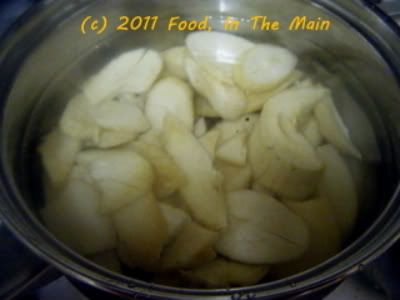 1 cup dried cassava/tapioca pieces, soaked in water for 3-4 hours
1 tbsp flaxseeds
6-7 black peppercorns
1/2 tsp cumin seeds
1/2 tsp coriander seeds
2 cloves garlic
4-5 dry red chillies (or to taste)
1/2 tsp tamarind paste
2 medium onions, sliced thin
1 cup chopped tomatoes
1/2 tsp garam masala (I used Kitchen King)
1 tbsp oil
Salt to taste
Coriander leaves to garnish
Method:
1. Break up the soaked cassava/tapioca pieces into more or less even bits. Boil them in water until they are cooked. They should be very soft (easily pierced with a knife tip) but not mushy.
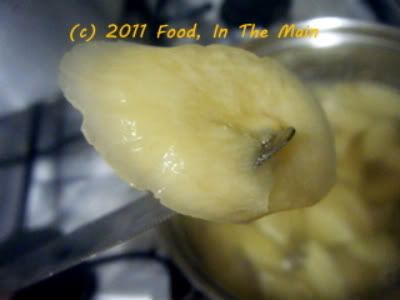 Drain and reserve.
2. Grind the flaxseeds, peppercorns, cumin seeds, coriander seeds, garlic and red chillies to a fairly smooth paste, without adding water.
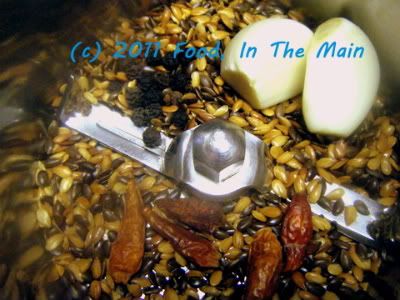 3. Heat the oil in a pan and fry and ground masala paste for 1 minute, stirring briskly.
4. Add the sliced onions and fry for 3-4 minutes, or until they start to turn translucent.
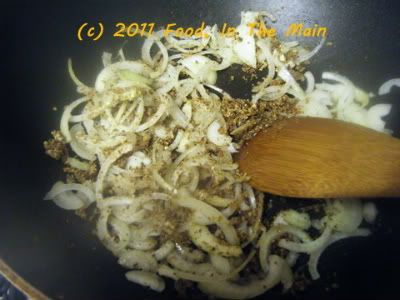 5. Now add the tomatoes and stir them in.
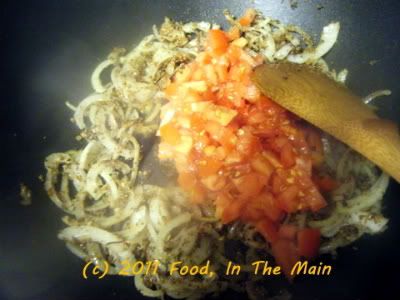 Let them cook down with the onions until mushy.
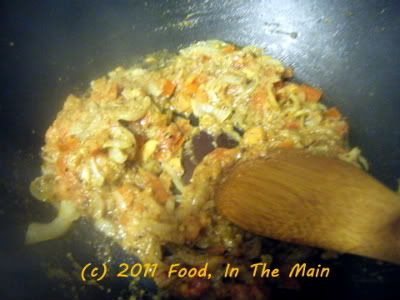 6. Next, add the cooked cassava/tapioca pieces
 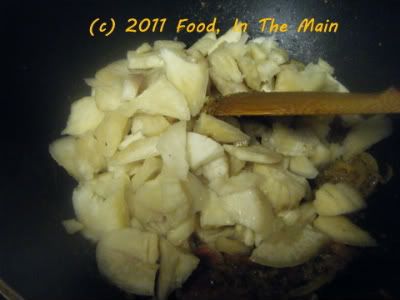 and mix them with the tomato-onion masala.
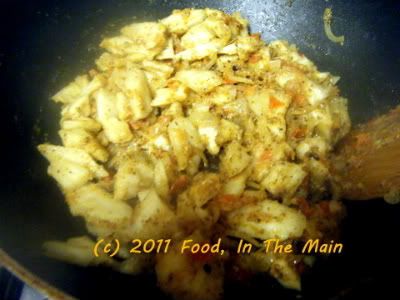 7. Dissolve the tamarind paste in 1-1/2 cups water and pour it in. Stir well and add salt to taste.
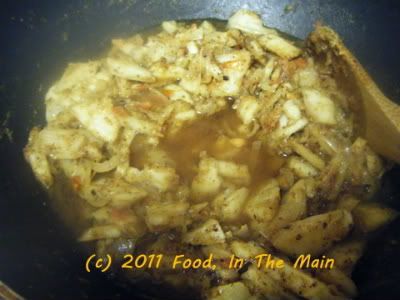 8. Bring to a gentle boil, then turn down the heat and let the curry simmer for 5 minutes while the gravy thickens.
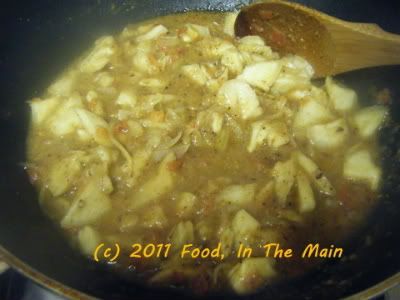 Garnish with coriander leaves before serving hot with cooked millet or quinoa. Can also be eaten with chapaties/rotis.
RECIPE: CASSAVA/TAPIOCA IN FLAXSEED MASALA
Ingredients:
1 cup dried cassava pieces, soaked in water for 3-4 hours
1 tbsp flaxseeds
6-7 black peppercorns
1/2 tsp cumin seeds
1/2 tsp coriander seeds
2 cloves garlic
4-5 dry red chillies (or to taste)
1/2 tsp tamarind paste
2 medium onions, sliced thin
1 cup chopped tomatoes
1/2 tsp garam masala (I used Kitchen King)
1 tbsp oil
Salt to taste
Coriander leaves to garnish
Method:
1. Break up the soaked cassava/tapioca pieces into more or less even bits. Boil them in water until they are cooked. They should be very soft (easily pierced with a knife tip) but not mushy. Drain and reserve.
2. Grind the flaxseeds, peppercorns, cumin seeds, coriander seeds, garlic and red chillies to a fairly smooth paste, without adding water.
3. Heat the oil in a pan and fry and ground masala paste for 1 minute, stirring briskly.
4. Add the sliced onions and fry for 3-4 minutes, or until they start to turn translucent.
5. Now add the tomatoes and stir them in. Let them cook down with the onions until mushy.
6. Next, add the cooked cassava/tapioca pieces and mix them with the tomato-onion masala.
7. Dissolve the tamarind paste in 1-1/2 cups water and pour it in. Stir well and add salt to taste.
8. Bring to a gentle boil, then turn down the heat and let the curry simmer for 5 minutes. Garnish with coriander leaves before serving hot with cooked millet or quinoa. Can also be eaten with chapaties/rotis.
(Caution to my squeamish readers: Disgusting imagery alert! Read from Para 4 if you have a weak stomach.)
Although I quite like mushrooms, I’m not really crazy about them – I think it’s to do with their texture. I love mushroom soup, because it has the flavour without the texture. I absolutely cannot stand mushrooms in a cold curry because to me they taste like floppy rubber bands, and look like something that died but inexplicably didn’t get a decent burial.
Hm. After that appetizing description, I have no doubt that non-mushroom eaters will be rushing en masse to try the delights of cold cooked mushrooms for themselves. Oh well… I figure that people who dislike mushrooms will continue to dislike them (and perhaps agree with me) and those who love ‘em will continue to love ‘em no matter what I say. (It’s what I call a win-win situation for my writing skills.)
Anyway, it’s been a looooooong time since I cooked with mushrooms last, mainly because the low-fat yogurt I’d used curdled in the sauce to rather gross effect – in fact, binge-drinkers outside nightclubs on a Friday night could not have reproduced anything worse-looking. The effect, basically, was to make me shy away from putting yogurt anywhere near boiling sauce that contained mushrooms.
As I learnt from my disastrous episode with heating very low-fat yogurt, it’s best to use full-fat or regular yogurt, or at worst 2%, if you’re planning to cook with it. Otherwise, reheating leftovers could pose the same problems as heating while cooking.
The Greek yogurt I used was a branded one which I had been asked to try out, and although I’d been assured that the 2% yogurt would not curdle, I must admit I was a bit nervous when adding it to the hot sauce. But it was no lie, the yogurt didn’t “turn” and the finished dish was deeelish, thankfully dislodging the images that had attached themselves to my inner eye after the previous experience.
Recipe for: Mushroom peas yogurt curry
 Ingredients:
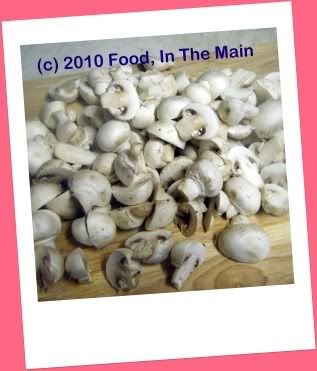 3 cups baby button mushrooms, halved
1 cup frozen petit pois
1/2 cup thick Greek yogurt (I used Total Greek yogurt)
3/4 tsp whole black peppercorns
1/2 tsp cumin seeds
1/2 tsp coriander seeds
1/2 cup thinly sliced onions
1/2 cup thick pureed tomatoes (I also used a few baby cherry tomatoes)
1 tsp grated ginger root
1/4 tsp garam masala
2 tsp oil
Salt to taste
Coriander leaves for garnish
Method:
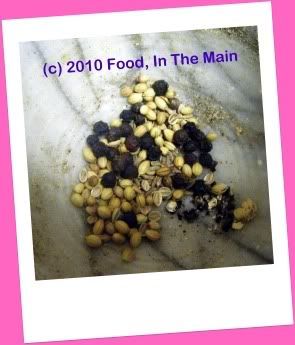
1. Pound the black peppercorns, coriander seeds and cumin seeds to powder in a mortar and pestle.
 2. Heat the oil, add the masala powder and let fry for 15 seconds, then add the grated ginger.
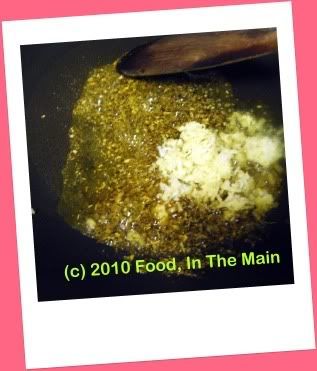 3. Throw in the sliced onions and mix well. Skip Step 4 if you are not using cherry tomatoes.
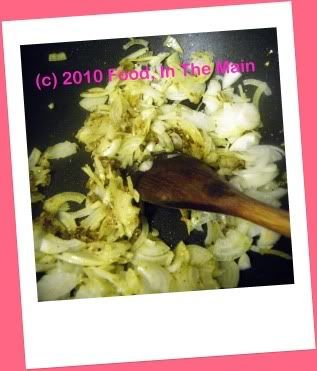 4. When the onions start softening, add the halved cherry tomatoes (if using).
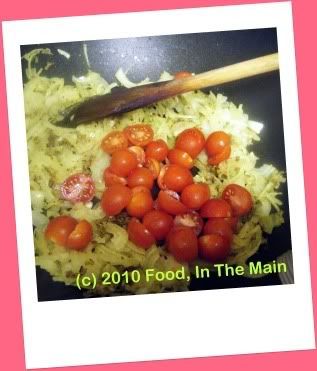 Cook until the tomatoes are mushy.
 5. When the onions are soft, pour in the tomato puree and add the garam masala, then add 1/2 cup water.
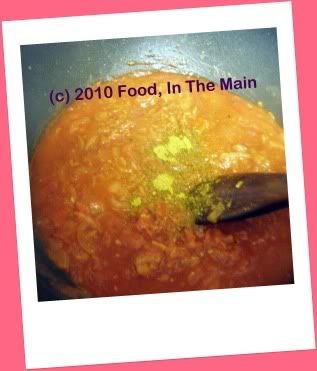 6. Let it simmer for 3-4 minutes, then add the mushrooms.
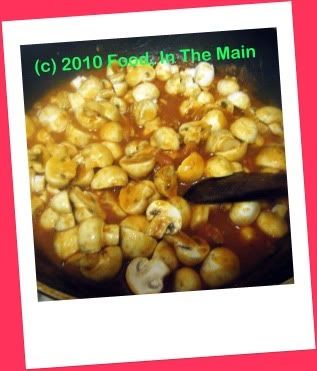 Let the mushrooms cook for 3-4 minutes until they release their liquid and shrink in size.
7. Now add the frozen petit pois and mix them in.
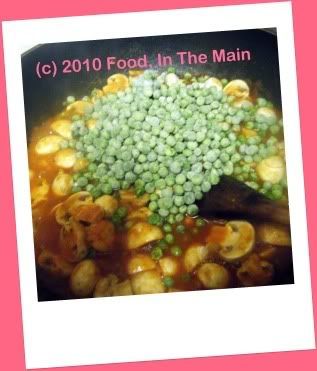 8. Cover the pan and let the mixture simmer for 5 minutes. If the gravy is watery, boil it on high for 2-3 minutes. When the gravy has reduced to your liking, add the Greek yogurt.
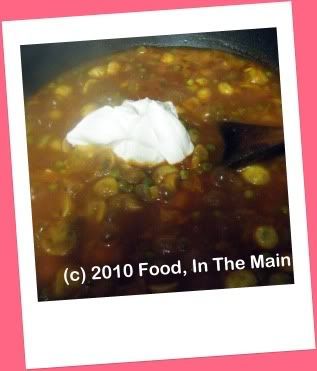 9. Add salt to taste and stir in the Greek yogurt. Let the curry simmer for another 3-4 minutes, then turn off the heat.
 10. Garnish with coriander leaves and serve hot with plain rice or as a side dish for pulao and biriyani.
 RECIPE: MUSHROOM PEAS YOGURT CURRY
Ingredients:
3 cups baby button mushrooms, halved
1 cup frozen petit pois
1/2 cup thick Greek yogurt (I used Total Greek yogurt)
3/4 tsp whole black peppercorns
1/2 tsp cumin seeds
1/2 tsp coriander seeds
1/2 cup thinly sliced onions
1/2 cup thick pureed tomatoes (I also used a few baby cherry tomatoes)
1 tsp grated ginger root
1/4 tsp garam masala
2 tsp oil
Salt to taste
Coriander leaves for garnish
Method:
1. Pound the black peppercorns, coriander seeds and cumin seeds to powder in a mortar and pestle.
2. Heat the oil, add the masala powder and let fry for 15 seconds, then add the grated ginger.
3. Throw in the sliced onions and mix well. Skip Step 4 if you are not using cherry tomatoes.
4. When the onions start softening, add the halved cherry tomatoes (if using). Cook until the tomatoes are mushy.
5. When the onions are soft, pour in the tomato puree and add the garam masala, then add 1/2 cup water.
6. Let it simmer for 3-4 minutes, then add the mushrooms. Let the mushrooms cook for 3-4 minutes until they release their liquid and shrink in size.
7. Now add the frozen petit pois and mix them in.
8. Cover the pan and let the mixture simmer for 5 minutes. If the gravy is watery, boil it on high for 2-3 minutes. When the gravy has reduced to your liking, add the Greek yogurt.
9. Add salt to taste and stir in the Greek yogurt. Let the curry simmer for another 3-4 minutes, then turn off the heat. Let the curry sit covered for 5 minutes.
10. Then garnish with coriander leaves and serve hot with plain rice or as a side dish for pulao and biriyani.
Squashes and pumpkins - especially the yellow kind - are usually prized by people who love them for their sweetish taste. Me, I'm kind of meh about them for precisely that reason... they're not quite sweet and not quite savoury either, and when you roast them they turn squidgy. (Parsnips, which are also kind of sweetish, at least have the decency to turn crisp on the outside when oven-roasted, so I tend to like those. But squashes... they just squash.)
Anyway, I've bought butternut squashes before and let them sit around till even they were too awful to be used (and believe me, they take a very very long time to get that way because of their incredibly hard outer skin or shell), and then thrown them away. This time I was determined to use the squash, so after 15 minutes of determined - and sometimes downright dangerous - sawing, I had the squash halved vertically, to see its innards for the first time ever with my own two eyes (four if you count my contact lenses).
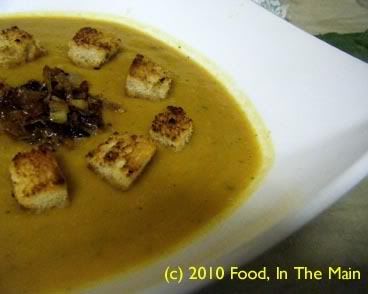
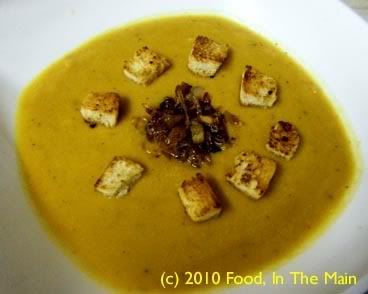
Once the thing was peeled, it was a doddle. It roasted without any trouble and I made the soup without any trouble either. I cooked up some masoor dal for protein and pureed that with the roasted squash as well. Pete liked the soup quite a lot, although I was a bit ambivalent about its taste, myself. It was, as I had known it would be, a bit too sweet for me even with the addition of plenty of ground pepper. But even Pete had to admit that the caramelised onions and croutons were what raised the stakes in the soup arena. Without those savoury garnishes the butternut squash soup would have been just too... yup, you guessed it, sweet.
Recipe for: Roasted butternut squash soup with caramelised onions
Ingredients:
1 medium butternut squash
3 cups vegetable stock
1 medium onion, chopped
1/3 cup evaporated skim milk
1/4 tsp cinnamon
1 tsp black peppercorns, freshly ground to powder
2 cloves garlic
1/4 cup masoor dal
2 tbsp olive oil
a few toasted herbed croutons for garnish (NOT optional)
salt to taste
For caramelised onions:
1 small onion, very thinly sliced
1 tsp butter
2 tsp sugar
Method:
1. Preheat the oven to 350F/180C.
2. Cut the butternut squash in half lengthwise and scoop out the seeds and stringy bits with a spoon.
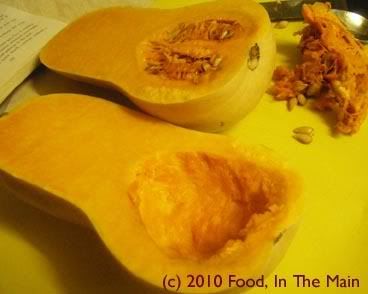
Peel the squash and chop it into 2" chunks.
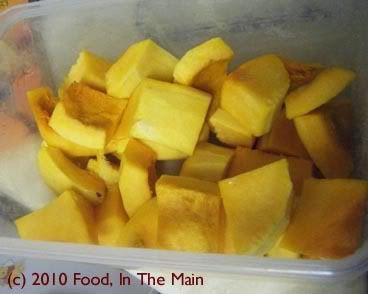
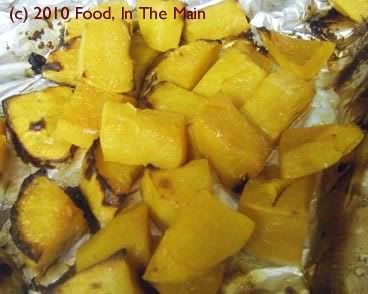
Roast, uncovered, until the squash is soft - about 45 minutes, but check to see.
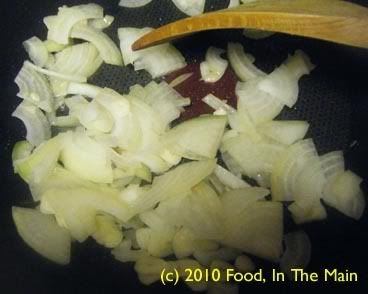
3. Heat 1 tbsp olive oil in a pan and sweat the garlic and chopped onion until slightly translucent.
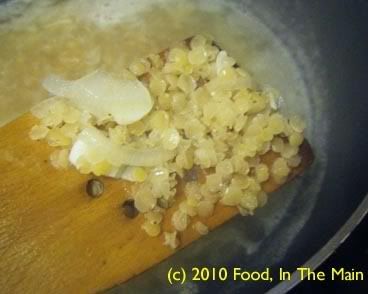
4. Add the stock and masoor dal along with the cinnamon.

5. Let this bubble gently on medium high heat until the lentils are nearly transparent and soft.
Set aside to cool.
6. In the meantime, heat the butter in a small pan.
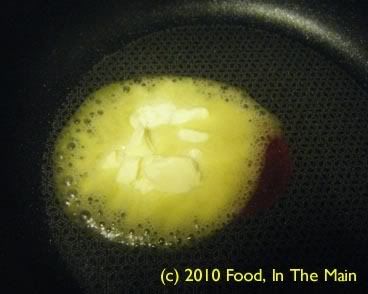
Let it melt and turn golden brown (be careful not to burn it), then add the sliced onion.
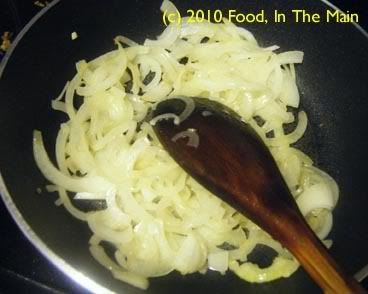
Turn down the heat and let the onions soften slowly, stirring now and then, till they're soft and caramelised to a golden brown. This should take about 10 minutes or so.
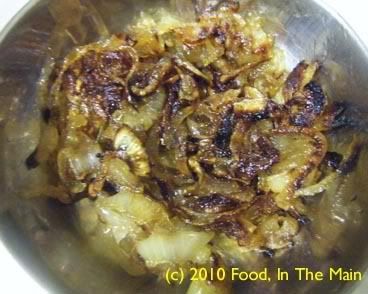
Reserve the caramelised onions for garnish.
7. Now scoop out the cooked lentils along with half the cooking liquid,
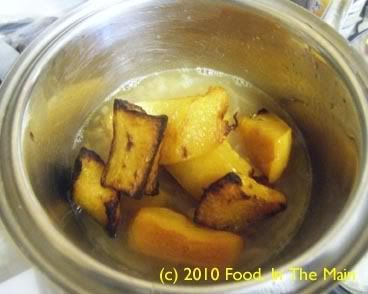
and blend to a puree along with the roasted squash.
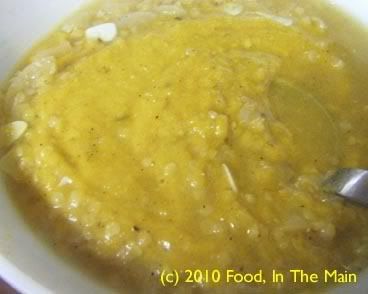
8. Return the blended vegetables to the pan containing the remaining cooking water and stir it all till well mixed.
9. Pour in the evaporated milk and stir it in.
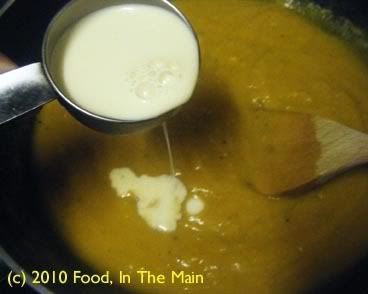
Bring to a gentle simmer,
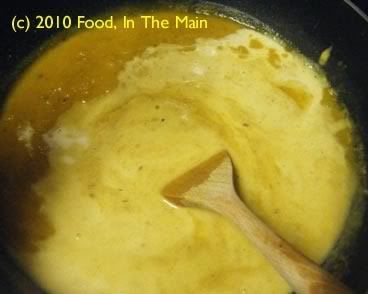
then add the freshly ground black pepper and salt to taste. Stir it in. Let the soup simmer for 2-3 minutes longer, then switch off the heat.
10. Serve the soup in warmed bowls topped with some caramelised onions and the croutons.
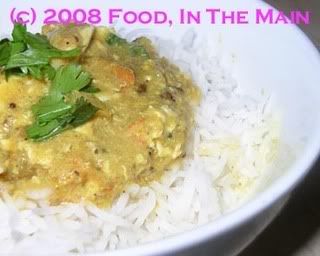
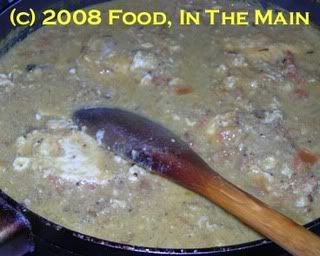
I’m no photographer, so even the most beautiful looking food becomes a little less beautiful seen through my camera lens – oh all right, a LOT less beautiful. So when it comes to food that isn’t straightforward, fuss-free food porn fodder, I really don’t stand a chance at making it look pretty. All I can promise is that it will taste great – like this poached egg curry I made. Original recipe here
I was in a rush and didn’t have the time to let the gravy boil down to the sort of thicker consistency I wanted, so I quickly whisked a beaten egg into the gravy to thicken it. Well, that worked fine, but what I hadn’t foreseen was that the beaten egg would make the gravy look like… well, let’s just say not particularly aesthetic.
Food porn to the eyes it wasn't, sisters (and the odd occasional brother)… but it was food porn for the palate, that’s fer sure. I probably wouldn’t serve this curry to guests as such, but it’ll do just fine for family and good friends! (That’s because they’ll have to love you to want to try this - ok, slight exaggeration):o) seriously, though, it’s good comfort food.
Recipe for: Poached egg curry
Ingredients:
4 eggs
2 onion, chopped
2 tomatoes, chopped
1/4 cup light coconut milk
1/4 tsp turmeric powder
1/2 tsp garam masala
1/2 chilli powder
3/4 tsp black peppercorns
1 tsp coriander seeds
1/2 tsp white poppy seeds (khus-khus)
1 tsp fennel seeds (saunf)
1 tsp mustard seeds
1/2 tsp urad dal
A few curry leaves
1 tbsp chopped coriander
2 tsp oil
1 cup water (or as required)
Salt to taste
Method:
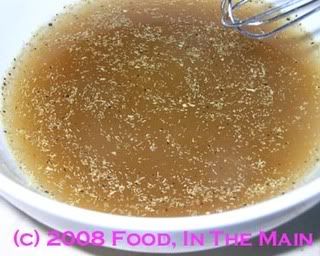
1. Grind the coriander seeds, poppy seeds (khus-khus), fennel and black pepper to a fine powder.

Mix with 1 cup water and set aside.
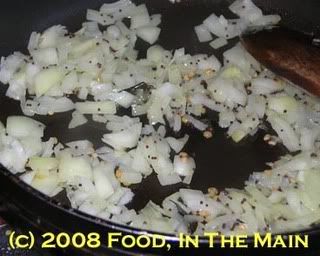
2. Heat the oil in a pan, add mustard seeds and urad dal, cover and let the mustard splutter. Then add the curry leaves and chopped onions. Fry till the onion becomes soft and light brown.
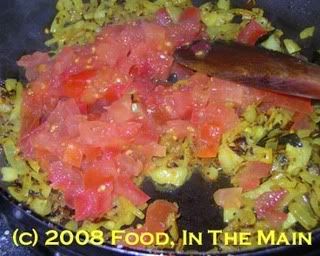
3. Now add the chopped tomatoes and fry till it becomes soft.
4. Add chilli powder, garam masala and turmeric powder and fry for 30 seconds, stirring.
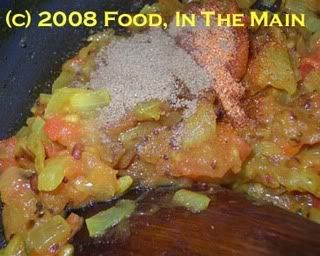
5. Mix the coconut milk with the ground-masala water from Step 1.
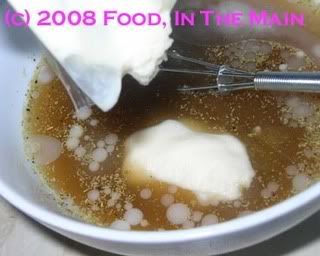
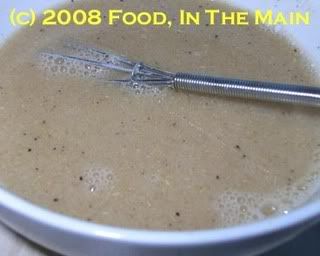
Add salt to taste and mix well.
6. Pour this in the pan,
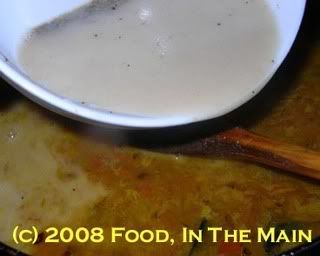
let it come to a boil,
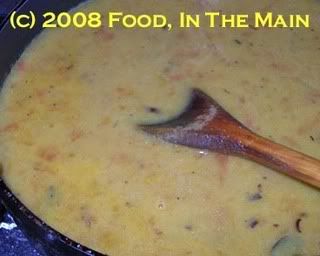
then break the eggs gently, one by one, into the gravy.

7. Do not stir the gravy after this, but let it come to a gentle simmer and keep it on medium heat for 5-6 minutes, or till the eggs are cooked.
8. Garnish with coriander leaves and serve hot with plain rice or pulao.


