Showing posts with label chilli powder. Show all posts

Monday, August 06, 2012

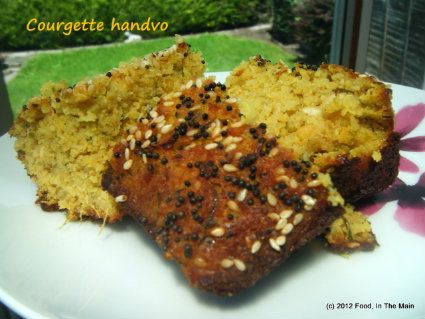
Courgette/zucchini handvoh

Well, here I am after an unscheduled break from my food blog. It’s not that I haven’t wanted to, bla bla bla, it’s just that I’ve not had much free time, hey nonny no, and what little free time I’ve had in the evenings I’ve spent reading, yada yada yada. So, in short – same ol’ same ol’.

I’ve made handvoh before, years and years and YEARS back when I was living in Madras. It was probably one of the first “exotic” recipes that I tried from a recipe printed in *ugh* Women’s Era *cringe*. However, as much as I hate the thought of that awful magazine now, I remember the recipe worked beautifully - the batter behaved itself faultlessly, fermenting in the heat as stated in the recipe, and then steam-cooking in the ilupachatti (kadai/wok) that I used. It was all the more thrilling because the handvoh tasted great and it was not something that had ever been made by my mother, to my recollection. It wasn’t a family staple, let’s say. Just think - I'd actually made something entirely new to me from a magazine recipe - and it turned out well!

That said, this recipe, that I cobbled together after reading a few others on the Internet did not seem at all familiar or bring to mind my original handvoh experience. The only common factor was that this tasted great, too. Can’t complain about that, can you?

Recipe for: Courgette/zucchini handvohDSCF8388-1
Ingredients:

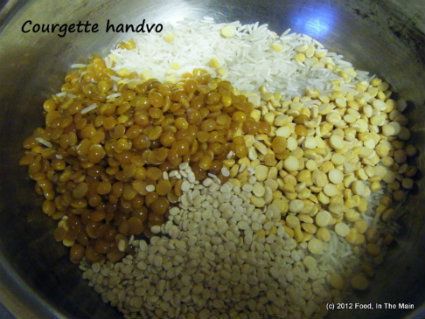
1 cup long grain rice
1/4 cup chana dal
1/4 cup tur/toor/tuvar dal
1/4 cup urad dal
DSCF8362-1
1 cup yogurt
2 tbsp ginger-garlic-green chilli paste - (1.5" piece ginger + 4-5 garlic cloves + 6-8 green chillies (reduce chillies as per taste))
1.5 packed cups grated courgette/zucchini
salt to taste
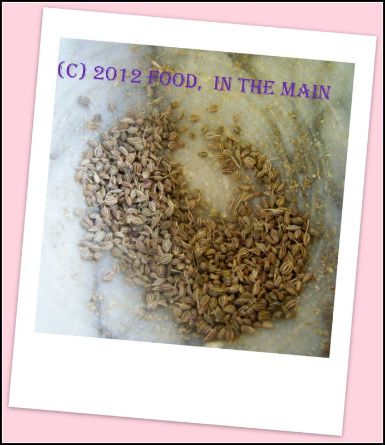
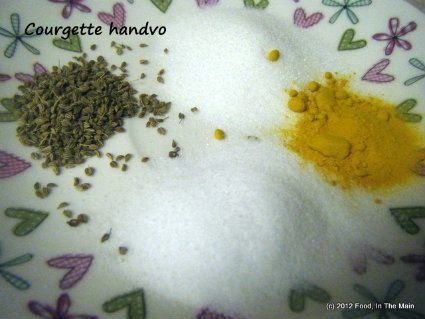
1/2 tsp ajwain/omam
2 tsp sugar
1/2 tsp turmeric powder
3/4 tsp baking powder
1/2 tsp baking soda
2 tbsp sesame seeds
DSCF8365-1
3 tbsp oil
2 tsp mustard seeds
1/4 tsp asafoetida powder
1/2 tsp red chilli powder
a few curry leaves

Method:
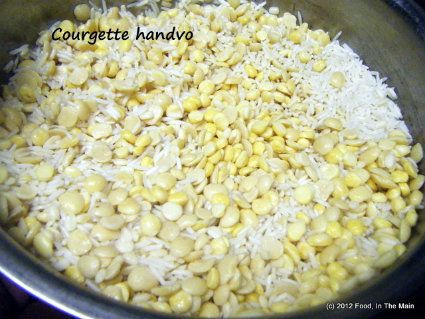
1. Wash the rice and dals and soak them in water for 6 hours.
DSCF8366-1
Then drain and grind along with the yogurt to a paste - it should be fairly coarse, not smooth.
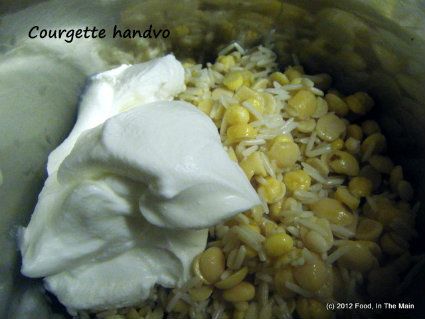
DSCF8367-1
Try to add as little water as possible while grinding.
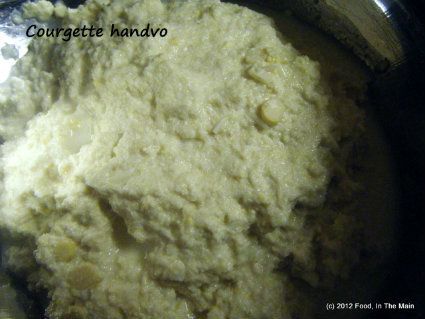
DSCF8369-1
2. Put the batter in a medium bowl and add the ginger-garlic-green chilli, grated courgette/zucchini
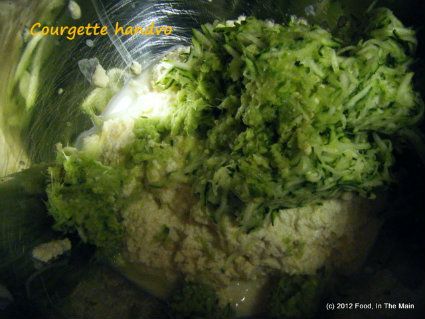
DSCF8371-1
salt, sugar, ajwain/omam and turmeric.
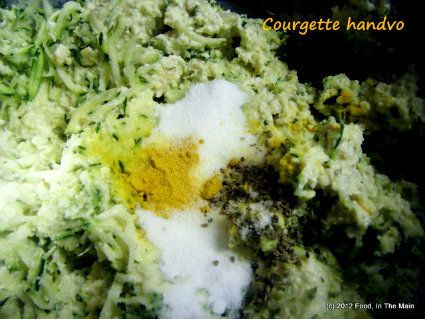
DSCF8373-1
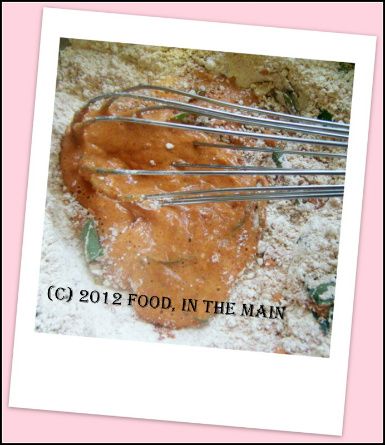
Mix well.
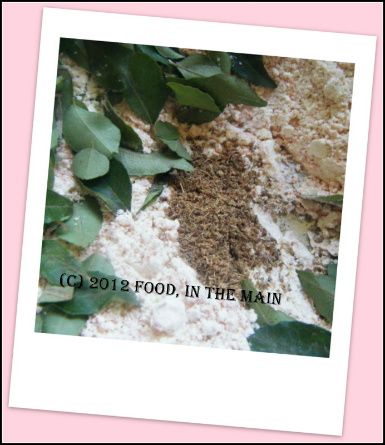
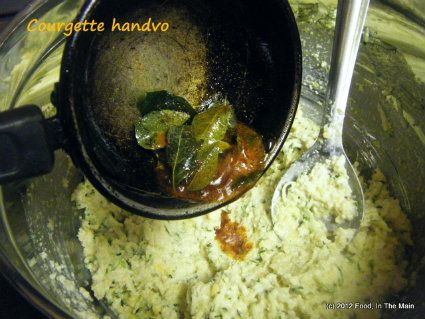
4. Heat 1 tbsp oil and fry the curry leaves for 15-20 seconds, then add the red chilli powder and turn the heat off. Pour this mixture into the batter and mix again.
DSCF8374-1
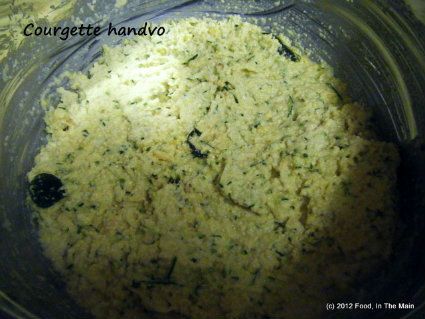
Let the batter rest covered at room temperature overnight, or for 7-8 hours.
5. Cover and let this batter rest for 6-7 hours or overnight (no need to refrigerate).
DSCF8375-1
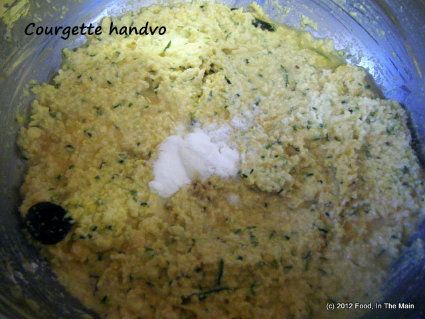
6. In the morning (or after 6-7 hours), add the baking powder and baking soda and mix thoroughly.
DSCF8376-1
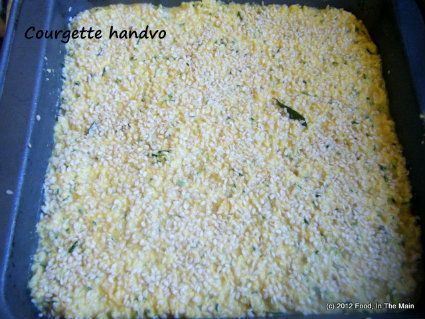
7. Line an 8" cake pan (round or square, doesnt matter) with non-stick paper/foil and spoon the batter into the pan.
DSCF8377-1
8. Sprinkle the sesame seeds evenly on top of the batter.
9. Heat the remaining oil in a small skillet and add the mustard seeds. Cover and let the seeds pop (about 30 seconds), then add the asafoetida powder and turn the heat off.
10. Drizzle this seasoning over the sesame seeds on top of the batter.
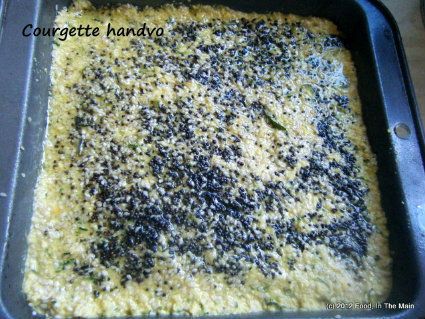
DSCF8379-1
11. Cover the pan with aluminium foil and bake at 180C/350F for 40 minutes or so, or till a cake tester comes out clean. (Remember that the size of the pan you use will determine the amount of time that the handvoh takes to cook.)
12. Uncover the pan and broil the handvoh until the top turns golden brown.
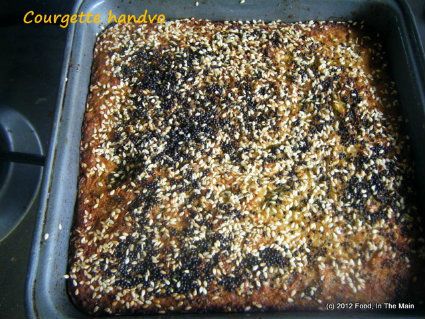
DSCF8386-1
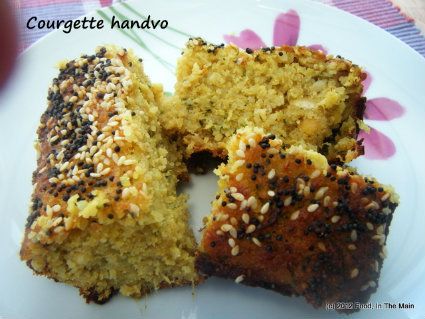
Let it rest in the pan for 10 minutes before cutting.
DSCF8387-1
Serve warm with any chutney or even tomato ketchup.

RECIPE: COURGETTE/ZUCCHINI HANDVOH
Ingredients:
1 cup long grain rice
1/4 cup chana dal
1/4 cup tur/toor/tuvar dal
1/4 cup urad dal
1 cup yogurt
2 tbsp ginger-garlic-green chilli paste - (1.5" piece ginger + 4-5 garlic cloves + 6-8 green chillies (reduce chillies as per taste))
1.5 packed cups grated courgette/zucchini
salt to taste
1/2 tsp ajwain/omam
2 tsp sugar
1/2 tsp turmeric powder
3/4 tsp baking powder
1/2 tsp baking soda
2 tbsp sesame seeds
3 tbsp oil
2 tsp mustard seeds
1/4 tsp asafoetida powder
1/2 tsp red chilli powder
a few curry leaves

Method:
1. Wash the rice and dals and soak them in water for 6 hours. Then drain and grind along with the yogurt to a paste - it should be fairly coarse, not smooth.Try to add as little water as possible while grinding.
2. Put the batter in a medium bowl and add the ginger-garlic-green chilli, grated courgette/zucchini, salt, sugar, ajwani/omam and turmeric. Mix well.
4. Heat 1 tbsp oil and fry the curry leaves for 15-20 seconds, then add the red chilli powder and turn the heat off. Pour this mixture into the batter and mix again. Let the batter rest covered at room temperature overnight, or for 7-8 hours.
5. Cover and let this batter rest for 6-7 hours or overnight (no need to refrigerate).
6. In the morning (or after 6-7 hours), add the baking powder and baking soda and mix thoroughly.
7. Line an 8" cake pan (round or square, doesnt matter) with non-stick paper/foil and spoon the batter into the pan.
8. Sprinkle the sesame seeds evenly on top of the batter.
9. Heat the remaining oil in a small skillet and add the mustard seeds. Cover and let the seeds pop (about 30 seconds), then add the asafoetida powder and turn the heat off.
10. Drizzle this seasoning over the sesame seeds on top of the batter.
11. Cover the pan with aluminium foil and bake at 180C/350F for 40 minutes or so, or till a cake tester comes out clean. (Remember that the size of the pan you use will determine the amount of time that the handvoh takes to cook.)
12. Uncover the pan and broil the handvoh until the top turns golden brown. Let it rest in the pan for 10 minutes before cutting. Serve warm with any chutney or even tomato ketchup.
Sunday, April 15, 2012

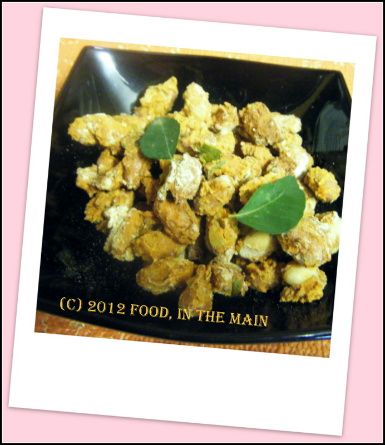
Baked masala peanuts

It's been years since I first saw this recipe on Bee & Jai's amazing food blog, Jugalbandi, and every so often since then I've thought to myself "I really should try making those peanuts" but never got around to it.


Finally, last week I broke through the "must make it" barrier to burst triumphantly into the "WILL make it today" arena... only to find that I was out of raw peanuts. Cue frantic trips to Tesco, Sainsbury's and Morrisons on a desperate hunt for peanuts - whole, skinned, broken, unskinned, whatever I could get - but all I found were monkey nuts or the ready-to-eat salted/roasted kind.


You can have no idea just how thwarted I felt, because I'm certain that most of you wonderful people are the kind that don't thwart easily (especially if you live close to any ethnic food-stores). But me, I had to go back home empty-handed and log on to an Internet site that sells all manner of ethnic goodies... and peanuts. Raw, whole, broken, unskinned, pink, red, jumbo - pretty much every kind of peanut I could think of.


Reader, I bought them.


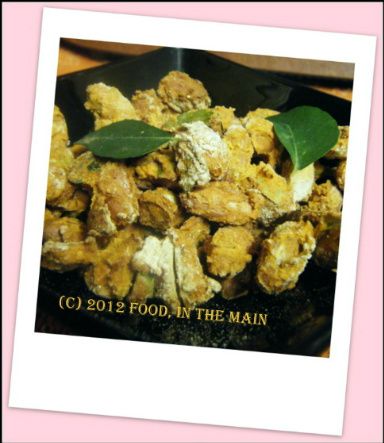
For my first batch of these addictively good masala peanuts, I changed the quantity of the spices used, not the spices themselves, and added fresh curry leaves. But the procedure was otherwise exactly as set out by Bee and Jai. (I made another batch for Pete with no chilli powder at all, and he scarfed the peanuts down like they'd been made for him. Oh. Wait...)


A note of warning - I used an enamelled metal tray to bake these peanuts, and I must say that it took some serious elbow grease to get it cleaned of the rock-hard baked-on chickpea flour mixture. Did I mind the effort? Not in the least - all I had to do was think of the container of uber crunchy spicy peanuts, and the hard work was totally worth it. Just - whatever you do, don't use a non-stick tray. You have been warned.


Recipe for: Baked masala peanuts
Photobucket


Ingredients:
1.5 cups raw peanuts (skinned or unskinned)
1.5 cups chickpea flour (kadala maavu/besan)
2 htsp red chilli powder (or to taste)
1/2 tsp ground ajwain (bishop’s weed)
Photobucket
1 tbsp dried fenugreek leaves (kasoori methi)
1.5 tbsp rice flour
Handful of fresh curry leaves, roughly torn up
Salt to taste
Water as required


Method:
1. Mix together the chickpea flour, red chilli powder, ground ajwain, fenugreek leaves, curry leaves, rice flour and salt to taste.
Photobucket
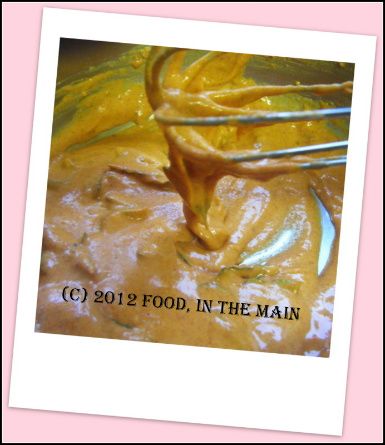
2. Take half the spiced flour in a bowl and carefully add just enough water
Photobucket
to make a thick paste that drips slowly off a spoon.
Photobucket
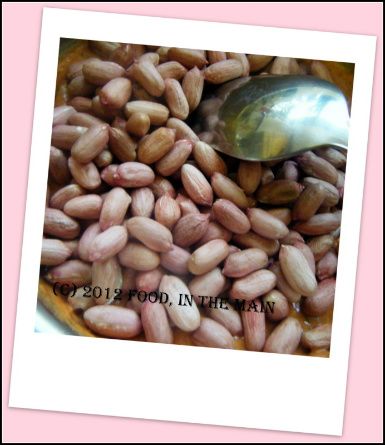
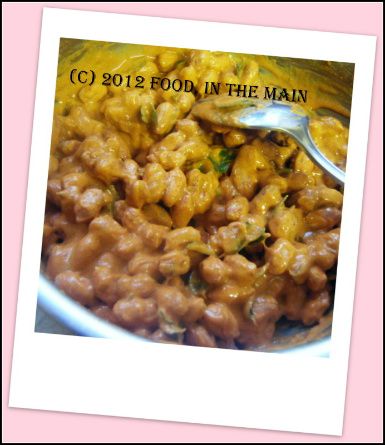
3. Add the peanuts to this and mix well.
Photobucket
4. Now add the remaining spiced flour and mix it gently. Be warned, this is an exasperatingly sticky job.
Photobucket
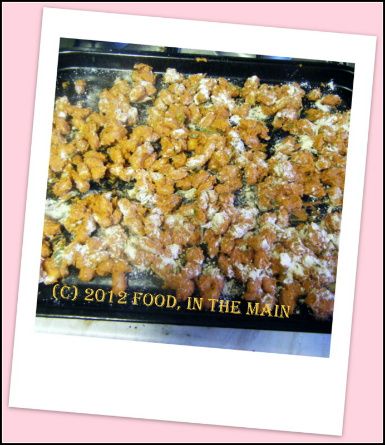
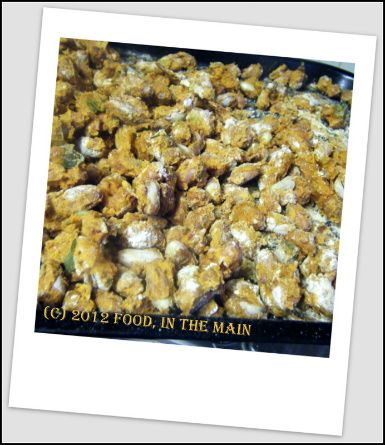
5. Spread the peanuts onto a metal baking tray. (See warning above of exasperating stickiness. Persevere.)
Photobucket
6. Bake at 180C/350F for 15 minutes, then stir the peanuts around, using a metal spatula to scrape and loosen the worst bits.
Photobucket
7. Bake for another 8-10 minutes, until the peanuts turn a darker colour in spots. They will crisp up as they cool down.
Photobucket
Stir them around once or twice as they cool.
Photobucket
Store in an airtight container.


RECIPE: BAKED MASALA PEANUTS
Ingredients:
1.5 cups raw peanuts (skinned or unskinned)
1.5 cups chickpea flour (kadala mavu/besan)
2 htsp red chilli powder (or to taste)
1/2 tsp ground ajwain (bishop’s weed)
1 tbsp dried fenugreek leaves (kasoori methi)
1.5 tbsp rice flour
Handful of fresh curry leaves, roughly torn up
Salt to taste
Water as required
Method:
1. Mix together the chickpea flour, red chilli powder, ground ajwain, fenugreek leaves, curry leaves, rice flour and salt to taste.
2. Take half the spiced flour in a bowl and add enough water to make a thick paste that drips slowly off a spoon.
3. Add the peanuts to this and mix well.
4. Now add the remaining spiced flour and mix it gently. Be warned, this is an exasperatingly sticky job.
5. Spread the peanuts onto a metal baking tray. (See warning above of exasperating stickiness. Persevere.)
6. Bake at 180C/350F for 15 minutes, then stir the peanuts around, using a metal spatula to scrape and loosen the worst bits.
7. Bake for another 8-10 minutes, until the peanuts turn a darker colour in spots. They will crisp up as they cool down. Stir them around once or twice as they cool. Store in an airtight container.

Tuesday, November 09, 2010

Vegetable chickpea patties

One of the things I do very well is daydream. The more important it is for me to pay attention, the easier I find it to slip into my own world – not to mention, the daydream is correspondingly detailed. One recurring bare-bones daydream is to have a cook at home. The actual details vary depending on my prevailing mood, but on different occasions I’ve day-dreamed about having a live-in cook (only briefly), someone who would make what I wanted the way I wanted it made, someone who would be a trained nutritionist and make healthy but superbly tasty dishes… the permutations are many and varied.

But the one daydream that keeps occurring with monotonous regularity is the one where I have a cook who does the necessary prepwork and all the other jobs that I find boring – peeling and cutting vegetables, searching out spices, beating eggs, chopping nuts, shallow-frying things on low heat, stirring milk, whatever. After which, he (or she – I’m an equal-opportunity day-dreamer) clears the workspace, throws away the rubbish and gets everything ready for me.

Then, when all is perfectly laid out in the kitchen, I sail in and set about cooking my chosen recipe. And, naturally, when I am done, my cook does the washing up and drying and putting away of all the utensils, leaving my kitchen in perfect order for the next time…

*sighhhhh*

A sous chef is what I need, come to think of it. Someone who will never aspire to chefdom or doing anything more interesting than the prepwork and the donkey work.

*sighhhhhhhhhhhhhhhhhhhhhhhhhhhhh*

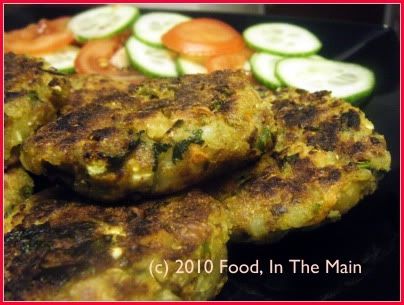
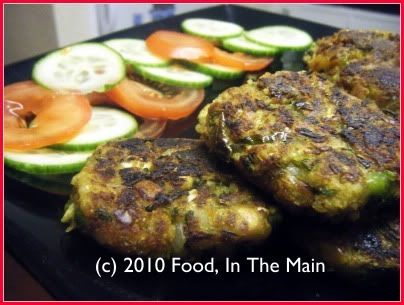
Anyway, here’s the recipe for the patties. Believe me when I say that I felt the lack of a sous chef very, very, very deeply indeed… but still, the takes-you-forever-to-cook-and-just-seconds-for-someone-to-eat patties are worth the annoying bitwork. In other words, they taste good enough to eat.

Recipe for:
Vegetable chickpea patties

Photobucket

Ingredients:

1/2 cup carrots, grated
1/2 cup potatoes, chopped
1/4 cup green beans, sliced into thin rounds
1/4 cup green pepper (capsicum), chopped
1/4 cup onions, chopped
2 cups cooked potatoes, mashed coarsely
1 tin (1-1/4 cups) cooked chickpeas, rinsed and drained
1 cup wholewheat breadcrumbs
1/4 cup coriander leaves, chopped
1 tsp Kitchen King masala (or garam masala)
1/4 tsp turmeric powder
1 tsp red chilli powder (or to taste)
1 tsp coriander seeds, powdered
1/2 tsp cumin seed powder
salt to taste
2 tbsp oil
Pam spray or more oil to shallow-fry

Method:

1. Place the chopped potatoes, carrots and green beans in a microwave-safe bowl and microwave covered for 5 minutes with 3-4 tbsp water, till half-cooked.

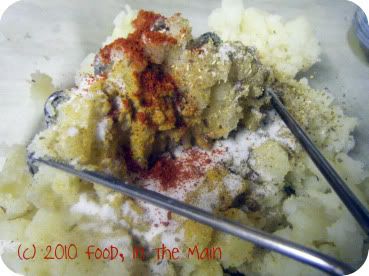
2. Add the mashed potatoes and the spices and mix well.
Photobucket

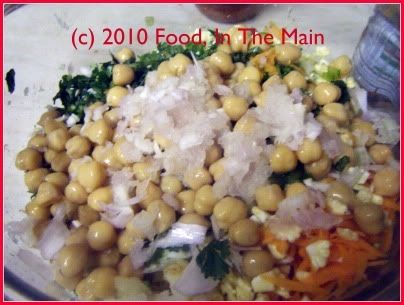
3. Then add the chickpeas and chopped onions.
Photobucket
Crush the chickpeas coarsely with a masher or the back of a sturdy spoon.

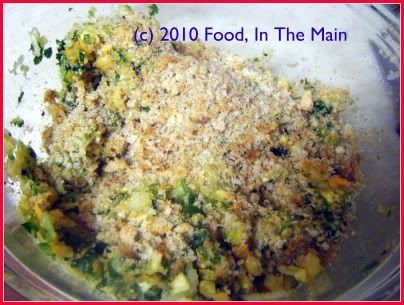
4. Add the breadcrumbs and mix in.
Photobucket

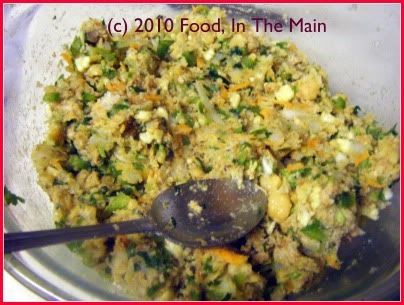
5. Heat the 2 tbsp oil and pour it on the mixture. Add salt to taste along with the coriander leaves, and mix thoroughly.
Photobucket

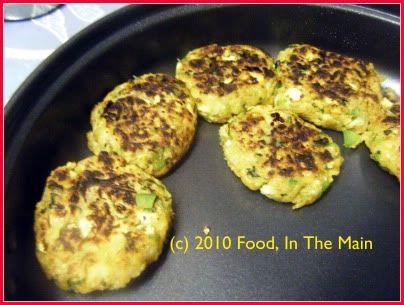
6. Now form small patties from the mixture and shallow-fry them in a non-stick pan (without crowding them) over medium-high heat.
Photobucket

7. Brush the top surface of the patties with some oil (or spray some Pam) and turn the patties over carefully when golden brown on the underside. 
Photobucket

8. Serve warm with a salad for a light meal, or with ketchup for a snack.
Photobucket

RECIPE: VEGETABLE CHICKPEA PATTIES

Ingredients:
1/2 cup carrots, grated
1/2 cup potatoes, chopped
1/4 cup green beans, sliced into thin rounds
1/4 cup green pepper (capsicum), chopped
1/4 cup onions, chopped
2 cups cooked potatoes, mashed coarsely
1 tin (1-1/4 cups) cooked chickpeas, rinsed and drained
1 cup wholewheat breadcrumbs
1/4 cup coriander leaves, chopped
1 tsp Kitchen King masala (or garam masala)
1/4 tsp turmeric powder
1 tsp red chilli powder (or to taste)
1 tsp coriander seeds, powdered
1/2 tsp cumin seed powder
salt to taste
2 tbsp oil
Pam spray or more oil to shallow-fry

Method:
1. Place the chopped potatoes, carrots and green beans in a microwave-safe bowl and microwave covered for 5 minutes with 3-4 tbsp water, till half-cooked.
2. Add the mashed potatoes and the spices and mix well.
3. Then add the chickpeas and chopped onions. Crush the chickpeas coarsely with a masher or the back of a sturdy spoon.
4. Add the breadcrumbs and mix in.
5. Heat the 2 tbsp oil and pour it on the mixture. Add salt to taste along with the coriander leaves, and mix thoroughly.
6. Now form small patties from the mixture and shallow-fry them in a non-stick pan (without crowding them) over medium-high heat.
7. Brush the top surface of the patties with some oil (or spray some Pam) and turn the patties over carefully when golden brown on the underside.
8. Serve warm with a salad for a light meal, or with ketchup for a snack.

Wednesday, September 22, 2010

Roasted tomato redcurrant thokku (chutney)

My first ever experiment with cooking with redcurrants was redcurrant thokku. It was, despite my best efforts, still rather too sour to be used as a mix for cooked rice - according to the feedback received from my palate. The best I could do with the thokku was use it – sparingly - as a condiment with (any) dal and rice.

So, with the second of the three batches of redcurrants, as a further experiment, I made thokku with the addition of roasted tomatoes, which I usually have to hand in the fridge because roasted tomatoes make everything taste better. Need I add that “everything” is limited to whatever is made USING the roasted tomatoes? No, I thought not. (But I’ve added it anyway, in case there’s someone whose answer to that question was “Yes”. *heehee*)

This thokku was more readily palatable, with the sourness of the berries tempered by the sweetness of the roasted tomatoes. It’s as nice mixed with plain rice as any regular tomato thokku, and is also a good accompaniment for dosas, idlis and the like. The verdict from my palate, which while admitting that quality-wise this thokku is the much better improved version, also insists that it’s best had in smaller portions than regular tomato thokku. So there you have it – my palate has spoken.

Recipe for: Roasted tomato redcurrant thokku

Photobucket

Ingredients

1-1/4 cups redcurrants, washed and drained
2 cups chopped roasted or regular tomatoes, pureed
2 tbsp oil
2-3 cloves garlic
1 tsp cumin-coriander powder
1 htsp brown/black mustard seeds
5-6 fresh curry leaves
1/4 tsp asafoetida powder
1/4 tsp turmeric powder
1 tsp sambar powder (optional)
1 tsp jaggery
1 tbsp lemon juice
3 tsp red chilli powder (or to taste)
1/4 tsp roasted fenugreek seed powder
salt to taste

Method:

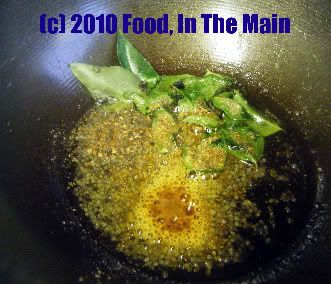
1. Heat the oil, add the garlic, cumin-coriander powder, mustard seeds, curry leaves, asafoetida powder and turmeric powder. Stir for 30 seconds or so.

Photobucket

2. Add the redcurrants and red chilli powder. Mix well, cooking the berries on medium low flame until they are soft and squashed.

3. Now pour in the pureed tomatoes and mix again.

Photobucket

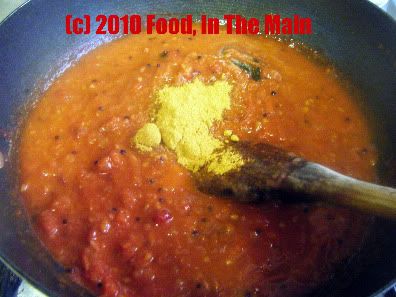
4. Bring the mixture to a boil, stirring every so often, then bring down the heat to low and let it bubble gently for 12-15 minutes, till it is thick. Add the sambar powder now, along with the jaggery and salt to taste.

Photobucket

Stir well. If the thokku is a bit watery, let it cook for another 5 minutes on medium heart and leave the thokku on the heat for a couple of minutes longer. There should not be any liquid in the thokku, it should be quite thick. If you like a smooth texture, puree the thokku after it cools down.

Photobucket

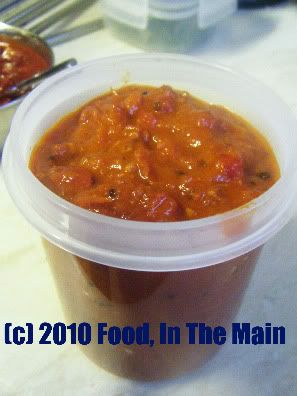
Let the thokku cool down completely before transferring to a clean jar with a tight lid. The thokku stays good for 2-3 days at room temperature. Mix with plain rice to make tomato rice with a difference, or serve as a side dish with dosas, idli etc.


RECIPE: ROASTED TOMATO REDCURRANT THOKKU

Ingredients:

1-1/4 cups redcurrants, washed and drained
2 cups chopped roasted or regular tomatoes, pureed
2 tbsp oil
2-3 cloves garlic
1 tsp cumin-coriander powder
1 htsp brown/black mustard seeds
5-6 fresh curry leaves
1/4 tsp asafoetida powder
1/4 tsp turmeric powder
1 tsp sambar powder (optional)
1 tsp jaggery
1 tbsp lemon juice
3 tsp red chilli powder (or to taste)
1/4 tsp roasted fenugreek seed powder
salt to taste

Method:

1. Heat the oil, add the garlic, cumin-coriander powder, mustard seeds, curry leaves, asafoetida powder and turmeric powder. Stir for 30 seconds or so.
2. Add the redcurrants and red chilli powder. Mix well, cooking the berries on medium low flame until they are soft and squashed.
3. Now pour in the pureed tomatoes and mix again.
4. Bring the mixture to a boil, stirring every so often, then bring down the heat to low and let it bubble gently for 12-15 minutes, till it is thick. Add the sambar powder now, along with the jaggery and salt to taste.
Stir well. If the thokku is a bit watery, let it cook for another 5 minutes on medium heart and leave the thokku on the heat for a couple of minutes longer. There should not be any liquid in the thokku, it should be quite thick. If you like a smoother texture, puree the thokku after it has cooled down.
Let the thokku cool down completely before transferring it to a clean jar with a tight lid. The thokku stays good for 2-3 days at room temperature. Mix with plain rice to make tomato rice with a difference, or serve as a side dish with dosas, idli etc.

Wednesday, May 26, 2010

Stuffed bhindi (okra)

One of my favourite aunts is my B mami. Nobody can help liking her, she’s just so kind, good-natured, fun and always good for a laugh. And to top that off, she’s also an absolutely amazing cook. She can make better bhelpuri and pani puri than anyone I know, and the other North Indian dishes she makes are just as awesome. Maybe it’s because she lived for so many years in the North (and north-east), and perhaps learnt them from North Indian friends, but I personally don’t think that’s the real reason. The real reason is that she’s just an awesome cook, full stop.

My visit to their place in Mathura (along with my youngest aunt and her daughter who was maybe three or four years old then) is still vivid in my memory. This was over 15 years ago, but good times leave their imprints on your brain, don’t they? But – and I don’t know just how much I should be embarrassed by this – one of THE most enduring of those memories was the train trip back. What’s embarrassing about a train trip memory, you ask? Well, the answer is that it’s not so much the train trip that was embarrassing, as my memory of WHY that trip was memorable. I might as well spit it out (not literally) – it was the bharwan bhindi (okra stuffed with a mixture of spice powders) that B mami had packed for our train journey, with instructions to eat that first in case it turned bad in the heat.

That was the best bhindi I’d ever had, bar none. I’ve made this before, but not to my mami’s recipe. A few weeks back I emailed her asking for her recipe for bharwa bhindi, which she kindly sent me. I then sat on it for a few weeks more, not because of my usual procrastination but because I just didn’t get a chance to lay my paws on fresh okra. That occasion happened a couple of weeks back and I made B mami’s bharwan bhindi rightaway. (That this recipe didn’t get posted rightaway was due to a combination of procrastination + lack of time + unfamiliarity with online photo editing software).

The okra was pretty good – not as good as mami’s (no surprise there) even with the benefit of her recipe – but a creditable effort, nonetheless.

Recipe for:
Stuffed bhindi (okra)

Photobucket

Ingredients:

250 gms ladies finger/okra/bhindi
1/2 tsp haldi (turmeric) powder
1 tbsp dhania (coriander) powder
1 tbsp jeera (cumin) powder
1 tsp chilly powder (or to taste)
1 tsp aamchur (dried sour mango) powder - optional
1/4 tsp hing (asafoetida) powder
salt to taste
oil as required (about 2 tbsp)
1 medium onion, grated or very finely minced

Photobucket

Method:

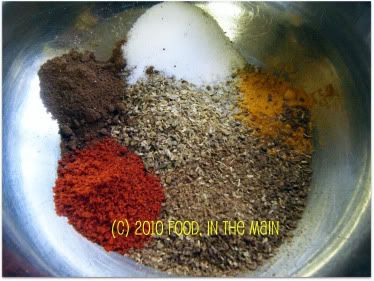
1. Mix the various powders together to make the stuffing masala and check that it tastes okay to you. Reserve.

Photobucket

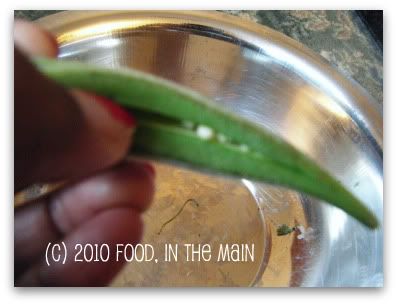
2. Cut the tops off the okra (I leave the tail on but it can also be removed if preferred.) Make vertical slits in each one, taking care not to go right through to the other side.

Photobucket

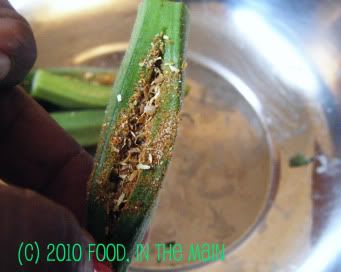
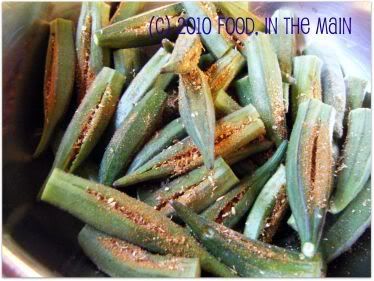
3. Carefully stuff each okra with the masala powder, using a small blunt butter knife

Photobucket

until all the okra is done. You can use any remaining masala on the okra as it cooks, it's up to you.

Photobucket

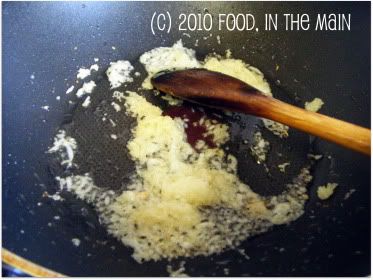
4. Now heat 1 tbsp oil in a non-stick saute pan and add the finely minced/grated onion.

Photobucket

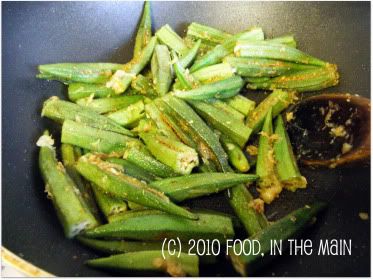
5. When the onion is soft and beginning to turn colour, add the stuffed okra. Carefully turn over the okra so that the onions are distributed more or less evenly.

Photobucket

6. Fry the stuffed bhindi on medium-high, turning them over occasionally. Add more oil as required. Don't cover the pan or the okra will become gooey. Add salt to taste when the okra is cooked and slightly crisp, with brown spots.

Photobucket

Serve the stuffed bhindi hot with rotis or as a side dish with rice and dal.

Monday, April 12, 2010

Eggs and peas in tomato-cashewnut gravy

Some days, when I'm very nearly out of ideas as to what to make for dinner for the two of us, and when that coincides with not having very much in the fridge to work with and I'm staring around the kitchen looking for inspiration, I'm always happily relieved when the cardboard box of eggs eventually comes into focus (I'm very capable of looking straight at something without seeing it, much to Pete's amusement or irritation, depending on his mood).

Eggs aren't the first thing that come to my mind in a culinary fix, simply because I'm not used to thinking of them as actual food. I mean, of course I use them, but usually in cakes. It's a rare thing for me to cook eggs for a meal - especially my meal. So when I suddenly remember them, it's always with a sense of pleased relief ("How clever of me to remember the eggs!") . Because once they're boiled, eggs are ready to be thrown - not literally, unless cleaning the hob and your clothes is your hobby - into any sauce you wish to conjure up.

And that is what I did recently.

Recipe for:
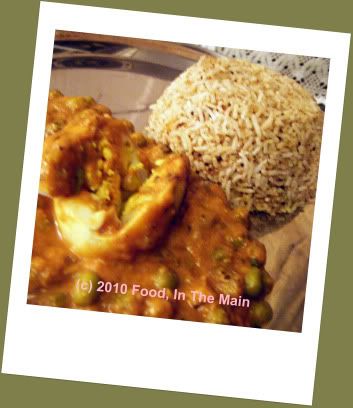
Eggs in tomato-cashewnut gravy

Photobucket

Ingredients:

4-6 eggs, hard boiled and shelled
10 cashewnuts
1 tsp ginger, grated
2 small onions, sliced

Photobucket

1/2 cup frozen green peas
1 cup smooth sieved tomatoes (I used readymade thick tomato pulp)
1-1/2 cups milk (I used semi-skim)
1 tsp cumin seeds
2 htbsp kasoori methi (dried fenugreek leaves)
1 tsp red chilli powder (optional, as per taste)
1/2 tsp turmeric powder
4 tsp oil
salt to taste

chopped coriander leaves for garnish


Method:

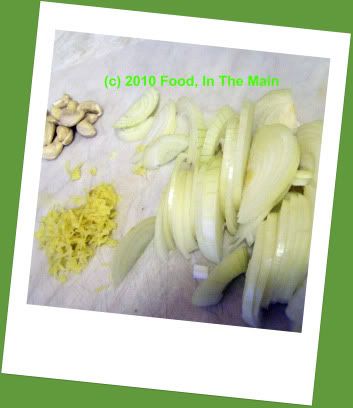
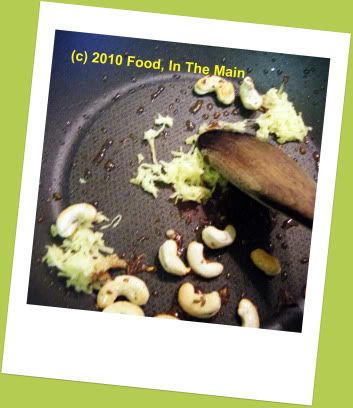
1. Heat two tsp oil in a small pan, add the ginger, cumin seeds and cashewnuts and fry them till the cashew nuts turn a light brown.

Photobucket

2. Add the sliced onions and cook till they begin to turn soft.

Photobucket

3. Add 1/2 cup milk and cook till the onions are done. Cool, then grind to a thick paste.

Photobucket

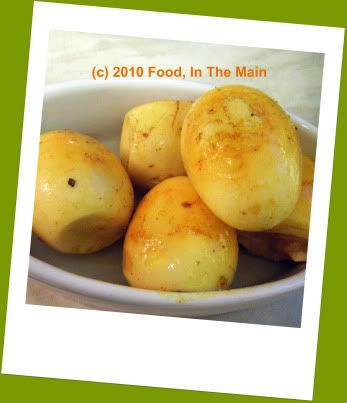
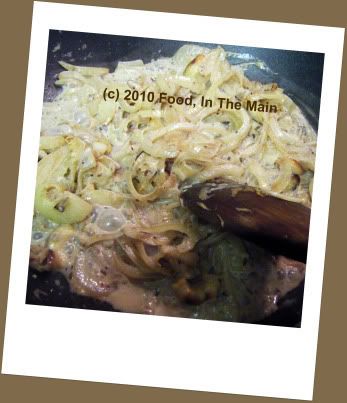
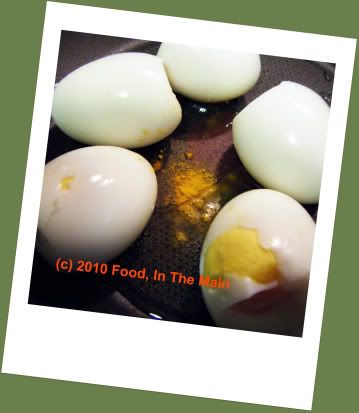
4. In another pan, heat the remaining oil and add the turmeric powder. Add the boiled eggs

Photobucket

and fry them, turning them gently every now and then, till the eggs are slightly blistered all over. Remove the eggs from the pan and set aside till required.

Photobucket

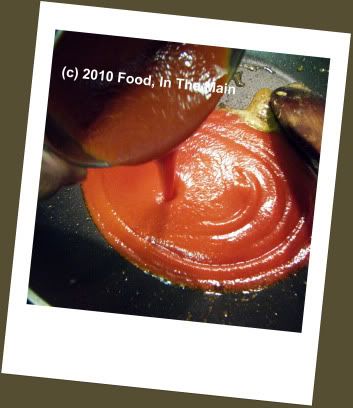
5. In the same pan, add the tomato pulp.
Photobucket

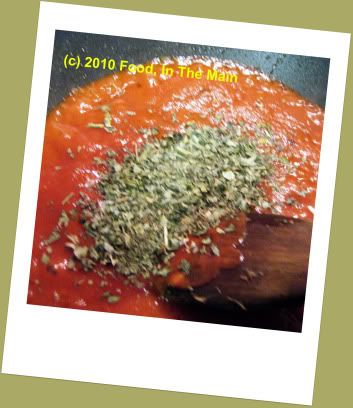
6. Add the kasoori methi and the red chilli powder (if using) to the pulp and let it cook for 2-3 minutes.
Photobucket

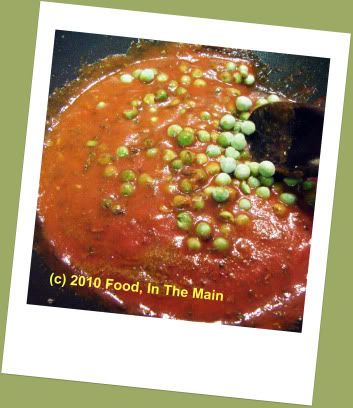
7. Now add the frozen peas along with 1/2 cup water,

Photobucket

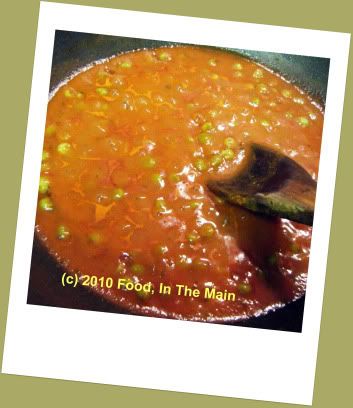
and cook them covered till done.

Photobucket

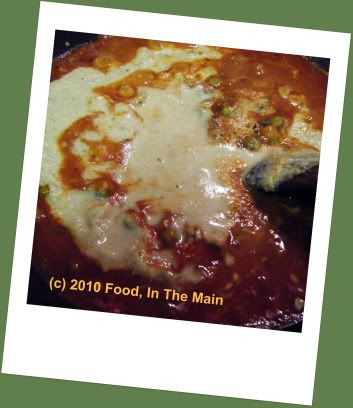
8. Now pour in 1 cup milk along with the onion-cashewnut paste and mix it in well. Add salt to taste. Let the gravy simmer for 5-7 minutes till it thickens to the consistency you like.

Photobucket

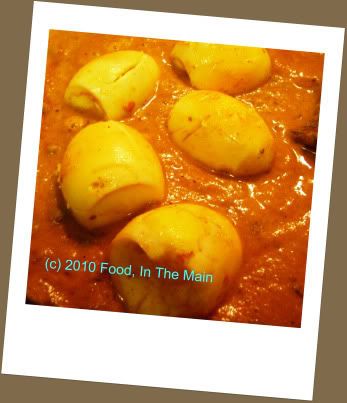
9. Add the reserved eggs (I made four vertical slits in the eggs) to the gravy and simmer for a few more minutes, spooning the sauce over the eggs.

Photobucket

10. Sprinkle the coriander leaves over, and serve hot with rotis or rice.

Photobucket