Showing posts with label green tomatoes. Show all posts

Monday, April 12, 2010

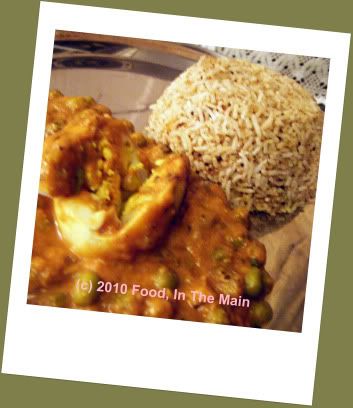
Eggs and peas in tomato-cashewnut gravy

Some days, when I'm very nearly out of ideas as to what to make for dinner for the two of us, and when that coincides with not having very much in the fridge to work with and I'm staring around the kitchen looking for inspiration, I'm always happily relieved when the cardboard box of eggs eventually comes into focus (I'm very capable of looking straight at something without seeing it, much to Pete's amusement or irritation, depending on his mood).

Eggs aren't the first thing that come to my mind in a culinary fix, simply because I'm not used to thinking of them as actual food. I mean, of course I use them, but usually in cakes. It's a rare thing for me to cook eggs for a meal - especially my meal. So when I suddenly remember them, it's always with a sense of pleased relief ("How clever of me to remember the eggs!") . Because once they're boiled, eggs are ready to be thrown - not literally, unless cleaning the hob and your clothes is your hobby - into any sauce you wish to conjure up.

And that is what I did recently.

Recipe for:
Eggs in tomato-cashewnut gravy
Photobucket

Ingredients:

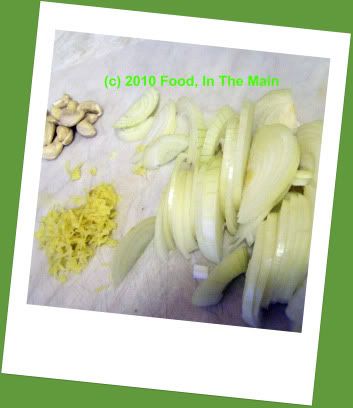
4-6 eggs, hard boiled and shelled
10 cashewnuts
1 tsp ginger, grated
2 small onions, sliced
Photobucket

1/2 cup frozen green peas
1 cup smooth sieved tomatoes (I used readymade thick tomato pulp)
1-1/2 cups milk (I used semi-skim)
1 tsp cumin seeds
2 htbsp kasoori methi (dried fenugreek leaves)
1 tsp red chilli powder (optional, as per taste)
1/2 tsp turmeric powder
4 tsp oil
salt to taste

chopped coriander leaves for garnish


Method:

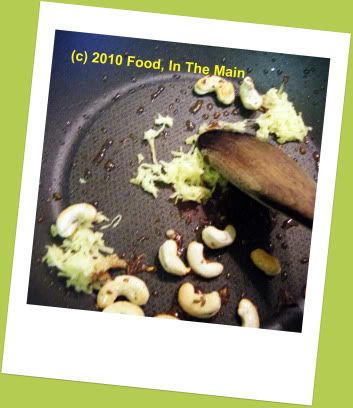
1. Heat two tsp oil in a small pan, add the ginger, cumin seeds and cashewnuts and fry them till the cashew nuts turn a light brown.
Photobucket

2. Add the sliced onions and cook till they begin to turn soft.

Photobucket

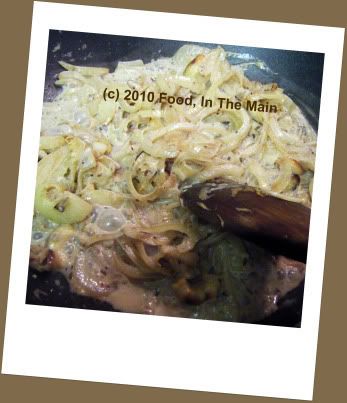
3. Add 1/2 cup milk and cook till the onions are done. Cool, then grind to a thick paste.
Photobucket

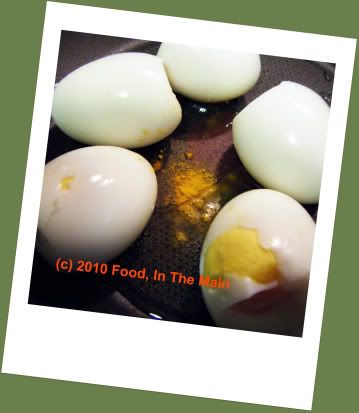
4. In another pan, heat the remaining oil and add the turmeric powder. Add the boiled eggs
Photobucket

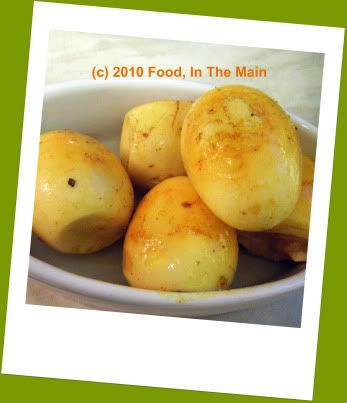
and fry them, turning them gently every now and then, till the eggs are slightly blistered all over. Remove the eggs from the pan and set aside till required.
Photobucket

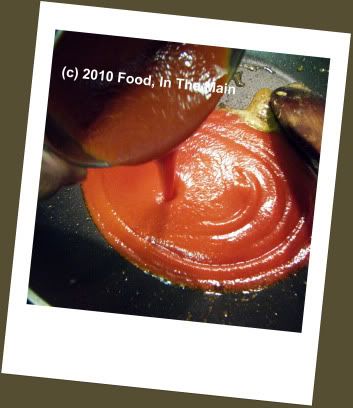
5. In the same pan, add the tomato pulp.
Photobucket

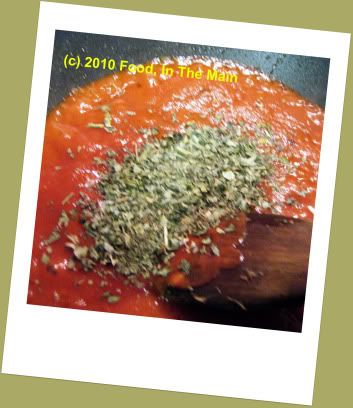
6. Add the kasoori methi and the red chilli powder (if using) to the pulp and let it cook for 2-3 minutes.
Photobucket

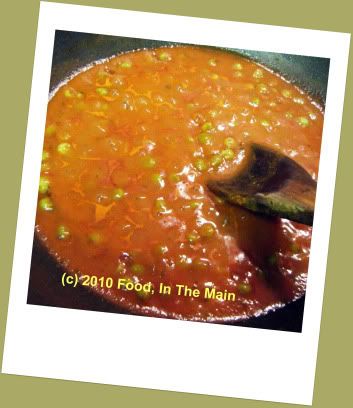
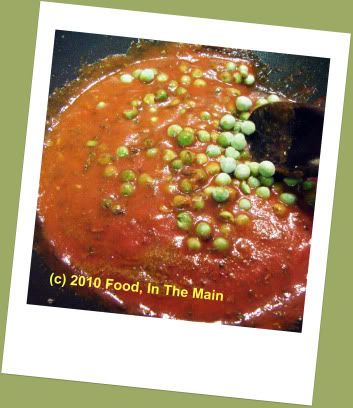
7. Now add the frozen peas along with 1/2 cup water,
Photobucket

and cook them covered till done.

Photobucket

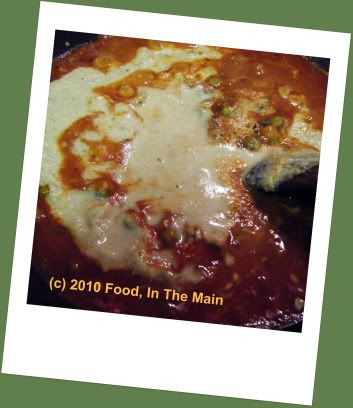
8. Now pour in 1 cup milk along with the onion-cashewnut paste and mix it in well. Add salt to taste. Let the gravy simmer for 5-7 minutes till it thickens to the consistency you like.
Photobucket

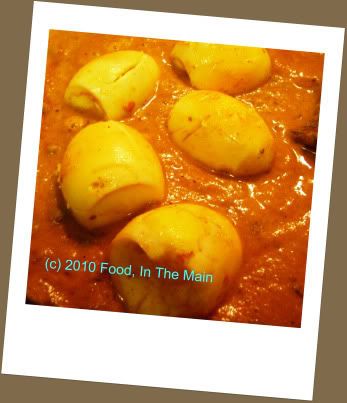
9. Add the reserved eggs (I made four vertical slits in the eggs) to the gravy and simmer for a few more minutes, spooning the sauce over the eggs.
Photobucket

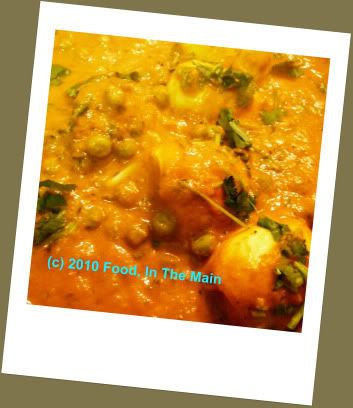
10. Sprinkle the coriander leaves over, and serve hot with rotis or rice.
Photobucket

Wednesday, March 31, 2010

Dal with vall beans

I love hyacinth beans (or avarakkai, in Tamil). The fresh green ones, I mean. I could probably eat a ton of them if only I could lay my hands on them. Unfortunately they're only available at South Indian (or Sri Lankan) greengrocers down South, and even then not all of the time - I think. I don't really know what the season is for these tasty beans, or I could at least try and make the trip to coincide with their availability!

I've had a small pack of vall beans (the dried ones) for YEARS, I think. I bought them I don't know when on a whim, without knowing what they were, and then proceeded to ignore them completely. I didn't ignore them on purpose - I'd merely forgotten about their existence. Then I rediscovered them at the bottom of the box in which I store my unopened supplies, and brought them back to the surface to try out.

But it was when I found out that val beans are the dried seeds (? right word?) of avarakkai that I was galvanised into cooking with them. (When I say galvanised, I mean my version of it. Other people when galvanised might immediately do whatever they've been galvanised to do, but I tend to take my time. Continental drift has nothing on it.) I decided to make dal with the beans and the last of a bag of fresh spinach.

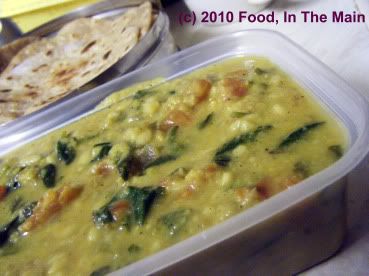
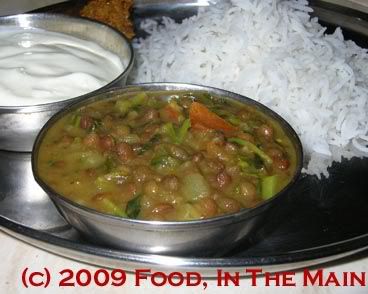
Since I didn't how long the dal would take to cook on the hob, I pressure-cooked it. When I opened the container, I got quite excited as there was a distinct aroma of avarakkai... which in retrospect need not have come as quite such a surprise because they were after all avarakkai beans! The finished dish had an underlying flavour of the hyacinth beans, which I liked very much. I couldn't help wondering, though, if whole vall dal would have a stronger flavour... so I guess I'll have to be on the lookout for those babies!


Recipe for: Dal with vall beans

Photobucket

Ingredients:

1 cup vall dal
2 tomatoes, chopped
2 small onions, chopped finely
2-3 green chillies, minced (to taste)
1 clove garlic, minced
1/2 tsp ginger, grated
2 cups spinach
1 tsp garam masala (I used Kitchen King)
1 tsp cumin-coriander powder
salt to taste
2 tsp oil

Method:

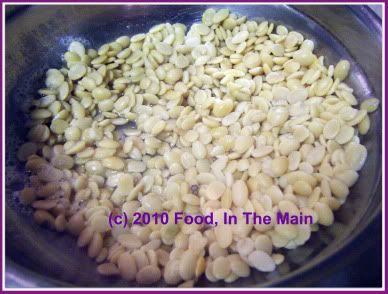
1. Pressure cook the vall dal for three whistles till done. Reserve.

Photobucket

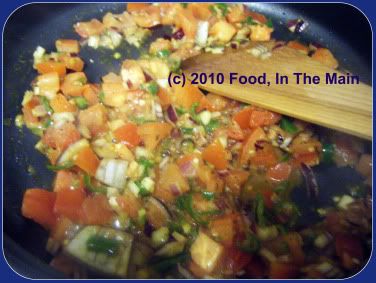
2. Heat the oil in a pan and add the onions, ginger, green chillies and garlic. Saute for 3-4 minutes, then add the tomatoes. Fry till the tomatoes are soft and mushy.

Photobucket
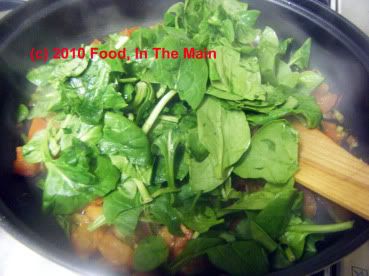
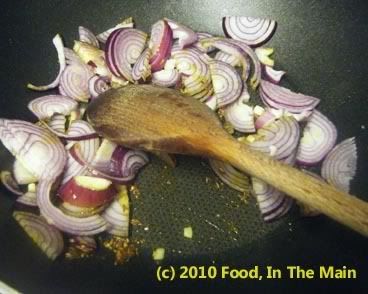
3. Add the spinach now, cover with a lid and let it wilt on med-low heat.

Photobucket

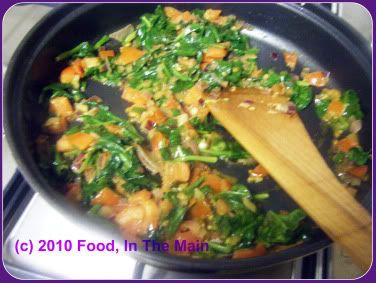
4. Add the garam masala, cumin-coriander powder and mix it in.

Photobucket

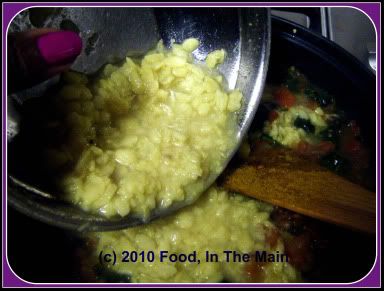
5. Finally, pour in the cooked vall dal and stir to distribute the masala evenly. Add salt to taste.

Photobucket

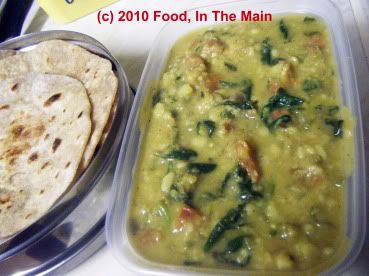
6. Serve hot with rotis or rice.
Photobucket

Tuesday, January 19, 2010

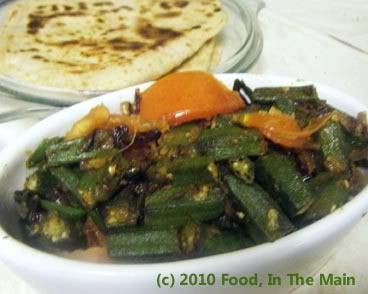
Take-away style bhindi (okra) bhaji

Take-out. Take-away. Call it what you will, all it means is that you're going to be eating something cooked in some pokey little kitchen by Bangladeshi cooks (most likely if it's a takeaway in the Midlands) who labour under the misapprehension that a bucketload of oil is a good substitute for taste and flavour. I might be doing a disservice to the rare takeaway place which doesn’t follow this rule of thumb, but on the whole, my statement holds true, sadly enough.

I don’t see why takeaways shouldn’t be able to do good, healthy, wholesome food, considering they have at hand all the resources they need. Various friends have asked me – probably only in jest – why I don’t start my own takeaway, but the thought just doesn’t appeal. I do like cooking, but if I had to do it all day every day, whether from home or a business premises, I would come to hate it very quickly.
(I admit that about the only activity - if you can call it that - I could or would do all day, every day, all the time would be reading... but nobody’s paying me to read books just for personal enjoyment, more’s the pity.)

Anyway, since I had a couple of packets of okra from India (via Tesco, of course - "eat local" doesn't even come into the question!) to use up and Pete likes okra, I decided to make a restaurant-style side dish – with plenty of green chillies (fried separately) for myself, and with no chillies for him. Both versions were just so simple but tasty.

To harp away on the same topic, I honestly don’t understand how the takeaway chefs could oilify (new word there) a basic dish like this and ruin it. Shame that most takeaway eaters will never realise what they're missing in the way of authentic fare. If they only knew...

Recipe for:
Take-away style bhindi (okra) bhaji

Photobucket

Ingredients:

500 gm okra (about 4 cups, sliced 1" long)
2 small onions
2 small tomatoes
1 large garlic clove, sliced into thin matchsticks
3-4 green chillies, sliced diagonally into strips
2 tsp cumin seeds
1 tsp coriander powder
1/2 tsp turmeric powder
1 tsp Kitchen King masala (or use garam masala)
Salt to taste
2 tsp oil

Method:

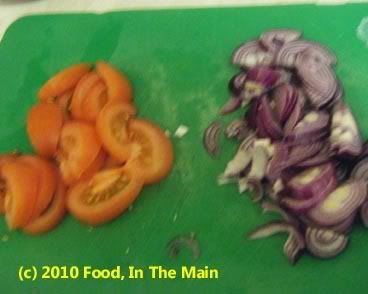
1. Slice the tomatoes into 1/2-cm thick wedges and slice up the onions thinly.

Photobucket

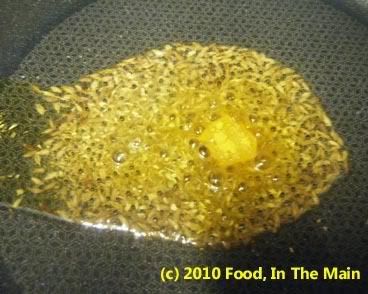
2. Heat the oil in a pan and add the cumin seeds and turmeric powder; fry for 20 seconds. They should become a darker shade of brown.

Photobucket

3. Add the sliced onions and garlic, and green chilli strips (if using), and stir-fry till they begin to turn translucent, about 5 minutes.

Photobucket

4. Now add the okra and stir it in. Let it cook on medium-high heat, stirring once in a while.

Photobucket

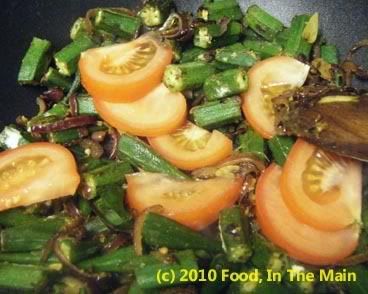
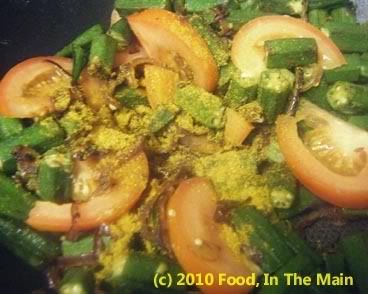
5. Once the okra is cooked and the onions are nicely browned, add the tomato wedges.

Photobucket

6. Stir-fry on high for 2-3 minutes or till the tomatoes JUST begin to soften. They should not get mushy. Add the Kitchen King/garam masala and salt to taste, and mix it in. Cook the okra for another couple of minutes. Serve warm with chapaties and any dal.

Photobucket

Tuesday, November 24, 2009

Tomato-cream cheese pasta

I'm not a great fan of cheesy pasta recipes - there's really only so much cheese I can take before my taste buds put their hands up in the air and beg for mercy. Cheese is something I can take on board only in small amounts - VERY small amounts. This applies to any cheese that has a pronounced flavour - cheddar, parmesan, feta, halloumi, whatever. Paneer doesnt figure on this list because it doesn't have a definite taste. And blue cheeses don't count as food, as far as I'm concerned... unless they're classified as "food that was once alive but is now putrefied".

So, as far as pasta goes, my preference is for tomato-based sauces. I don't mind cream cheese, as long as it's mixed with herbs... and a recipe for a pasta sauce that combined tomatoes and cream cheese seemed doable. I would have added chillies, or possibly chilli sauce to the recipe, but since this was to be a quick-fix dinner for me and Pete, I had to keep the hot stuff at bay.

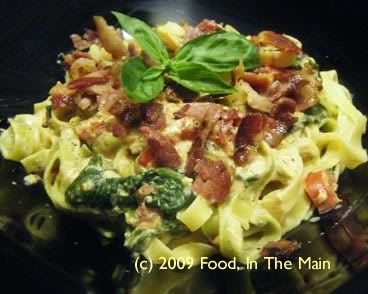
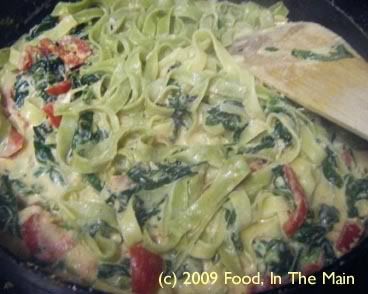
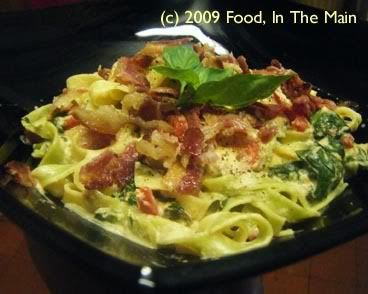
The sauce was, as I'd suspected it would be, very nice with the flavour of tomatoes melding nicely with the cream cheese. I added lots of fresh basil (two types, both home grown, yay!), and a topping of crisp crumbled bacon for Pete and sort of crisp, crumbled facon (= fake bacon, or bacon-style strips) for me; and with a bottle of wine on the side, the pasta made a very pleasant meal.

Recipe for: Tomato cream cheese pasta

Photobucket

Ingredients:

Wide egg noodles for two (approx 75 gm uncooked per person)
2-3 medium tomatoes
3-4 cloves garlic, chopped
1 small red pepper, deseeded and sliced
2 cups fresh spinach leaves
4 tbsp non-fat garlic-and-herb flavour cream cheese (or plain will do as well)
1/4 cup basil leaves, shredded
Salt and pepper to taste
2 tsp olive oil
2-3 strips bacon (or facon), cooked crisp and crumbled, for garnish

Method:

1. Put the pasta/noodles on to boil as per directions on the pack.

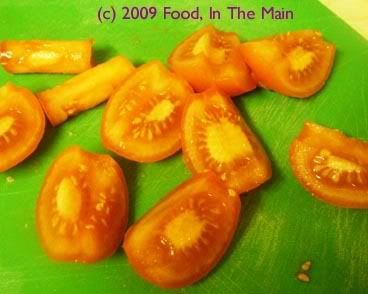
Quarter the tomatoes, then puree smooth.

Photobucket

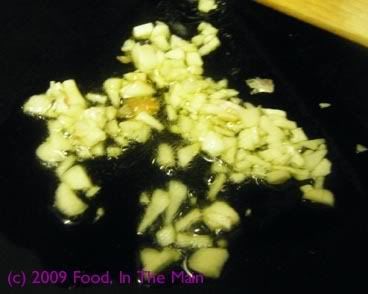
2. Fry the garlic in the olive oil till just soft, but not brown.

Photobucket

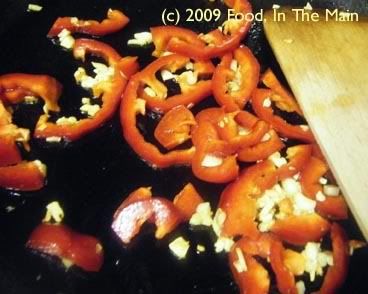
3. Add the sliced peppers.

Photobucket

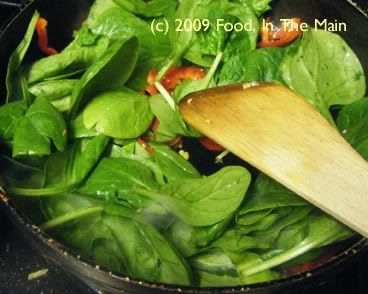
4. Then add the spinach leaves,

Photobucket

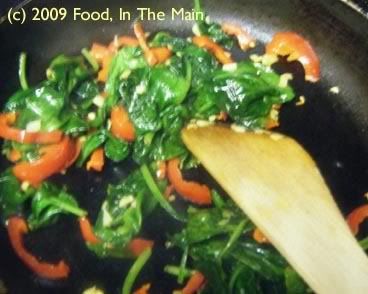
and stir till the leaves wilt and the pepper just begins to soften.

Photobucket

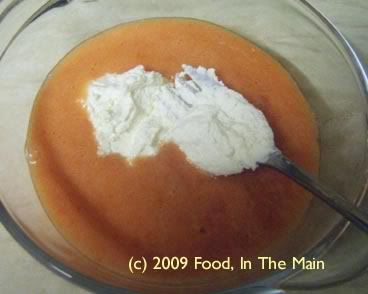
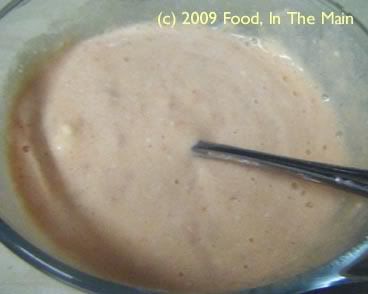
5. Add the cream cheese to the pureed tomato.

Photobucket

6. Whisk them well to form a sauce.

Photobucket

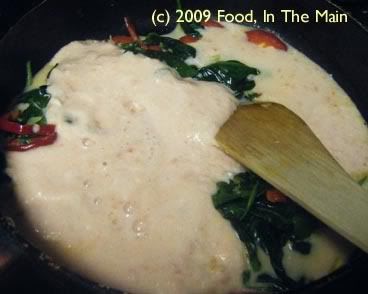
7. Add the cream-cheese tomato sauce to the pan with the vegetables and stir it in. Add salt and freshly ground black pepper to taste.

Photobucket

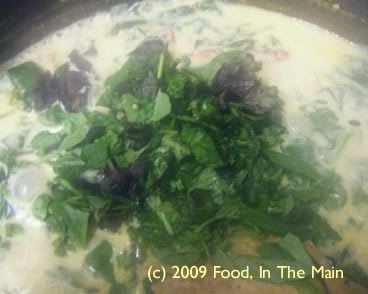
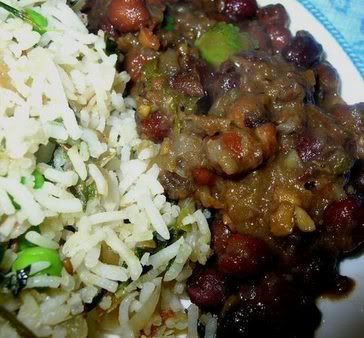
8. Stir in the chopped basil.
Photobucket

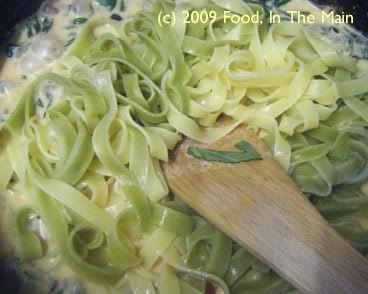
9. Drain the cooked pasta and add the pasta to the pan.

Photobucket

10. Gently mix it with the sauce and heat thoroughly but do not let it boil.

Photobucket

11. Serve in warm bowls with the crumbled bacon/facon on top as garnish and some fresh basil leaves.


Photobucket

Monday, January 26, 2009

Green tomato dal

This recipe has been hanging fire since late last autumn, when I had actual green tomatoes which refused to ripen. That was my fault, since I’d acquired the plant well into summer and the tomatoes simply didn’t have the time or receive the warmth to ripen and redden.

This year, though, hopefully I will be more on the ball when it comes to growing these love-apples… because honestly, they taste soooooooooo much better when eaten straight off a plant! (That is, you pick the tomato from the plant, wipe it just in case, check for holes which might indicate the presence of any prior eaters/occupants, and then pop it into your mouth. That’s the usual procedure and the only possible explanation for “eaten straight off the plant”... unless you’re a slug or a bug or a bird or any other tomato-predator.)

Organic, schmorganic… the best tomatoes are those that grow in your pot or veggie patch or garden, and that is the bottomline.

Photobucket

Since these tomatoes were green, I didn’t try eating them raw. Since I wasn’t in the mood for fried green tomatoes (yep, as per the Whistlestop CafĂ©) at that point either, they went into a tangy, spicy dal. I will be making it again this year… and perhaps include a trial of fried green tomatoes too.


Watch this space... but here’s a friendly heads-up because I value my readers - watch it only sporadically, just so you don’t get bored waiting! Cheers.

Recipe for:
Green tomato dal

Photobucket

Ingredients:


1 cup whole masoor dal, soaked for 1 hour and cooked separately with 1/2 tsp turmeric
3 medium green tomatoes, chopped
1 medium ripe tomato, chopped
1 medium onion, chopped fine
1 cup shredded greens (spinach/fenugreek)
1 tsp ginger-garlic paste
3/4 tsp coriander powder
1 tsp cumin seeds
4 green chillies, minced (or to taste)
1/2 tsp tamarind paste (more or less, depending on how sour the green tomatoes are)
Salt to taste
2 tsp ghee - reserve 1/2 tsp for garnish

2 tbsp chopped coriander leaves for garnish
1/2 tsp garam masala for garnish

Method:

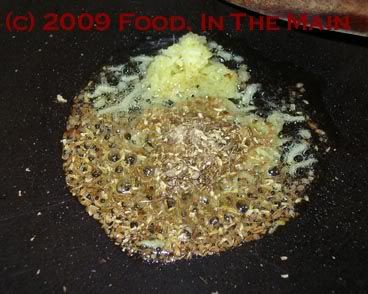
1. Heat 1-1/2 tsp ghee in a pan, then add the coriander powder, cumin seeds, minced green chillies and ginger-garlic paste. Stir fry for 30 seconds.

Photobucket

2. Add the chopped onions and fry over medium-high heat till they become soft and start turning brown.

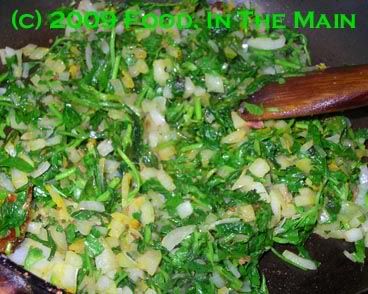
3. Add the shredded greens now and mix well, frying till they start wilting.

Photobucket

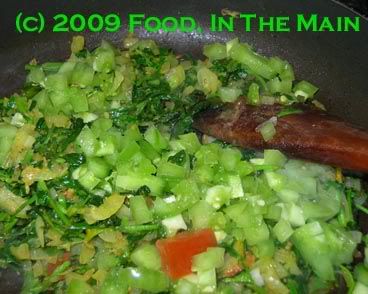
4. Throw in the chopped green tomatoes, mix well.

Photobucket

Fry for 3-4 minutes till the tomatoes begin to soften.

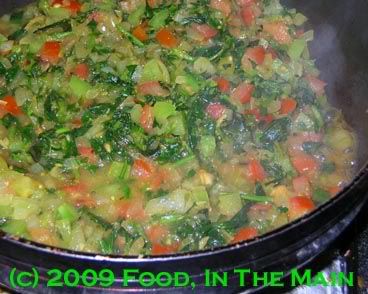
5. Add the red tomatoes now, mix well, and pour in 1/4 cup water.

Photobucket

6. Cover the pan and let cook for 5 minutes on medium-high heat.

Photobucket

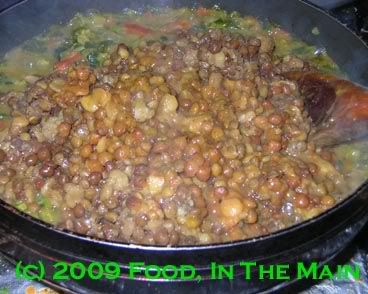
7. When the tomatoes have broken down and turned mushy, add the cooked whole masoor dal along with salt to taste.

Photobucket

8. Stir the dal in gently, without mushing it up, then taste for sourness. If required, dissolve 1/2 tsp tamarind paste in 1/4 cup water and add it to the pan.

9. Let the dal simmer for 5-7 minutes till the ingredients come together.

10. Heat the remaining 1/2 tsp ghee in a small pan and add 1/4 tsp cumin seeds (optional) and the garam masala. Fry for 10 seconds, then pour over the top of the hot dal.

11. Sprinkle coriander leaves on the dal and serve hot with rice or rotis and onion raita.

Friday, February 17, 2006

Kala chana (black chickpeas)


Kala chana is both the name of this variety of chickpeas and of the dish made with them - an economy of words indeed. Although kala chana or black chickpeas (actually they're brown in colour!) are a variety of chickpeas, they look and taste very different from the more common white kind (kabuli chana) that are used to make, among other things, hummous and chole. I personally like them better, because they have a stronger, earthier flavour that is not masked by the masala that is used to make the curry.

These chana can be soaked overnight in water, but 3-4 hours is usually enough to make them grow plump in the water and ready for cooking.


I also like kala chana plain boiled, sauteed in a little oil and tempered with the usual mix of mustard seeds, some dried red chillies, asafoetida powder and urad dal - they make for a tasty, healthy snack with just this tempering, or with the addition of freshly grated coconut for garnish. This dish (called sundal) is usually made as prasadam or holy offering during certain festivals, but I like to make them even otherwise.

Not this time, though... this time it was kala chana curry for my vegetarian sister-in-law, who regularly invites herself over for a home-cooked Indian meal!

Recipe for:
Kala chana


Ingredients:

4 tomatoes, de-skinned and chopped finely (To de-skin the tomatoes, make a small shallow cut in the skin, then put the tomatoes in a bowl and cover with boiling water. Let rest for 3-4 minutes. Pour out the water and slip off the tomato skins - they will come off easily)


1 cup kala chana, soaked in plenty of water overnight
2 medium onions, chopped fine
1 tsp ginger, grated
4-5 green chillies (or to taste), minced or sliced into fine rounds
2 bay leaves
1" cinnamon stick
2 black cardamom pods, left whole
1 tsp cumin seeds
1 htsp chana or chole masala
or
1/2 tsp garam masala
Salt to taste
2 tsp oil
Fresh coriander, chopped, for garnish
Thinly sliced tomatoes and onion rings for garnish (optional)

Method:

1. Pressure-cook the soaked kala chana with the bay leaves, whole black cardamom pods and cinnamon stick in enough water to cover the chana fully. Do not overcook. (They should hold their shape yet be easy to mash when a little pressure is applied.) Remove the bay leaves, the whole cardamom and cinnamon stick and discard.

2. In a wide pan, heat the oil. Add the grated ginger, the chopped green chillies, the cumin seeds. Fry for 1 minute, then add the chopped onions. Fry till the onions become soft and are beginning to turn slightly brown.


3. Add the chopped tomatoes and the garam masala/chana or chole masala and stir. Add 1/2 cup water and cook till the tomatoes break down and become mushy.

4. Now add the cooked kala chana (reserving 1/4 cup) and salt to taste. Stir well to coat.

5. Add some more water if required, to make a thick gravy, and let the kala chana simmer away for 5 minutes.

6. Mash the reserved 1/4 cup of the chana and add it to the pan. Stir again. This will thicken the chana.

7. Garnish with the tomato slices and onion rings (if using), and scatter the coriander leaves on top.

8. Serve hot with rice, chapatis or puris.