Showing posts with label green peas. Show all posts

Friday, November 11, 2016

Mixed vegetable pakoda v2

I've posted a pakoda recipe before, but I thought I'd do a post on this version because, for one, it IS slightly different and for another, I really REALLY like my photo and think it deserves to be enshrined on my blog for posterity to view over and over.

HAHAHAHA!

My mother's version (which is the only one I've used all these years) for vegetable pakoda does not involve ginger-garlic paste. This time I decided to add it, and gosh, what a difference it made to the taste! The mint also added a refreshing note. I recommend it. 


Oh, and while you're considering my recommendation, make sure you guys admire my beautiful photo of the pakodas. I recommend that too.

Recipe for:
Mixed vegetable pakoda
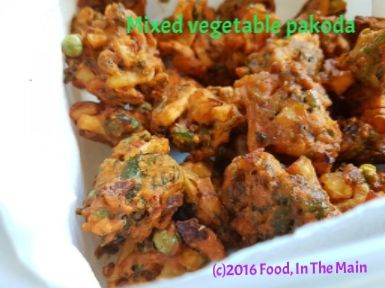
 photo 9d02ee62-6afc-47c2-8255-d76b419ef479_zpsbsmepbnl.jpg

Ingredients:
1 medium potato
10-12 green beans
1/5 small cauliflower
1 medium carrot
1 cup spinach
1/4 cup green peas
1 medium onion
1 tbsp ginger-garlic paste
2 tbsp finely chopped mint

1 tsp omam/ajwain/oregano seeds
1 tsp red chilli powder
1 tsp coriander powder
1.5 - 2 cups chickpea flour
2 tbsp rava/semolina
Salt to taste
Oil for deep frying

Method:

1. Peel the carrot. Chop all the vegetables into thin 1/2-inch long strips.

2. Heat the oil in a deep wok. While the oil is heating, in a large mixing bowl, mix together all the chopped vegetables, spice powders, grated ginger and garlic, the semolina and the chickpea flour. Mix well, then add salt to taste and mix again. Add 1/4 cup water and mix with your hands to a thick dough. It should not be runny at all, because the vegetables will exude water. And once the dough is mixed, use it straightaway.

3. Drop a small piece of dough in the oil - if it floats to the top rightaway, the oil is ready. Drop the mixture carefully into the oil by the tablespoonful. Don't crowd the oil or the pakodas will not be crisp and soak up the oil. Once they are an even golden brown, remove from the oil and drain onto kitchen paper.

4. Serve warm. Great with drinks.

Thursday, March 29, 2012

Cabbage and peas rice

Photobucket
Cabbage is one of my favourite vegetables, pretty much no matter how it’s cooked – as long as that doesn’t mean cooking it to a stinky sulphur-y mush. I don’t care much for white cabbage, because (in my opinion) it’s stinkier and sulphur-ier than green cabbage. (It might not be any more or less smelly, you understand - I’m just quoting the opinion put forward by my nose). Purple cabbage is kinda like white cabbage except purple… and because it’s a pretty colour for cabbage, I don’t shun it.

But the cabbage I use the most is a pointy, tear-drop shaped green cabbage marketed under the name “sweetheart cabbage” in the supermarkets here. That said, I quite like the round green kind too. But sweetheart by name, sweetheart by taste – no, ok, that simile doesn’t work. There’s a good reason I’m not a world-famous writer, I suppose. 

Anyway, those are the three types of cabbage available - unless you count the round green cabbage as a different variety from the pointy green one… in which case, the cabbage count goes from three to four. I’m sure that, like potatoes, there are hundreds of different varieties of cabbage, all of which have individual names, again like potatoes. I probably just don’t know about them.

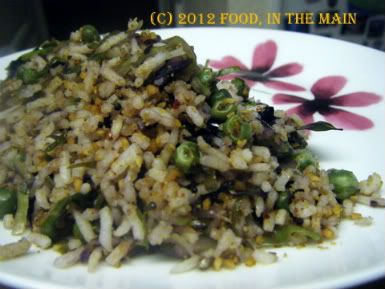
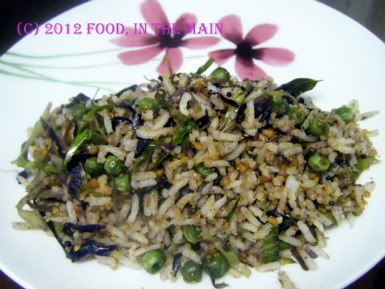
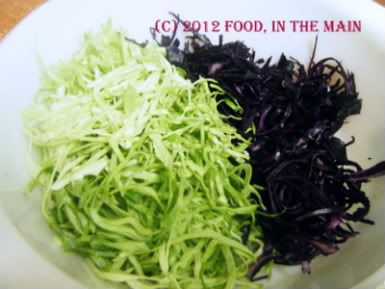
So, coming back to what I do know (a much shorter topic, haha), which is that I love cabbage, what I made with a combination of green and purple cabbage was a luvverly rice dish. With added peas. There's hardly anything that doesn't benefit from the addition of peas, unless it's a cake. Although I bet someone somewhere has tried a green peas cake and written about it on their blog... Ok, I'm off to google for green peas cake now, but you please feel free to read my recipe below and try it out, because it's really, really tasty - especially if you're a cabbage enthusiast like me.


Recipe forCabbage and peas rice

Photobucket
Ingredients:


2 cups cooked basmati rice
3 cups cabbage, finely shredded
Photobucket
1/2 cup peas (fresh or frozen)
1 tsp oil
2 tsp mustard seeds
1/4 tsp asafoetida powder
a few fresh/frozen curry leaves
Salt to taste
Peanuts and chopped coriander leaves for garnish (optional)


For the masala powder:


1/2 tsp oil
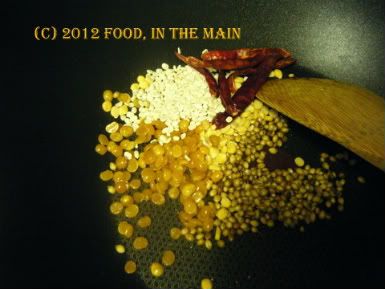
1 htsp urad dal
1 htsp tuvar dal
1 htsp chana dal
1 htsp coriander seeds
4-5 dried red chillies (or to taste)
2 tbsp shredded fresh or dry coconut


Method:


1. Heat 1/2 tsp oil in a large pan. Photobucket
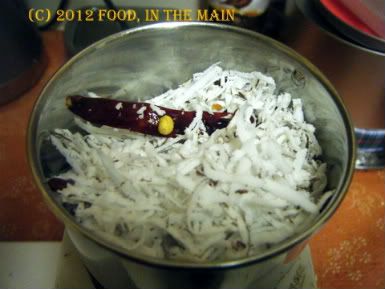
Fry the masala powder ingredients (bar the coconut) over a low flame till the dals turn a pale golden brown, and the chillies are a shiny dark red. Remove to a plate and let cool.
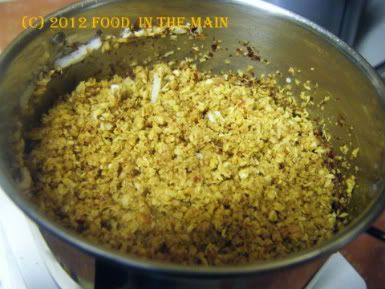
2. Grind the cooled roasted dals along with the coconut to a fairly smooth powder.Photobucket
Reserve.
Photobucket
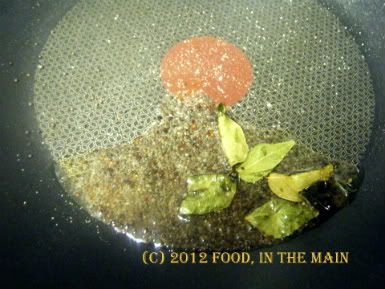
3. Heat the remaining oil in the same pan and add the asafoetida powder, curry leaves and mustard seeds. Cover the pan and let the seeds pop.
Photobucket
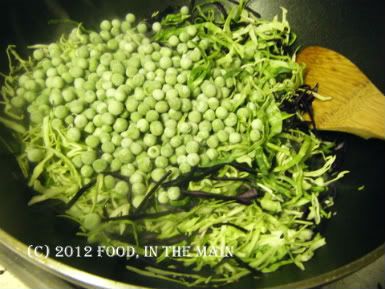
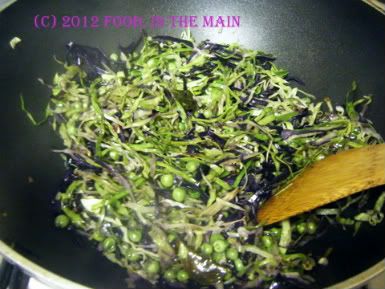
4. Now add the shredded cabbage and peas and stir well. Photobucket
Cover the pan tightly and let the vegetables cook on a very low heat for about 7 minutes, till the cabbage is cooked but still retains some bite.

Photobucket
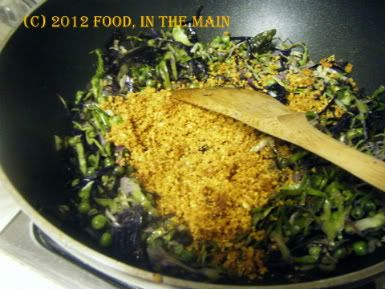
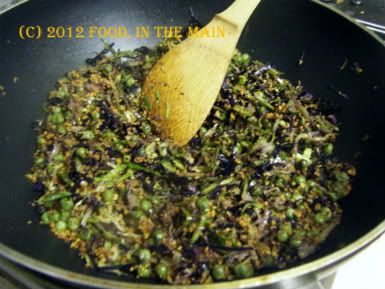
5. Once the cabbage is done, add the ground coconut masala powder and salt to taste, and mix well.
Photobucket


Photobucket
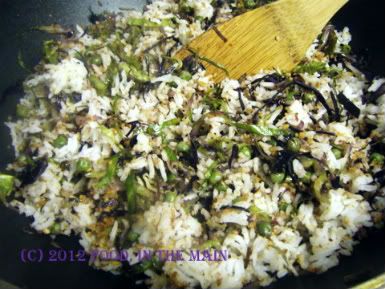
6. Then add the rice and mix it in carefully until it is distributed evenly. Photobucket
Add the chopped coriander (if using) and scatter the roasted peanuts over. Serve hot with cucumber raita and papad or crisps on the side.


RECIPE: CABBAGE AND PEAS RICE


Ingredients:
2 cups cooked basmati rice
3 cups cabbage, finely shredded
1/2 cup peas (fresh or frozen)
1 tsp oil
2 tsp mustard seeds
1/4 tsp asafoetida powder
a few fresh/frozen curry
Salt to taste
Peanuts and chopped coriander leaves for garnish (optional)


For the masala powder:
1/2 tsp oil
1 htsp urad dal
1 htsp tuvar dal
1 htsp chana dal
1 htsp coriander seeds
4-5 dried red chillies (or to taste)
2 tbsp shredded fresh or dry coconut


Method:
1. Heat 1/2 tsp oil in a large pan and fry the masala powder ingredients (bar the coconut) over a low flame till the dals turn a pale golden brown, and the chillies are a shiny dark red. Remove to a plate and let cool.
2. Grind the cooled roasted dals along with the coconut to a fairly smooth powder. Reserve.
3. Heat the remaining oil in the same pan and add the asafoetida powder, curry leaves and mustard seeds. Cover the pan and let the seeds pop.
4. Now add the shredded cabbage and peas and stir well. Cover the pan tightly and let the vegetables cook on a very low heat for about 7 minutes, till the cabbage is cooked but still retains some bite.
5. Once the cabbage is done, add the ground coconut masala powder and salt to taste, and mix well.
6. Then add the rice and mix it in carefully until it is distributed evenly. Add the chopped coriander (if using) and scatter the roasted peanuts over. Serve hot with cucumber raita.

Wednesday, November 03, 2010

Vegetable curry

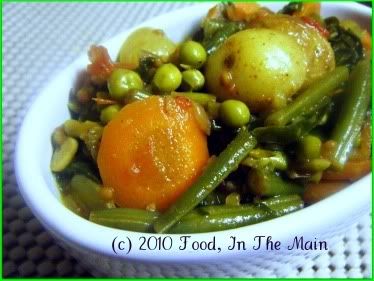
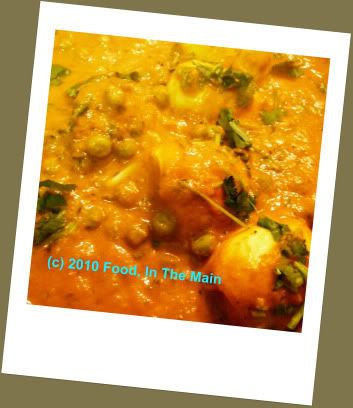
This is what I call an "all-purpose" recipe because you can use whatever vegetables you have to hand. It's especially good for using up the odds-and-ends. The only reason I use the generic term "curry" is because it's not a kootu or anything specifically South Indian, and it is not quite proper North Indian because I used "curry powder" as a flavouring.

I know - gasp! What was I thinking, using store-bought "curry powder"? Me, who used to be authentically Indian and looked down my nose (only a short distance, given that my nose is regrettably lacking in ski-slope proportions) at any recipe that involved the use of "curry powder" especially with the words "mild Madras" preceding the term. Me, who used to be mildly scornful and pitying of the uninformed Brits who relied on curry powders to make their "Indian" curries. That me, now admitting without any apparent embarrassment to having "gone over" to the British side of Indian curries? WTF?

Actually, after years and years of using readymade garam masala powder in various dishes and not thinking twice about it being a store-bought item, I finally came around to admitting that "curry powder" was pretty much the same sort of thing.

However, I do still look down my sadly length-challenged nose at people who use curry powder as the sole flavouring for their versions of curries. My superiority imaginary superiority in the matter of "authentic" recipes is maintained quite satisfactorily (from my point of view, naturally) because I used "mild Madras curry powder" mainly to provide the "authentic British" flavour to this curry. I do not, I hasten to add, use it all the time.

There, that should pretty much re-establish my credentials. And if it doesn't, here's a gentle reminder - I am now, as my husband chooses to describe, a "Brindian", not an Indian...

Recipe for: Basic vegetable curry
Photobucket
Ingredients:

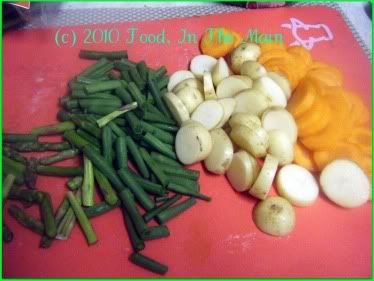
2-3 small new potatoes, sliced into 1/2-cm thick rounds
1 carrot, peeled and sliced into 1/2-cm thick rounds
1/3 cup fresh or frozen green peas
Photobucket
2 small onions, sliced
1/2 cup green beans, sliced 1" long
2 cups baby spinach leaves
1/2 cup roasted tomatoes OR 1 cup tomato puree + 1 tbsp concentrated tomato paste
1-2 small cloves garlic, chopped fine
1/2" piece ginger root, peeled and grated
1 tsp cumin seeds
salt to taste
2 tsp oil
1/2 tbsp mild Madras curry powder
Coriander leaves for garnish

Method:

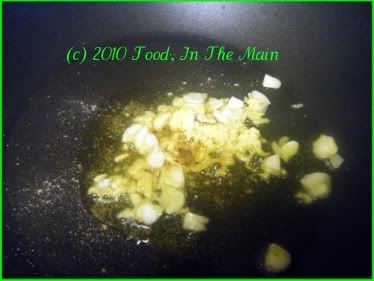
1. Heat the oil in a wide pan, add the cumin seeds and garlic, and fry on medium-low heat until the garlic softens (about 30 seconds).
Photobucket

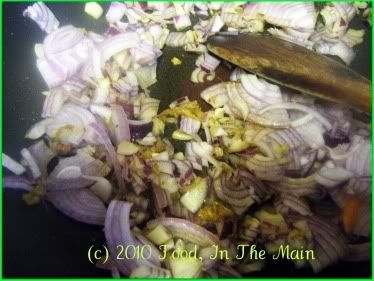
2. Then stir in the sliced onions, grated ginger and turmeric powder and fry till the onions become limp and turn translucent.
Photobucket

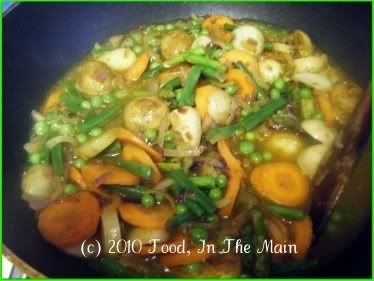
3. Add the sliced potatoes, carrots, green beans and green peas along with 2 cups water and the curry powder.
Photobucket
Bring it to a boil on high heat, then turn the heat down to medium and let the vegetables cook for 7-8 minutes.

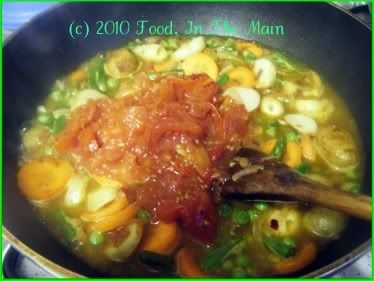
4. Then add the roasted tomatoes.
Photobucket
If you're using uncooked pureed tomatoes, turn the heat back up to high after adding the puree + concentrated paste, and let the liquid reduce by half.

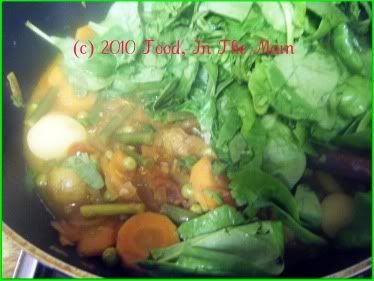
5. Let the mixture simmer till the vegetables are fully cooked. Now add the spinach leaves.
Photobucket
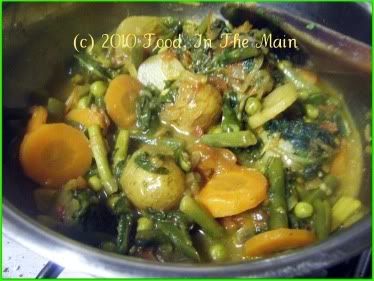
Turn the heat down to low and cover the pan for 3-4 minutes or till the spinach is wilted. Add salt to taste, stir it in well. Leave the curry on the hob for a few minutes more, if the gravy is not thick enough for you.
Photobucket
Garnish with coriander leaves and serve hot with plain rice, any Indian pickle and papad.

RECIPE: VEGETABLE CURRY

Ingredients
2-3 small new potatoes, sliced into 1/2-cm thick rounds
1 carrot, peeled and sliced into 1/2-cm thick rounds
1/3 cup fresh or frozen green peas
2 small onions, sliced
1/2 cup green beans, sliced 1" long
2 cups baby spinach leaves
1/2 cup roasted tomatoes OR 1 cup tomato puree + 1 tbsp concentrated tomato paste
1 tsp cumin seeds
1-2 small cloves garlic, chopped fine
1/2" piece ginger root, peeled and grated
salt to taste
2 tsp oil
1/2 tbsp mild curry powder
Coriander leaves for garnish

Method
1. Heat the oil in a wide pan, add the cumin seeds and garlic, and fry on medium-low heat until the garlic softens (about 30 seconds).
2. Then stir in the sliced onions, grated ginger and turmeric powder and fry till the onions become limp and turn translucent.
3. Add the sliced potatoes, carrots green beans and green peas along with 2 cups water and the curry powder. Bring it to a boil on high heat, then turn the heat down to medium and let the vegetables cook for 7-8 minutes.
4. Then add the roasted tomatoes. If you're using uncooked pureed tomatoes, turn the heat back up to high after adding the puree + concentrated paste, and let the liquid reduce by half.
5. Let the mixture simmer till the vegetables are fully cooked. Now add the spinach leaves. Turn the heat down to low and cover the pan for 3-4 minutes or till the spinach is wilted. Add salt to taste, stir it in well. Leave the curry on the hob for a few minutes more, if the gravy is not thick enough for you. Garnish with coriander leaves and serve hot with plain rice, any Indian pickle and papad.

Monday, April 12, 2010

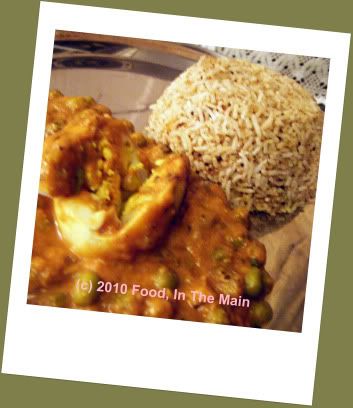
Eggs and peas in tomato-cashewnut gravy

Some days, when I'm very nearly out of ideas as to what to make for dinner for the two of us, and when that coincides with not having very much in the fridge to work with and I'm staring around the kitchen looking for inspiration, I'm always happily relieved when the cardboard box of eggs eventually comes into focus (I'm very capable of looking straight at something without seeing it, much to Pete's amusement or irritation, depending on his mood).

Eggs aren't the first thing that come to my mind in a culinary fix, simply because I'm not used to thinking of them as actual food. I mean, of course I use them, but usually in cakes. It's a rare thing for me to cook eggs for a meal - especially my meal. So when I suddenly remember them, it's always with a sense of pleased relief ("How clever of me to remember the eggs!") . Because once they're boiled, eggs are ready to be thrown - not literally, unless cleaning the hob and your clothes is your hobby - into any sauce you wish to conjure up.

And that is what I did recently.

Recipe for:
Eggs in tomato-cashewnut gravy

Photobucket

Ingredients:

4-6 eggs, hard boiled and shelled
10 cashewnuts
1 tsp ginger, grated
2 small onions, sliced

Photobucket

1/2 cup frozen green peas
1 cup smooth sieved tomatoes (I used readymade thick tomato pulp)
1-1/2 cups milk (I used semi-skim)
1 tsp cumin seeds
2 htbsp kasoori methi (dried fenugreek leaves)
1 tsp red chilli powder (optional, as per taste)
1/2 tsp turmeric powder
4 tsp oil
salt to taste

chopped coriander leaves for garnish


Method:

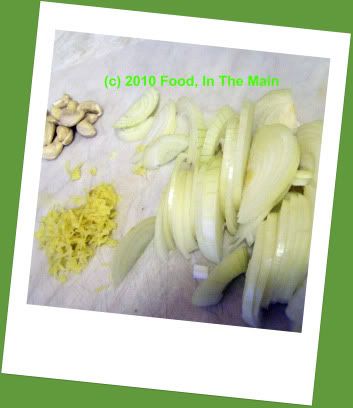
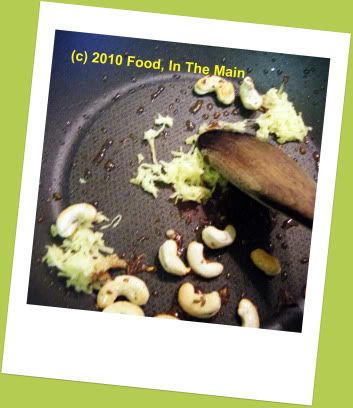
1. Heat two tsp oil in a small pan, add the ginger, cumin seeds and cashewnuts and fry them till the cashew nuts turn a light brown.

Photobucket

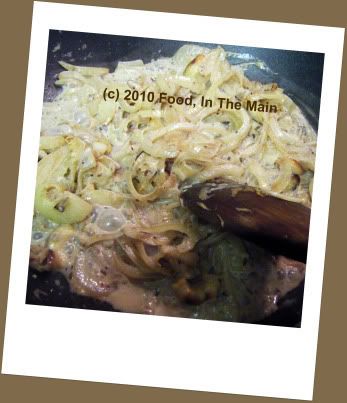
2. Add the sliced onions and cook till they begin to turn soft.

Photobucket

3. Add 1/2 cup milk and cook till the onions are done. Cool, then grind to a thick paste.

Photobucket

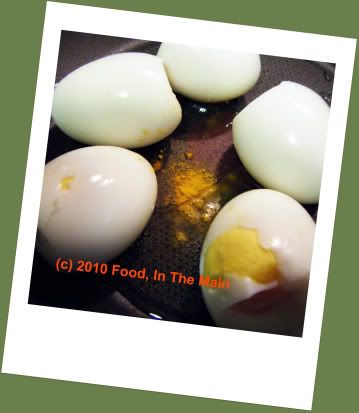
4. In another pan, heat the remaining oil and add the turmeric powder. Add the boiled eggs

Photobucket

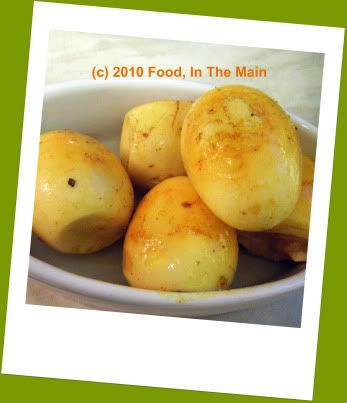
and fry them, turning them gently every now and then, till the eggs are slightly blistered all over. Remove the eggs from the pan and set aside till required.

Photobucket

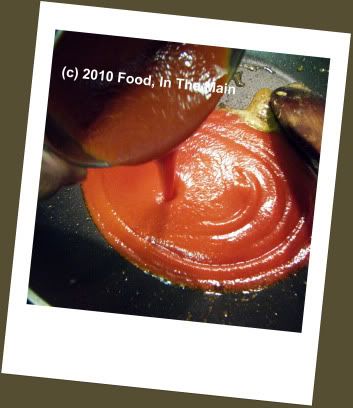
5. In the same pan, add the tomato pulp.

Photobucket

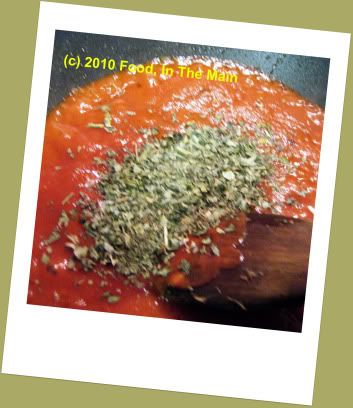
6. Add the kasoori methi and the red chilli powder (if using) to the pulp and let it cook for 2-3 minutes.

Photobucket

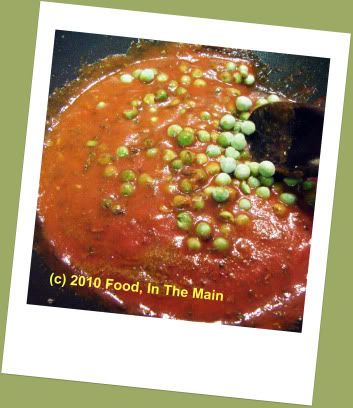
7. Now add the frozen peas along with 1/2 cup water,

Photobucket

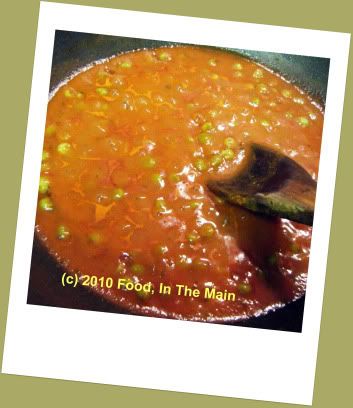
and cook them covered till done.

Photobucket

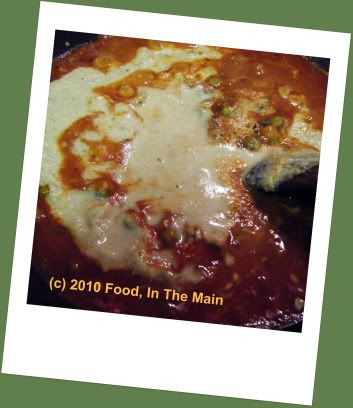
8. Now pour in 1 cup milk along with the onion-cashewnut paste and mix it in well. Add salt to taste. Let the gravy simmer for 5-7 minutes till it thickens to the consistency you like.

Photobucket

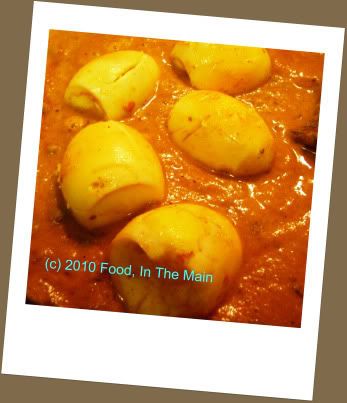
9. Add the reserved eggs (I made four vertical slits in the eggs) to the gravy and simmer for a few more minutes, spooning the sauce over the eggs.

Photobucket

10. Sprinkle the coriander leaves over, and serve hot with rotis or rice.

Photobucket

Thursday, November 19, 2009

Tava samosa

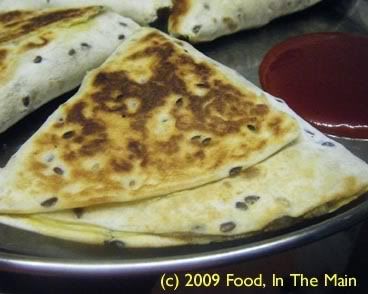
This recipe is totally inspired by – or rather, copied from - the lovely Nupur’s “samosas for breakfast” post. The filling I made has a few differences, of course, but the basic idea is entirely hers.

These tava samosas (as rechristened by me) are very, very acceptable stand-ins for the real thing, and they’re ever so much healthier for not being deep fried. Of course the flakiness of real samosa pastry can’t be achieved, because these are made with chapaties/tortilla wraps... but believe me, they taste wonderful all the same. I didn’t have the usual feeling of “damn, I wish I could get real samosas” after chomping down on one of these impromptu samosas – and that’s a rare thing.

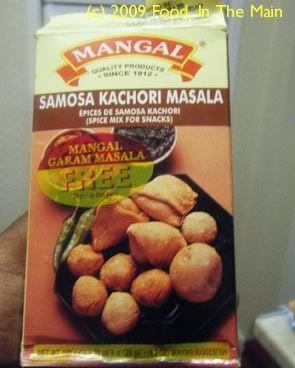
I used a readymade – and unfamiliar to me - brand of samosa/kachori masala which I got free with some shopping expedition long back, and to my surprise, when the spices had had a chance to mellow in the filling, the aroma was pretty authentic.

Photobucket

Anyway, the samosas were absolutely delightful hot off the tava, but they were just as good at lunch time the next day.

I don’t think I’ll bother with making “real” samosas at home ever again. This is much easier, much quicker and much healthier. Plus, you get to use up leftover stale chapaties or wraps. It's all good!

Recipe for:
Tava samosa

Photobucket

Ingredients:

2-3 chapaties, tortillas or wholewheat wraps (I used seeded wholewheat)
2 medium potatoes, boiled, peeled and mashed coarsely into small lumps
1 medium onion , sliced thin
3-4 green chillies, sliced thin (option or to taste)
1/4 cup red bell pepper, thinly sliced
1/2 cup frozen green peas
1/2 cup cooked chickpeas
1 tsp cumin seeds
1/4 tsp fennel seeds
1/s tsp red chilli powder
1 tsp samosa/kachori masala powder (or garam masala)
2 tsp oil
Salt to taste

Photobucket

Thick paste made with 2 tbsp gramflour (chickpea flour) and some water

Method:

1. Heat the oil and toss in the cumin and fennel seeds, let fry for 30 seconds or till they turn a darker shade.

Photobucket

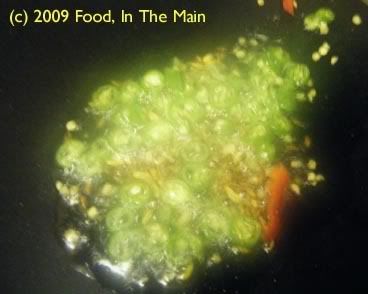
2. Add the green chillies if using and fry them for 30 seconds on medium heat.

Photobucket

3. Now add the sliced onions and cook them till they begin to turn soft.

Photobucket

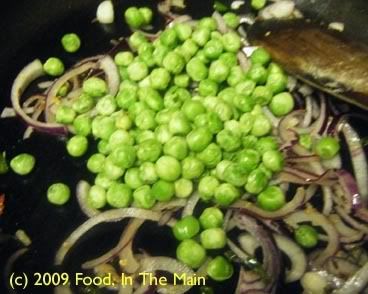
4. Next, add the cooked green peas,

Photobucket

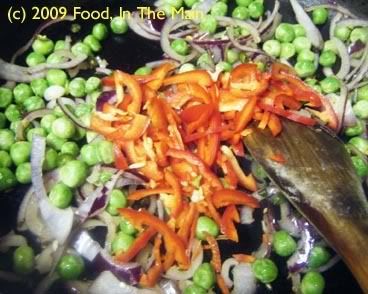
the sliced red bell pepper

Photobucket

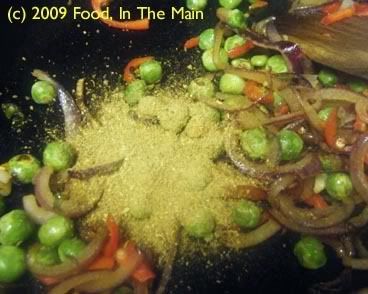
and the garam masala.

Photobucket

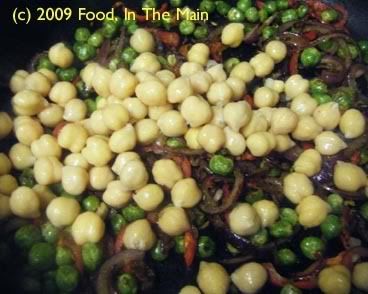
5. Stir the masala powder in, then add the chick peas, crushing some of them lightly.

Photobucket

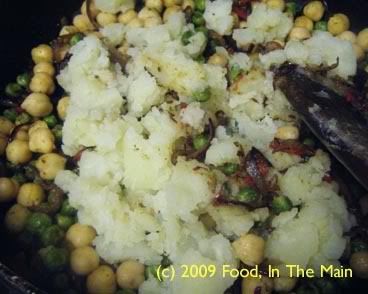
6. Add the boiled mashed potatoes now,

Photobucket

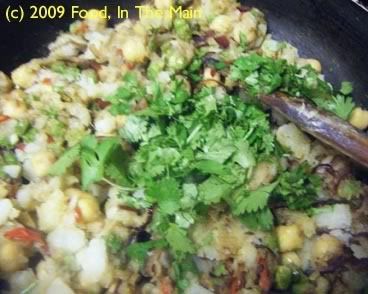
and the coriander leaves, along with salt and red chilli powder to taste.

Photobucket

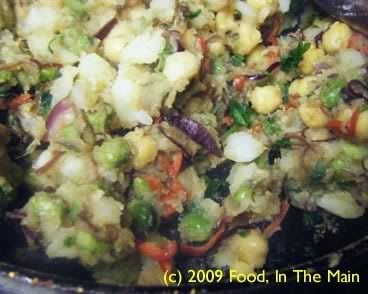
7. Stir everything till the ingredients are well incorporated. Fry this stuffing for 3-4 minutes on medium heat, stirring occasionally. Let cool.

Photobucket

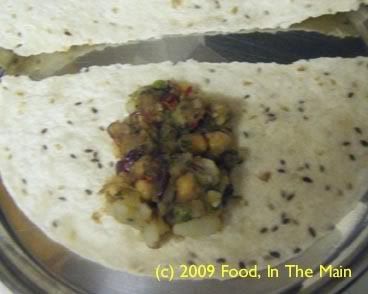
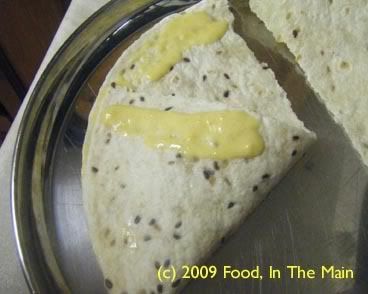
8. Cut the wrap/tortilla in half and put 2-3 tbsp of the stuffing in the centre.


Photobucket


9. Fold one edge halfway across, spread some of the gramflour paste, then fold the other corner, pressing lightly so that the paste acts as a seal. Turn the samosa over so that the seam side is underneath.


Photobucket


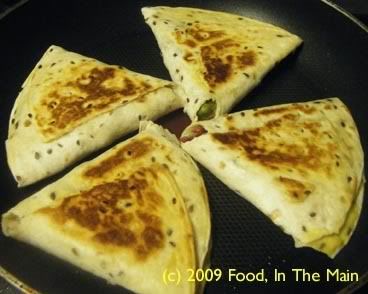
10. Drizzle 1 tsp oil on a non-stick frying pan and spread it over the surface. Place the samosas on it and fry for 2-3 minutes on each side on medium heat, pressing down gently with a spatula to help the tortilla/wrap brown nicely.


Photobucket


11. When the samosas are golden brown on both sides, remove them from the heat. Serve hot with tomato ketchup and/or green chutney.


Photobucket