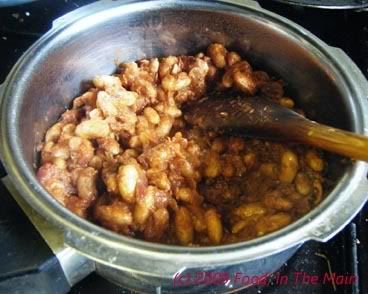
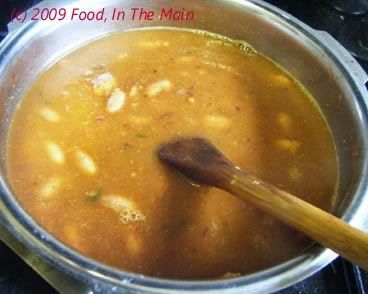
Showing posts with label roasted tomatoes. Show all posts

Wednesday, November 03, 2010

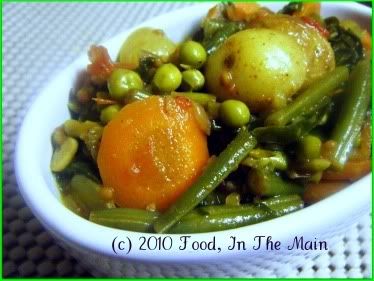
Vegetable curry

This is what I call an "all-purpose" recipe because you can use whatever vegetables you have to hand. It's especially good for using up the odds-and-ends. The only reason I use the generic term "curry" is because it's not a kootu or anything specifically South Indian, and it is not quite proper North Indian because I used "curry powder" as a flavouring.

I know - gasp! What was I thinking, using store-bought "curry powder"? Me, who used to be authentically Indian and looked down my nose (only a short distance, given that my nose is regrettably lacking in ski-slope proportions) at any recipe that involved the use of "curry powder" especially with the words "mild Madras" preceding the term. Me, who used to be mildly scornful and pitying of the uninformed Brits who relied on curry powders to make their "Indian" curries. That me, now admitting without any apparent embarrassment to having "gone over" to the British side of Indian curries? WTF?

Actually, after years and years of using readymade garam masala powder in various dishes and not thinking twice about it being a store-bought item, I finally came around to admitting that "curry powder" was pretty much the same sort of thing.

However, I do still look down my sadly length-challenged nose at people who use curry powder as the sole flavouring for their versions of curries. My superiority imaginary superiority in the matter of "authentic" recipes is maintained quite satisfactorily (from my point of view, naturally) because I used "mild Madras curry powder" mainly to provide the "authentic British" flavour to this curry. I do not, I hasten to add, use it all the time.

There, that should pretty much re-establish my credentials. And if it doesn't, here's a gentle reminder - I am now, as my husband chooses to describe, a "Brindian", not an Indian...

Recipe for: Basic vegetable curry
Photobucket
Ingredients:

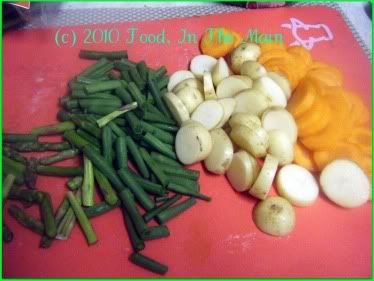
2-3 small new potatoes, sliced into 1/2-cm thick rounds
1 carrot, peeled and sliced into 1/2-cm thick rounds
1/3 cup fresh or frozen green peas
Photobucket
2 small onions, sliced
1/2 cup green beans, sliced 1" long
2 cups baby spinach leaves
1/2 cup roasted tomatoes OR 1 cup tomato puree + 1 tbsp concentrated tomato paste
1-2 small cloves garlic, chopped fine
1/2" piece ginger root, peeled and grated
1 tsp cumin seeds
salt to taste
2 tsp oil
1/2 tbsp mild Madras curry powder
Coriander leaves for garnish

Method:

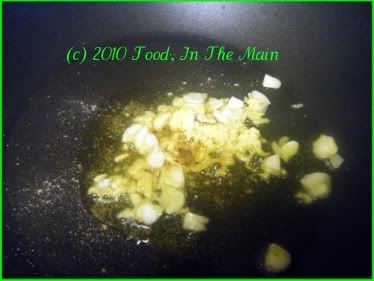
1. Heat the oil in a wide pan, add the cumin seeds and garlic, and fry on medium-low heat until the garlic softens (about 30 seconds).
Photobucket

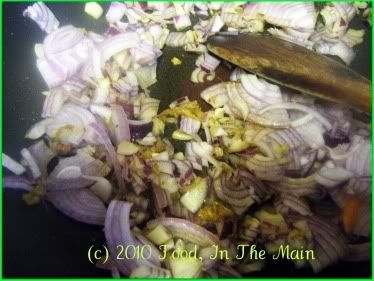
2. Then stir in the sliced onions, grated ginger and turmeric powder and fry till the onions become limp and turn translucent.
Photobucket

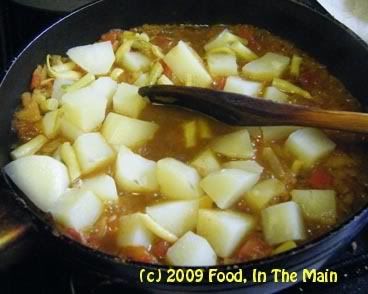
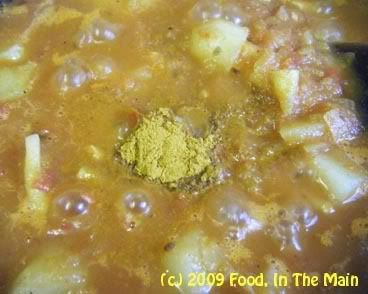
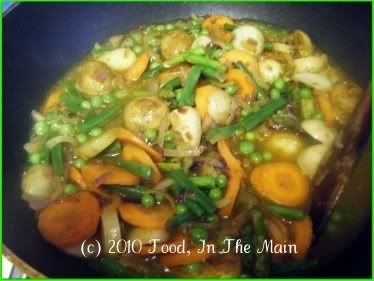
3. Add the sliced potatoes, carrots, green beans and green peas along with 2 cups water and the curry powder.
Photobucket
Bring it to a boil on high heat, then turn the heat down to medium and let the vegetables cook for 7-8 minutes.

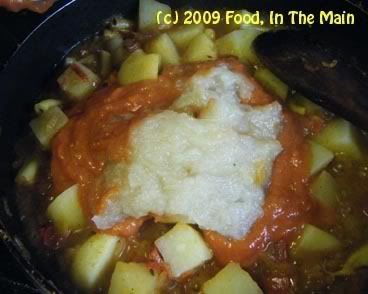
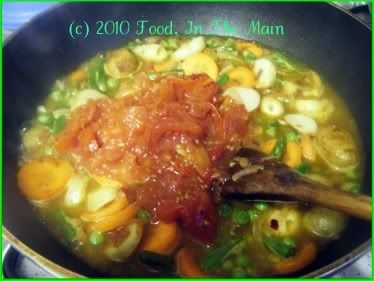
4. Then add the roasted tomatoes.
Photobucket
If you're using uncooked pureed tomatoes, turn the heat back up to high after adding the puree + concentrated paste, and let the liquid reduce by half.

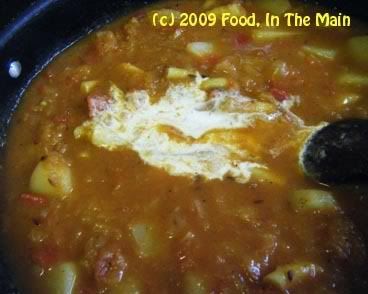
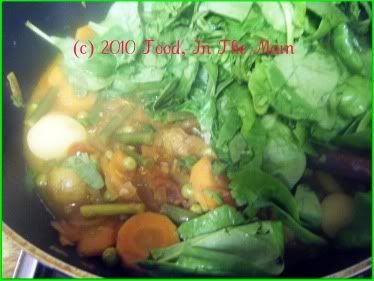
5. Let the mixture simmer till the vegetables are fully cooked. Now add the spinach leaves.
Photobucket
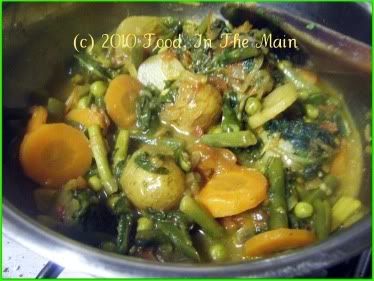
Turn the heat down to low and cover the pan for 3-4 minutes or till the spinach is wilted. Add salt to taste, stir it in well. Leave the curry on the hob for a few minutes more, if the gravy is not thick enough for you.
Photobucket
Garnish with coriander leaves and serve hot with plain rice, any Indian pickle and papad.

RECIPE: VEGETABLE CURRY

Ingredients
2-3 small new potatoes, sliced into 1/2-cm thick rounds
1 carrot, peeled and sliced into 1/2-cm thick rounds
1/3 cup fresh or frozen green peas
2 small onions, sliced
1/2 cup green beans, sliced 1" long
2 cups baby spinach leaves
1/2 cup roasted tomatoes OR 1 cup tomato puree + 1 tbsp concentrated tomato paste
1 tsp cumin seeds
1-2 small cloves garlic, chopped fine
1/2" piece ginger root, peeled and grated
salt to taste
2 tsp oil
1/2 tbsp mild curry powder
Coriander leaves for garnish

Method
1. Heat the oil in a wide pan, add the cumin seeds and garlic, and fry on medium-low heat until the garlic softens (about 30 seconds).
2. Then stir in the sliced onions, grated ginger and turmeric powder and fry till the onions become limp and turn translucent.
3. Add the sliced potatoes, carrots green beans and green peas along with 2 cups water and the curry powder. Bring it to a boil on high heat, then turn the heat down to medium and let the vegetables cook for 7-8 minutes.
4. Then add the roasted tomatoes. If you're using uncooked pureed tomatoes, turn the heat back up to high after adding the puree + concentrated paste, and let the liquid reduce by half.
5. Let the mixture simmer till the vegetables are fully cooked. Now add the spinach leaves. Turn the heat down to low and cover the pan for 3-4 minutes or till the spinach is wilted. Add salt to taste, stir it in well. Leave the curry on the hob for a few minutes more, if the gravy is not thick enough for you. Garnish with coriander leaves and serve hot with plain rice, any Indian pickle and papad.

Monday, October 18, 2010

Boiled peanut dal

Occasionally I buy a bag of “monkey nuts” from the supermarket, because I love me some boiled goobers, I do. Aren’t both those weird terms for peanuts? Monkey nuts are sort of descriptive, therefore understandable - but goobers? I wonder who was the first person who picked up a bunch of the infinity-shaped shells, broke ‘em, took out the red nuts inside and thought “Oh yeah, I know those things! They’re goobers!”

The more you say the "goobers", the more absurd it sounds. But the more absurd it sounds, the more I want to say it, simply because it’s absurd. Eventually I have to stop, though, because people tend to look at me strangely and cross to the other side of the road. I don’t understand why they do that. And when I follow them to explain that I’m merely getting some harmless amusement out of a weird word, they walk away even faster. Strange phenomenon, that...
Anyway, I usually pressure-cook the unshelled peanuts. You can put them in salted water to cook them, but I mostly don’t bother because I like the natural taste of the cooked peanuts hot from the shells. They still taste good when they cool down, don’t get me wrong. I like adding the cold peanuts to salads for texture and protein.

For a change, I made dal with the boiled peanuts. I usually pressure-cook the raw peanuts along with the dal if I’m using tuvar or masoor, where it doesn’t matter if the longer cooking time mushes up the dal entirely. But if chana dal features in the recipe, the peanuts stay separate. Since I’ve used a mixture of masoor and chana dal in this recipe, I cooked the peanuts separately. The reason is that the peanuts take longer to cook than the dals. I like the masoor dal cooked to shapelessness and the chana dal to retain its shape, and putting the two together in a pressure cooker for 3 quick whistles cooks them both just the way I like them. Peanuts don’t figure in this equation, so they get cooked separately.

Now, if we’re all unanimous that I have belaboured that point quite thoroughly, I will move on to the recipe.

Recipe for: Boiled peanut dal

Photobucket

Ingredients:

1/2 cup peanuts, boiled
1/2 cup masoor dal
1/4 cup chana dal
2 small onions, sliced thin
3-4 green chillies (or to taste), sliced in thin strips
1 tsp ginger-garlic paste
1/2 cup roasted tomatoes, mashed
1/2 tsp cumin powder
1 tsp coriander powder
1/4 tsp turmeric powder
1 tsp garam masala/Kitchen King masala
3 tsp oil
Salt to taste
Coriander leaves for garnish

Method:

1. Heat the oil and add the ginger-garlic paste and green chillies. Fry this for 30 seconds, then add the cumin and coriander powder along with the sliced onions.

2. Fry the onions till they start turning soft and translucent. Now add the roasted tomatoes and mash it all with a spatula.

3. Stir-fry the masala for 2-3 minutes, then stir in the boiled peanuts.

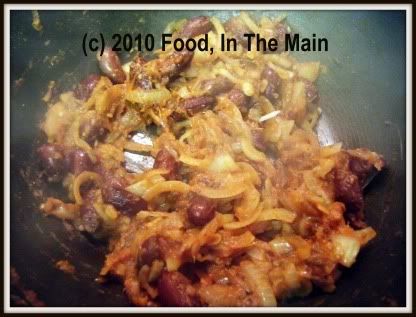
Photobucket

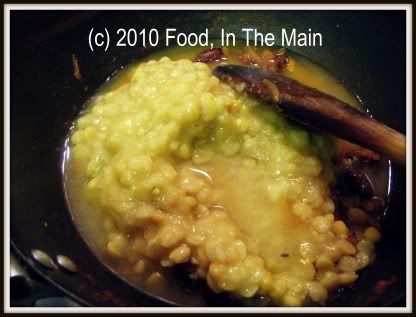
4. Add the cooked dals and mix well. Add 1/3 cup water if the dal seems too thick.

Photobucket

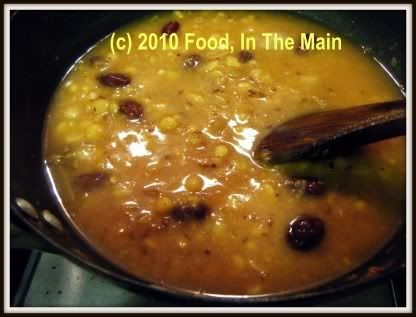
5. Stir well once again, add salt to taste, and bring the dal to a gentle boil on medium heat.

6. Now sprinkle the garam masala, turn the heat to low and let the dal simmer for 6-7 minutes.

Photobucket

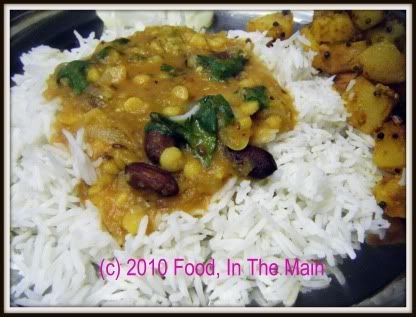
Garnish with coriander leaves and serve hot with rice or rotis.

RECIPE: BOILED PEANUT DAL
Ingredients:
1/2 cup raw peanuts
1/2 cup masoor dal
1/4 cup chana dal
2 small onions, sliced thin
3-4 green chillies (or to taste), sliced in thin strips
1 tsp ginger-garlic paste
1/2 cup roasted tomatoes, mashed
1/2 tsp cumin powder
1 tsp coriander powder
1/4 tsp turmeric powder
1 tsp garam masala/Kitchen King masala
3 tsp oil
Salt to taste
Coriander leaves for garnish

Method:
1. Heat the oil and add the ginger-garlic paste and green chillies. Fry this for 30 seconds, then add the cumin and coriander powder along with the sliced onions.
2. Fry the onions till they start turning soft and translucent. Now add the roasted tomatoes and mash it all with a spatula.
3. Stir-fry the masala for 2-3 minutes, then stir in the boiled peanuts.
4. Add the cooked dals and mix well. Add 1/3 cup water if the dal seems too thick.
5. Stir well once again, add salt to taste, and bring the dal to a gentle boil on medium heat.
6. Now sprinkle the garam masala, turn the heat to low and let the dal simmer for 6-7 minutes. Garnish with coriander leaves and serve hot with rice or rotis.

Wednesday, September 22, 2010

Roasted tomato redcurrant thokku (chutney)

My first ever experiment with cooking with redcurrants was redcurrant thokku. It was, despite my best efforts, still rather too sour to be used as a mix for cooked rice - according to the feedback received from my palate. The best I could do with the thokku was use it – sparingly - as a condiment with (any) dal and rice.

So, with the second of the three batches of redcurrants, as a further experiment, I made thokku with the addition of roasted tomatoes, which I usually have to hand in the fridge because roasted tomatoes make everything taste better. Need I add that “everything” is limited to whatever is made USING the roasted tomatoes? No, I thought not. (But I’ve added it anyway, in case there’s someone whose answer to that question was “Yes”. *heehee*)

This thokku was more readily palatable, with the sourness of the berries tempered by the sweetness of the roasted tomatoes. It’s as nice mixed with plain rice as any regular tomato thokku, and is also a good accompaniment for dosas, idlis and the like. The verdict from my palate, which while admitting that quality-wise this thokku is the much better improved version, also insists that it’s best had in smaller portions than regular tomato thokku. So there you have it – my palate has spoken.

Recipe for: Roasted tomato redcurrant thokku

Photobucket

Ingredients

1-1/4 cups redcurrants, washed and drained
2 cups chopped roasted or regular tomatoes, pureed
2 tbsp oil
2-3 cloves garlic
1 tsp cumin-coriander powder
1 htsp brown/black mustard seeds
5-6 fresh curry leaves
1/4 tsp asafoetida powder
1/4 tsp turmeric powder
1 tsp sambar powder (optional)
1 tsp jaggery
1 tbsp lemon juice
3 tsp red chilli powder (or to taste)
1/4 tsp roasted fenugreek seed powder
salt to taste

Method:

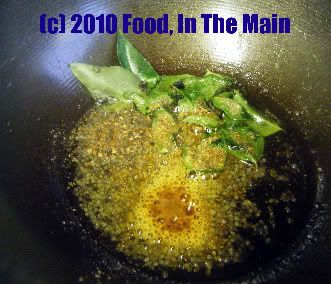
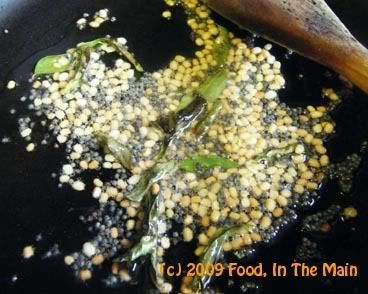
1. Heat the oil, add the garlic, cumin-coriander powder, mustard seeds, curry leaves, asafoetida powder and turmeric powder. Stir for 30 seconds or so.

Photobucket

2. Add the redcurrants and red chilli powder. Mix well, cooking the berries on medium low flame until they are soft and squashed.
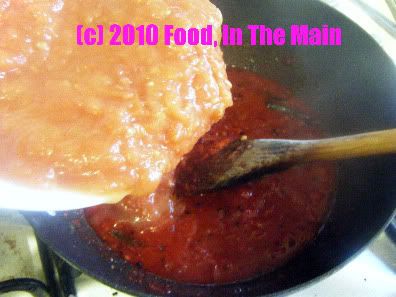
3. Now pour in the pureed tomatoes and mix again.
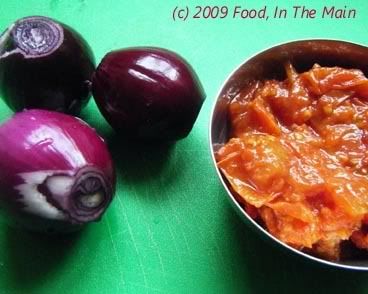
Photobucket

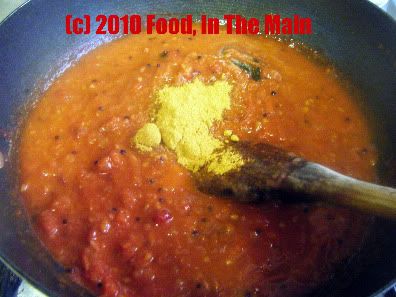
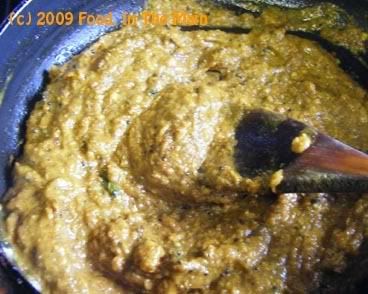
4. Bring the mixture to a boil, stirring every so often, then bring down the heat to low and let it bubble gently for 12-15 minutes, till it is thick. Add the sambar powder now, along with the jaggery and salt to taste.

Photobucket

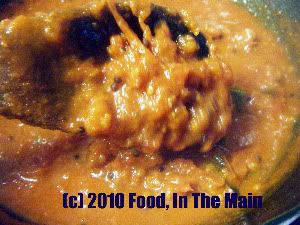
Stir well. If the thokku is a bit watery, let it cook for another 5 minutes on medium heart and leave the thokku on the heat for a couple of minutes longer. There should not be any liquid in the thokku, it should be quite thick. If you like a smooth texture, puree the thokku after it cools down.

Photobucket

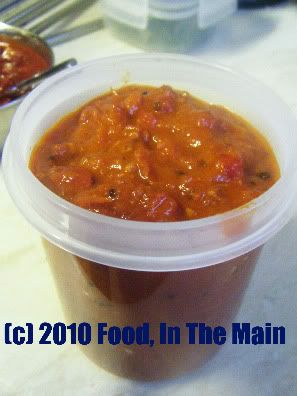
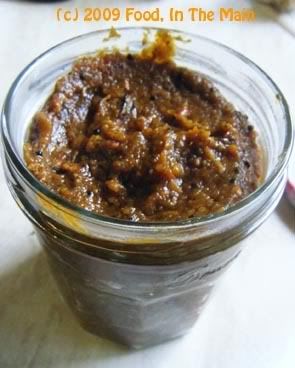
Let the thokku cool down completely before transferring to a clean jar with a tight lid. The thokku stays good for 2-3 days at room temperature. Mix with plain rice to make tomato rice with a difference, or serve as a side dish with dosas, idli etc.


RECIPE: ROASTED TOMATO REDCURRANT THOKKU

Ingredients:

1-1/4 cups redcurrants, washed and drained
2 cups chopped roasted or regular tomatoes, pureed
2 tbsp oil
2-3 cloves garlic
1 tsp cumin-coriander powder
1 htsp brown/black mustard seeds
5-6 fresh curry leaves
1/4 tsp asafoetida powder
1/4 tsp turmeric powder
1 tsp sambar powder (optional)
1 tsp jaggery
1 tbsp lemon juice
3 tsp red chilli powder (or to taste)
1/4 tsp roasted fenugreek seed powder
salt to taste

Method:

1. Heat the oil, add the garlic, cumin-coriander powder, mustard seeds, curry leaves, asafoetida powder and turmeric powder. Stir for 30 seconds or so.
2. Add the redcurrants and red chilli powder. Mix well, cooking the berries on medium low flame until they are soft and squashed.
3. Now pour in the pureed tomatoes and mix again.
4. Bring the mixture to a boil, stirring every so often, then bring down the heat to low and let it bubble gently for 12-15 minutes, till it is thick. Add the sambar powder now, along with the jaggery and salt to taste.
Stir well. If the thokku is a bit watery, let it cook for another 5 minutes on medium heart and leave the thokku on the heat for a couple of minutes longer. There should not be any liquid in the thokku, it should be quite thick. If you like a smoother texture, puree the thokku after it has cooled down.
Let the thokku cool down completely before transferring it to a clean jar with a tight lid. The thokku stays good for 2-3 days at room temperature. Mix with plain rice to make tomato rice with a difference, or serve as a side dish with dosas, idli etc.

Monday, October 12, 2009

Sweet-sour roasted egg curry

This recipe came about because of something that we had eaten at a restaurant called “Saffron” in Shrewsbury. It’s slightly different from the run-of-the-mill takeaways because it offers different types of fish cooked in a sauce chosen by the customer and spiced as specified. It also had a couple of different vegetarian dishes on offer, one of which I tried because it seemed interesting – potatoes in tamarind sauce.

It was interesting – in fact, it was better than that. It was superb, the sauce a perfect balance of sweet and sour and spicy... but the chilli hit snuck in very quietly behind the tangy explosion on the tongue. The only thing that stopped the dish from being perfect was the amount of oil in it, but once I had spooned out the worst of the stuff, the sauce was delicious. In fact, Pete liked it so much that I declared I would try and replicate it at home.

A few weeks later, I had still not done anything about it (big surprise). But then circumstances butted in and forced my hand. I’ll list the circs because I’m sure y’all would want to know – hey, it’s interesting, allright?

Circ 1 - Nearly a dozen eggs that were very close to their use-by date

Circ 2 – Pete’s son’s friend who was staying over unexpectedly

Circ 3 - A nearly empty tin of Alphonso mango puree

Circ 4 – Some new potatoes... oh all right, potatoes that had been new awhile ago, but were now on the verge of parenthood right there in my potato bin.

Circ 5 – Pete, who had been persistently NOT forgetting to remind me to make “that tamarind thing” for the umptyninth time (and that was just counting that week).

(Told ya the circumstances would be interesting. Or perhaps not. But this post needed content, and one way or the other it's now got a decent amount of text in it.)

Anyway, given all that, what could I do but get down to making that tamarind thing. Which incidentally turned out very nicely, thank you for asking.

PS. I read on somebody's blog that making slits in the boiled eggs would allow the sauce to flavour the interior of the eggs while they were simmering in the sauce. I am here to say that the slits did nothing of the sort. But this didn't detract from the taste, so I didnt worry about the unreceptive eggs one bit.

And if unreceptive eggs should happen to happen to you too, neither should you. Not one bit.

Recipe for:
Sweet-sour roasted egg curry

Photobucket

Ingredients:

8 eggs, hard boiled and peeled
3 tsp oil
1/2 tsp cumin powder
1 tsp coriander powder
1/2 tsp turmeric powder
2 onions - 1 chopped fine, 1 pureed
1 tomato, chopped fine
1/4 cup slow-roasted tomato puree (or just puree one tomato)
2 medium potatoes, peeled and cut into 1cm chunks
3 tbsp mango puree (if this isn't available, use 1 heaped tbsp jaggery or dark brown sugar)
1 tbsp sugar
1 tsp tamarind paste
3/4 cup milk
Water as required
1 tsp garam masala
1 tsp red chilli powder (or to taste)
Salt to taste

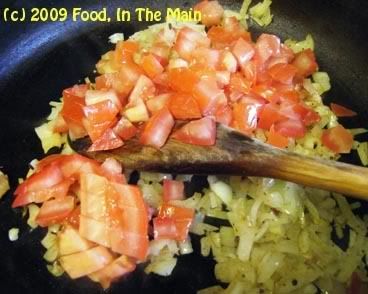
1. Heat 2 tsp oil in a large pan and add the 1/2 tsp cumin powder, 1 tsp coriander powder and turmeric powder. Let them sizzle for 20 seconds.
Photobucket

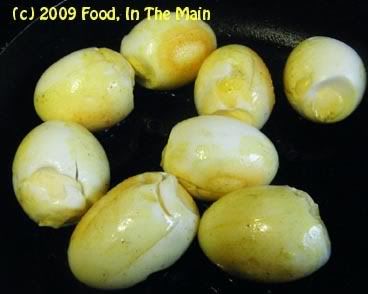
2. Make four deep vertical slits in the hard boiled eggs, being careful not to cut all the way through to the other side.
Photobucket

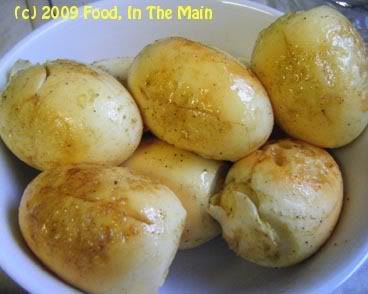
3. Fry the eggs in the tempered oil over medium heat, turning them over gently from time to time, till they are lightly golden all over and the surface is slightly blistered.
Photobucket
Remove the eggs from the oil and reserve.

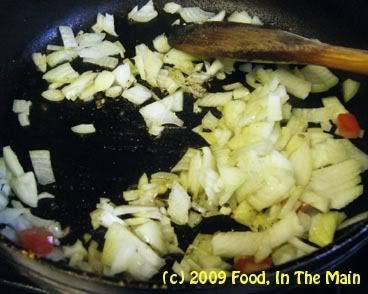
4. Add the remaining 1 tsp oil to the pain now and fry the chopped onions for 2-3 minutes.
Photobucket

5. Then add the chopped tomatoes and let them cook till they begin to turn mushy.
Photobucket

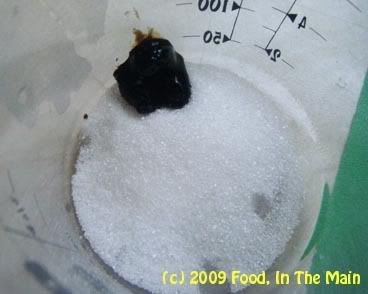
6. Meanwhile, in a small jug or glass, put in the tamarind paste and 1 tbsp sugar, add 1/2 cup warm water and whisk to mix.
Photobucket

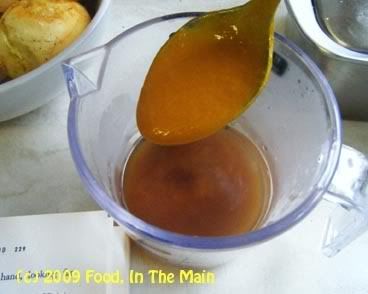
7. Then add the mango puree (or jaggery/brown sugar) and red chilli powder and whisk again.
Photobucket

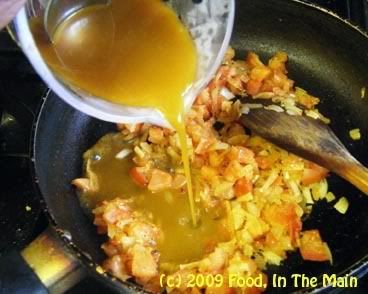
8. Pour this into the pan over the tomato-onion mixture,
Photobucket

then add the peeled chopped potatoes
Photobucket

and the pureed tomato and onion.
Photobucket

9. Stir it all in, then pour in the milk, and mix.
Photobucket
Bring the mixture to a boil, then lower the heat and cover the pan and let the contents simmer for 10 minutes, or till the potatoes are nearly done.


Taste the sauce now for the sweet-sour-hot balance. Add some lemon juice if required (or amchur if you have it) if it needs to be a bit more sour.

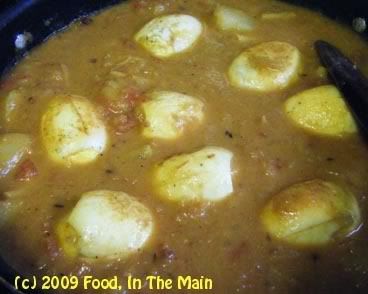
10. Now add the garam masala and stir it in, then add salt to taste and finally the roasted boiled eggs. Simmer the eggs gently in the masala for 7-10 minutes, turning them over occasionally and being careful not to break them, until the potatoes are completely cooked.
Photobucket
Let the curry rest for 5 minutes, then garnish with chopped coriander and serve with any simple pulao or plain white rice.

Tuesday, July 07, 2009

Roasted bell pepper, tomato and peanut chutney

I have the food blog world to thank for this recipe – not any blog in particular, but quite a few of them that featured recipes for chutneys/thogayals made without coconut and yet – and this is so very important – tasting really, really good. Before these blogs, the only non-coconut chutney/thokku/thogayal recipes that I had heard of, or ever made, were onion chutney and tomato thokku.

Actually, I tell a lie. In the interests of truth, I will have to admit that I knew of a third such coconut-free thogayal, made with roasted aubergine/brinjal. This is something my mom used to make specially for my dad. I have eaten it before, years and years ago, but even then only with extreme squeamishness.

Anyway, we won’t talk about it any more because in my world, aubergines fall in the same category as slugs and snails in terms of food – in other words... yuuurrrrgh! (Regular readers will know this anyway, so I excuse my mentioning my aubergine-phobia yet again on the barely conceivable grounds that a random new reader just might chance upon this very post as their first one on my blog – and wouldn’t it be tragic if they were to go away, very likely forever, without knowing this important fact about me? See? That’s why.)

So, back to happier, tastier things... those thogayals that I would never have thought to make with vegetables that I would not have imagined using, if not for all those lovely food bloggers – vegetables like chow-chow, bell pepper, carrot (carrot!), beetroot, and so on. I cannot thank the food blog world enough for these revelations.

Now, on to the chutney that I made a couple of days back – with slow-roasted yellow bell peppers, tomatoes, garlic and onions as the vegetable base. I added sesame seeds and a couple of tablespoons of roasted peanuts to thicken the chutney and give it a bit of texture along with a gentle nutty taste. I don’t like adding peanuts with gay abandon in thogayal/chutney because then the whole thing turns into a weird sort of peanut butter, rather than a chutney. It’s just me, I guess, but somehow that doesn’t seem right.

If you don’t have an oven, don’t worry. The chutney will taste just as good with the vegetables roasted/cooked on the hob. I oven roasted mine only because I was in no hurry, and because I was slow-roasting a lot of tomatoes anyway.

Recipe for:
Roasted bell pepper, tomato and peanut chutney

Photobucket

Ingredients:

2 big yellow bell peppers
3 medium tomatoes
1 large onion
4 garlic cloves
10-12 dried red chillies (or to taste)
Fresh curry leaves, about 20 (optional)
1/2 tsp tamarind paste
2 tbsp roasted peanuts
1/4 tsp asafetida powder
1 tbsp black sesame seeds (can use white too)
1 tsp urad dal
1 tsp mustard seeds
Salt to taste
4 tsp oil

Method:

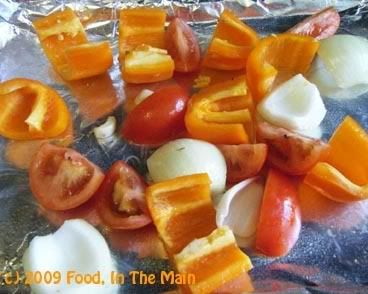
1. Deseed the bell peppers and cut into quarters. Cut the tomatoes lengthwise in half, then in half again to make four wedges. Peel and chop the onion in large pieces. Remove the skin from the garlic.

2. Toss the vegetables with 1 tsp

Photobucket

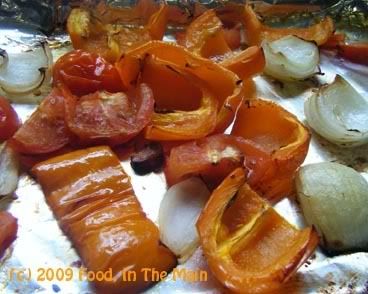
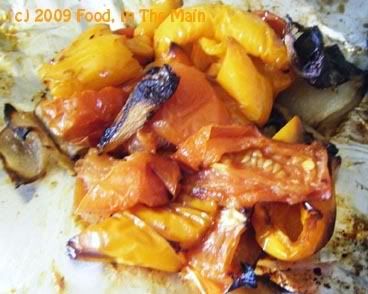
oil and roast in a 160C oven for about 1-1/2 hours (stirring the vegetables after 45 minutes and removing the garlic). (Or if cooking on the hob, heat the oil and stir-fry the vegetables on high heat till well softened and lightly charred.)

Photobucket

The peppers and onions should be lightly charred, the tomatoes semi-dry.

Photobucket

Let cool.

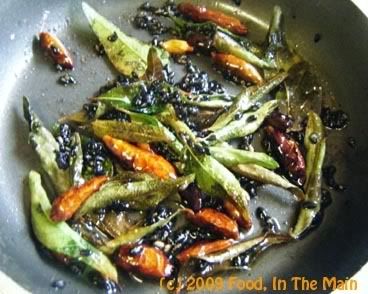
3. Heat 1 tsp oil in a small pan, add the asafetida powder, dried red chillies, sesame seeds and about 10 curry leaves.

Photobucket

Stir till the chillies turn a darker colour, about 30 seconds.

4. Grind the roasted vegetables to a smooth paste along with the red chillies, sesame seeds, curry leaves.

Photobucket

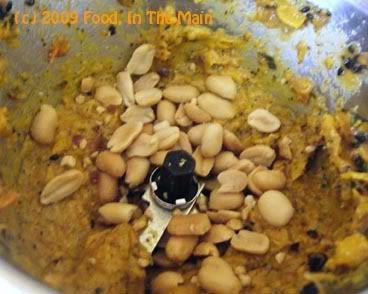
Add the 2 tbsp roasted peanuts and then grind again -

Photobucket

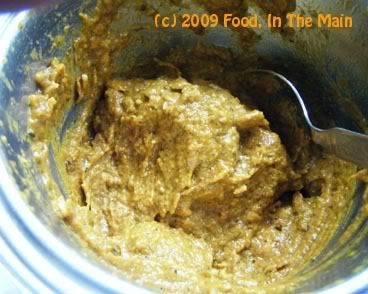
you can leave the peanuts a little chunky if you like.

Photobucket

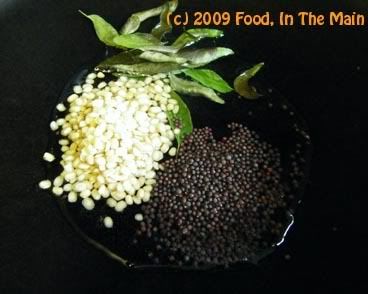
5. Heat the remaining 2 tsp oil in a pan. Add the remaining curry leaves, mustard seeds and urad dal

Photobucket

and stir-fry till the dal turns a pale golden.

Photobucket

6. Turn the heat down to medium and add the ground bell pepper mixture along with 1/4 cup water and salt to taste.

Photobucket

Cook this for 2-3 minutes, stirring well, until the chutney comes to a slow, gloopy bubbling boil. Turn off the heat and let it cool before transferring to a clean glass jar.

Photobucket

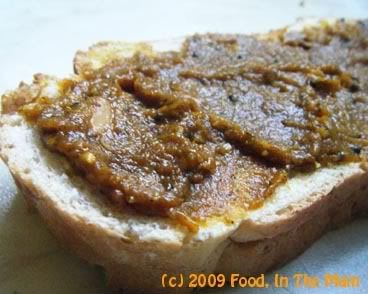
Serve with dosa, roti, idlis, etc, or use as a spread on toast, or as a sandwich filling, or even mix with cooked rice.

Store in the refrigerator.

Tuesday, June 09, 2009

Rosecoco bean rajma

I bought a bag of rosecoco beans sight unseen simply because of their lovely name, a few months back. It never occurred to me to look up the beans anywhere to find out what they were, and it certainly didn’t cross my mind (or even came anywhere within a few light years of my mind, never mind within crossing distance) that I might not like the beans – because a bean or legume that I dislike has not yet been invented.

Yes, there are certain ways of cooking/using beans and legumes that I might dislike (the gooey texture of cooked urad dal by itself, for instance), or certain additions to the cooked beans that I would not eat (anything non-vegetarian, in other words)… but the beans themselves are never at fault. Thus I repeat, I have no fear of meeting a bean and not liking it.

Photobucket

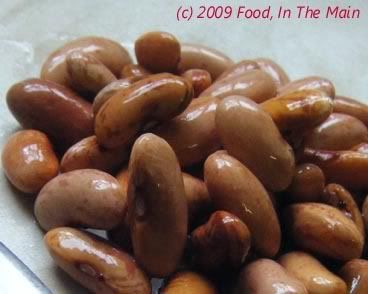
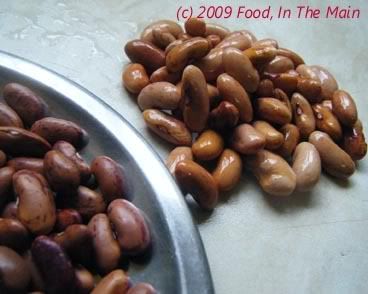
And so it was with the rosecoco beans (= cranberry bean = borlotti bean = saluggia = shell bean = salugia bean = crab eye bean = rosecoco bean = Roman bean = fagiolo romano). Not only did they look pretty, speckled and brown and prettily pinkish (or did I imagine that because of the rose in their name?), but they cooked up beautifully, too.

I have made rajma before, with the dark red kidney beans that are traditionally used for this recipe. This recipe is slightly different, if for nothing else other than I used my beloved slow-roasted tomatoes to make the gravy. I have said this before and I say it again – using oven-roasted tomatoes intensifies beautifully the flavour of any gravy. It’s well worth keeping roasted tomatoes handy. They usually last in my fridge for a week - and maybe could stay good for longer, I don’t know - covered with cling wrap.

I’m sure, as I’ve said before (again!), that you could puree the tomatoes and freeze it in ice-cube trays for convenient future use... but I haven’t done so thus far, because – er, I don’t have ice cube trays. If you’re wondering what we do for drinks, well – I buy ice. Maybe I'm just lazy, but I find the pre-frozen ice cubes convenient, and man, they last for absolutely AGES in a drink. I don’t know what it is about that ice, but the cubes – actually they’re not cubes, they’re beehive shaped, for some strange reason - just don’t melt as quickly. (Please, don’t tell me it’s because the ice has preservatives.)

Anyway, digression apart, here’s the recipe for rosecoco bean rajma, and my mother will vouch for the fact that it was lip-smackingly gorgeous. I love my rajma, I do.

Photobucket
Dry rosecoco beans (left) and soaked overnight (right)

Recipe for:
Rosecoco bean rajma

Photobucket

Ingredients:

Photobucket

1 cup rosecoco beans, soaked in water overnight
3 small red onions - two chopped, one minced finely
1/2 cup roasted tomatoes, pureed
1" piece ginger root, sliced
1 tsp cumin seeds
3 dried red chillies
2-3 fresh green chillies, sliced into thin rounds
1 tsp coriander powder
1/2 tsp chole masala/garam masala
1/4 tsp turmeric powder
1 tbsp oil
Salt to taste
2-3 cups water
2-3 tbsp coriander leaves, chopped, for garnish

Method:

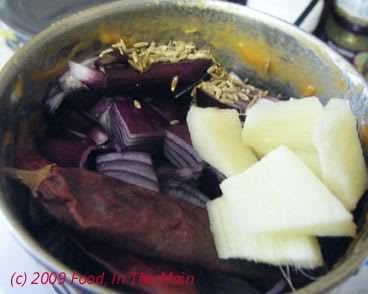
1. Grind the two chopped onions along with the ginger root, dried red chillies and cumin seeds

Photobucket

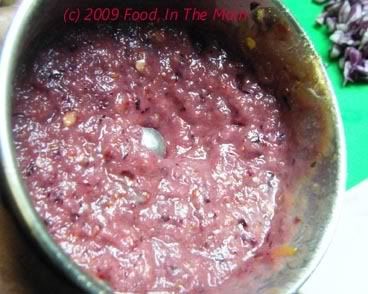
into a fine paste.

Photobucket

Reserve the minced onion.

2. Heat the oil in a small pressure cooker, add the sliced green chillies and turmeric powder.

Photobucket

Fry the chillies for 30-45 seconds on high, stirring it meanwhile.

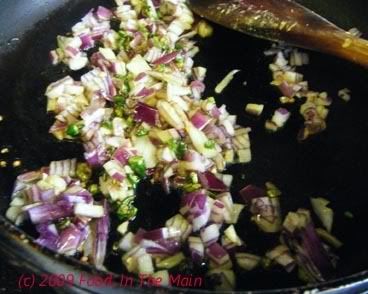
3. Add the minced onion now and stir it in; cook this for 2-3 minutes or till the onions begin to turn soft.

Photobucket

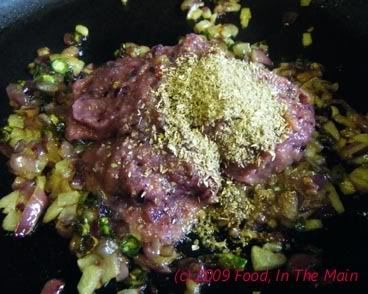
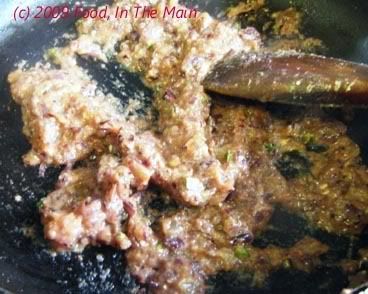
4. Now add the red onion paste along with coriander powder

Photobucket

and fry the mixture for 4-5 minutes.

Photobucket

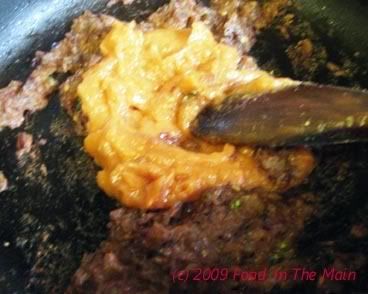
5. Now stir in the roasted tomato paste

Photobucket

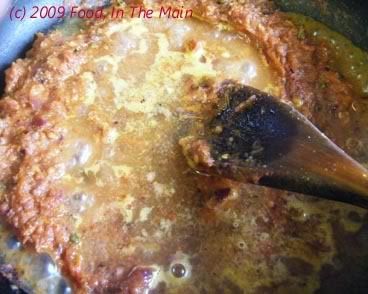
and add 1/4 cup water.

Photobucket

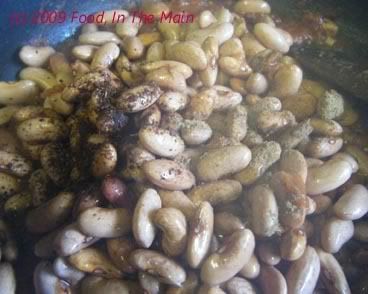
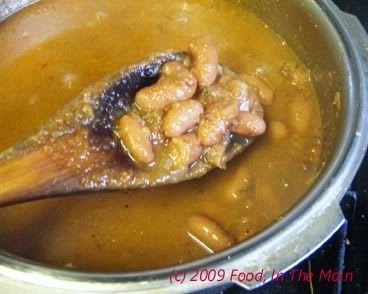
6. After two minutes, add the soaked beans.

Photobucket

Fry the beans, stirring them into the masala, for 3 minutes or so, stir in the garam masala/chole masala,

Photobucket

then pour in 2-3 cups water.

Photobucket

7. Let the water come to a rolling boil, then close the pressure cooker. Put the weight on the cooker once it's steaming well, then cook it for 2-3 whistles on high heat. Now turn the heat down to low and let the beans pressure-cook for at least 20 minutes. Finally allow the cooker to come up to pressure again and switch it off after a couple of whistles.

Once the cooker can be opened, add salt to taste to the rajma and stir it in well. The beans should be cooked such that they can be easily squashed between two fingers. If the gravy is watery, let the rajma boil on high heat till the excess water evaporates and the gravy is to the desired consistency.

Serve hot, garnished with coriander leaves, along with cumin fried rice.