skip to main |
skip to sidebar
This recipe is totally inspired by – or rather, copied from - the lovely Nupur’s “samosas for breakfast” post. The filling I made has a few differences, of course, but the basic idea is entirely hers.
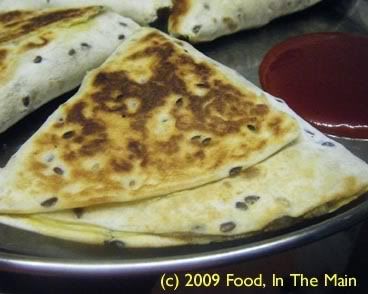
These tava samosas (as rechristened by me) are very, very acceptable stand-ins for the real thing, and they’re ever so much healthier for not being deep fried. Of course the flakiness of real samosa pastry can’t be achieved, because these are made with chapaties/tortilla wraps... but believe me, they taste wonderful all the same. I didn’t have the usual feeling of “damn, I wish I could get real samosas” after chomping down on one of these impromptu samosas – and that’s a rare thing.
I used a readymade – and unfamiliar to me - brand of samosa/kachori masala which I got free with some shopping expedition long back, and to my surprise, when the spices had had a chance to mellow in the filling, the aroma was pretty authentic.
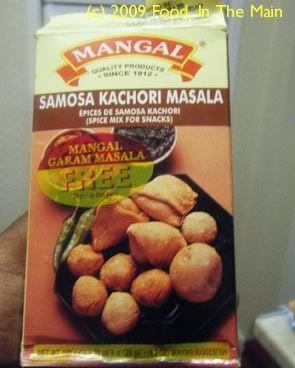
Anyway, the samosas were absolutely delightful hot off the tava, but they were just as good at lunch time the next day.
I don’t think I’ll bother with making “real” samosas at home ever again. This is much easier, much quicker and much healthier. Plus, you get to use up leftover stale chapaties or wraps. It's all good!
Recipe for: Tava samosa
Ingredients:
2-3 chapaties, tortillas or wholewheat wraps (I used seeded wholewheat)
2 medium potatoes, boiled, peeled and mashed coarsely into small lumps
1 medium onion , sliced thin
3-4 green chillies, sliced thin (option or to taste)
1/4 cup red bell pepper, thinly sliced
1/2 cup frozen green peas
1/2 cup cooked chickpeas
1 tsp cumin seeds
1/4 tsp fennel seeds
1/s tsp red chilli powder
1 tsp samosa/kachori masala powder (or garam masala)
2 tsp oil
Salt to taste
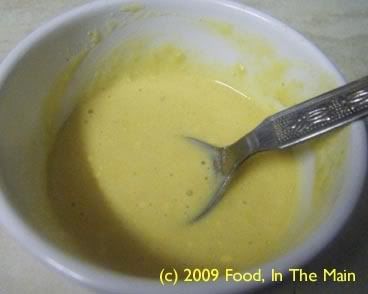
Thick paste made with 2 tbsp gramflour (chickpea flour) and some water
Method:
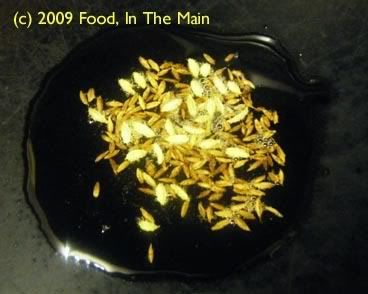
1. Heat the oil and toss in the cumin and fennel seeds, let fry for 30 seconds or till they turn a darker shade.
2. Add the green chillies if using and fry them for 30 seconds on medium heat.
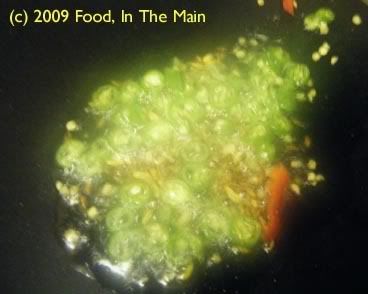
3. Now add the sliced onions and cook them till they begin to turn soft.

4. Next, add the cooked green peas,
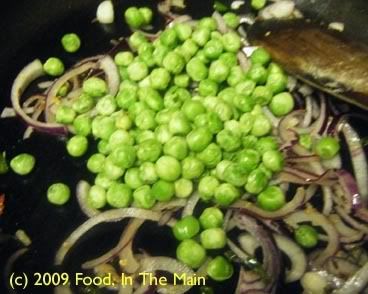
the sliced red bell pepper
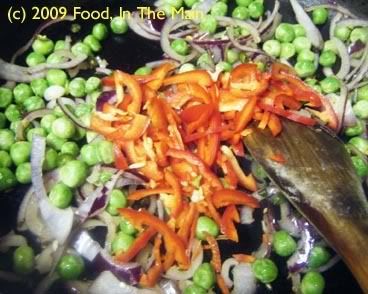
and the garam masala.
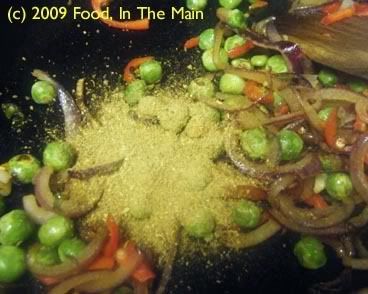
5. Stir the masala powder in, then add the chick peas, crushing some of them lightly.
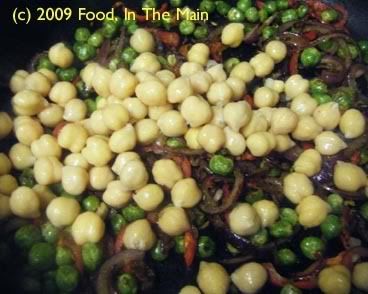
6. Add the boiled mashed potatoes now,
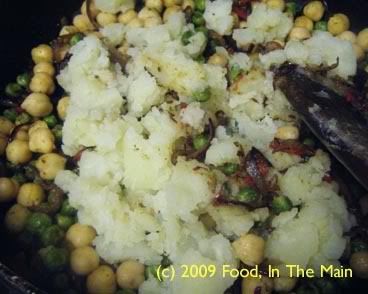
and the coriander leaves, along with salt and red chilli powder to taste.
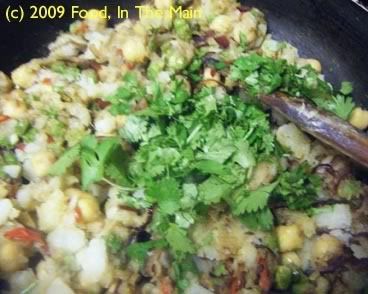
7. Stir everything till the ingredients are well incorporated. Fry this stuffing for 3-4 minutes on medium heat, stirring occasionally. Let cool.
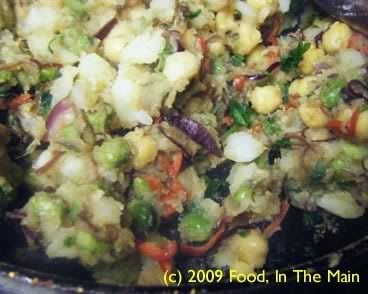
8. Cut the wrap/tortilla in half and put 2-3 tbsp of the stuffing in the centre.
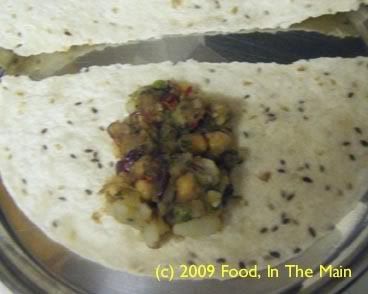
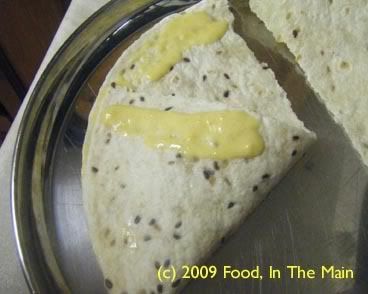
9. Fold one edge halfway across, spread some of the gramflour paste, then fold the other corner, pressing lightly so that the paste acts as a seal. Turn the samosa over so that the seam side is underneath.
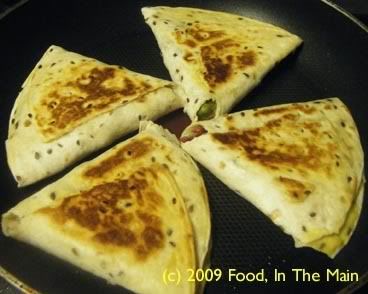
10. Drizzle 1 tsp oil on a non-stick frying pan and spread it over the surface. Place the samosas on it and fry for 2-3 minutes on each side on medium heat, pressing down gently with a spatula to help the tortilla/wrap brown nicely.

11. When the samosas are golden brown on both sides, remove them from the heat. Serve hot with tomato ketchup and/or green chutney.
I love couscous. In direct contrast to the rest of the food I eat, I am perfectly happy for couscous to be completely chilli-free. In fact, I've been known (thus far, just to myself, but now all my 3 readers are going to be in on this oddity - uh oh!) to eat plain couscous - cooked, of course - that's been swirled with some olive oil or butter. Yep, I like it THAT much!
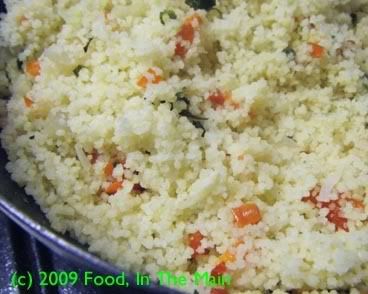
When I make couscous, it's usually as a side for Pete and a main meal for me. Mainly because I don't really care for stews or any soupy or gravied anything mucking up my nice fluffy couscous. This version is mild but flavourful because I used vegetable stock to cook the couscous rather than water. Extra fillip added to the process because the bell peppers I used are home-grown!
Yes, I grew them myself, and the plants are currently in the conservatory, leaves drooping a little in the cold. They are there as a sort of experiment to see if:
1. I can keep them alive over the winter.
2. Will they bear fruit again next summer (oh such woeful ignorance of growing things *sigh*) - assuming, of course, that they survive the winter.
Time will tell. I'll keep y'all updated. Please to pretend interest.
Recipe for: Red pepper couscous
Ingredients:
1.5 cups couscousEnough hot water (or stock) to cook the couscous as per directions on the pack2 tsp olive oil 4 small bell peppers (or 1 large)1medium onion1/4 cup coriander leaves, choppedSalt and pepper to tasteMethod:
1. Heat the oil in a pan and fry the chopped onions till they soften. 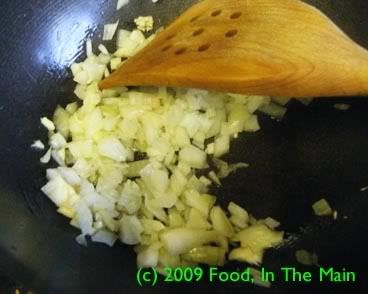
2. Add the chopped bell peppers, stir them in and cook for 3-4 minutes. 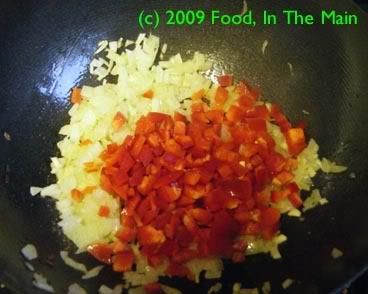 3. Now add the chopped coriander and stir it in, along with salt and pepper to taste.
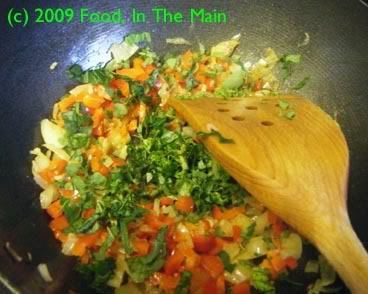
4. Pour in the hot stock/water and bring it back up to a bubbling boil. 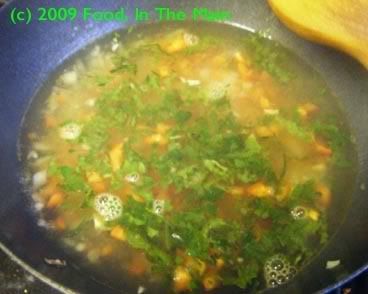
5. Add the couscous now, 
stirring so that it does not become lumpy. 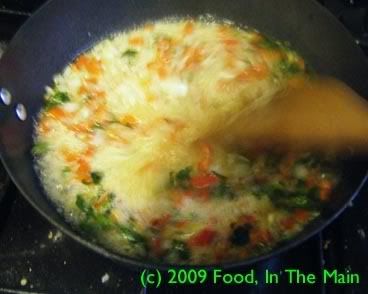
6. Let it simmer for 2-3 minutes, then turn off the heat and cover the pan tightly. Let the couscous sit covered for 15 minutes. Then fluff it up with a fork, check for seasoning and serve. 
I have the food blog world to thank for this recipe – not any blog in particular, but quite a few of them that featured recipes for chutneys/thogayals made without coconut and yet – and this is so very important – tasting really, really good. Before these blogs, the only non-coconut chutney/thokku/thogayal recipes that I had heard of, or ever made, were onion chutney and tomato thokku.
Actually, I tell a lie. In the interests of truth, I will have to admit that I knew of a third such coconut-free thogayal, made with roasted aubergine/brinjal. This is something my mom used to make specially for my dad. I have eaten it before, years and years ago, but even then only with extreme squeamishness.
Anyway, we won’t talk about it any more because in my world, aubergines fall in the same category as slugs and snails in terms of food – in other words... yuuurrrrgh! (Regular readers will know this anyway, so I excuse my mentioning my aubergine-phobia yet again on the barely conceivable grounds that a random new reader just might chance upon this very post as their first one on my blog – and wouldn’t it be tragic if they were to go away, very likely forever, without knowing this important fact about me? See? That’s why.)
So, back to happier, tastier things... those thogayals that I would never have thought to make with vegetables that I would not have imagined using, if not for all those lovely food bloggers – vegetables like chow-chow, bell pepper, carrot (carrot!), beetroot, and so on. I cannot thank the food blog world enough for these revelations.
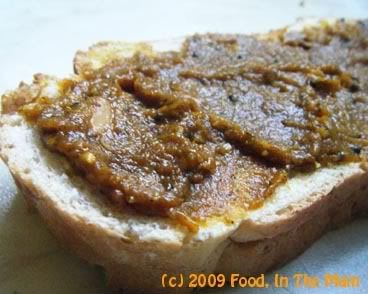
Now, on to the chutney that I made a couple of days back – with slow-roasted yellow bell peppers, tomatoes, garlic and onions as the vegetable base. I added sesame seeds and a couple of tablespoons of roasted peanuts to thicken the chutney and give it a bit of texture along with a gentle nutty taste. I don’t like adding peanuts with gay abandon in thogayal/chutney because then the whole thing turns into a weird sort of peanut butter, rather than a chutney. It’s just me, I guess, but somehow that doesn’t seem right.
If you don’t have an oven, don’t worry. The chutney will taste just as good with the vegetables roasted/cooked on the hob. I oven roasted mine only because I was in no hurry, and because I was slow-roasting a lot of tomatoes anyway.
Recipe for: Roasted bell pepper, tomato and peanut chutney
Ingredients:
2 big yellow bell peppers
3 medium tomatoes
1 large onion
4 garlic cloves
10-12 dried red chillies (or to taste)
Fresh curry leaves, about 20 (optional)
1/2 tsp tamarind paste
2 tbsp roasted peanuts
1/4 tsp asafetida powder
1 tbsp black sesame seeds (can use white too)
1 tsp urad dal
1 tsp mustard seeds
Salt to taste
4 tsp oil
Method:
1. Deseed the bell peppers and cut into quarters. Cut the tomatoes lengthwise in half, then in half again to make four wedges. Peel and chop the onion in large pieces. Remove the skin from the garlic.
2. Toss the vegetables with 1 tsp
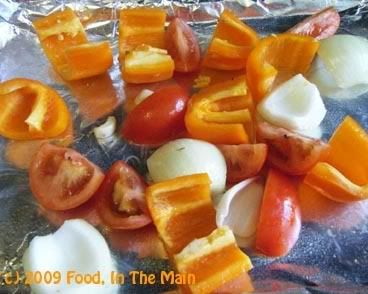
oil and roast in a 160C oven for about 1-1/2 hours (stirring the vegetables after 45 minutes and removing the garlic). (Or if cooking on the hob, heat the oil and stir-fry the vegetables on high heat till well softened and lightly charred.)
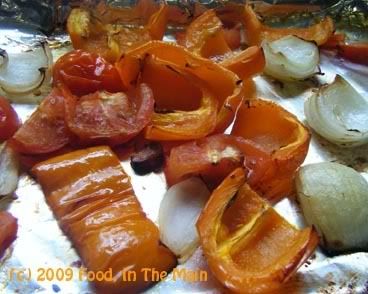
The peppers and onions should be lightly charred, the tomatoes semi-dry.
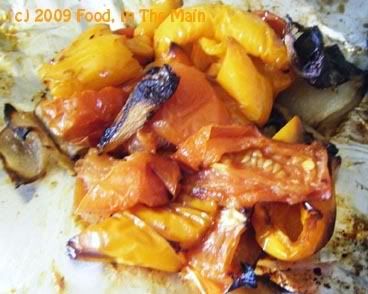
Let cool.
3. Heat 1 tsp oil in a small pan, add the asafetida powder, dried red chillies, sesame seeds and about 10 curry leaves.
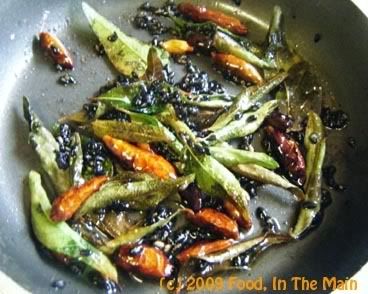
Stir till the chillies turn a darker colour, about 30 seconds.
4. Grind the roasted vegetables to a smooth paste along with the red chillies, sesame seeds, curry leaves.

Add the 2 tbsp roasted peanuts and then grind again -
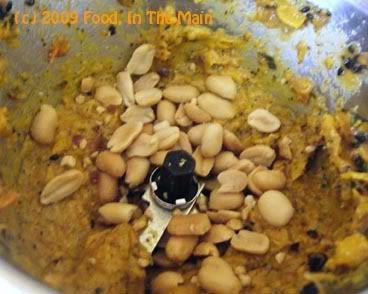
you can leave the peanuts a little chunky if you like.
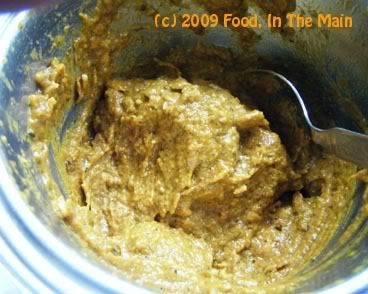
5. Heat the remaining 2 tsp oil in a pan. Add the remaining curry leaves, mustard seeds and urad dal
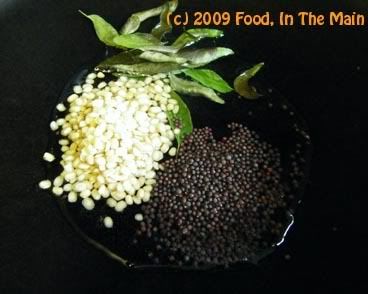
and stir-fry till the dal turns a pale golden.
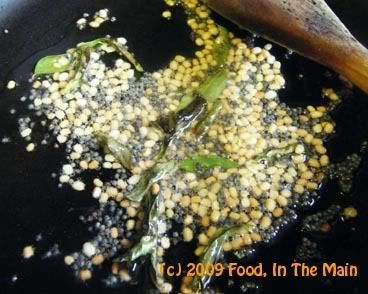
6. Turn the heat down to medium and add the ground bell pepper mixture along with 1/4 cup water and salt to taste.
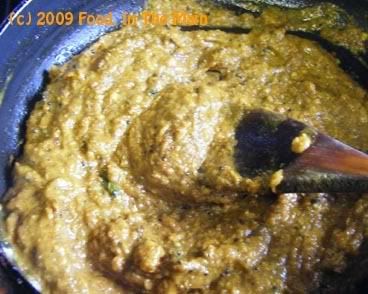
Cook this for 2-3 minutes, stirring well, until the chutney comes to a slow, gloopy bubbling boil. Turn off the heat and let it cool before transferring to a clean glass jar.
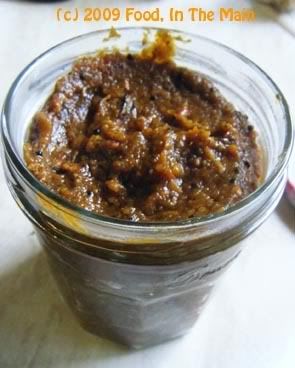
Serve with dosa, roti, idlis, etc, or use as a spread on toast, or as a sandwich filling, or even mix with cooked rice.
Store in the refrigerator.
One of the burdens that has to be borne by reasonably musical adults who have had anything to do with children, directly or indirectly, is the retention in memory of nursery rhymes set to music. My knowledge of nursery rhymes was extensive - even before I spent a lot of time with my little cousin (right from when she was a baby to until she was about 11 years old). But at least I didn’t sing any of them, because I’d only ever read them. Unfortunately, however, Hema as a toddler was extremely attached to her nursery rhyme tape, with the songs sung by some famous(ish) Indian female singer whose name I can’t remember. (For some reason Tarla Dalal comes to mind, but it was NOT her, that much I’m sure of. She doesn’t sing, does she?)
Anyway, coming back to unintentionally selective programmed memory, I assure you that I hardly ever think of nursery rhymes in normal circumstances. BUT – let a trigger word happen and, like an obedient robot, my brain clicks on and plays the relevant rhyme on a permanent loop. Yesterday, somebody in the office mentioned a problem with mice in their home, and all day my brain was singing “Three blind mice, three blind mice. See how they run. See how they run. They all ran after the farmer’s wife, she cut off their tails with a carving knife, did ever you see such a thing in your life as three blind mice.” (I wrote the entire rhyme down in the faint hope of someone else acquiring the ear-worm. Misery shared is… well, misery doubled, but at least I won’t be alone.)
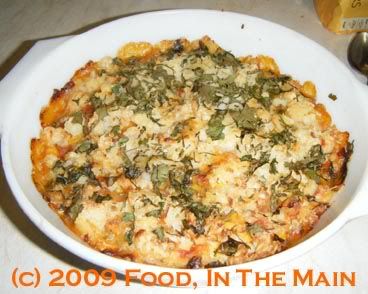
So. All that was merely a prelude to posting about the one-pot vegetable-and-pasta dinner that I made to accompany what remained of my pav buns. One of the ingredients in this recipe was macaroni. Yep, I made the recipe to my personal internal music system which had set itself to play “Yankee Doodle went to town, riding on a pony. He tucked a feather in his cap and called it macaroni. (chorus) Laa la la la la la la, laa la la la laa lah. Laa la la la la la la la la la la la laa lah” all the time - and, as it turned out, all night.
(My brain didn’t leave out a single la, and neither have I. Just thought I’d mention it.)
Recipe for: Vegetable-macaroni hotpot
Ingredients:
1 large cup macaroni, slightly undercooked
1 large onion, chopped fine
2 tomatoes, chopped
2 potatoes boiled, cooled and grated
1 green bell pepper, cut into strips
1/2 cup canned or frozen sweetcorn kernels
2-3 spring onions, chopped fine
1 tsp ginger-garlic paste
1 tsp red chilli powder (or to taste)
1/2 tsp sambar powder
1 tsp sugar
1 htbsp corn flour
2 tbsp grated cheese of choice (sharp cheddar is good - jalapeno or habanero cheese if you like it spicy)
1 tbsp coriander leaves, chopped
1 tbsp butter
Salt to taste
Method:
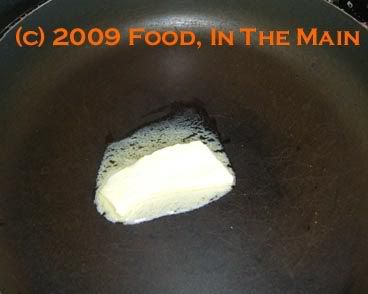
1. Heat the butter in a pan till it melts.
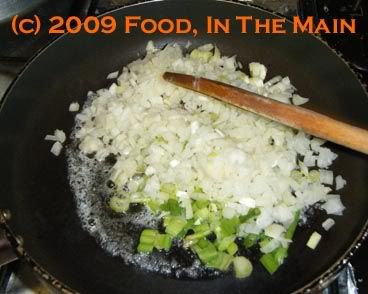
2. Add ginger-garlic paste, fry for 15 seconds, then add the chopped onion and spring onions.
3. Add the capsicum
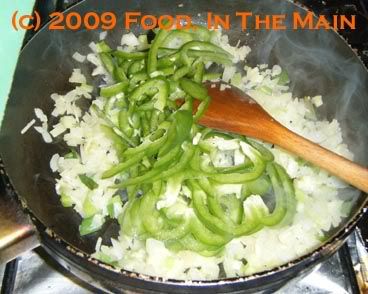
then the tomatoes and corn and fry for 2 minutes.
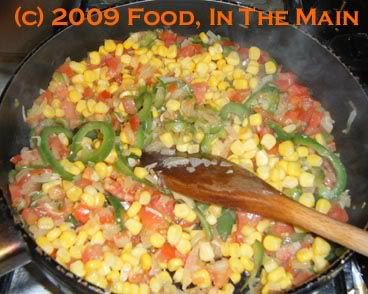
4. Mix the cornflour in 1 cup water till dissolved, add chilli powder and salt. Pour into the pan, stirring well.
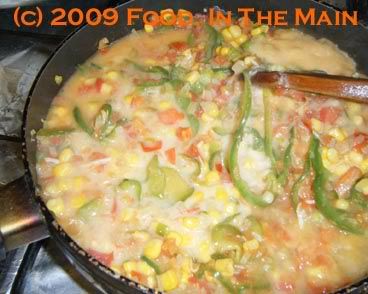
5. Bring the mixture to a rolling boil, then turn down the heat and simmer until thickened but not till it becomes solid. It should still be pourable.
6. Place the cooked macaroni in a buttered oven-safe casserole dish.
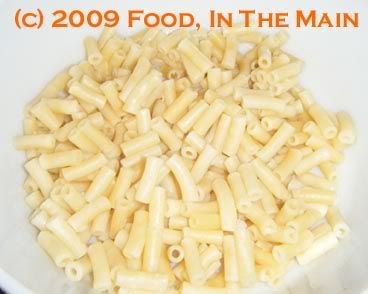
7. Pour the vegetable sauce over the macaroni.
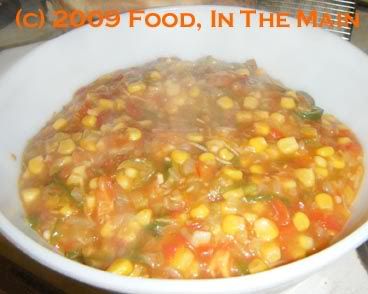
8. Mix together the cheese and grated potato
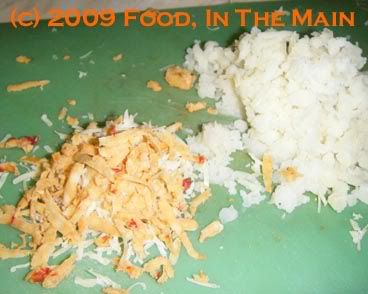
and sprinkle evenly over the sauce, followed by the chopped coriander.
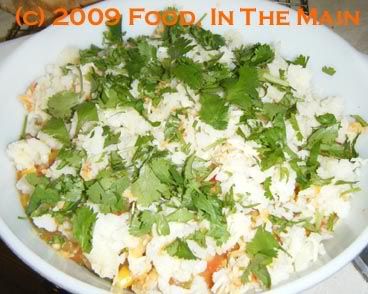
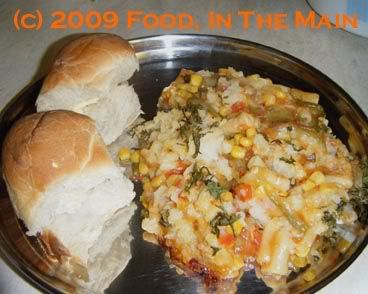
9. Bake in a hot oven (200C) for 15 minutes or till the potato-cheese topping becomes golden brown.
10. Serve hot with warm, lightly buttered dinner rolls.
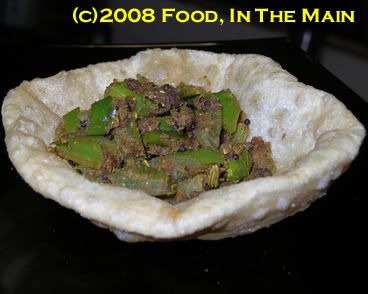
I came across the recipe for taporia/besan mirch on Vyanjanaa by chance, fairly recently, and was hooked. For once I didnt just mark the recipe and sit on it for a few months waiting for my cooking instinct to grow up and become an adult - I acted pretty much rightaway.
G of Vyanjanaa says to use chillies that arent very hot, but I didnt have any such beasties - my choices were fiery long green chillies or the completely gentle bell peppers. Being too chicken to use just the green chillies for this recipe, I decided to use a combination of the chillies and a green bell pepper which, if I may say so myself, was a Very Good Idea.
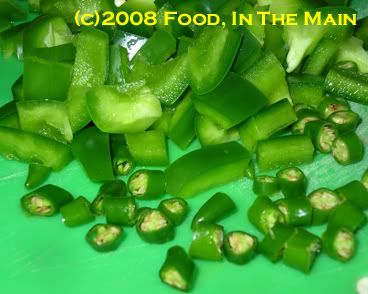
For those who are TOTAL wimps, omitting the chillies entirely and using just a green bell pepper will give you at least an idea of the taste of this really simple, quick recipe from Rajasthan.
Other than some more changes to the ingredients - omission of saunf (fennel seed) powder, increasing the quantity of besan, omission of red chilli powder as I know from experience that the green chillies I used are VERY hot - I followed G's cooking instructions to the letter. I have to agree with what she said in her post about this recipe: "simple ingredients, short cooking time and immense flavor and heat". I couldnt have put it better.
PS. G was going to get married in November 2007. Wherever you are, G, congrats and here's hoping that you have a long, happy and successful married life! I hope you'll come back to your food blog at some point.
Recipe for: Taporia with bell pepper
Ingredients:
3 tbsp besan/chickpea flour
5 hot green chillies, chopped into 1/2-cm thick chunks
1 large green bell pepper, de-seeded and cut into 1-cm pieces (about 1 cupful)
2 tbsp oil
1 tsp mustard seeds
1 tsp cumin seeds
1 tsp whole saunf (fennel) seeds
1/4 tsp heeng/asafoetida powder
1 tsp fennel powder
2 tsp coriander powder
2 tsp amchur (dried raw mango) powder
1/2 tsp turmeric powder
Salt to taste
3-4 tbsp water
Method:
1. Dry-roast the gram flour in a heavy-bottomed pan for 4-5 minutes on medium-low heat, stirring it all the while. You'll be looking for the flour to turn slightly darker in colour - it will also smell nice.
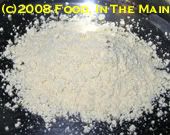 | 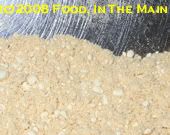 |
(Be very careful while roasting because the flour burns VERY quickly. Stir it thoroughly all the time.) Take the pan off the heat when the flour is done, and tip the flour onto a plate to cool.
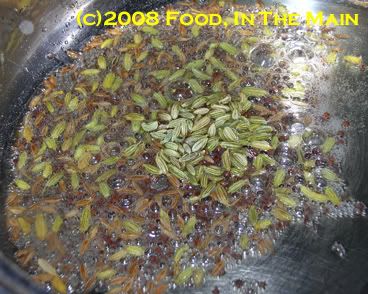
2. In the same pan, heat the oil. Add the mustard seeds, cover, and let the seeds splutter. Then add the cumin and fennel seeds and let them fry for 20 seconds in the hot oil.
3. Add the chopped chillies and bell pepper and stir till the ingredients are well mixed.
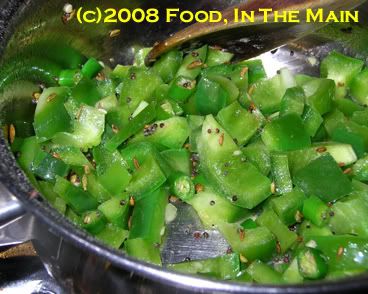
4. Now add 2-3 tbsp water,
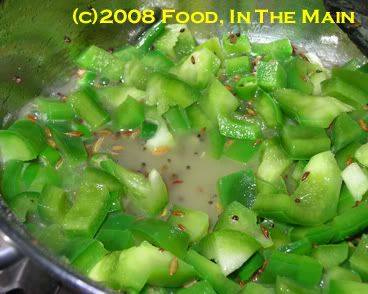
cover the pan, turn the heat back down to medium-low and let the peppers cook for 4-5 minutes.
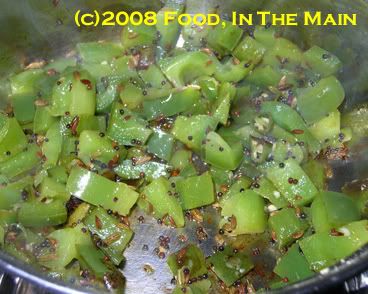
5. Remove the lid and add the various powders now, along with salt to taste. Stir till they are well incorporated with the peppers. (Add another tsp water now if the vegetable looks very dry.)
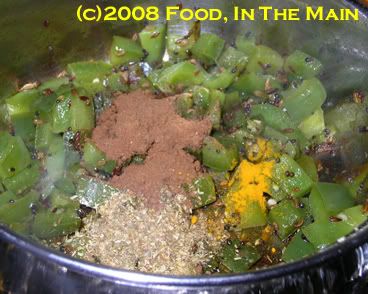
6. After 3 minutes, add the roasted gram flour and stir it in.
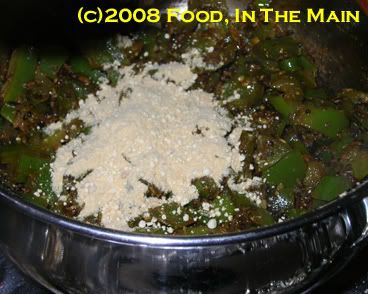
It will absorb any excess water in the pan. Keep scraping the bottom of the pan while stirring to dislodge any gram flour that is sticking to it.
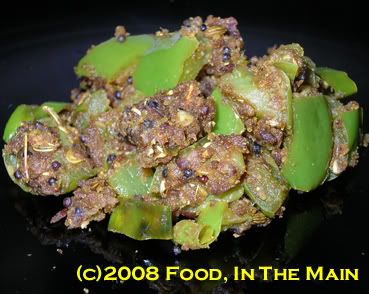
7. After a couple of minutes stirring, serve the taporia hot with chapaties or puris.


