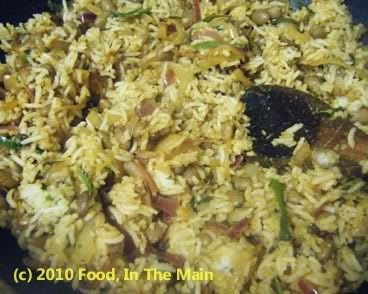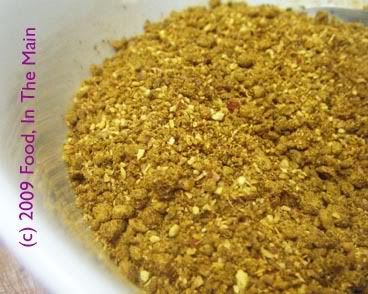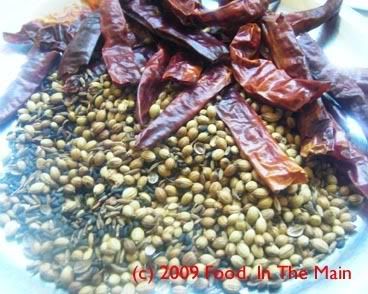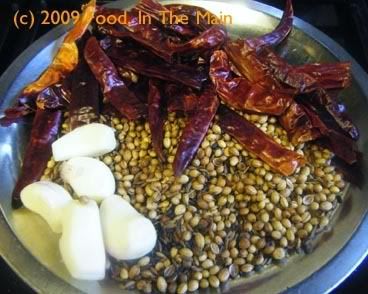
Showing posts with label sesame seeds. Show all posts

Tuesday, January 29, 2013

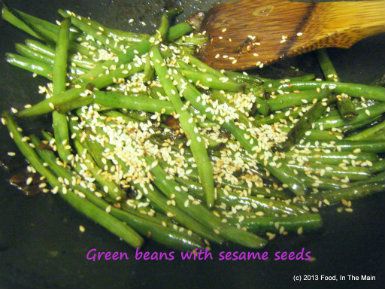
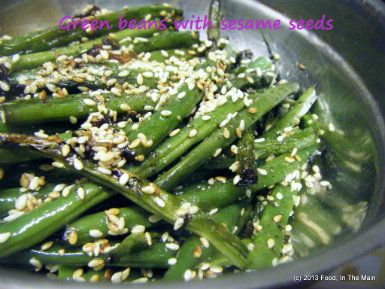
Green beans with sesame seeds


grb1 photo grb1_zps92e4a686.jpg

This is a wonderful recipe for green beans. I made it for Pete with the idea that it would make a nice side dish to go with his prawn stir-fry (that I cooked, but the recipe for that doesn't feature here because this is a vegetarian - well, eggitarian - blog), but in the event, he only got the smallest taste of it, because I scarfed most of it myself. 

I may have mentioned in previous posts about my love for tender fresh green beans. For someone who can eat a large bowl of plain boiled green beans, sometimes lightly salted, sometimes tossed with good olive oil and sea salt, or in any number of gorgeous Indian ways... this recipe, with its salty umami sesame seed-y garlicky flavours, was just too good to resist. Pete's not crazy about green beans (they're GREEN, man, they're VEGETABLE-Y!) but he made a pretty good effort at taking them away from me. Too bad for him that nobody - nobody! - gets between me and my green beans. Not even Pete. Try this and see if you don't feel the same way about them.  

Recipe for: Green beans with sesame seeds
grb photo grb_zps154f6b8c.jpg

Ingredients:
1/4 kg (250gm) green beans, topped and tailed
1 tsp peanut/vegetable oil
1 tbsp sesame oil
1-2 tbsp soy sauce
1 fat clove garlic, thinly sliced
1 tablespoon sesame seeds

Method:
1. Place the green beans in a saucepan and pour boiling water over to cover, then continue to cook them over high heat for 3-4 minutes till parboiled. Drain the water and reserve the green beans (you can use the cooking water for making soup with, or to make chapati dough).
2. Toast the sesame seeds in a little pan until they puff up and start turning colour. They may pop all over the place while toasting, so if you have a splatter shield, use it. Reserve the toasted seeds.
3. Heat a large pan or wok over medium heat. Pour in the peanut/vegetable oil and add the sliced garlic, cook for about a minute on medium heat, but don't let it brown.
4. Toss in the parboiled green beans and sesame oil. Stir the beans to coat with oil.
5. Cook for about 5 minutes, then add soy sauce and stir frequently on high heat for about 5 minutes. 

6. Stir in toasted sesame seeds and serve immediately. This is very good as a side with Chinese-style meals. Or just eat as a snack.

Monday, August 06, 2012

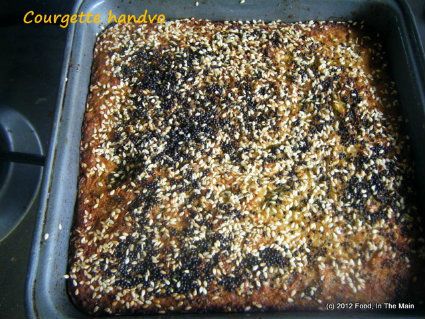
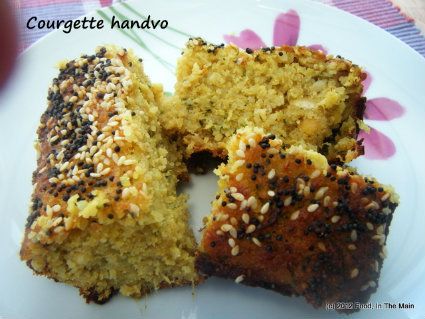
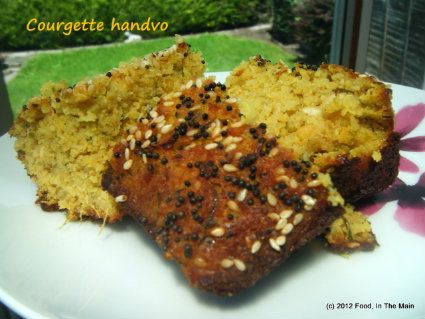
Courgette/zucchini handvoh

Well, here I am after an unscheduled break from my food blog. It’s not that I haven’t wanted to, bla bla bla, it’s just that I’ve not had much free time, hey nonny no, and what little free time I’ve had in the evenings I’ve spent reading, yada yada yada. So, in short – same ol’ same ol’.

I’ve made handvoh before, years and years and YEARS back when I was living in Madras. It was probably one of the first “exotic” recipes that I tried from a recipe printed in *ugh* Women’s Era *cringe*. However, as much as I hate the thought of that awful magazine now, I remember the recipe worked beautifully - the batter behaved itself faultlessly, fermenting in the heat as stated in the recipe, and then steam-cooking in the ilupachatti (kadai/wok) that I used. It was all the more thrilling because the handvoh tasted great and it was not something that had ever been made by my mother, to my recollection. It wasn’t a family staple, let’s say. Just think - I'd actually made something entirely new to me from a magazine recipe - and it turned out well!

That said, this recipe, that I cobbled together after reading a few others on the Internet did not seem at all familiar or bring to mind my original handvoh experience. The only common factor was that this tasted great, too. Can’t complain about that, can you?

Recipe for: Courgette/zucchini handvohDSCF8388-1
Ingredients:

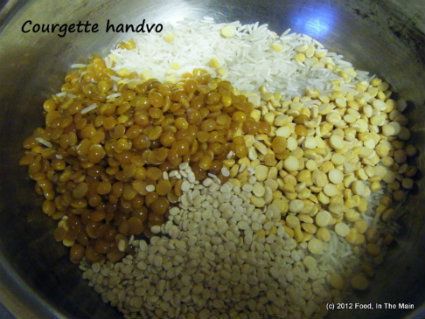
1 cup long grain rice
1/4 cup chana dal
1/4 cup tur/toor/tuvar dal
1/4 cup urad dal
DSCF8362-1
1 cup yogurt
2 tbsp ginger-garlic-green chilli paste - (1.5" piece ginger + 4-5 garlic cloves + 6-8 green chillies (reduce chillies as per taste))
1.5 packed cups grated courgette/zucchini
salt to taste
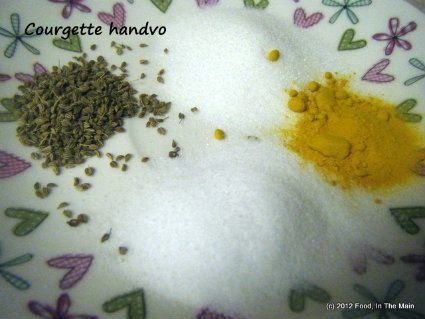
1/2 tsp ajwain/omam
2 tsp sugar
1/2 tsp turmeric powder
3/4 tsp baking powder
1/2 tsp baking soda
2 tbsp sesame seeds
DSCF8365-1
3 tbsp oil
2 tsp mustard seeds
1/4 tsp asafoetida powder
1/2 tsp red chilli powder
a few curry leaves

Method:
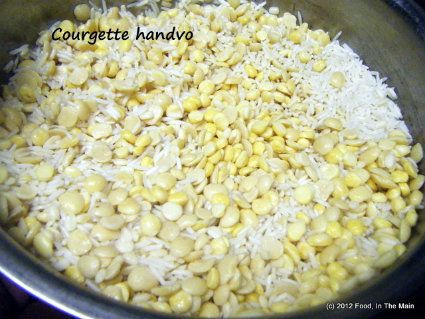
1. Wash the rice and dals and soak them in water for 6 hours.
DSCF8366-1
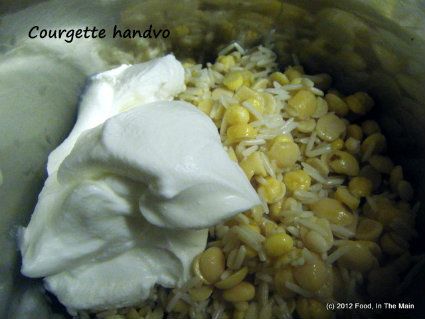
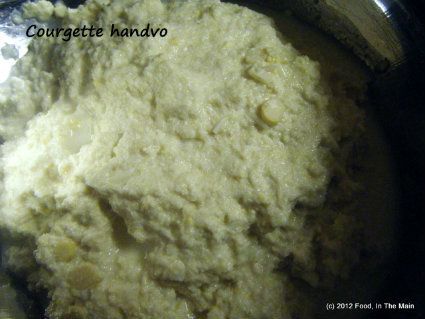
Then drain and grind along with the yogurt to a paste - it should be fairly coarse, not smooth.
DSCF8367-1
Try to add as little water as possible while grinding.
DSCF8369-1
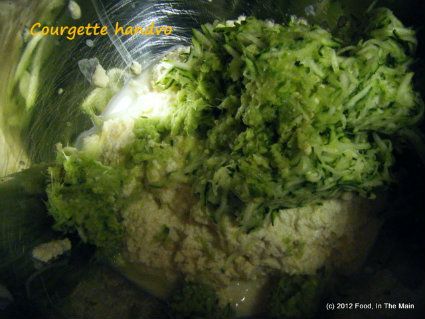
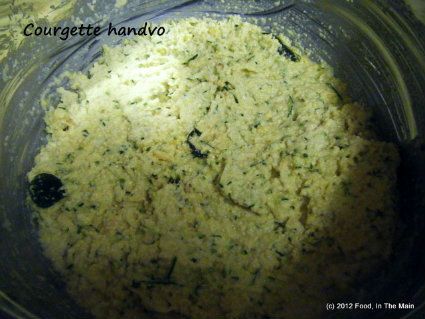
2. Put the batter in a medium bowl and add the ginger-garlic-green chilli, grated courgette/zucchini
DSCF8371-1
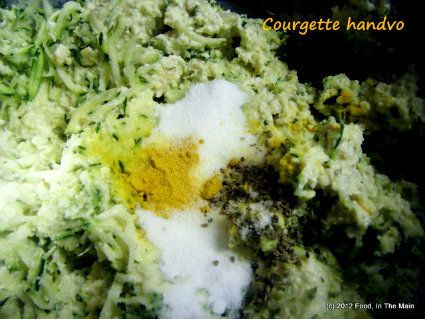
salt, sugar, ajwain/omam and turmeric.
DSCF8373-1
Mix well.
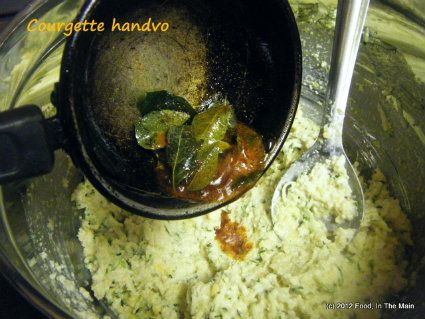
4. Heat 1 tbsp oil and fry the curry leaves for 15-20 seconds, then add the red chilli powder and turn the heat off. Pour this mixture into the batter and mix again.
DSCF8374-1
Let the batter rest covered at room temperature overnight, or for 7-8 hours.
5. Cover and let this batter rest for 6-7 hours or overnight (no need to refrigerate).
DSCF8375-1
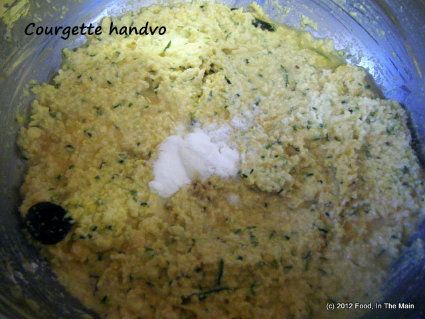
6. In the morning (or after 6-7 hours), add the baking powder and baking soda and mix thoroughly.
DSCF8376-1
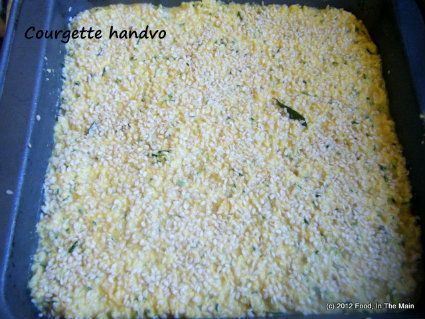
7. Line an 8" cake pan (round or square, doesnt matter) with non-stick paper/foil and spoon the batter into the pan.
DSCF8377-1
8. Sprinkle the sesame seeds evenly on top of the batter.
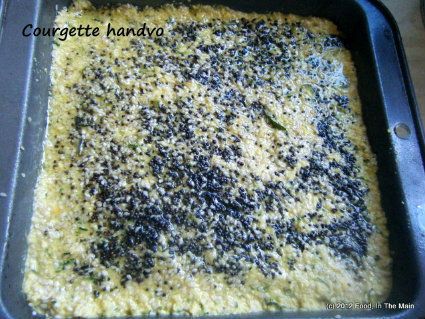
9. Heat the remaining oil in a small skillet and add the mustard seeds. Cover and let the seeds pop (about 30 seconds), then add the asafoetida powder and turn the heat off.
10. Drizzle this seasoning over the sesame seeds on top of the batter.
DSCF8379-1
11. Cover the pan with aluminium foil and bake at 180C/350F for 40 minutes or so, or till a cake tester comes out clean. (Remember that the size of the pan you use will determine the amount of time that the handvoh takes to cook.)
12. Uncover the pan and broil the handvoh until the top turns golden brown.
DSCF8386-1
Let it rest in the pan for 10 minutes before cutting.
DSCF8387-1
Serve warm with any chutney or even tomato ketchup.

RECIPE: COURGETTE/ZUCCHINI HANDVOH
Ingredients:
1 cup long grain rice
1/4 cup chana dal
1/4 cup tur/toor/tuvar dal
1/4 cup urad dal
1 cup yogurt
2 tbsp ginger-garlic-green chilli paste - (1.5" piece ginger + 4-5 garlic cloves + 6-8 green chillies (reduce chillies as per taste))
1.5 packed cups grated courgette/zucchini
salt to taste
1/2 tsp ajwain/omam
2 tsp sugar
1/2 tsp turmeric powder
3/4 tsp baking powder
1/2 tsp baking soda
2 tbsp sesame seeds
3 tbsp oil
2 tsp mustard seeds
1/4 tsp asafoetida powder
1/2 tsp red chilli powder
a few curry leaves

Method:
1. Wash the rice and dals and soak them in water for 6 hours. Then drain and grind along with the yogurt to a paste - it should be fairly coarse, not smooth.Try to add as little water as possible while grinding.
2. Put the batter in a medium bowl and add the ginger-garlic-green chilli, grated courgette/zucchini, salt, sugar, ajwani/omam and turmeric. Mix well.
4. Heat 1 tbsp oil and fry the curry leaves for 15-20 seconds, then add the red chilli powder and turn the heat off. Pour this mixture into the batter and mix again. Let the batter rest covered at room temperature overnight, or for 7-8 hours.
5. Cover and let this batter rest for 6-7 hours or overnight (no need to refrigerate).
6. In the morning (or after 6-7 hours), add the baking powder and baking soda and mix thoroughly.
7. Line an 8" cake pan (round or square, doesnt matter) with non-stick paper/foil and spoon the batter into the pan.
8. Sprinkle the sesame seeds evenly on top of the batter.
9. Heat the remaining oil in a small skillet and add the mustard seeds. Cover and let the seeds pop (about 30 seconds), then add the asafoetida powder and turn the heat off.
10. Drizzle this seasoning over the sesame seeds on top of the batter.
11. Cover the pan with aluminium foil and bake at 180C/350F for 40 minutes or so, or till a cake tester comes out clean. (Remember that the size of the pan you use will determine the amount of time that the handvoh takes to cook.)
12. Uncover the pan and broil the handvoh until the top turns golden brown. Let it rest in the pan for 10 minutes before cutting. Serve warm with any chutney or even tomato ketchup.

Saturday, April 28, 2012

Brussels sprouts and cabbage with sesame masala

Cabbage and brussels sprouts are not most people's favourite vegetables, but I love them. I made this recently for the first time when a friend came to dinner. It went down very well with rice and sambar, but it would also be just as good with rotis. Cabbage love is such a heartwarming thing when it happens naturally... Please don't ask me what that means, because I don't know. The sentence/sentiment just popped into my head and out through my fingers. Anyway, I'm sure you'll enjoy this dish, readers mine, so do try it.
Recipe for: Brussels sprouts and cabbage with sesame masala
DSCF8088
Ingredients:
2 cups cabbage, shredded
1/2 cup brussels sprouts, shredded
2 tsp oil
1/8 tsp asafoetida powder
1 tsp mustard seeds
3 dry red chillies, broken into 1" pieces (or to taste)
2 tbsp sesame seeds
1 tsp coriander seeds
1/2 tsp cumin seeds
3-4 fenugreek seeds
10 curry leaves (optional)
Salt to taste
Method:
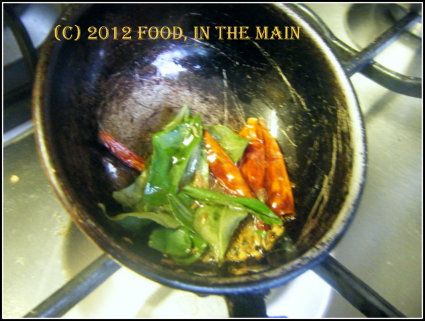
1. Dry roast the chillies, coriander seeds, cumin seeds, fenugreek seeds and curry leaves in a small pan on medium heat, stirring constantly, until the seeds and chillies turn aromatic and a little darker in colour (about a minute).
DSCF8086
Remove from the heat and set aside.

2. Now dry roast the sesame seeds separately until they turn a shade darker and start to sputter a little. Let it cool down, then grind the sesame seeds along with the rest of the roasted seeds into a fine powder.
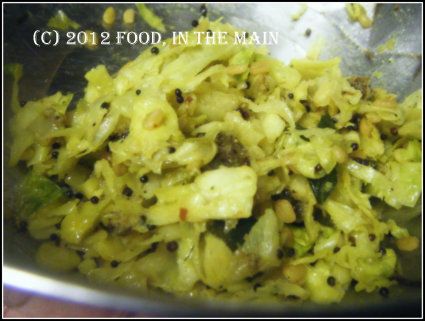
3. Heat the oil in a pan and add the mustard seeds and asafoetida powder. When the seeds stop spluttering, add the shredded cabbage and sprouts. Cook over medium heat, stirring occasionally, until the cabbage is cooked but not mushy.
DSCF8085
4. Sprinkle the sesame seed powder over the cooked cabbage and mix it in. Serve hot as a side with rice and sambar, or with chapaties.

RECIPE: BRUSSELS SPROUTS AND CABBAGE WITH SESAME MASALA
Ingredients:
2 cups cabbage, shredded
1/2 cup brussels sprouts, shredded
2 tsp oil
1/8 tsp asafoetida powder
1 tsp mustard seeds
3 dry red chillies, broken into 1" pieces (or to taste)
2 tbsp sesame seeds
1 tsp coriander seeds
1/2 tsp cumin seeds
3-4 fenugreek seeds
10 curry leaves (optional)
Salt to taste
Method:
1. Dry roast the chillies, coriander seeds, cumin seeds, fenugreek seeds and curry leaves in a small pan on medium heat, stirring constantly, until the seeds and chillies turn aromatic and a little darker in colour (about a minute). Remove from the heat and set aside.
2. Now dry roast the sesame seeds separately until they turn a shade darker and start to sputter a little. Let it cool down, then grind the sesame seeds along with the rest of the roasted seeds into a fine powder.
3. Heat the oil in a pan and add the mustard seeds and asafoetida powder. When the seeds stop spluttering, add the shredded cabbage and sprouts. Cook over medium heat, stirring occasionally, until the cabbage is cooked but not mushy.
4. Sprinkle the sesame seed powder over the cooked cabbage and mix it in. Serve hot as a side with rice and sambar, or with chapaties.

Thursday, February 18, 2010

Sesame soyabean pulao

Sometimes what you think is a brilliantly innovative idea turns out to be somewhat less than that. Even if not a total flop, the idea certainly isn’t close to what was visualised. For instance - I recently bought a pack of Lapsang Souchong tea (no, that was not the innovative part, that was just what I thought was the brilliant part. Wait for it, people, wait for it. The point will make its grand debut further down this post. Watch for the trumpet fanfare that will announce its arrival.)

Over the years I’d heard a lot about Lapsang Souchong. It was the name that attracted me first, to tell the truth. Lapsang Souchong. Such a treat for the vocal cords. Lapsang Souchong. Lapsang Souchong. Lapsang Souchong. (It made me feel sophisticated just saying the name.) So anyway, I’d read about how this tea embodied the essence of refinement, how delicately smoky it tasted, how it was loved by the top connoisseurs of tea in general, and so on. In the past I was not drawn to the idea of tea at all, even with milk and sugar – and the idea of drinking tea that had neither milk nor sugar seemed incomprehensible. Not even a genuine tea-connoisseur favourite uncle could tempt me to try drinking tea black.

But of late, since I have been drinking fruit teas and green tea, I thought that my palate ok, that *I* was finally sophisticated enough for this supposed queen of teas. It seemed promising enough when I bought the box because I could smell the smokiness even without opening it.

As I poured hot – not boiling, as specified by the instructions – water on the teabag in my mug, my senses were assailed by the lovely smoky aroma. Alas, the tea itself was rather too bitter for me. Evidently my palate (please note this – my palate, not me) had not reached the level of sophistication required to drink Lapsang Souchong. (Perhaps I should have used a fine bone china cup from which to drink the tea, rather than a Tesco mug that had “Tea Coffee Tea Coffee” printed all over it in striking black and white stripes? Ah well, we will not make this discovery in a hurry, and enquiring readers will just have to wait till I can muster the willpower – and the requisite refinement of the five senses - to try Lapsang Souchong again. From a posh china cup.)

So anyway, the remaining 39 tea bags sat in their box in a drawer, perfuming the air delicately with their smokiness whenever the drawer was opened, for a couple of weeks before I had my next *trumpet fanfare* idea. (Yes, folks, this was Part 2 - the innovative part – of the original brilliant idea.)

I have liked the flavour of smoked food, ever since, years and years back in a Maori village in New Zealand, I tried it for the first time at the traditional “hangi” or feast. (That’s another story, which you can find
here.) So I was suddenly struck by the thought that I could use a Lapsang Souchong tea-bag while cooking some soya beans (the dried kind, after first soaking the beans overnight). Two birds with one stone, and all that... I could use up the tea bags eventually, and hopefully the lovely smoked flavour would infuse into the soya beans.

Uh...

That innovative idea? Innovative, perhaps, but sadly not brilliant in its outcome. The smoky taste did NOT get into the beans or the cooking liquid, but the tea did turn the beans a beautiful (NOT!) brownish grey. Overall, I would say that pressure-cooking the beans with a Lapsang Souchong teabag did not add anything in the way of extra flavour, but also, let it be said, it did not detract from the taste of the beans. I was going to make a superbly and subtly smoky soya bean chole sort of thing, but in the event, I decided to do something else with the tea-cooked beans.

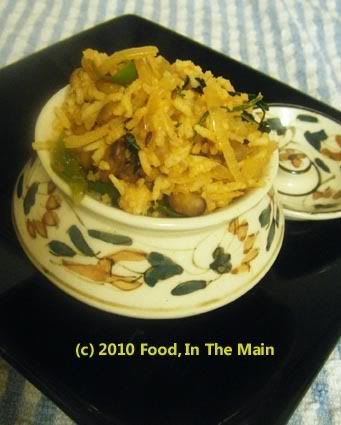
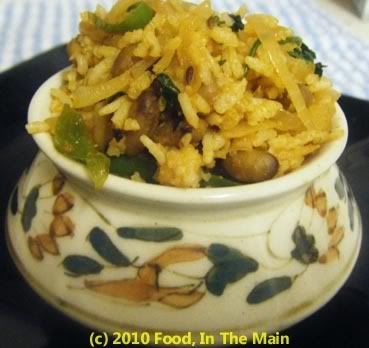
And that is how this sesame soyabean pulao happened. Looks quite nice, doesn't it? It tasted as good as it looks - and I personally believe it looks verrrrry good!

Mind it!

sesame,soya bean,pulao

Recipe for: Sesame soyabean pulao

sesame,soya bean,pulao

Ingredients:

4-5 cups cooked basmati rice, cooled
1-1/2 cups cooked soyabeans
2 medium onions, sliced thin
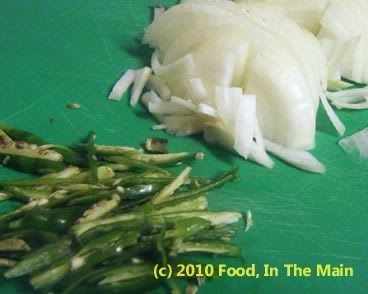
4-5 green chillies, sliced into strips (to taste)

sesame,soya bean,pulao

3 tbsp sesame seeds, crushed lightly in a mortar & pestle
1/4 cup concentrated tomato puree
1" stick cinnamon
1 star anise
1 green cardamom
1 black cardamom (optional)
2 tsp cumin seeds
1 tbsp oil
Salt to taste
2 tbsp chopped coriander for garnish

Method:

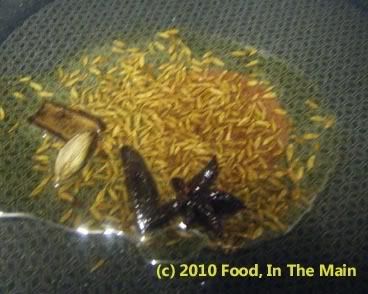
1. Heat the oil in a pan big enough to comfortably take 4 cups cooked rice. When the oil is hot, add the cumin seeds, cinnamon stick, cardamoms and star anise. Let them brown gently (about a minute) till their aroma is released.

sesame,soya bean,pulao

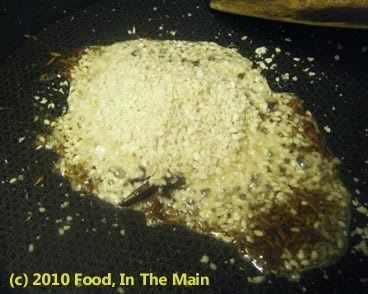
2. Now add the sesame seeds and let them fry till they begin to turn a pale brown.

sesame,soya bean,pulao

sesame,soya bean,pulao

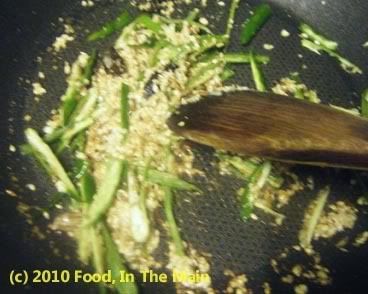
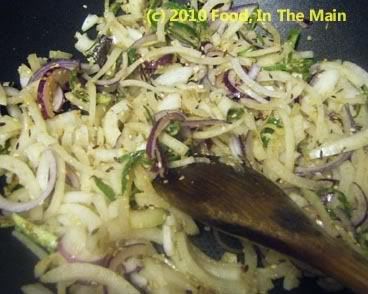
3. Add the onions and stir fry on medium heat till the onions begin to turn soft.

sesame,soya bean,pulao

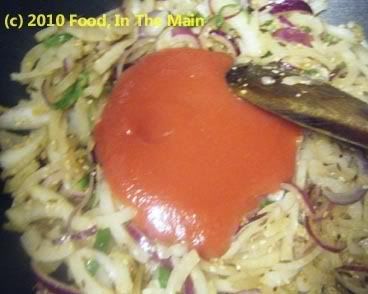
4. Pour in the tomato puree.

sesame,soya bean,pulao

5. Mix it in well,

sesame,soya bean,pulao

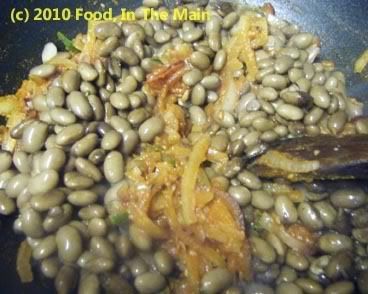
then add the cooked soyabeans.

sesame,soya bean,pulao

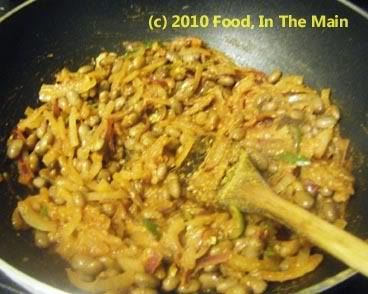
Stir them in gently till they are completely covered with the onion masala. The masala should not be runny or watery, or the pulao will not taste right.

sesame,soya bean,pulao

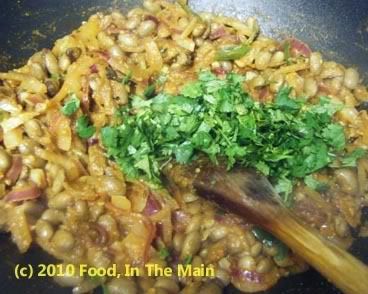
6. Add the chopped coriander and stir it in, along with salt to taste.

sesame,soya bean,pulao

7. Now mix the cooked rice with the soyabean masala, taking care not to break up the grains.

sesame,soya bean,pulao


8. Serve hot with any raita.

Friday, November 20, 2009

Garlic masala powder

Maths doesn’t play much of a role in my life, other than when absolutely, utterly unavoidable. I go to great lengths to avoid such occasions, so when one does occur, you can bet your booty that it’s as rare as a 300 carat diamond. Only a lot less interesting, and involving much swearing and general blasphemy. That’s the only way I can get through it – that, and help begged from anybody capable of looking a math problem in the eye without flinching and bursting into tears.

What does maths have to do with a cooking blog, or this recipe, one may wonder. Happily, not much with the recipe itself – just a mention on the blog for the sake of getting some content for the post leading to the recipe. And this is a recipe for a home-made ready-mix powder used to make spicy flavoured rice. Kind of like paruppu podi, but different in the ingredients used. Paruppu podi doesn’t involve coriander seeds at all, and they play a big role in this powder. The shels life differs, too. This masala powder, containing raw garlic as it does, doesn't have the extended shelf life of paruppu podi.

So where does the maths bit come in?

Only in that this masala powder, redolent of garlic and coriander, adds up to much more than the sum of its component parts. My kind of mathematics, you see, because when I add up a column of figures, you can bet your bottom dollar or pound (or other currency of choice) that the sum will invariably exceed the total of the individual figures. Which is terrible for a maths problem, but very welcome in a recipe.

PS: Original recipe here


Recipe for: Garlic masala powder

Photobucket

Ingredients:

2 tbsp urad dal
1/4 cup coriander seeds
2 tbsp cumin seeds
10-15 dried red chillies (depending on heat and to taste)
1 tbsp black sesame seeds
5 cloves garlic
Salt to taste

Method:

1. Dry roast the red chillies, urad dal, coriander seeds and sesame seeds over a medium fire, stirring frequently, till the dal is golden brown, the chillies turn a darker red and the coriander seeds are aromatic.

Photobucket

2. Let cool completely, then add the garlic cloves.

Photobucket

3. Pick out the red chillies and grind them to a fine powder separately, then grind the rest of the roasted ingredients to a fairly coarse powder. Add salt to taste and store in a tight-lidded container.

Photobucket

To eat, add the masala powder to taste to cooked cooled rice. Fry up a handful of peanuts and a few curry leaves in a tsp of ghee or gingelly oil, then mix with the masala rice. Serve hot with crisps or papads and a raita.

Tuesday, August 18, 2009

Baked vegetable pakodas

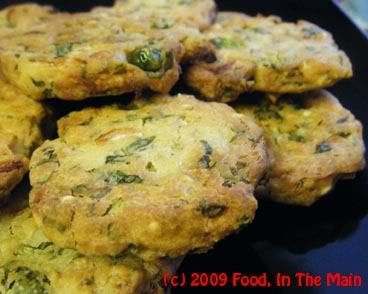
I have a favourite new snack – baked vegetable pakodas (fritters). Granted, they don’t look like traditional pakodas, and possibly they don’t taste traditional either (read “deep-fried”) – but boy, they DO taste really good. Actually you might as well call them savoury cookies because I flattened them for more even baking. Whatever (a rose by any other name and all that...), these are extremely more-ish when fresh, with dips.

These pakodas become kind of chewy and hard the next day, but I liked them that way nevertheless. But then I’m odd like that. So if you're not like me, eat 'em fresh. I dont know if they would soften when re-heated in a microwave, because I didn't try that for myself. (But if you do, let me know what happens, please.)

Recipe for:
Baked vegetable pakodas

Photobucket

Ingredients:

1 small potato, boiled and grated
1/2 cup fresh peas
1/2 cup green beans, chopped 1/2cm thick
1/2 cup spinach leaves, sliced
1 medium onion, chopped fine
10 cashew nuts, chopped
1/4 cup chopped coriander leaves
1/4 tsp cumin powder
1 tbsp sesame seeds
1 cup gramflour (besan/chickpea flour/kadala maavu)
1 cup rice flour
1/2 tsp chilli powder or 2-3 fresh green chillies, minced (optional)
Salt to taste
1 tbsp oil
Water as required

Method:

1. Preheat the oven to 180C.

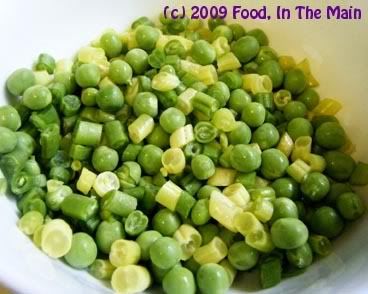
2. Microwave the green beans and peas for 4 minutes on full power with 4 tbsp water.

Photobucket

Transfer to a large bowl.

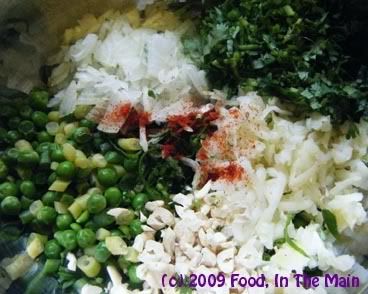
3. Add the grated boiled potato, spinach leaves, chopped onion, cashew nuts, coriander leaves, cumin powder, sesame seeds and mix well.

Photobucket

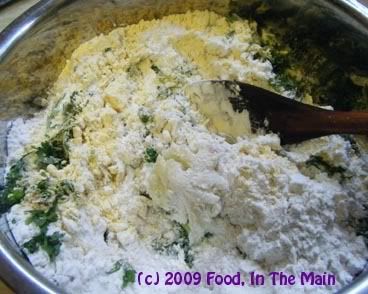
4. Add the rice flour and gram flour along with salt to taste.

Photobucket

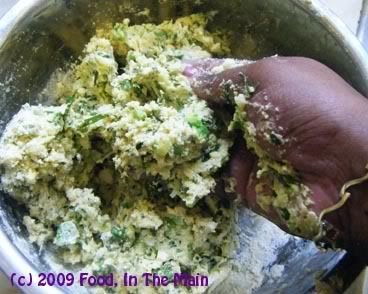
5. Mix with your hand now, adding water little by little until the dough comes together and you can make small balls with it. Do NOT make the dough watery. It should be thick and will be a bit sticky.

Photobucket

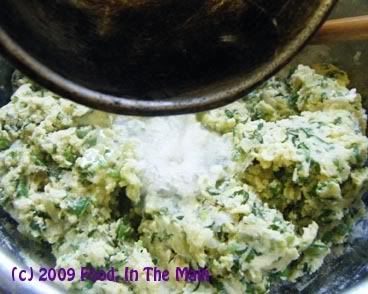
6. Heat the oil till it’s smoking, then pour onto the dough.

Photobucket

Wait a couple of minutes for it to cool before mixing it into the dough (or use a spatula).

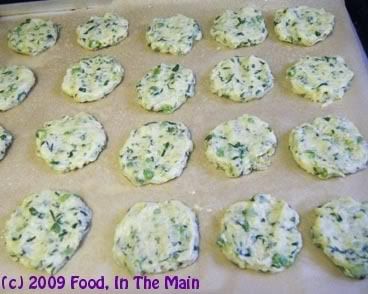
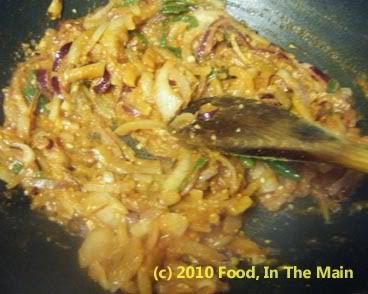
7. Line a couple of baking trays with silicone or non-stick paper and additionally spray it with Pam or similar non-fat spray. Make small balls of the dough, place on the tray and flatten evenly with your fingers. You might need to wipe your fingers clean every so often.

Photobucket

Spray the tops of the pakodas with a spritz of Pam, then bake in a 180C oven for 15 minutes.

Photobucket

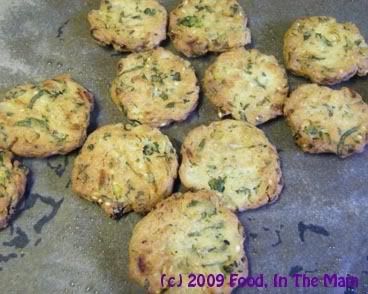
After that turn them over, and bake for another 15 minutes or till the pakodas are lightly browned on top.

Photobucket

If you like them to be crisp, bake for a few minutes longer (but keep an eye on them).

8.Serve warm, with or without dips, as a snack.
Photobucket

Tuesday, July 07, 2009

Roasted bell pepper, tomato and peanut chutney

I have the food blog world to thank for this recipe – not any blog in particular, but quite a few of them that featured recipes for chutneys/thogayals made without coconut and yet – and this is so very important – tasting really, really good. Before these blogs, the only non-coconut chutney/thokku/thogayal recipes that I had heard of, or ever made, were onion chutney and tomato thokku.
Actually, I tell a lie. In the interests of truth, I will have to admit that I knew of a third such coconut-free thogayal, made with roasted aubergine/brinjal. This is something my mom used to make specially for my dad. I have eaten it before, years and years ago, but even then only with extreme squeamishness.

Anyway, we won’t talk about it any more because in my world, aubergines fall in the same category as slugs and snails in terms of food – in other words... yuuurrrrgh! (Regular readers will know this anyway, so I excuse my mentioning my aubergine-phobia yet again on the barely conceivable grounds that a random new reader just might chance upon this very post as their first one on my blog – and wouldn’t it be tragic if they were to go away, very likely forever, without knowing this important fact about me? See? That’s why.)

So, back to happier, tastier things... those thogayals that I would never have thought to make with vegetables that I would not have imagined using, if not for all those lovely food bloggers – vegetables like chow-chow, bell pepper, carrot (carrot!), beetroot, and so on. I cannot thank the food blog world enough for these revelations.

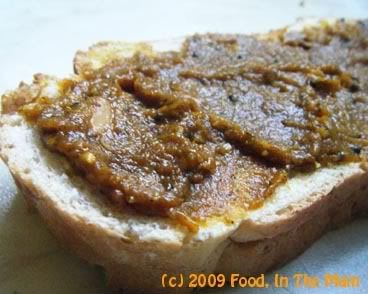
Now, on to the chutney that I made a couple of days back – with slow-roasted yellow bell peppers, tomatoes, garlic and onions as the vegetable base. I added sesame seeds and a couple of tablespoons of roasted peanuts to thicken the chutney and give it a bit of texture along with a gentle nutty taste. I don’t like adding peanuts with gay abandon in thogayal/chutney because then the whole thing turns into a weird sort of peanut butter, rather than a chutney. It’s just me, I guess, but somehow that doesn’t seem right.

If you don’t have an oven, don’t worry. The chutney will taste just as good with the vegetables roasted/cooked on the hob. I oven roasted mine only because I was in no hurry, and because I was slow-roasting a lot of tomatoes anyway.

Recipe for:
Roasted bell pepper, tomato and peanut chutney

Photobucket

Ingredients:

2 big yellow bell peppers
3 medium tomatoes
1 large onion
4 garlic cloves
10-12 dried red chillies (or to taste)
Fresh curry leaves, about 20 (optional)
1/2 tsp tamarind paste
2 tbsp roasted peanuts
1/4 tsp asafetida powder
1 tbsp black sesame seeds (can use white too)
1 tsp urad dal
1 tsp mustard seeds
Salt to taste
4 tsp oil

Method:

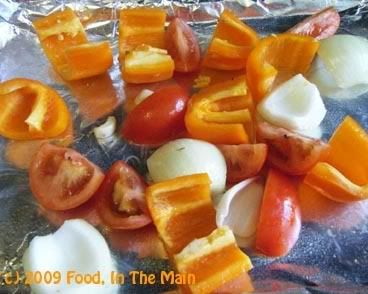
1. Deseed the bell peppers and cut into quarters. Cut the tomatoes lengthwise in half, then in half again to make four wedges. Peel and chop the onion in large pieces. Remove the skin from the garlic.

2. Toss the vegetables with 1 tsp

Photobucket

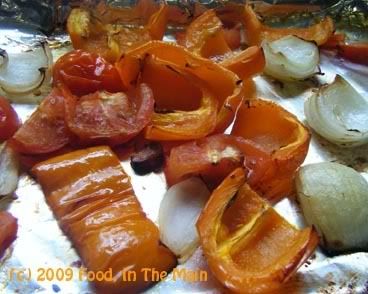
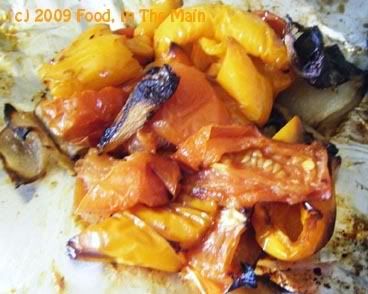
oil and roast in a 160C oven for about 1-1/2 hours (stirring the vegetables after 45 minutes and removing the garlic). (Or if cooking on the hob, heat the oil and stir-fry the vegetables on high heat till well softened and lightly charred.)

Photobucket

The peppers and onions should be lightly charred, the tomatoes semi-dry.

Photobucket

Let cool.

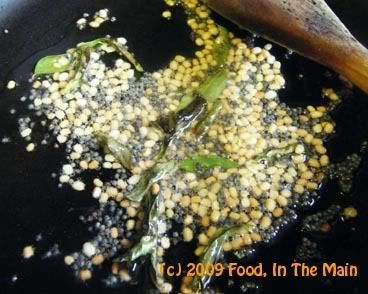
3. Heat 1 tsp oil in a small pan, add the asafetida powder, dried red chillies, sesame seeds and about 10 curry leaves.

Photobucket

Stir till the chillies turn a darker colour, about 30 seconds.

4. Grind the roasted vegetables to a smooth paste along with the red chillies, sesame seeds, curry leaves.

Photobucket

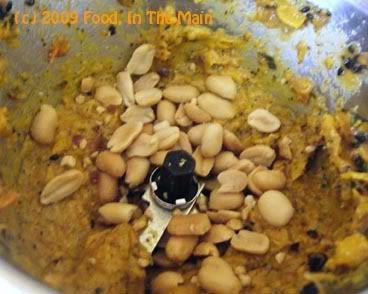
Add the 2 tbsp roasted peanuts and then grind again -

Photobucket

you can leave the peanuts a little chunky if you like.

Photobucket

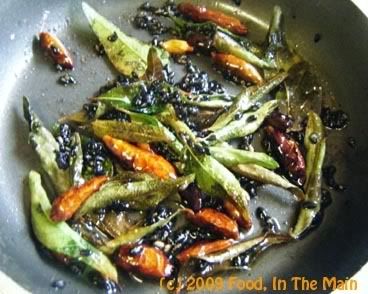
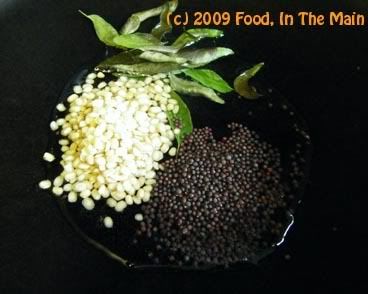
5. Heat the remaining 2 tsp oil in a pan. Add the remaining curry leaves, mustard seeds and urad dal

Photobucket

and stir-fry till the dal turns a pale golden.

Photobucket

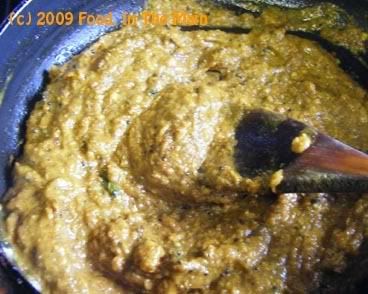
6. Turn the heat down to medium and add the ground bell pepper mixture along with 1/4 cup water and salt to taste.

Photobucket

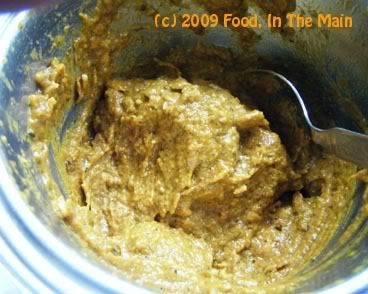
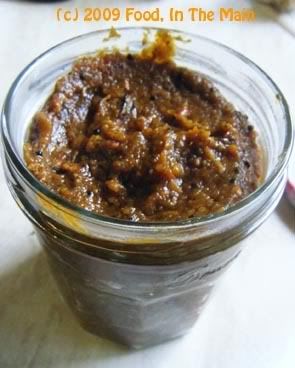
Cook this for 2-3 minutes, stirring well, until the chutney comes to a slow, gloopy bubbling boil. Turn off the heat and let it cool before transferring to a clean glass jar.

Photobucket

Serve with dosa, roti, idlis, etc, or use as a spread on toast, or as a sandwich filling, or even mix with cooked rice.

Store in the refrigerator.