Showing posts with label omam. Show all posts

Friday, November 11, 2016

Mixed vegetable pakoda v2

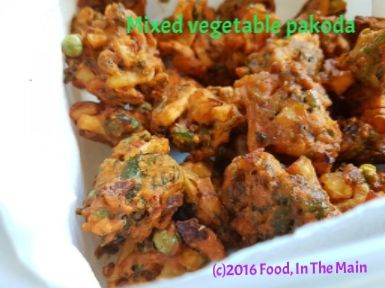
I've posted a pakoda recipe before, but I thought I'd do a post on this version because, for one, it IS slightly different and for another, I really REALLY like my photo and think it deserves to be enshrined on my blog for posterity to view over and over.

HAHAHAHA!

My mother's version (which is the only one I've used all these years) for vegetable pakoda does not involve ginger-garlic paste. This time I decided to add it, and gosh, what a difference it made to the taste! The mint also added a refreshing note. I recommend it. 


Oh, and while you're considering my recommendation, make sure you guys admire my beautiful photo of the pakodas. I recommend that too.

Recipe for:
Mixed vegetable pakoda

 photo 9d02ee62-6afc-47c2-8255-d76b419ef479_zpsbsmepbnl.jpg

Ingredients:
1 medium potato
10-12 green beans
1/5 small cauliflower
1 medium carrot
1 cup spinach
1/4 cup green peas
1 medium onion
1 tbsp ginger-garlic paste
2 tbsp finely chopped mint

1 tsp omam/ajwain/oregano seeds
1 tsp red chilli powder
1 tsp coriander powder
1.5 - 2 cups chickpea flour
2 tbsp rava/semolina
Salt to taste
Oil for deep frying

Method:

1. Peel the carrot. Chop all the vegetables into thin 1/2-inch long strips.

2. Heat the oil in a deep wok. While the oil is heating, in a large mixing bowl, mix together all the chopped vegetables, spice powders, grated ginger and garlic, the semolina and the chickpea flour. Mix well, then add salt to taste and mix again. Add 1/4 cup water and mix with your hands to a thick dough. It should not be runny at all, because the vegetables will exude water. And once the dough is mixed, use it straightaway.

3. Drop a small piece of dough in the oil - if it floats to the top rightaway, the oil is ready. Drop the mixture carefully into the oil by the tablespoonful. Don't crowd the oil or the pakodas will not be crisp and soak up the oil. Once they are an even golden brown, remove from the oil and drain onto kitchen paper.

4. Serve warm. Great with drinks.

Monday, August 06, 2012

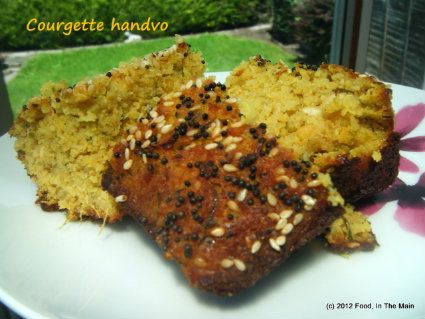
Courgette/zucchini handvoh

Well, here I am after an unscheduled break from my food blog. It’s not that I haven’t wanted to, bla bla bla, it’s just that I’ve not had much free time, hey nonny no, and what little free time I’ve had in the evenings I’ve spent reading, yada yada yada. So, in short – same ol’ same ol’.

I’ve made handvoh before, years and years and YEARS back when I was living in Madras. It was probably one of the first “exotic” recipes that I tried from a recipe printed in *ugh* Women’s Era *cringe*. However, as much as I hate the thought of that awful magazine now, I remember the recipe worked beautifully - the batter behaved itself faultlessly, fermenting in the heat as stated in the recipe, and then steam-cooking in the ilupachatti (kadai/wok) that I used. It was all the more thrilling because the handvoh tasted great and it was not something that had ever been made by my mother, to my recollection. It wasn’t a family staple, let’s say. Just think - I'd actually made something entirely new to me from a magazine recipe - and it turned out well!

That said, this recipe, that I cobbled together after reading a few others on the Internet did not seem at all familiar or bring to mind my original handvoh experience. The only common factor was that this tasted great, too. Can’t complain about that, can you?

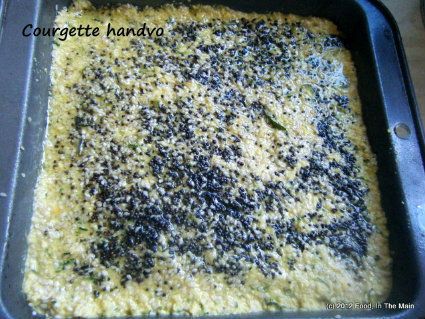
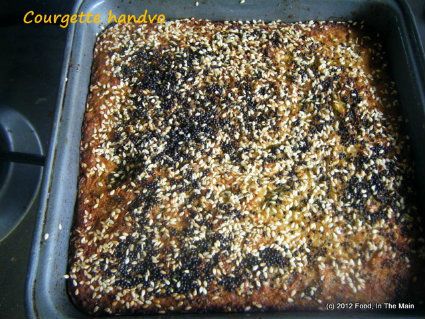
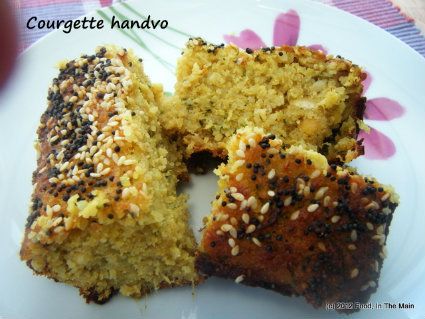
Recipe for: Courgette/zucchini handvohDSCF8388-1
Ingredients:

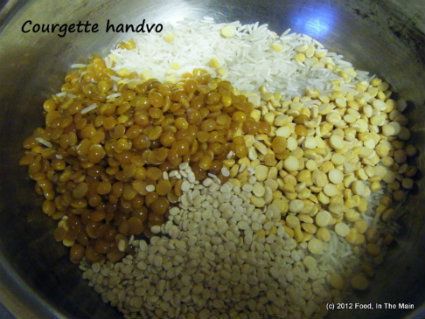
1 cup long grain rice
1/4 cup chana dal
1/4 cup tur/toor/tuvar dal
1/4 cup urad dal
DSCF8362-1
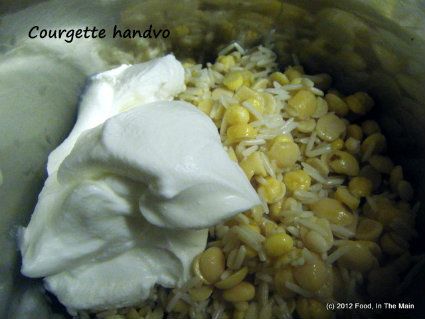
1 cup yogurt
2 tbsp ginger-garlic-green chilli paste - (1.5" piece ginger + 4-5 garlic cloves + 6-8 green chillies (reduce chillies as per taste))
1.5 packed cups grated courgette/zucchini
salt to taste
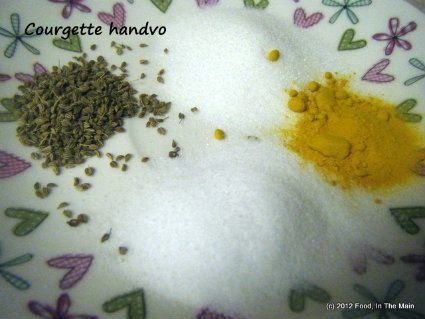
1/2 tsp ajwain/omam
2 tsp sugar
1/2 tsp turmeric powder
3/4 tsp baking powder
1/2 tsp baking soda
2 tbsp sesame seeds
DSCF8365-1
3 tbsp oil
2 tsp mustard seeds
1/4 tsp asafoetida powder
1/2 tsp red chilli powder
a few curry leaves

Method:
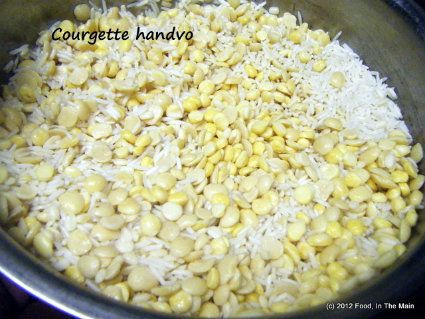
1. Wash the rice and dals and soak them in water for 6 hours.
DSCF8366-1
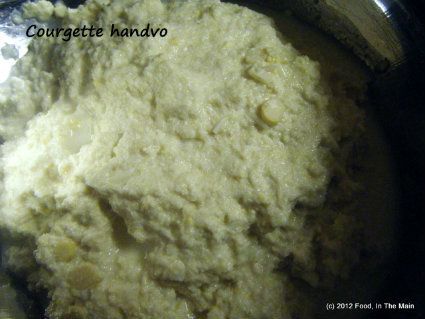
Then drain and grind along with the yogurt to a paste - it should be fairly coarse, not smooth.
DSCF8367-1
Try to add as little water as possible while grinding.
DSCF8369-1
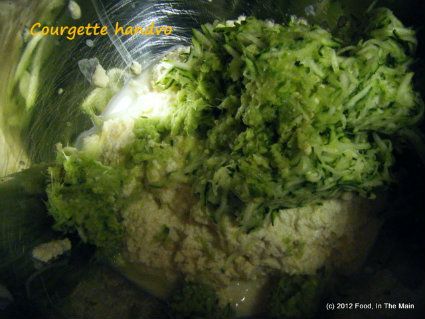
2. Put the batter in a medium bowl and add the ginger-garlic-green chilli, grated courgette/zucchini
DSCF8371-1
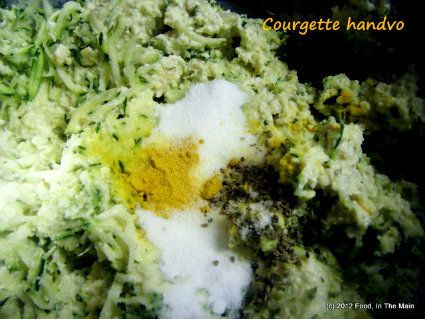
salt, sugar, ajwain/omam and turmeric.
DSCF8373-1
Mix well.
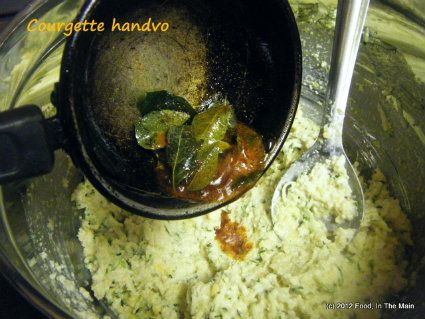
4. Heat 1 tbsp oil and fry the curry leaves for 15-20 seconds, then add the red chilli powder and turn the heat off. Pour this mixture into the batter and mix again.
DSCF8374-1
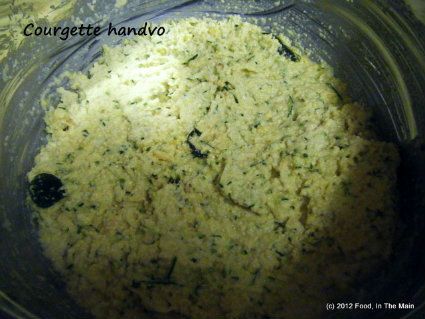
Let the batter rest covered at room temperature overnight, or for 7-8 hours.
5. Cover and let this batter rest for 6-7 hours or overnight (no need to refrigerate).
DSCF8375-1
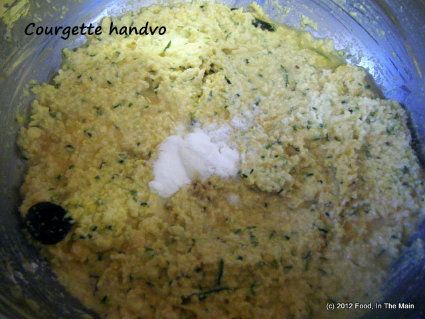
6. In the morning (or after 6-7 hours), add the baking powder and baking soda and mix thoroughly.
DSCF8376-1
7. Line an 8" cake pan (round or square, doesnt matter) with non-stick paper/foil and spoon the batter into the pan.
DSCF8377-1
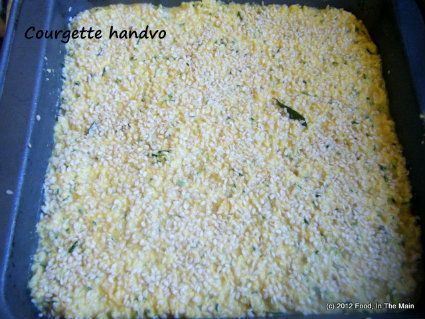
8. Sprinkle the sesame seeds evenly on top of the batter.
9. Heat the remaining oil in a small skillet and add the mustard seeds. Cover and let the seeds pop (about 30 seconds), then add the asafoetida powder and turn the heat off.
10. Drizzle this seasoning over the sesame seeds on top of the batter.
DSCF8379-1
11. Cover the pan with aluminium foil and bake at 180C/350F for 40 minutes or so, or till a cake tester comes out clean. (Remember that the size of the pan you use will determine the amount of time that the handvoh takes to cook.)
12. Uncover the pan and broil the handvoh until the top turns golden brown.
DSCF8386-1
Let it rest in the pan for 10 minutes before cutting.
DSCF8387-1
Serve warm with any chutney or even tomato ketchup.

RECIPE: COURGETTE/ZUCCHINI HANDVOH
Ingredients:
1 cup long grain rice
1/4 cup chana dal
1/4 cup tur/toor/tuvar dal
1/4 cup urad dal
1 cup yogurt
2 tbsp ginger-garlic-green chilli paste - (1.5" piece ginger + 4-5 garlic cloves + 6-8 green chillies (reduce chillies as per taste))
1.5 packed cups grated courgette/zucchini
salt to taste
1/2 tsp ajwain/omam
2 tsp sugar
1/2 tsp turmeric powder
3/4 tsp baking powder
1/2 tsp baking soda
2 tbsp sesame seeds
3 tbsp oil
2 tsp mustard seeds
1/4 tsp asafoetida powder
1/2 tsp red chilli powder
a few curry leaves

Method:
1. Wash the rice and dals and soak them in water for 6 hours. Then drain and grind along with the yogurt to a paste - it should be fairly coarse, not smooth.Try to add as little water as possible while grinding.
2. Put the batter in a medium bowl and add the ginger-garlic-green chilli, grated courgette/zucchini, salt, sugar, ajwani/omam and turmeric. Mix well.
4. Heat 1 tbsp oil and fry the curry leaves for 15-20 seconds, then add the red chilli powder and turn the heat off. Pour this mixture into the batter and mix again. Let the batter rest covered at room temperature overnight, or for 7-8 hours.
5. Cover and let this batter rest for 6-7 hours or overnight (no need to refrigerate).
6. In the morning (or after 6-7 hours), add the baking powder and baking soda and mix thoroughly.
7. Line an 8" cake pan (round or square, doesnt matter) with non-stick paper/foil and spoon the batter into the pan.
8. Sprinkle the sesame seeds evenly on top of the batter.
9. Heat the remaining oil in a small skillet and add the mustard seeds. Cover and let the seeds pop (about 30 seconds), then add the asafoetida powder and turn the heat off.
10. Drizzle this seasoning over the sesame seeds on top of the batter.
11. Cover the pan with aluminium foil and bake at 180C/350F for 40 minutes or so, or till a cake tester comes out clean. (Remember that the size of the pan you use will determine the amount of time that the handvoh takes to cook.)
12. Uncover the pan and broil the handvoh until the top turns golden brown. Let it rest in the pan for 10 minutes before cutting. Serve warm with any chutney or even tomato ketchup.

Friday, May 04, 2012

Pinto bean parathas

I'm beginning to wonder if I should call these "recipes" - they're so basic and samey in the making, especially if you're Indian and make/eat rotis/parathas/etc often. Still, the difference in flavour is obviously marked, different with every filling you choose to use (well, duh, I know).


I don't think I've used a beany filling before, so it's an opportunity to say I used a beany filling and, at the same time, increase the number of recipes on my blog by one. My aim this year is to reach 500 posts, and oh man, is it ever a slooooowwww process! I'm currently at 467, and it's high time I touched the 500 mark - especially as this blog has been going for close on 7 years!


(Actually, it will complete 7 years on the 17th of May - I just checked!). All compliments, congratulations and wah-bhai-wahs as well as encouragement to continue will be graciously and humbly accepted.)

So, the pinto bean filling - it came about simply because there was a small box of leftover cooked beans in the fridge. I just LOVE pinto beans - they're so creamy when cooked, the texture is just lovely. They're probably my most favourite bean, next to chickpeas which, ok, are not a bean really, I know... but you know what I mean, don't you?

Recipe for: Pinto bean parathas
DSCF8137

Ingredients:
2 cups whole wheat flour
1/2 cup plain yogurt
1/2 tsp omam (ajwain/bishopsweed/carom seeds)
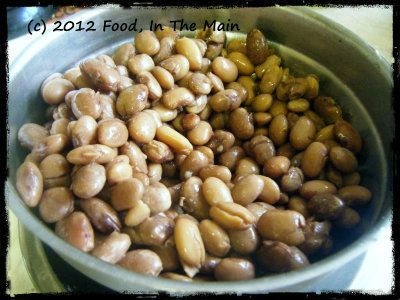
1/3 cup cooked pinto beans
DSCF8128
1/2 tsp garam masala/pav bhaji masala or spice mix of choice
Water as required
Salt to taste
Pam spray/oil/butter/ghee as required


Method:
1. Put the flour and omam in a medium size bowl, make a well in the middle and add the yogurt. Mix it in, then make a soft dough using just as much water as required. Knead for 2-3 minutes, then cover the bowl and leave the dough to rest for 30 minutes.
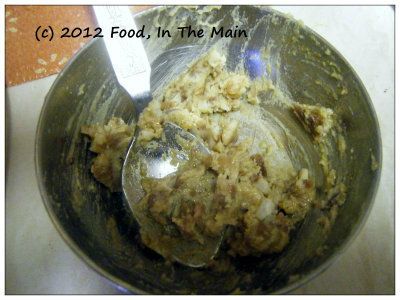
2. Mash together the pinto beans, garam masala/pav bhaji masala and salt to taste. Reserve.
DSCF8129
3. Pinch off a small lime-sized bit off the dough and roll it out on a lightly floured board.
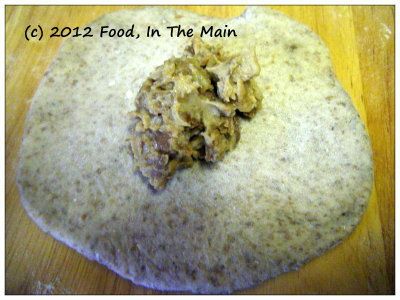
4. Place a tablespoon of the pinto bean paste in the middle of the rolled out dough,
DSCF8130
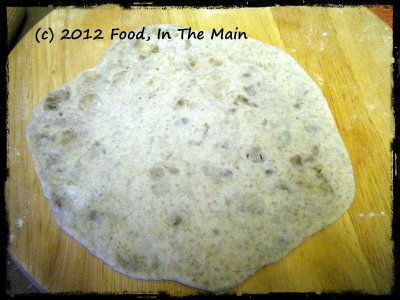
bring the edges in and make a ball, being careful to seal the filling inside fully. Then roll the ball out into a round paratha.
DSCF8127
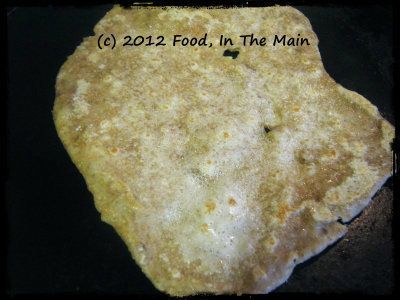
5. Heat a tava/pancake pan on medium high and place a paratha on it. Cook the paratha for about 30 seconds, then flip it over and spray it with Pam or spread a little butter/oil/ghee.
DSCF8136
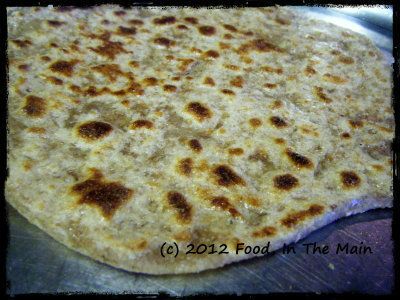
Turn it over again and do the same with the other side. Cook both sides until the paratha acquires golden brown spots. Continue the same way with the rest of the dough.
6. Serve hot with pickles and yogurt, or with any gravy curry, or even coconut chutney.


RECIPE FOR: PINTO BEAN PARATHAS

Ingredients:
2 cups whole wheat flour
1/2 cup plain yogurt
1/2 tsp omam (ajwain/bishopsweed/carom seeds)
1/3 cup cooked pinto beans
1/2 tsp garam masala/pav bhaji masala or spice mix of choice
Water as required
Salt to taste
Pam spray/oil/butter/ghee as required


Method:
1. Put the flour and omam in a medium size bowl, make a well in the middle and add the yogurt. Mix it in, then make a soft dough using just as much water as required. Knead for 2-3 minutes, then cover the bowl and leave the dough to rest for 30 minutes.
2. Mash together the pinto beans, garam masala/pav bhaji masala and salt to taste. Reserve.
3. Pinch off a small lime-sized bit off the dough and roll it out on a lightly floured board. 
4. Place a tablespoon of the pinto bean paste in the middle of the rolled out dough, bring the edges in and make a ball, being careful to seal the filling inside fully. Then roll the ball out into a round paratha. 
5. Heat a tava/pancake pan on medium high and place a paratha on it. Cook the paratha for about 30 seconds, then flip it over and spray it with Pam or spread a little butter/oil/ghee. Turn it over again and do the same with the other side. Cook both sides until the paratha acquires golden brown spots. Continue the same way with the rest of the dough. 
6. Serve hot with pickles and yogurt, or with any gravy curry or even chutney. 
Thursday, May 03, 2012

Pea shoot parathas

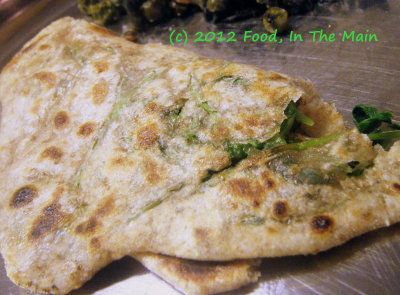
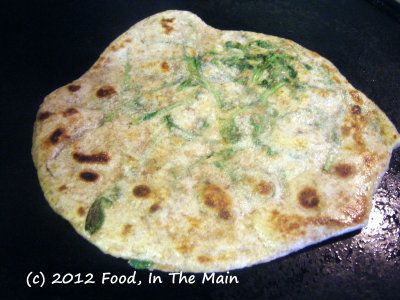
I honestly didn’t know I was going to make pea shoot parathas until I grabbed a handful of pea shoots (left over from making a salad) and used them to make a paratha (which was actually only going to be a phulka until the pea shoots stuffed themselves into the equation, as it were).

So this is not a recipe so much as a way of recording the fact that I used pea shoots – raw, unadorned, not even so much as chopped – to make parathas. The only flavouring came from the omam seeds (bishopsweed/ajwain/carom) which I had added to the paratha dough. Basically I was trying to interfere as minimally as possible with the gentle flavour of the pea shoots. I ate the parathas with stir-fried cabbage as a side, and was quite pleased with the end result.

One note of warning, though – don’t roll out the parathas much in advance of cooking them, because the pea shoots will release enough moisture to make the uncooked parathas stick miserably to whatever you placed them on. Basically, just get a rhythm going where one paratha cooking on the hob while you’re rolling out the next.

If you don’t like the thought of the unseasoned pea-shoot filling, feel free to use whatever seasoning/masala takes your fancy – just make sure that it’s as dry as possible.

I’d recommend chopping the pea shoots, because it will make it easier to roll out the parathas with the filling. I didn’t get around to chopping mine because I hadn’t given any thought beforehand to using them in the first place!

Recipe for: Pea shoot parathas
DSCF8135
Ingredients:
2 cups whole wheat flour
1/2 tsp carom seeds
1/2 tsp salt
1/2 cup pea shoots, chopped
water as required
Pam spray/butter/ghee/oil to cook the parathas
Extra flour for dusting

Method:
1. Combine the flour, carom seeds and salt, and make a pliant, soft dough using as much water as required. Let the dough rest covered for 30 minutes.
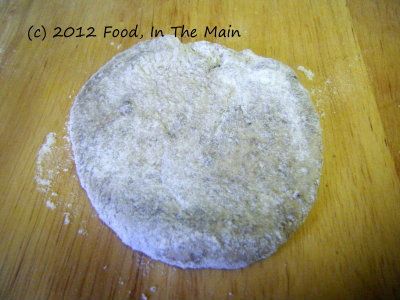
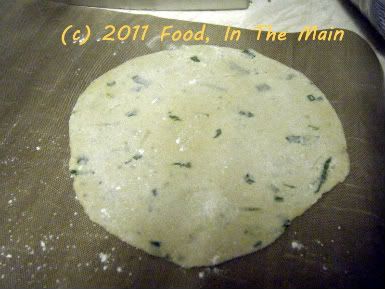
2. Pinch a lemon-sized piece of dough and roll it into a ball, then flatten it between your palms. Roll it out on a lightly floured board into a small circle, using more flour to dust the dough as required to stop it from sticking.
DSCF8123
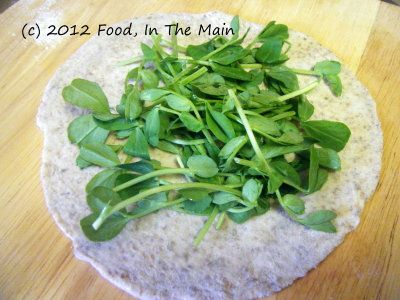
3. Place 2 tablespoons of chopped pea shoots in the centre of the dough, then fold to enclose the filling.
DSCF8124
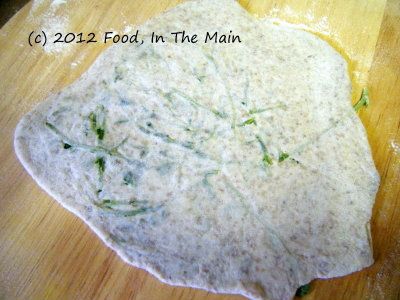
Lightly flatten the dough, then roll out into a circle that's about 6cm across and 1/4 cm thick.
DSCF8125
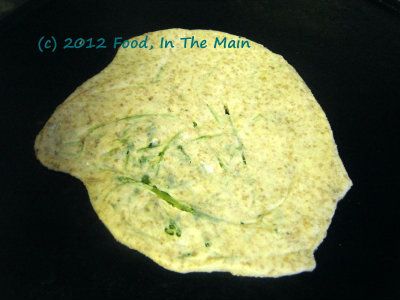
4. Place the paratha on a medium hot tava/pancake pan and let it cook for 30 seconds or so.
DSCF8132
Flip it over and grease the top, then turn it over again after 30 seconds and grease that side as well.
DSCF8134
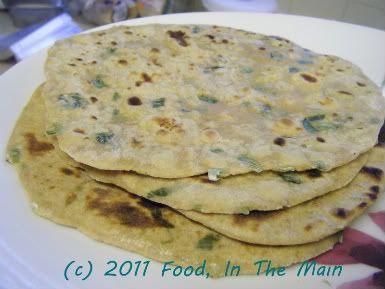
Let the paratha cook until both sides acquire golden spots and are cooked. Keep warm in a cloth-lined container while you make the rest of the parathas. Serve them warm with any curry.
RECIPE: PEA SHOOT PARATHAS
Ingredients:
2 cups whole wheat flour
1/2 tsp carom seeds
1/2 tsp salt
1/2 cup pea shoots, chopped
water as required
Pam spray/butter/ghee/oil to cook the parathas
Extra flour for dusting


Method:
1. Combine the flour, carom seeds and salt, and make a pliant, soft dough using as much water as required. Let the dough rest covered for 30 minutes.
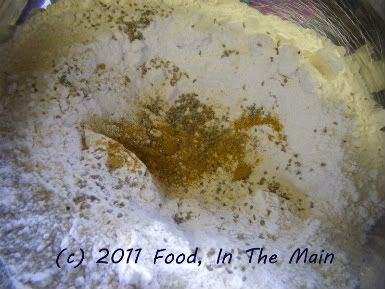
 2. Pinch a lemon-sized piece of dough and roll it into a ball, then flatten it between your palms. Roll it out on a lightly floured board into a small circle, using more flour to dust the dough as required to stop it from sticking.
 3. Place 2 tablespoons of the chopped pea shoots in the centre of the dough, then fold  to enclose the filling. Lightly flatten the dough, then roll out into a circle that's about 6cm across and 1/4 cm thick.
 4. Place the paratha on a medium hot tava/pancake pan and let it cook for 30 seconds or so. Flip it over and grease the top, then turn it over again after 30 seconds and grease that side as well. Let the paratha cook until both sides acquire golden spots and are cooked. Keep warm in a cloth-lined container while you make the rest of the parathas in the same way. Serve the parathas warm with any curry.

Friday, September 23, 2011

Avocado phulkas

It’s been a long time since my last post. (If I were to count the number of times that I started a post with the previous sentence, I probably would need to make use of the fingers and toes of my friends and family in order to sum it up!)

The reason is that my mother was here for the last month or so, and I happily quit the kitchen – partly because it was convenient, and partly because there would not really have been any way to prevent her from cooking and cleaning, what with me being away at work from 9 to 5. Besides, it's been a while since I've had the comfort and pleasure of amma's cooking!

Anyway, I made these phulkas at least two months ago, and the post has been hanging fire ever since. It’s not going to be new for many people, because it’s possibly been a few years since the whole use-mashed-avocado-to-make-chapati-dough sensation arose and died down. I like to think that I’m like one of those marathon runners who lag way behind everybody all through the event and limp in alone a few hours/days/weeks/months/years later, and then get applauded for at least finishing the darned thing - although I doubt there will be any applause coming my way in this instance. However, if you do wish to congratulate me, I will be happy to accept any commendation. I’m not too proud for that.

The only other thing I wish to say that is unrelated to this post is that I will probably be taking it slow – or rather, taking it slower – with this blog in the coming months for personal reasons. I do still have 2-3 recipes that I want to post, but beyond that… well, hopefully 2012 will see in a more committed and enthusiastic me.

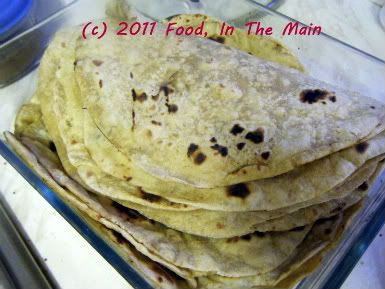
So, about the avocado effect – the chapatti dough was soft and could be rolled out beautifully thin, and the phulkas stayed soft for longer than they normally do with me. Very nice, as you all probably know already.

Recipe for:   Avocado phulkas
Photobucket
Ingredients:


1 large ripe avocado
Photobucket
4 cups wholewheat chapati flour
salt to taste
water as required
1 tbsp omam/ajwain/carom seeds


Method:


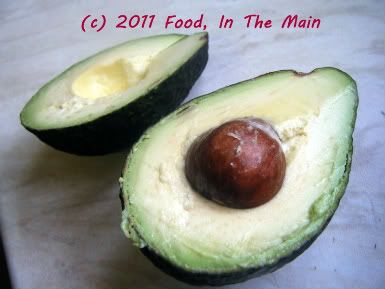
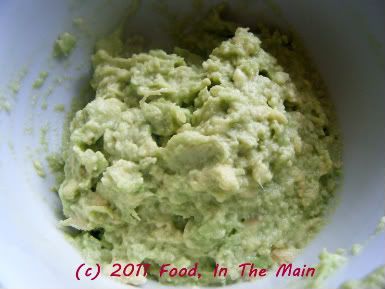
1. Scoop out the avocado flesh, discarding the skin and seed, and mash it smooth.
Photobucket
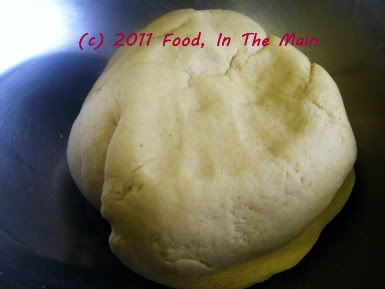
2. Put the mashed avocado in a large mixing bowl and add the flour, ajwain/carom seeds, and salt to taste. Using water as required, slowly mix the flour and avocado to make an elastic, smooth dough. It shouldn't be sticky.
Photobucket
Let the dough rest for at least 30 minutes.
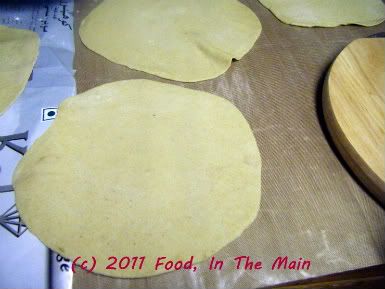
3. Pinch off a piece of dough about the size of a lime, and roll it out into an even, thin circle, sprinkling extra flour if it looks like sticking to the rolling pin, and turning it over as required.
Photobucket
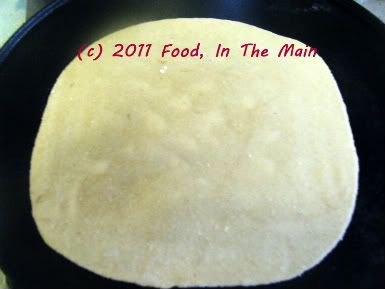
4. Place the rolled out dough on a hot tava, letting it cook for 30 seconds or so, then flip it over and let that side cook.
Photobucket
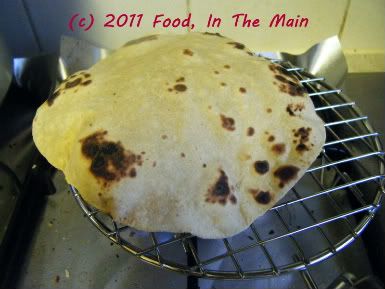
5. At this point you can use a phulka "mesh" to cook the phulka directly over the open flame, letting it puff up, then flipping it over to cook the other side.
Photobucket
If you're unfamiliar with this method, you can cook the phulka on the tava itself by gently pressing down on the dough with a clean, bunched up tea towel till the phulka acquires brown spots.
6. Serve hot with dal and a vegetable curry.

RECIPE: AVOCADO PHULKAS

Ingredients:

1 large ripe avocado
4 cups wholewheat chapati flour
salt to taste
water as required
1 tbsp omam/ajwain/carom seeds

Method:

1. Scoop out the avocado flesh, discarding the skin and seed, and mash it smooth.
2. Put the mashed avocado in a large mixing bowl and add the flour, ajwain/carom seeds, and salt to taste. Using water as required, slowly mix the flour and avocado to make an elastic, smooth dough. It shouldn't be sticky.
Let the dough rest for at least 30 minutes.
3. Pinch off a piece of dough about the size of a lime, and roll it out into an even, thin circle, sprinkling extra flour if it looks like sticking to the rolling pin, and turning it over as required.
4. Place the rolled out dough on a hot tava, letting it cook for 30 seconds or so, then flip it over and let that side cook.
5. At this point you can use a phulka "mesh" to cook the phulka directly over the open flame, letting it puff up, then flipping it over to cook the other side.
If you're unfamiliar with this method, you can cook the phulka on the tava itself by gently pressing down on the dough with a clean, bunched up tea towel till the phulka acquires brown spots.
6. Serve hot with dal and a vegetable curry.

Tuesday, June 21, 2011

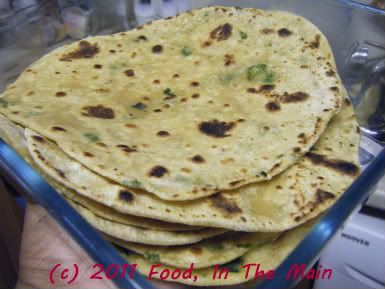
Spring onion and carom seed (ajwain/omam) chapaties

I like making chapaties with spring onions because you get their lovely delicate flavour and you can still have a romantic evening without worrying about allium breath. Not that I had a romantic evening when I made these yesterday – I was by myself because Pete’s in Scotland on work… or so he says. Personally I think it’s because he wanted to take the new love of his life – a Range Rover Sport Supercharged – on a long journey, hoping to find a Porsche or Ferrari en route that would be willing to take him on. Not that I was bothered. I mean, if you had a choice between spring onion chapaties and a road trip in a supercharged Range Rover, which would you go for, huh? The spring onion chapaties, right? Right?
*sighhhhhhhhhhhhhh* Still - the chapaties are very yummy. Just not as exciting as the road trip.

Recipe for: Spring onion and carom seed (ajwain/omam) chapaties
Photobucket
Ingredients:

3 cups wholewheat flour
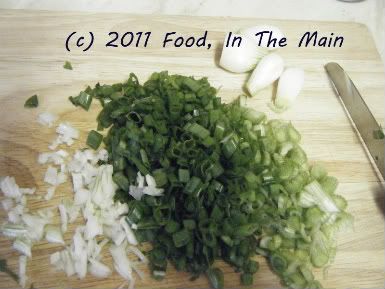
5-6 spring onions, green and white parts chopped fine
Photobucket
1/2 tsp Kitchen King or other garam masala
1 tsp carom seeds/ajwain/omam
Milk as required
Salt to taste (optional)

Method:

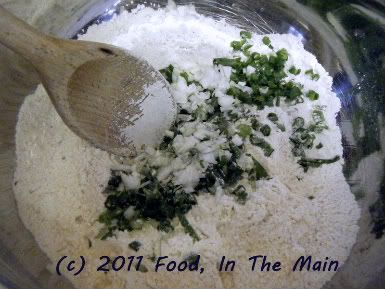
1. Put the flour, garam masala and ajwain/carom seeds along with salt to taste in a large bowl and mix well.
Photobucket
Then add the chopped spring onions and stir them in.
Photobucket
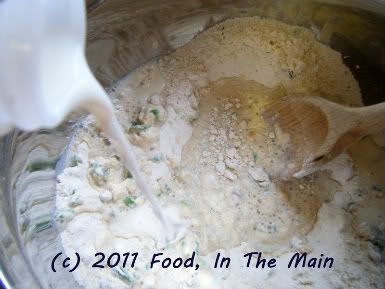
2. Make a well in the centre and add milk, a little at a time.
Photobucket
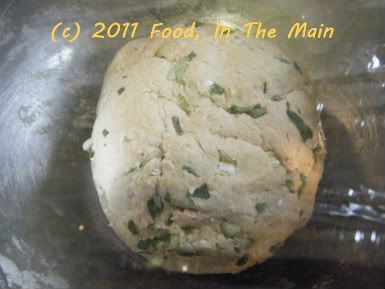
3. Stir the milk into the flour mix until it comes together, then knead into a pliable but fairly stiff dough.
Photobucket
4. Pinch off lemon-sized pieces of dough and roll them into chapaties, using more flour to dust the chapaties and stop them sticking.
5. Cook the chapaties one by one on a tava, spraying each side with Pam, occasionally pressing down lightly with a spatula to let them acquire golden brown spots.
Photobucket
6. Keep warm in a cloth-lined tin and serve hot with dal and any curry.
Photobucket

RECIPE: SPRING ONION AND AJWAIN/CAROM SEED/OMAM CHAPATIES

Ingredients:
3 cups wholewheat flour
5-6 spring onions, green and white parts chopped fine
1/2 tsp Kitchen King or other garam masala
1 tsp carom seeds/ajwain/omam
Milk as required
Salt to taste (optional)

Method:
1. Put the flour, garam masala and ajwain/carom seeds along with salt to taste in a large bowl and mix well.
Then add the chopped spring onions and stir them in.
2. Make a well in the centre and add milk, a little at a time.
3. Stir the milk into the flour mix until it comes together, then knead into a pliable but fairly stiff dough.
4. Pinch off lemon-sized pieces of dough and roll them into chapaties, using more flour to dust the chapaties and stop them sticking.
5. Cook the chapaties one by one on a tava, spraying each side with Pam, occasionally pressing down lightly with a spatula to let them acquire golden brown spots.
6. Keep warm in a cloth-lined tin and serve hot with dal and any curry.

Monday, February 09, 2009

Curried vegetable-stuffed methi buns

It’s nice to be baking bread, because now I feel a bit emboldened to try recipes I’ve had since forever but never bothered making because – well, because I didn’t bake bread. It’s only recently that I’ve ventured into this area of baking, with so far – touch wood! – a reasonable rate of success. Who knows, I might yet get to be a Daring Baker and build whole edifices of cake (although I wouldn’t advise anyone to hold their breath waiting…).

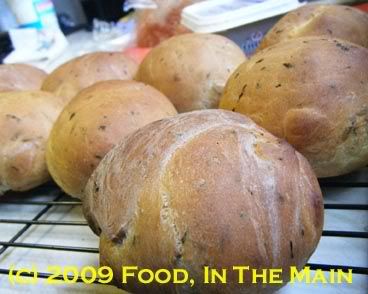
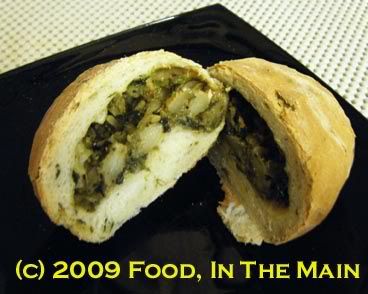
Anyway, last weekend I made up my mind to bake curried vegetable-stuffed buns. And, in a breathtaking bit of daring derring-do (I felt like Errol Flynn at his most swashbuckling, to tell you the truth), I added fresh methi (fenugreek) leaves and omam (ajwain/carom) to the bread dough.

Photobucket

It all worked perfectly.

PS. I’m not going to gush any more than that this time, in case I alienate the few readers I have who expect me to be matter-of-fact, restrained and factual in writing about my recipes and their outcome… do I even have any such readers?

*sigh*

Recipe for:
Curried vegetable-stuffed methi buns

Photobucket

Ingredients - For the stuffing:

1 medium potato, boiled, peeled and roughly mashed/crumbled
½ cup finely chopped green beans, cooked
1 cup sliced spinach
¾ cup finely sliced shallots (or onion)
½ tsp sambar powder
½ tsp garam masala
½ tsp red chilli powder
¼ tsp asafetida powder (optional)
1 tsp cumin seeds
¼ tsp turmeric powder
Salt to taste
2 tsp oil

Method – the stuffing:

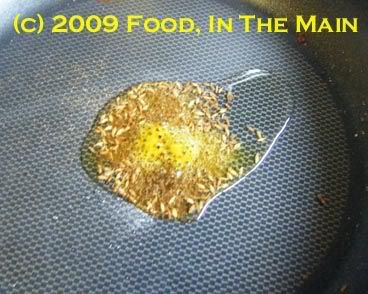
1. Heat the oil in a skillet and add the asafetida, the cumin seeds, turmeric powder and garam masala and fry for 30 seconds.

Photobucket

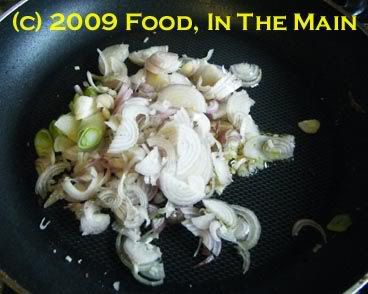
2. Add the sliced shallots

Photobucket

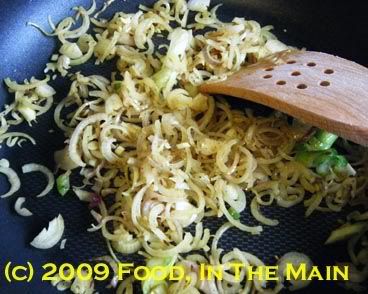
and fry for 3-4 minutes or till they start turning soft.

Photobucket

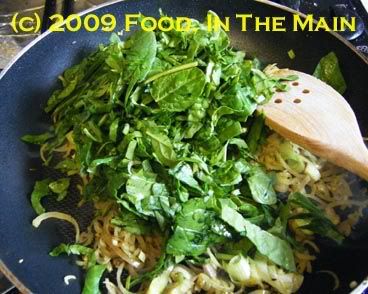
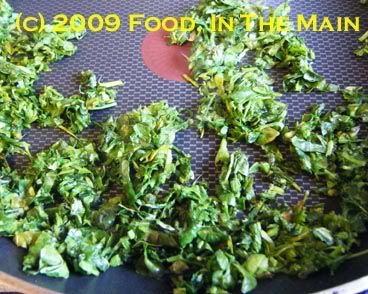
3. Then add the spinach leaves and sauté till they wilt.

Photobucket

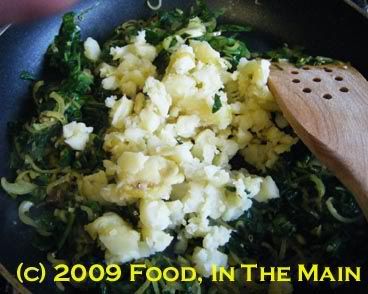
4. Next, add the mashed potato and mix in,

Photobucket

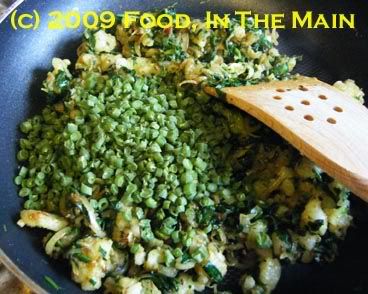
then the cooked green beans.

Photobucket

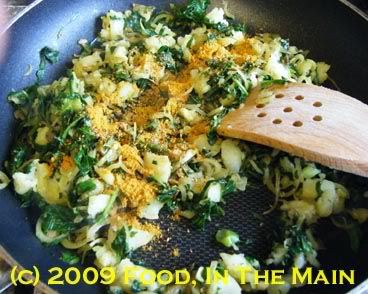
5. Sprinkle the sambar powder, chilli powder and salt in to distribute it evenly.

Photobucket

6. Let cool completely. The stuffing should be as dry as possible, so let it cool uncovered, so that condensation does not drip back in.

Ingredients - for the buns:

1 cup methi leaves, washed, dried and chopped, sautéed in ½ tsp oil till wilted, then cooled
Photobucket
3-1/2 cups strong white bread flour
2-1/2 tsp instant dry yeast
½ tsp carom/ajwain/omam seeds (increase to 1 tsp if you really, really love the taste!)
1 cup water
½ cup buttermilk
2 tbsp melted butter
Salt to taste

Method – the buns:

1. Mix 1 cup bread flour, 1 cup water and the yeast in a large bowl so that there are no lumps. Let this stand, covered with plastic wrap, for 1-3 hours in a warm place, till it becomes bubbly.

2. Now stir 2 cups of the remaining flour,

Photobucket

the buttermilk and sautéed methi leaves, melted butter,

Photobucket

ajwain/carom/omam and salt into the starter.

Photobucket

Mix with a wooden spoon till the dough pulls away from the side of the bowl.

3. Turn the dough out onto a clean, lightly floured surface and knead, adding the remaining flour a tbsp at a time, if required.

Photobucket

The dough should be springy, smooth and elastic when done (takes 6-8 minutes of kneading by hand).

Photobucket

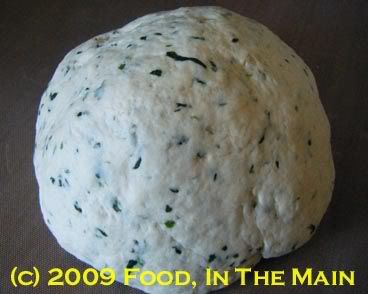
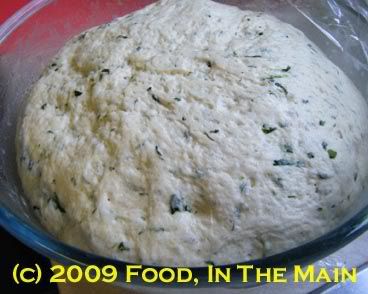
4. Now grease the bowl lightly with butter or oil, and put the dough in, turning it around once or twice so that it is coated. Cover with plastic wrap and pop back into your warm place. (Mine was again the oven.) Leave it for 1-1/2 hours or so till the dough is doubled in volume.

Photobucket

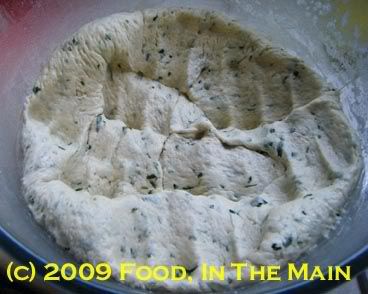
5. Punch the dough down lightly,

Photobucket

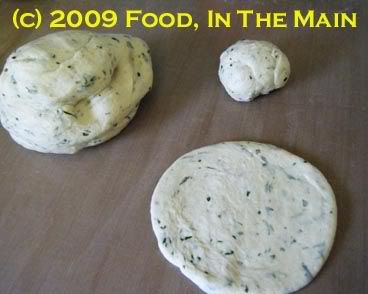
turn it out onto the kneading surface, knead very briefly, and divide into tennis-ball sized rounds. (This makes about 9 large buns.)

Photobucket

Roll each round into a circle of about 5” diameter.

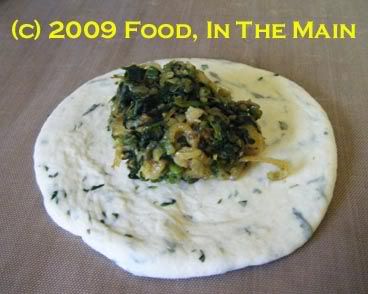
6. Place 2 tbsp of the filling in the centre of the circle,

Photobucket

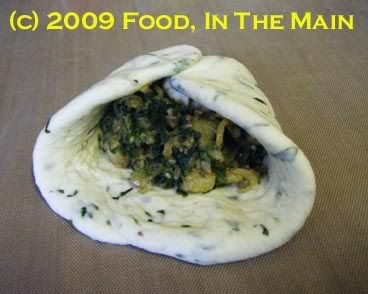
then fold the circle closed.

Photobucket

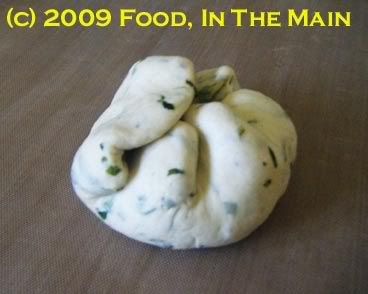
Pinch the folds to seal the stuffing in,

Photobucket

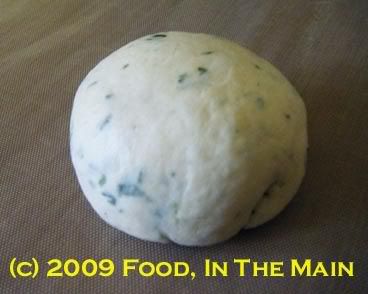
then place the ball seam side down and sort of roll it in place to make sure the seams are fully closed.

Photobucket

Photobucket
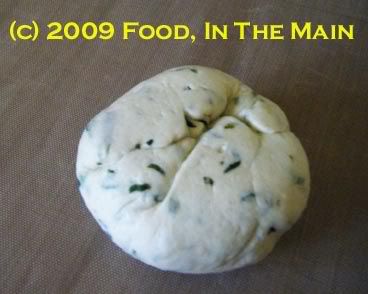
Underside of filled dough ball after rolling in place to close the seams.

Repeat with remaining balls of dough and filling.

8. Place the filled dough balls on a baking sheet covered with non-stick silicone paper (or lightly grease the sheet if, like me, you’re out of non-stick paper)

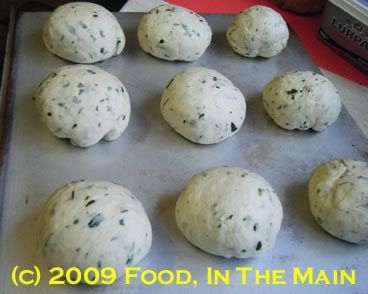
Photobucket

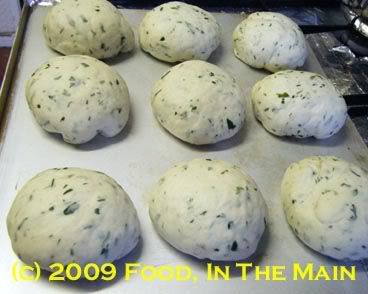
and let rise for 20 minutes.

Photobucket

9. Put the tray in a cold oven and turn it on to 200C. (The rolls will rise further as the oven heats to the required temperature.)

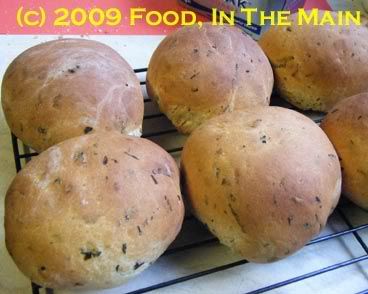
Bake the filled rolls for 30 minutes or so, till golden brown on top. If they sound hollow when tapped on the bottom, they’re done.

Photobucket

10. Wrap the rolls in a clean tea towel if you like the crust to be soft. If not, let cool on a rack till just warm. Serve the buns as a snack by themselves or with soup.