skip to main |
skip to sidebar
I like making chapaties with spring onions because you get their lovely delicate flavour and you can still have a romantic evening without worrying about allium breath. Not that I had a romantic evening when I made these yesterday – I was by myself because Pete’s in Scotland on work… or so he says. Personally I think it’s because he wanted to take the new love of his life – a Range Rover Sport Supercharged – on a long journey, hoping to find a Porsche or Ferrari en route that would be willing to take him on. Not that I was bothered. I mean, if you had a choice between spring onion chapaties and a road trip in a supercharged Range Rover, which would you go for, huh? The spring onion chapaties, right? Right?
*sighhhhhhhhhhhhhh* Still - the chapaties are very yummy. Just not as exciting as the road trip.
Recipe for: Spring onion and carom seed (ajwain/omam) chapaties
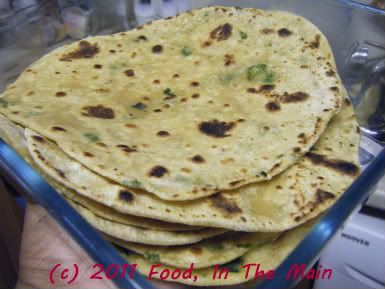 Ingredients:
3 cups wholewheat flour
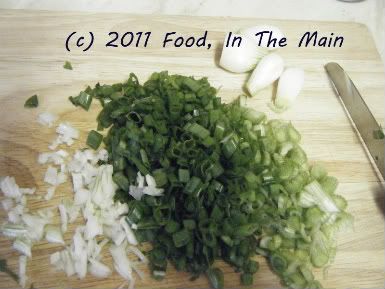
5-6 spring onions, green and white parts chopped fine
 1/2 tsp Kitchen King or other garam masala
1 tsp carom seeds/ajwain/omam
Milk as required
Salt to taste (optional)
Method:
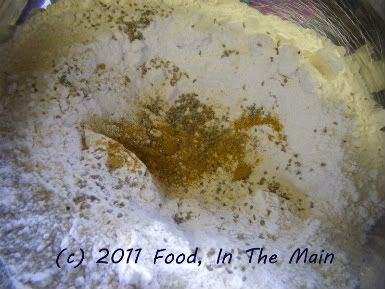
1. Put the flour, garam masala and ajwain/carom seeds along with salt to taste in a large bowl and mix well.
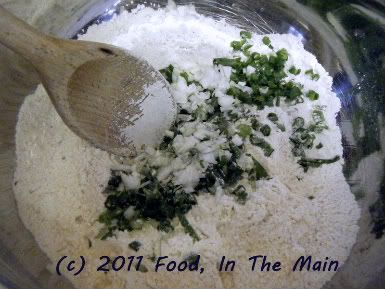
 Then add the chopped spring onions and stir them in.
 2. Make a well in the centre and add milk, a little at a time.
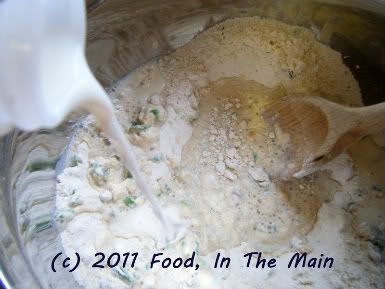 3. Stir the milk into the flour mix until it comes together, then knead into a pliable but fairly stiff dough.
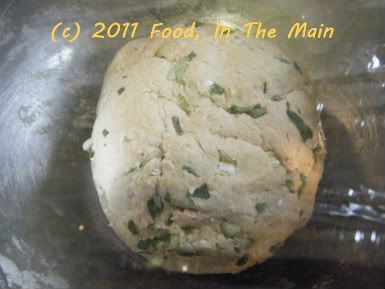 4. Pinch off lemon-sized pieces of dough and roll them into chapaties, using more flour to dust the chapaties and stop them sticking.
5. Cook the chapaties one by one on a tava, spraying each side with Pam, occasionally pressing down lightly with a spatula to let them acquire golden brown spots.
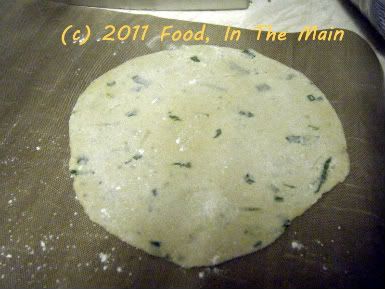 6. Keep warm in a cloth-lined tin and serve hot with dal and any curry.
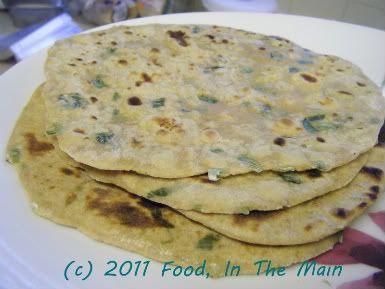 RECIPE: SPRING ONION AND AJWAIN/CAROM SEED/OMAM CHAPATIES
Ingredients:
3 cups wholewheat flour
5-6 spring onions, green and white parts chopped fine
1/2 tsp Kitchen King or other garam masala
1 tsp carom seeds/ajwain/omam
Milk as required
Salt to taste (optional)
Method:
1. Put the flour, garam masala and ajwain/carom seeds along with salt to taste in a large bowl and mix well.
Then add the chopped spring onions and stir them in.
2. Make a well in the centre and add milk, a little at a time.
3. Stir the milk into the flour mix until it comes together, then knead into a pliable but fairly stiff dough.
4. Pinch off lemon-sized pieces of dough and roll them into chapaties, using more flour to dust the chapaties and stop them sticking.
5. Cook the chapaties one by one on a tava, spraying each side with Pam, occasionally pressing down lightly with a spatula to let them acquire golden brown spots.
6. Keep warm in a cloth-lined tin and serve hot with dal and any curry.
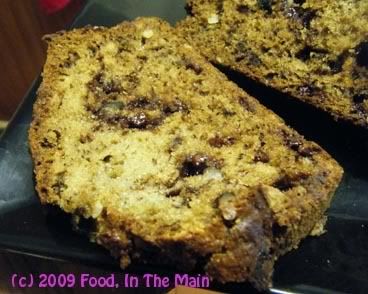
So, sometimes I can be quite slow at picking up on things – like the fact that chocolate chips in banana bread really do work quite well. I guess since I’m not overly crazy about chocolate, I've not bothered to try banana bread recipes that specified chocolate. This time I added the semi-sweet chocolate chips because they were just past their best-by date and any more time on the shelf would have only seen 'em off into the rubbish bin. The choc chips added moistness to the bread (an unexpected plus) – or at least I think they did. The bread might have been moist anyway because the bananas I used were almost at the liquid stage of ripe.
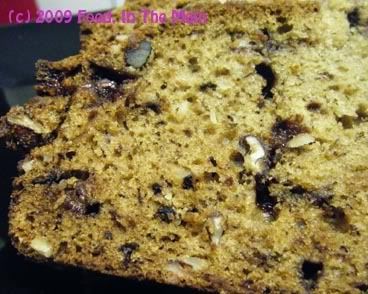
Anyhow - Pete loved the banana bread (he’s not much of a fan of this, most other times), and I found the choc chips in it surprisingly nice too. Who knew that chocolate and bananas would work well together...! (apart from the millions of others who’ve already tried and tested and written about the combination, that is.)
Recipe for: Choc chip banana bread
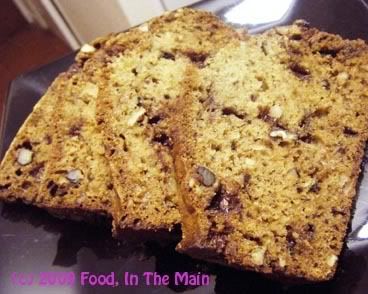
Ingredients:
2 cups flour (I used 1 cup AP and 1 cup wholewheat)
1-1/2 tsp baking soda
1/2 tsp salt
4 overripe bananas
3/4 cup sugar
4 tbsp unsalted butter/margarine, melted and cooled
2 large eggs
1 tsp vanilla extract
1/4 cups mixed nuts, chopped (I used walnuts, pecans and brazils)
1/2 cup semi-sweet chocolate chips
Method:
1. Preheat oven to 180C/350F and lightly grease a 9x5-inch loaf pan.
2. In a large bowl, combine the flour, baking soda, and salt.
3. Mash 2 bananas with a fork in a small bowl. They should be a bit lumpy.
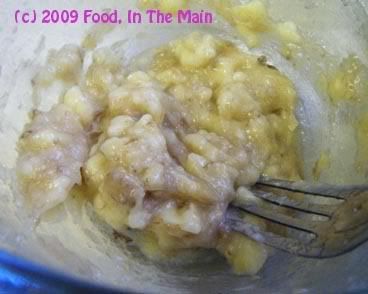
4. In another bowl, whisk the remaining bananas and sugar together till well combined.
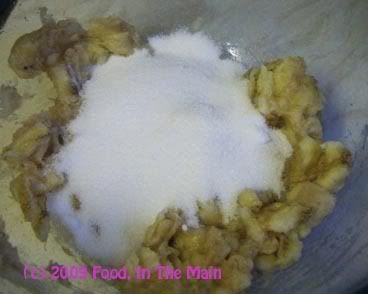
5. Add the melted butter/margarine, eggs, and vanilla and beat well.
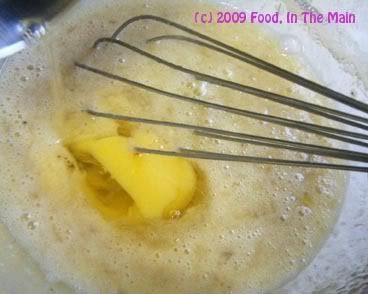
Stir in the reserved mashed bananas.
6. Add the mashed bananas to the flour and mix till just incorporated.
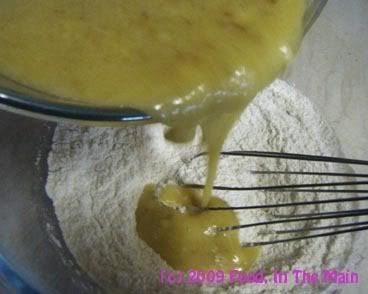
7. Fold in the nuts and the chocolate chips
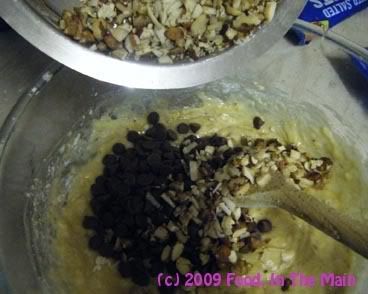
then pour the batter into the prepared loaf tin.
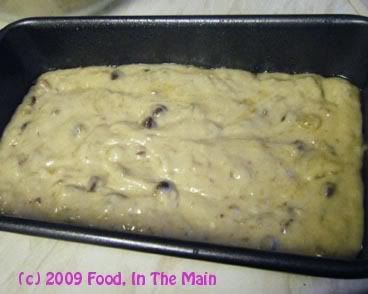
Bake for about 45 minutes or so (but start checking after 30 minutes), until the loaf is golden brown and a toothpick inserted into the middle of the loaf comes out clean.
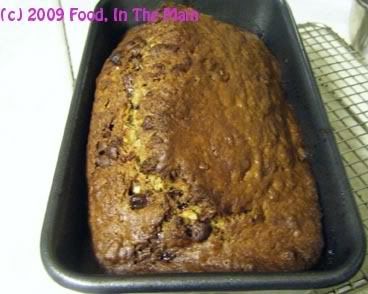
8. Cool the bread in the pan for 10 minutes or so, and then turn out onto a wire rack to cool completely before slicing.
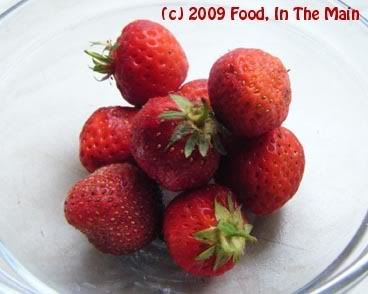
There was a small surprise in my garden when I got back from a holiday in Croatia – slightly over half a dozen little strawberries on a plant that I didn’t even know I had (I thought they had all died over the winter), which had survived in a small clump of nettles. Picking those strawberries was an exercise in caution, because nettles are nasty plants, raising painful welts if they touch my skin. And no, dock leaves don’t do much good – remember that Enid Blyton statement where, according to her, dock leaves and nettles grow nearby each other because the former help soothe the stings of the latter? Well, I’m here to say that one half of that is true – dock leaves CAN be found near nettles but they aren’t much help with the stings. Not for me, anyway.
I was surprised that the birds and insects hadn’t got to the strawberries, because they certainly looked ripe and red (the berries, that is - not the avian and insect life). But when I tasted one of the berries, it was quite sour. Not much fun eating those unless drowned in sugar – and not worth doing that for half a dozen strawberries.
So I decided to make a strawberry cake with them – adding a few more strawberries which were going cheap at the supermarket and which, therefore, I had bought. For no real reason I decided to make it a loaf cake – I like slices of cake rather than chunks, I suppose.
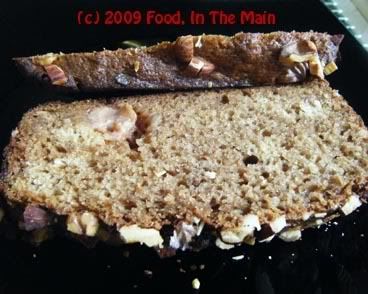
The texture and taste of the cake were perfectly fine, but since I had used pureed strawberries in the batter, I was expecting a flavour more redolent of strawberries than was the case. The flavour came through better on the second day, however. I also was hoping for a more pink cake, but I guess the whole wheat flour made the batter more brown than pink. I would have happily improved on Mother Nature by using some red food flavouring in the batter to “pinken up” the cake… it was just a pity I didn’t have any!
Recipe for: Strawberry-vanilla loaf cake
Ingredients:
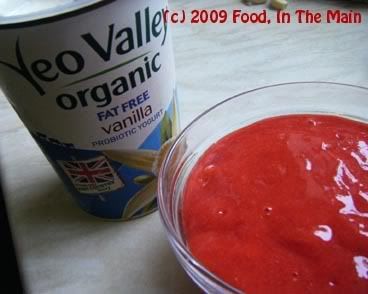
1 cup pureed strawberries (depending on size, between 10 and 20)
3 tbsp butter, softened
1/4 cup non-fat vanilla yogurt
3/4 cup sugar
2 eggs
1 tsp vanilla
1/4 tsp salt
1/2 cup wholewheat flour
1-1/2 cups all-purpose flour
2 tbsp chopped walnuts, almonds or pecans (or a mixture)
Method:
1. Combine butter, yogurt and strawberry puree in a large bowl. Mix well.
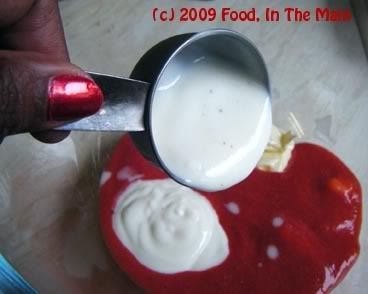
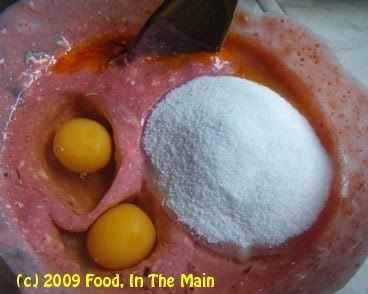
2. Add eggs, vanilla, sugar, salt, baking powder and baking soda and stir well.
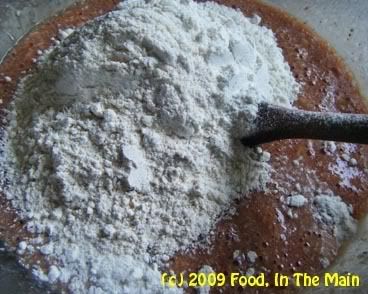
3. Add the flours and stir/fold in lightly until combined.
4. Spray a 1-1/2 pound loaf pan with Pam or grease lightly with oil. Pour the batter in the prepared pan, level it with the back of a wet spoon,
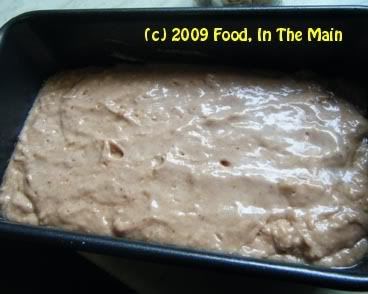
then sprinkle the chopped nuts on top.
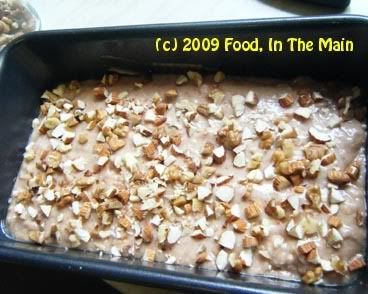
6. Bake in an oven at 180C for 40-50 minutes or till done (I start checking at the 30-minute mark).
7. Let the loaf cool in the pan for 5 minutes,
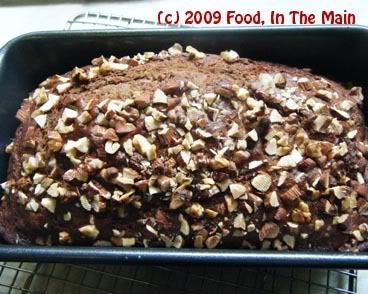
then turn carefully out onto a cooling rack and let cool completely.
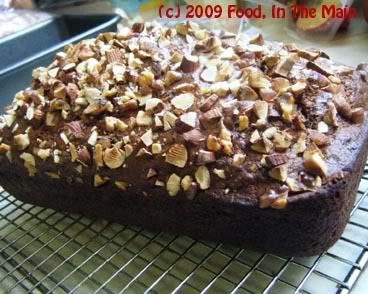
8. Serve sliced as is,
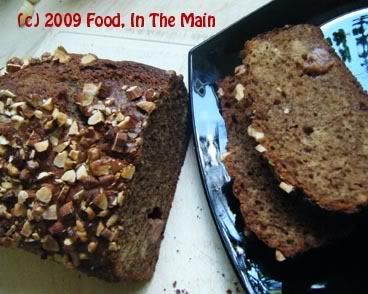
or warm it slightly in the microwave and serve with strawberry compote and whipped cream.
Naan naan paNninaen.*
There. A two-language pun. I know, it’s dreadful... but honestly, it was better out than in – specifically because of its awfulness. Imagine the harm it could have done to my system had it not been externalised! If the pun is hurting all y’all who know Tamil, I can only say that it’s just as painful for me.
Because – brace yourself for some very hi-funda philosophy - a bad pun is like using a two-edged razor. It may hurt the wielder as much as it hurts the wieldee(s), but it cannot be left unwielded.
Anyway... the good thing about the naans (that I made naan-ey† *sorry*) is that they were as yummy as the puns are gruesome. They disappeared as quickly as I could turn them out – and the coolest thing was that I didn’t need a tandoori oven to make them. In fact, I didn’t even use the regular oven. What I used was my cast-iron skillet. It’s a small one (but mighty expensive for all that, when I bought it!) so the naans were small. Mini “me”s, I guess (because naan = me, bwahahahahahahahahha, and this time I’m not sorry!).
This was the first time I’d made naans, so I wasn’t quite sure about how thick (or how thin) to roll them. I settled on about 1/2-cm thick, but they became somewhat thicker than that when they puffed up on cooking. Everybody (Pete, his two kids and amma) liked them as they were – soft in the centre but crispish and brown around the edges – but I think I would have liked them better thinner. But that’s just me.
I plan to roll the dough thinner the next time I make naans, because I like them to be on the thinner and crisper side... but I’ll also find out if thin naans will still be soft without being doughy.
I used two toppings – sesame seeds and kalonji seeds. Both were great.
Oh yeah, the cast-iron skillet method of making naans on the hob. Nearly forgot about detailing my gratifyingly successful experience with that!
Basically, it HAS to be a cast-iron skillet or tava. Non-stick items are useless for this, even the hard anodized triple-coated last-you-a-lifetime expensive kind. At least, I wouldn’t attempt it with mine because I’m certain that the naans and the naan-stick – er, NON-stick (NOT sorry, so there) – coating would be ruined.
Anyway, what you do is brush one surface of the rolled-out naan generously with water (I used my soft pastry brush so as not to brush the topping right off), slap it wet-side down onto a well heated skillet, cook it with the skillet on the heat for 30-40 seconds, then turn the skillet upside down and hold it over the flame, letting the dry side cook over the direct heat. (Note: a hot-plate or non-gas hob would be spectacularly useless for this method of making naan.)
The naan is (usually) done when it falls off the skillet – (usually) right onto the flame, so keep a pair of tongs handy to grab the naan before it burns too much!
You get the hang of it easily, though – how long to keep the skillet on the flame, and when to turn it upside down so as to cook the naan evenly. And even if you don’t get the hang of it, no harm done (as long as your hob is clean!). Really. I’m not talking naan-sense.
That’s it, I’m done with the puns, and this post.
* Naan = "I" (or me), in Tamil - therefore the pun. Naan naan paNninaen translates to "I made naan" in Tamil
† Naan-ey = "I (did it) myself"
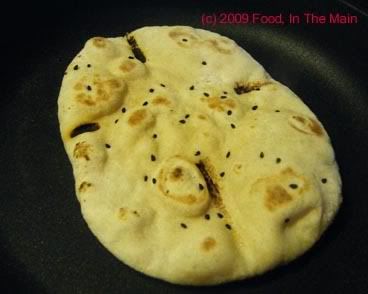
The first naan I ever made - see the four scorch marks from the hob? They happened while I was scrabbling around for a pair of tongs with which to grab the darn thing off the flame!
Recipe for: Naan
Ingredients:
2-1/2 cups whole wheat flour
1/2 cup plain flour
1 tsp salt
1 sachet instant yeast
1/4 cup warm milk
1/2 cup yogurt
Warm water as required Toppings: 2-3 tbsp sesame seeds, nigella seeds (or as you like - green chillies, garlic, chopped coriander, etc)
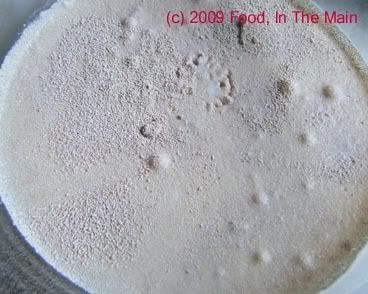
1. Dissolve the yeast in the warm milk and let rest covered for 15 minutes till it turns bubbly.

2. Whisk together the whole wheat and plain flours and salt in a deep bowl, and make a well in the centre. Add the yogurt and as much warm water as required (add little by little) to make a soft dough. Place the dough in an oiled bowl and let rise covered in a warm place for 2-3 hours.
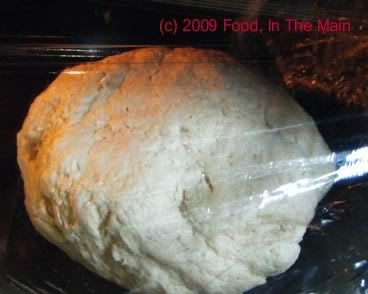
Punch the dough down after it has risen, and knead briefly. 3. Pinch off a lime-sized piece of dough and roll it into an oval about 1/2-cm thick. Sprinkle with your topping of choice, and press down gently with the belan (roller) so that the topping is embedded in the naan. This is to stop the seeds or herbs or whatever falling off.
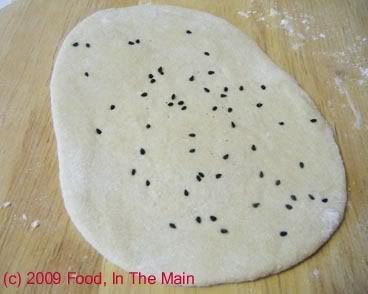
with kalonji (nigella seeds)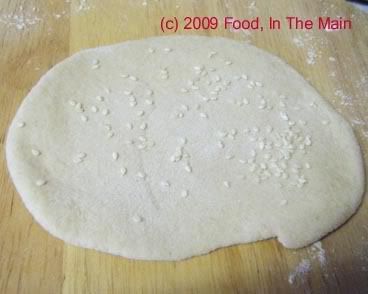
with sesame seeds4. Brush the surface of the naan (the side with the topping) with water and slap it down quickly on the well-heated cast-iron pan. Leave it on the hob for 30-40 seconds, or till the naan puffs up in places. 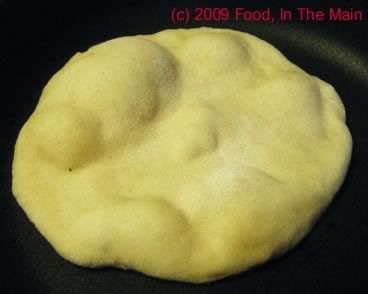
5. Now turn the skillet upside down over the flame 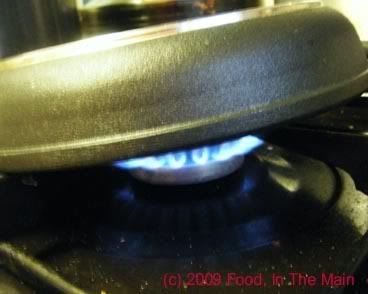
so that the dry surface of the naan cooks as well, acquiring brown spots. 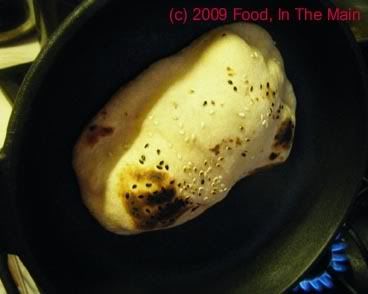
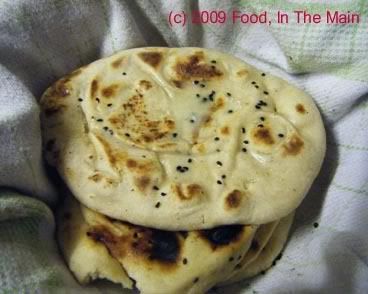
6. The naan is done when it falls off the skillet. Place in a clean tea cloth and keep warm while you make the rest of the naans. Brush with melted butter or ghee before serving with any gravy curry, if you like.
This recipe is from Sunil Vijaykar's "Fresh Indian" cookery book. There are over 80 recipes, mixing both South and North Indian, but they're slightly more non-vegetarian oriented than not. This chapati seemed an interesting prospect from the breads section, but I have to admit that the picture of the finished dish in the book was a LOT more appetising looking than mine turned out. Maybe the chapatis in the book were cooked with a lot more oil than I did. That's my objective, unbiased, balanced explanation for it, anyway! Recipe for: Gram-flour chapaties with red onion and nigella seeds
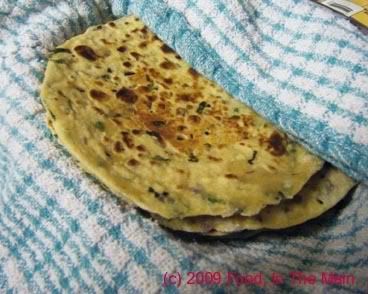
Ingredients:
1-1/2 cups wholewheat chapati flour
1-1/2 cups gram flour
1 medium red onion, minced fine
2 green chillies, de-seeded if liked, minced fine
1 tsp nigella (kalonji) seeds
1 tsp cumin seeds
3 tbsp chopped coriander leaves
Salt to taste
Warm water for dough as required
Method:
1. Take equal measures of gram flour and whole wheat flour (I used 1-1/2 cups of each) in a big bowl.
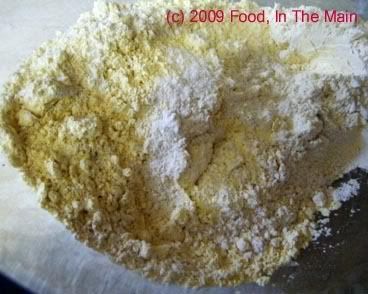
2. Add the minced red onion, minced green chilli, 1 tsp nigella (kalonji) seeds, 1 tsp cumin seeds, chopped coriander leaves and salt to taste.
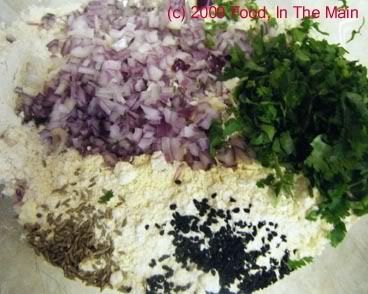
3. Use enough warm water to make a soft dough. It shouldnt be sticky.
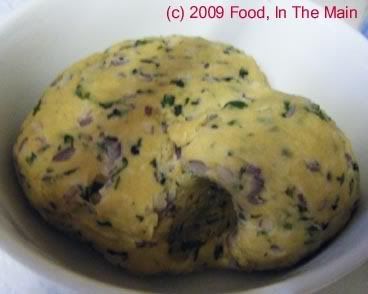
4. Knead for 5 minutes and let the dough rest for 10 minutes.
5. Pinch off a small lemon sized piece of dough and, using extra flour for dusting, roll it into a thin chapati.

6. Place on a heated tawa and cook for 30 seconds, then flip the chapati over and brush on some oil or melted ghee (I used a mixture of both).
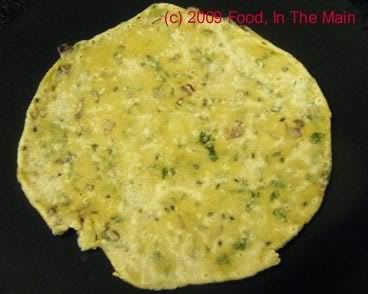
7. Turn the chapati over again and brush some oil on this side as well.
8. Use a flat spatula to press down gently on the oiled chapati so that it becomes evenly golden,

then do the same to the other side.
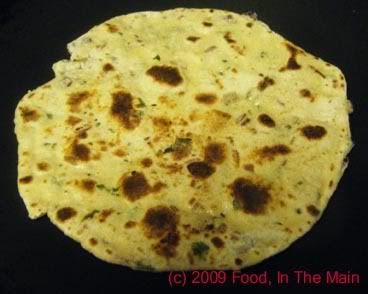
9. Keep the cooked chapaties warm in a clean tea towel while you make the rest of the chapaties.
These chapaties are best eaten warm and fresh. They get somewhat hard when cold. To re-heat, place the cloth-enfolded chapaties on a microwave safe plate and heat on high for 1 minute.
When I saw this post on Taste Goblet, I knew I had to try it. Usually the posts here about fabulous cakes, way beyond my basic baking abilities. Thank goodness I dont need to have any special talent to drool at the gorgeous photos and read the write-ups and marvel at Chitra's patience and baking genius, and did I mention her beautiful photos? This recipe, though, was definitely one I could do, so I did. Thanks, Chitra!
Recipe for: Spinach masala chapaties
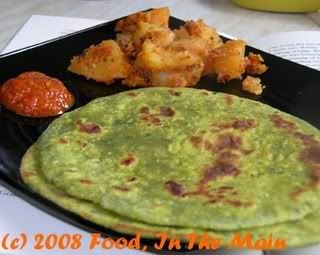
Ingredients:
2 cups spinach, chopped
½ cup coriander
1” piece ginger, sliced thin
2 garlic cloves
2 small red onions, chopped
3-4 green chillies, sliced (or to taste)
1 cup warm milk
2-3 cups atta
Salt as required
1 tsp turmeric powder
1 tbsp ghee
Method:
1. Blitz the spinach, coriander, ginger, garlic, onions, chillies in a food processor
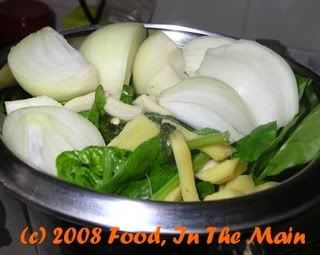
without adding water, until finely chopped but not mushy.
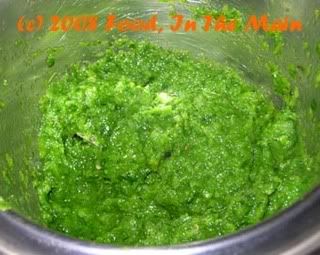
2. Put the atta in a large bowl and rub the ghee into it. Then add the chopped spinach mixture and add turmeric powder.
3. Add salt to taste, then make a soft but not overly sticky dough using as much milk as required. Knead the dough really well on a lighly floured surface, as for bread, for 5-7 minutes.
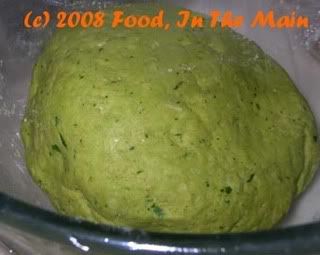
4. Leave the dough covered in the bowl for an hour.
5. After an hour, make chappaties as normal.
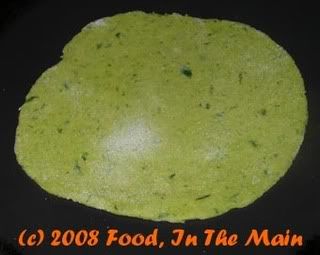
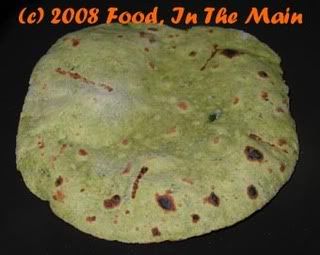
You can either make these as phulkas, smearing a little ghee after they’re cooked.
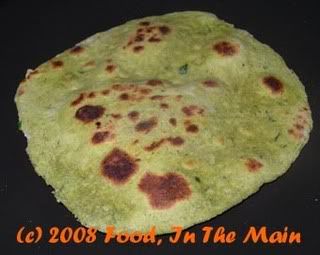
6. Or use ghee/oil/Pam (whichever you feel like) to cook the chappaties on the tawa itself.
7. Serve warm with any curry.


