skip to main |
skip to sidebar
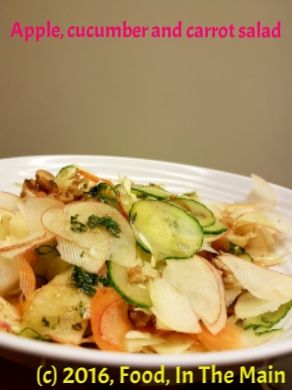
Salads aren't my most favourite food, if I am to be honest. Seeing a recipe for salad on anyone's blog doesn't usually float my boat. So I don't expect this simple recipe to turn the Internet's head and send millions of unique visitors my way. But it really was a refreshing salad when I ate it yesterday, and I thought it worthwhile to make a post of it. The best part was that the apples were from my own little container tree, which has done rather well this year. i think I got about 20 apples from it, all told. It's only got two branches!
I had picked a couple of apples to see if they were edible or whether I would have to make an apple crisp or cake, because last month when I tried one, it was much too sour to make pleasant eating. (I made a cake with the apples then). They are meant to be eating apples, you see. But this time they were perfect, beautifully juicy and sweet with the right amount of tartness. Really lovely. Why I fancied a salad using the apples, I have no idea. I don't usually want a salad for dinner. But I had also picked some mint too, and I wanted to use that. So here it is. I can assure you that the salad is refreshing and I really enjoyed it. It is not any more exciting than that, unfortunately.
No wait, that's not quite true. There was SOME excitement while I was slicing the vegetables - I used a mandoline to make wafer-thin slices, and it was so viciously sharp and efficient at its job that I found I had sliced a bit off the side of my forefinger before I knew it. I cursed a bit and ran cold water over my finger, then went back to the mandoline. And it happened AGAIN, this time to my thumb. It was painful, but at least I can claim that I put myself into my salad. You don't have to do the same, though. I'm sure the salad would taste just as nice without the blood, sweat (metaphorically speaking) and tears.
Recipe for: Apple, cucumber and carrot salad
Ingredients:
2 medium eating apples
1 small cucumber
1 medium carrot
2 tbsp walnuts
handful of Chinese cabbage or lettuce, shredded very fine
For the dressing:
1 tbsp lime juice
1 tbsp olive oil
1 tbsp very finely chopped mint
1 tbsp honey
1 tsp apple balsamic vinegar
Salt to taste
1. Slice the cucumber, apples and carrot very thinly (I used a mandoline).
2. Whisk together the ingredients for the dressing. Adjust the taste to your requirement.
3. Mix the salad vegetables together, then add the dressing a little at a time - you may not require all of it, so go easy. Sprinkle the walnuts on top and eat immediately.
Brownies are my nemesis. I don't make them particularly often, and pretty much every past effort has ended up overbaked, dry and crumbly - not exactly ideal, when I like them chewy on the outside and fudgy in the centre. And with nuts in, to cut through the sweetness.
Two weeks back I baked brownies again, using fancy dark chocolate, because I wanted to take them to a friend's new apartment where we had been invited for dinner. While those brownies were not too bad, they were still drier than I wanted. Sort of dusty tasting. This was disappointing and annoying, especially because I'd used expensive chocolate to make it. Nobody else seemed to mind and the brownies were gobbled down, but I was still not really happy with the result.
I nearly decided not to bother making them again, but those darned brownies kept bobbing about in the back of my mind, never quite going away. (Well, obviously not the ACTUAL brownies, but the thought of them.) Yesterday around midnight I finally gave in to the compulsion and decided to make them with cocoa powder (and the remainder of the dark chocolate from last time). Just regular cocoa powder (actually Tesco's own brand, so the very opposite of posh!) which had been lurking in the back of the cupboard for ages.
I made the brownies with hope, but no expectation that it would be what I wanted. For once, I managed to ignore my inner voice which was as usual screaming "but it's not FULLY baked yet!" and removed the brownies from the oven when the centre was still slightly shiny. A toothpick inserted into the centre went in with just a little resistance and came out mostly clean - perfect! The brownies were absolutely sensational - orgasmic, even. Just goes to show that expensive ingredients do not necessarily transform into fabulous baked goods. If you have not come across this tattuvam (truth, in Tamil) anywhere else before, or realised it for yourself during your own cooking experiments, then this is where you heard it first. Credit where it's due, after all, haha!
Here's another truth - underbaking a brownie is preferable to overbaking it. If, like me, you've baked cakes but are not particularly experienced with brownies, your instinct will be to ensure that the toothpick comes out clean. This is a good instinct when it comes to cakes, where underbaking would be disastrous, but it does not apply to brownies. Keep that in mind, and you'll be fine! More importantly, so will your brownies.
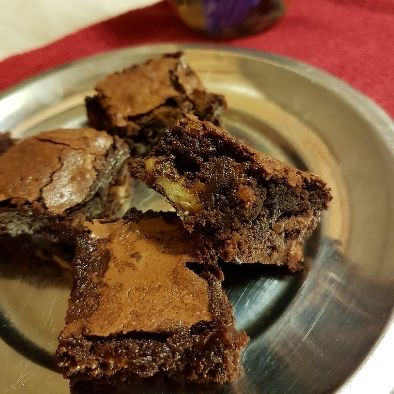 Recipe for: Orgasmic walnut cocoa brownies
Ingredients:
140gm unsalted butter, cut into cubes
230gm granulated sugar
50gm unsweetened cocoa powder
30gm dark chocolate
1 htsp instant coffee granules
1/4 tsp kosher salt (or regular if you don't have kosher)
1 tsp pure vanilla extract
2 large eggs
65gm all-purpose flour
1/3 cup nuts of choice (I used walnuts), broken into small pieces
Method:
1. Preheat your oven to 170C. Line an 8"square tin with nonstick aluminium foil such that there is an overhang on all sides. This will make removing the brownies from the pan way easy!
2. Put the butter, sugar, salt, coffee granules and chocolate in a microwave safe bowl and heat it on high for 30 seconds, then stir with a wooden spoon. Repeat until the butter and chocolate are completely melted and smooth.
3. Tip in the cocoa powder and vanilla and stir until fully incorporated.
4. Add the eggs one at a time, stirring well. Then the flour, first mixing it in, then beating the mixture vigorously until it is thick and shiny. Stir in the nuts, if using.
5. Pour/scrape the mixture into the prepared tin - it will be quite thick - and level it. Bake for 20 minutes, or until the top of the mixture loses its shine. This may take a little more time in your oven, but after 20 minutes keep a very sharp watch on the brownies. Underbaking is always preferable to overbaking! A toothpick inserted into the center of the mix should come out mostly clean.
Remove the tin from the oven and let the brownies cool completely before cutting. If you can resist temptation, after the brownies are cool, put them in the fridge for 30 minutes. When cutting them, dip your knife in water every so often, to get clean cuts. Or, if you're like me, never mind refrigerating, just dive in!
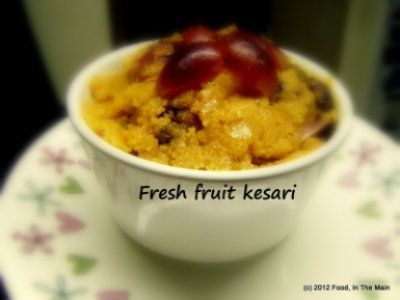
I don't make sweets often, but once in a while something like Cilantro's fruit kesari catches my fancy, and then it's like a craving - so here's my craving, which I made yesterday. It's just a coincidence that it's Deepavali and the kesari is appropriate as an offering. It's even more convenient that I could use up some over-soft soft fruit that I might have thrown away if not for the craving.
Now if only someone would make me thenkuzhal and thattai...
Ah well. Happy Deepavali to everybody, and may light and happiness be ever in your lives.
Recipe for: Fresh fruit rava kesari
Ingredients:
1/2 cup rava/sooji/semolina
1-1/2 cups water
1/8 tsp saffron threads (a pinch) left to soak in 1/4 cup warm milk for 15 minutes
10-12 seedless red grapes, halved or quartered
1 small orange, peeled and segments chopped
1 small ripe banana, chopped
1 small ripe plum, stoned and chopped
1 tbsp raisins or sultanas (optional)
1/2 cup sugar
1/4 tsp cardamom powder
5 tsp ghee
2 tbsp nuts (I used walnuts and pecans)
Method:
1. Heat 2 tsp ghee in a heavy-based medium size pan and fry the rava/sooji/semolina on medium heat, stirring frequently, for about 5 minutes till the rava turns a slightly darker shade and smells roasted. Be careful that it doesn't burn. Remove to a bowl till required.
2. In the same pan, heat another tsp ghee and fry the nuts on medium heat, stirring till they are fragrant and turn a darker shade. Remove the nuts from the pan and reserve.
3. Heat the fourth tsp of ghee in the same pan, and add all the fruits, letting them cook on medium-low heat till they are soft and squishy, about 5 minutes.
4. Now add the water and sugar. Bring to a boil, then lower the heat a little and let it simmer for 5 minutes, stirring until the sugar dissolves completely.
5. Add the roasted rava/sooji/semolina now, stirring all the while to mix evenly. Let this cook until the kesari begins to thicken, then add the saffron milk and stir it in. Keep stirring frequently to ensure that it does not burn or become lumpy.
6. When the kesari is no longer watery and has "come together" in a soft mass, stir in the fried nuts along with the remaining tsp ghee. Serve the kesari warm in small bowls.
Tip: You can also spread the kesari on a greased plate and let it cool, then cut it into squares or diamonds for a more elegant (and convenient) presentation.
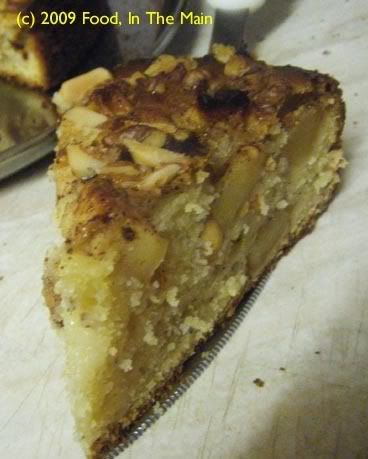 They say you can’t compare apples and oranges. I guess I can see why. Apples are hard and have thin skins you can usually eat; oranges and soft and you can’t eat the skin (at least not raw). Apples can be red or green or pink, whereas oranges are usually... well, orange. Apples are famously cooked in pies, and as far as I’m aware, I’ve never come across orange pie. (I might be merely ignorant, of course.)
The good thing here is that they – whoever they are – have never said that apples and oranges can’t be used in a recipe together... and I got proof of this from Google, which came up (only eventually) with a recipe for a cake that seemed easy AND doable AND tasty AND good-looking… AND, as it turned out, a blogger’s mum’s recipe. Evidently other people before me have discovered that apples and oranges go rather nicely – in fact quite deliciously - together in some things, like cake.
Boy, was it good. I reduced the quantity of the ingredients and replaced half the sugar with Splenda, and then halved the quantity of the remaining sugar so that I only used 1/4 cup in all.
Usually baking with just Splenda makes the cake a bit heavier in texture than otherwise – at least that’s been my experience so far. But this cake, although it seemed a tad sticky/moist at first, sort of fluffed itself out when it cooled, so that the cake part was nice and light and spongy. The apple chunks in it kept the cake moist for three days, and it smelt and tasted just as good as fresh, when it was warmed up in the microwave before serving.
It really was a delicious cake and I managed to use up three apples and four small oranges – which had been my intention in the first place.
Recipe for: Chunky apple and orange cake
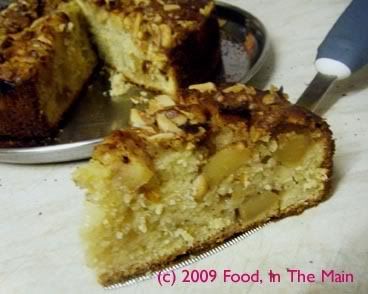
Ingredients:
3 medium apples
1 tsp cinnamon
2-1/2 tbsp unrefined demerara sugar
2 tsp orange zest
1-3/4 cups flour, sifted
1/2 tablespoon baking powder
1/2 teaspoon salt
1/2 cup vegetable oil
1/4 cup sugar
1/2 cup Splenda
1/2 cup orange juice (from four small oranges)
1-1/2 teaspoons vanilla
2 large eggs
3 tbsp chopped mixed nuts (I used walnuts and almonds)
Method:
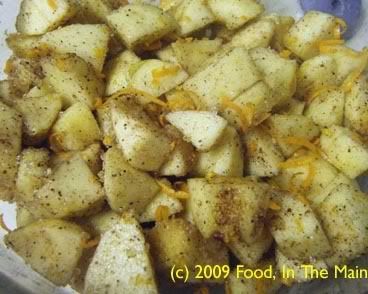
1. Preheat oven to 350F/180C. Grease a round loose-bottomed (or springform) 7" pan. Peel, core and chop apples into chunks. Toss with cinnamon, sugar and orange zest. Set aside for 10 minutes.
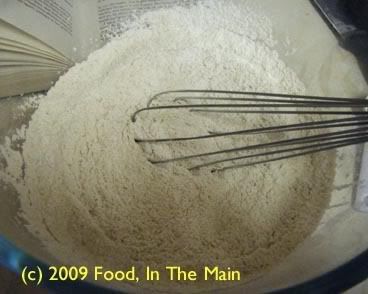
2. Stir together flour, baking powder and salt in a large mixing bowl.
3. In a separate bowl, whisk together oil, orange juice, sugar and vanilla.
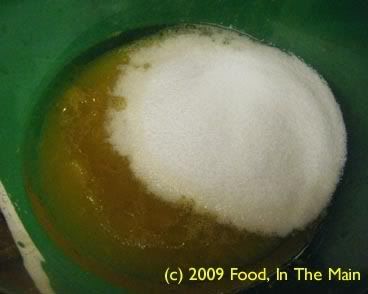
4. Mix wet ingredients into the dry ones,
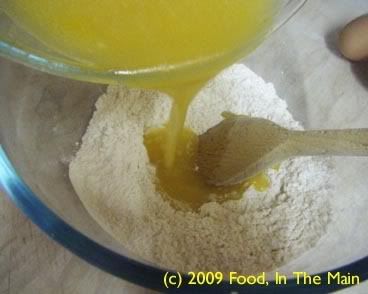
then add eggs, one at a time.
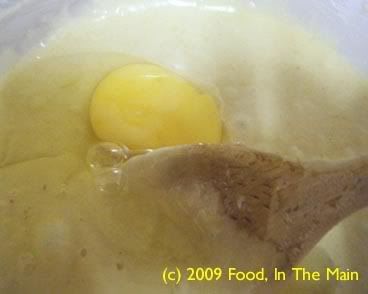
Scrape down the bowl to ensure all ingredients are incorporated.
5. Pour half of batter into prepared pan.
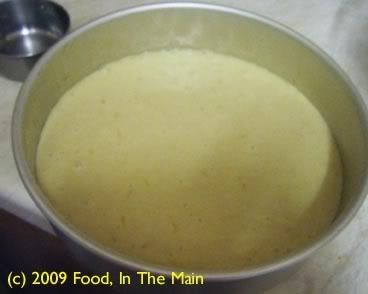
6. Spread half of apples over it.
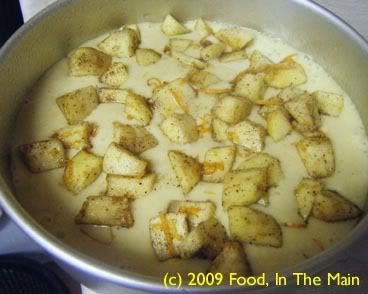
7. Pour the remaining batter over the apples and arrange the remaining apples on top. Sprinkle the nuts around the apple chunks.
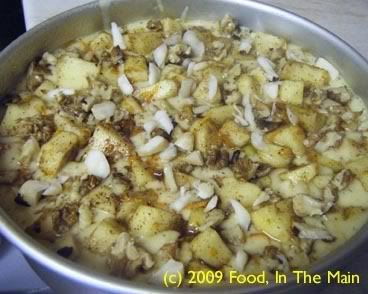
8. Bake for about an hour (check after 45 minutes), or until a tester comes out clean and the cake has pulled away slightly from the pan.
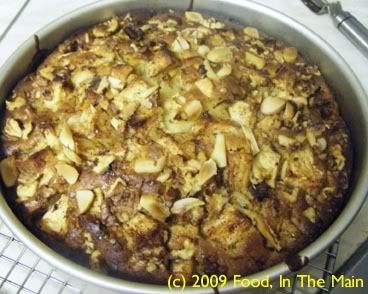
9. Cool the cake in the pan for 10 minutes, then turn out onto a wire rack.
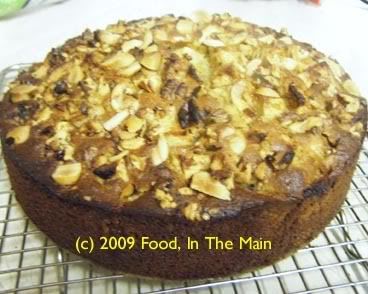
Serve warm.
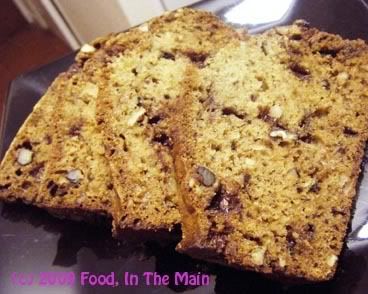
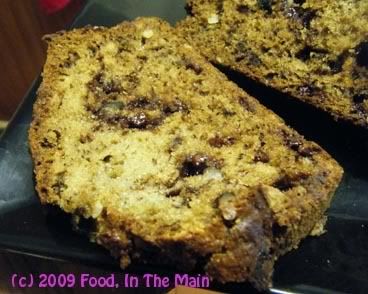
So, sometimes I can be quite slow at picking up on things – like the fact that chocolate chips in banana bread really do work quite well. I guess since I’m not overly crazy about chocolate, I've not bothered to try banana bread recipes that specified chocolate. This time I added the semi-sweet chocolate chips because they were just past their best-by date and any more time on the shelf would have only seen 'em off into the rubbish bin. The choc chips added moistness to the bread (an unexpected plus) – or at least I think they did. The bread might have been moist anyway because the bananas I used were almost at the liquid stage of ripe.
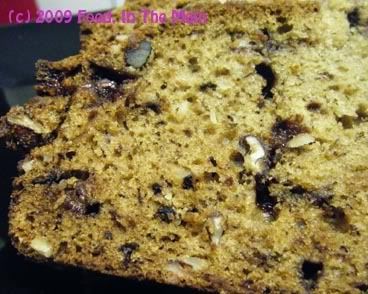
Anyhow - Pete loved the banana bread (he’s not much of a fan of this, most other times), and I found the choc chips in it surprisingly nice too. Who knew that chocolate and bananas would work well together...! (apart from the millions of others who’ve already tried and tested and written about the combination, that is.)
Recipe for: Choc chip banana bread
Ingredients:
2 cups flour (I used 1 cup AP and 1 cup wholewheat)
1-1/2 tsp baking soda
1/2 tsp salt
4 overripe bananas
3/4 cup sugar
4 tbsp unsalted butter/margarine, melted and cooled
2 large eggs
1 tsp vanilla extract
1/4 cups mixed nuts, chopped (I used walnuts, pecans and brazils)
1/2 cup semi-sweet chocolate chips
Method:
1. Preheat oven to 180C/350F and lightly grease a 9x5-inch loaf pan.
2. In a large bowl, combine the flour, baking soda, and salt.
3. Mash 2 bananas with a fork in a small bowl. They should be a bit lumpy.
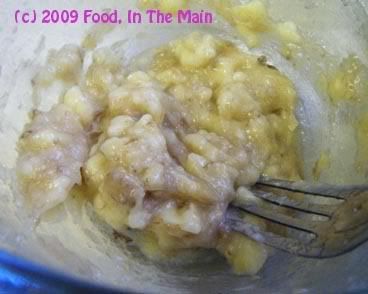
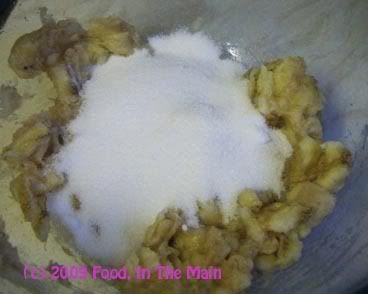
4. In another bowl, whisk the remaining bananas and sugar together till well combined.
5. Add the melted butter/margarine, eggs, and vanilla and beat well.
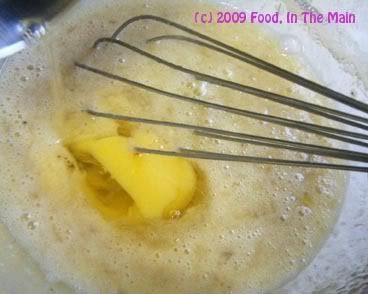
Stir in the reserved mashed bananas.
6. Add the mashed bananas to the flour and mix till just incorporated.
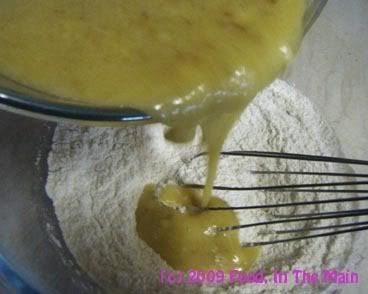
7. Fold in the nuts and the chocolate chips
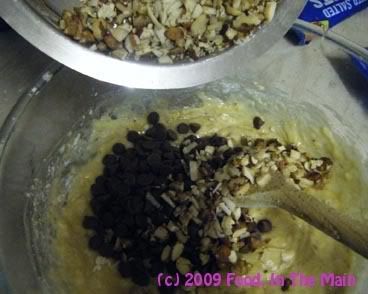
then pour the batter into the prepared loaf tin.
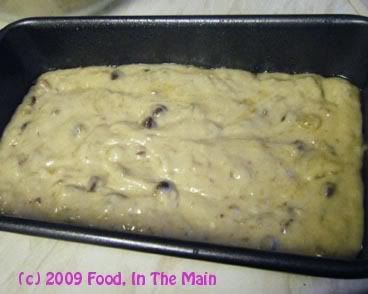
Bake for about 45 minutes or so (but start checking after 30 minutes), until the loaf is golden brown and a toothpick inserted into the middle of the loaf comes out clean.
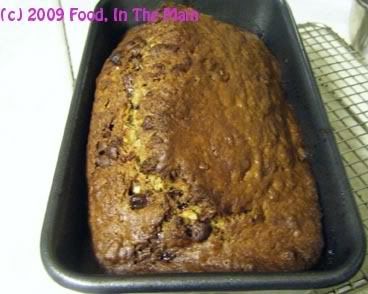
8. Cool the bread in the pan for 10 minutes or so, and then turn out onto a wire rack to cool completely before slicing.
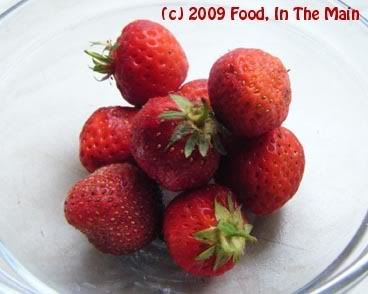
There was a small surprise in my garden when I got back from a holiday in Croatia – slightly over half a dozen little strawberries on a plant that I didn’t even know I had (I thought they had all died over the winter), which had survived in a small clump of nettles. Picking those strawberries was an exercise in caution, because nettles are nasty plants, raising painful welts if they touch my skin. And no, dock leaves don’t do much good – remember that Enid Blyton statement where, according to her, dock leaves and nettles grow nearby each other because the former help soothe the stings of the latter? Well, I’m here to say that one half of that is true – dock leaves CAN be found near nettles but they aren’t much help with the stings. Not for me, anyway.
I was surprised that the birds and insects hadn’t got to the strawberries, because they certainly looked ripe and red (the berries, that is - not the avian and insect life). But when I tasted one of the berries, it was quite sour. Not much fun eating those unless drowned in sugar – and not worth doing that for half a dozen strawberries.
So I decided to make a strawberry cake with them – adding a few more strawberries which were going cheap at the supermarket and which, therefore, I had bought. For no real reason I decided to make it a loaf cake – I like slices of cake rather than chunks, I suppose.
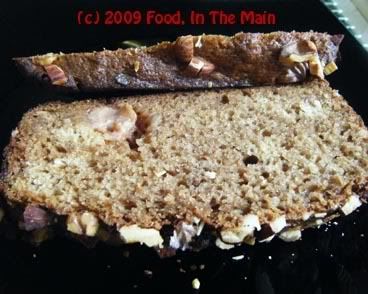
The texture and taste of the cake were perfectly fine, but since I had used pureed strawberries in the batter, I was expecting a flavour more redolent of strawberries than was the case. The flavour came through better on the second day, however. I also was hoping for a more pink cake, but I guess the whole wheat flour made the batter more brown than pink. I would have happily improved on Mother Nature by using some red food flavouring in the batter to “pinken up” the cake… it was just a pity I didn’t have any!
Recipe for: Strawberry-vanilla loaf cake
Ingredients:
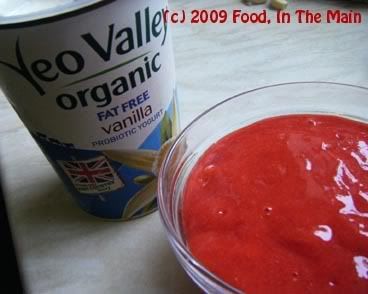
1 cup pureed strawberries (depending on size, between 10 and 20)
3 tbsp butter, softened
1/4 cup non-fat vanilla yogurt
3/4 cup sugar
2 eggs
1 tsp vanilla
1/4 tsp salt
1/2 cup wholewheat flour
1-1/2 cups all-purpose flour
2 tbsp chopped walnuts, almonds or pecans (or a mixture)
Method:
1. Combine butter, yogurt and strawberry puree in a large bowl. Mix well.
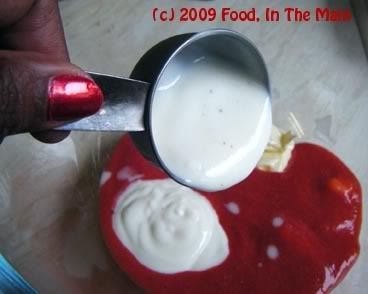
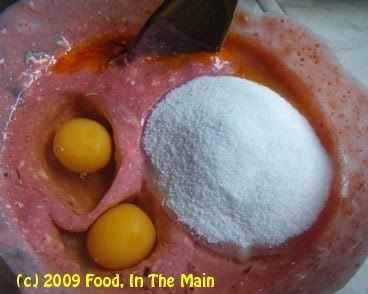
2. Add eggs, vanilla, sugar, salt, baking powder and baking soda and stir well.
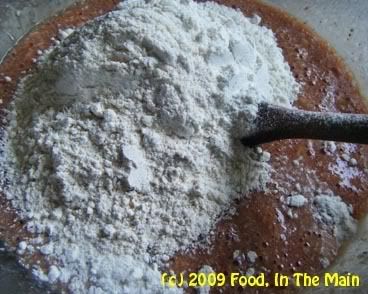
3. Add the flours and stir/fold in lightly until combined.
4. Spray a 1-1/2 pound loaf pan with Pam or grease lightly with oil. Pour the batter in the prepared pan, level it with the back of a wet spoon,
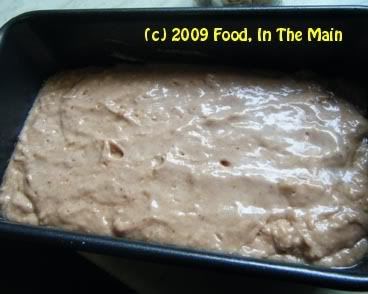
then sprinkle the chopped nuts on top.
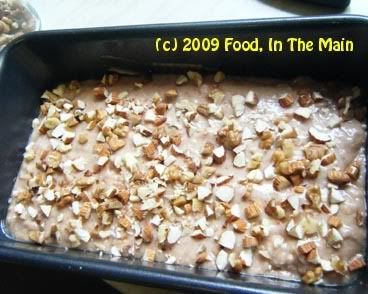
6. Bake in an oven at 180C for 40-50 minutes or till done (I start checking at the 30-minute mark).
7. Let the loaf cool in the pan for 5 minutes,
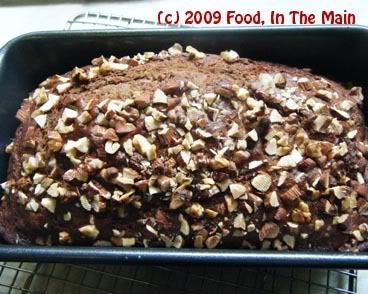
then turn carefully out onto a cooling rack and let cool completely.
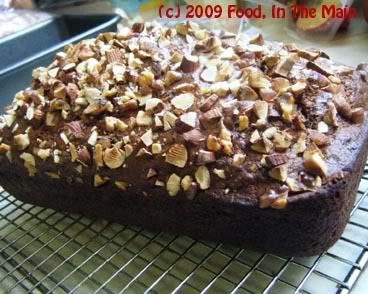
8. Serve sliced as is,
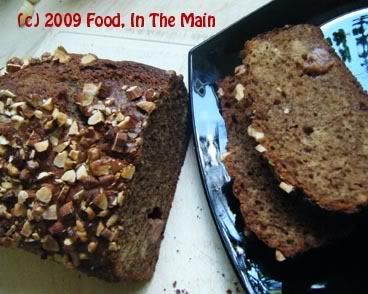
or warm it slightly in the microwave and serve with strawberry compote and whipped cream.
After a long time, I'm really excited about an eggless cake. This was originally called "apple pound cake", and arrived in my inbox a few months back. It called for horrendous amounts of eggs and sugar and butter, and although I saved the recipe because I wanted to play around with the ingredients and quantities, I didn't feel like making the effort to turn idle thoughts into action.
However, there were a few Granny Smith apples that had been in the refrigerator for weeks. They needed using up, but they didn't quite look appetising enough to eat (plus there were fresh eating apples which I'd bought, having forgotten about the Grannies!) So I hauled out my file book of "cakes to try" and chanced upon the apple pound cake recipe again... and my mother's presence here encouraged me to omit the eggs, so that she could eat the cake too. I used oil instead of butter, and substituted the eggs with mashed banana, and because I had run out of regular flour, I used self-raising flour. Then of course I wasnt sure how much baking powder/soda I should add to the flour to make up for the lack of eggs... all in all, let's say that I wasnt very certain of the cake's outcome.
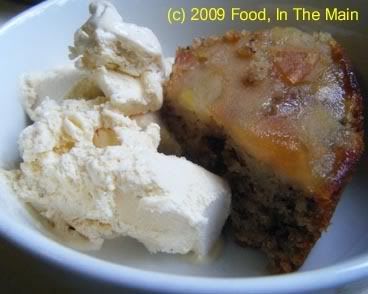
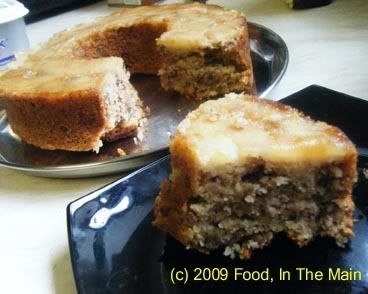
Surprisingly, and very pleasingly, it was super moist and wonderfully flavourful - the moistness from the grated apple and the flavour because I'd used cinnamon and cardamom rather than vanilla extract. The layer of apples at the bottom (which became the top when the cake was inverted - oh, did I forget to mention that I made it an upside-down apple cake?) had caramelised just the tiniest bit from the sprinking of demerara sugar I'd added to the cake pan at the first. About 98% of the apples unmoulded cleanly from the pan, but the bits that were left in the pan tasted unbelievably gorgeous - which I scarfed down as cook's perk, naturally... All in all, the cake was great on its own with a cup of tea, and just as gorgeous warmed slightly and served with vanilla icecream. All in all, one of the nicest eggless cakes I've made despite my meddling with the instructions and ingredients!
Recipe for: Moist apple cake
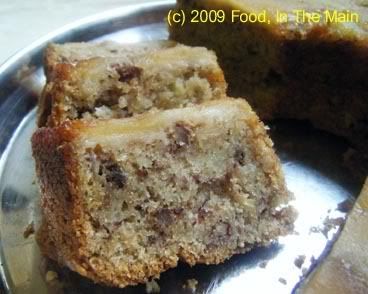
Ingredients:
3 Granny Smith apples
1-1/2 cups self-raising flour
1/2 tsp baking soda
1/4 tsp salt
1/2 tsp cinnamon powder
1/4 tsp cardamom powder
3/4 cup vegetable/sunflower oil
3/4 cup white sugar
3 tbsp demerara sugar
1 small ripe banana (to make 1/4 cup mashed)
1/4 cup chopped walnuts
2-3 tbsp milk
Method:
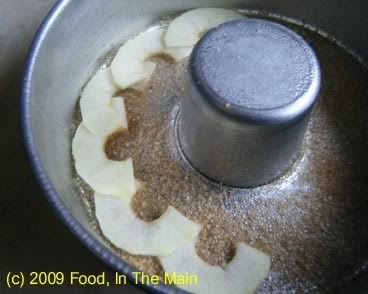
1. Grease an 8” tube pan. Sprinkle demerara sugar evenly over the bottom.
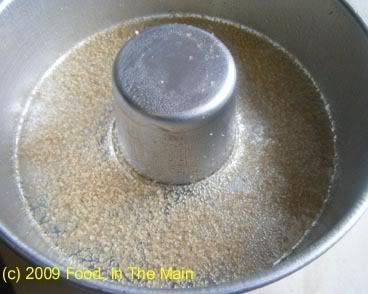
Preheat oven to 180C.
2. Peel and core apples.
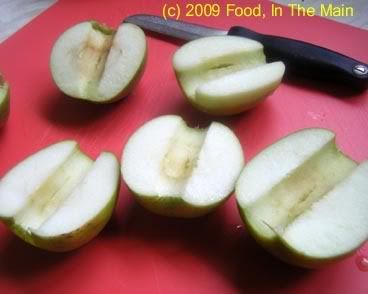
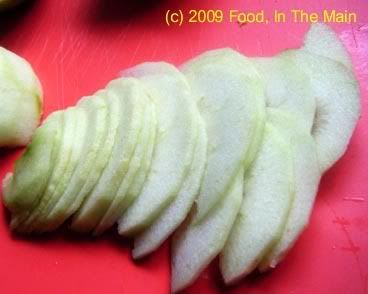
Slice one apple in half vertically, turn it a quarter circle and slice again into ¼ cm thick slices.
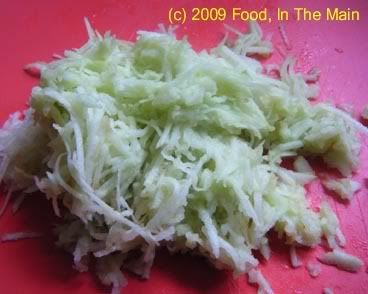
3. Grate the remaining apples and set aside, covered.
4. Combine flour, baking soda, cinnamon and cardamom powder and salt in a medium bowl.
5. In a large bowl, add the mashed banana, white sugar and vegetable oil.
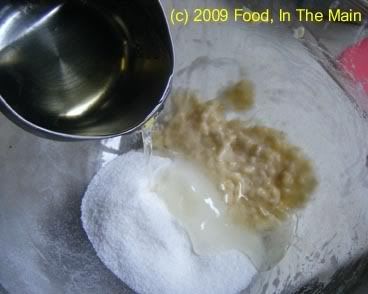
Beat till well blended.
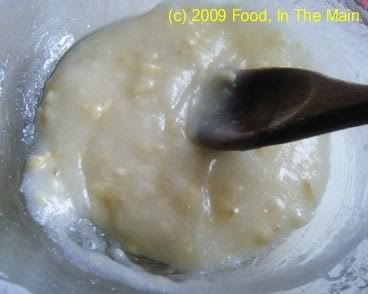
6. Add the flour in three or four stages, mixing well after each addition.
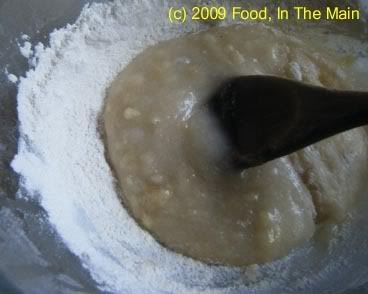
If the batter gets very thick, add a couple of tbsp milk to make it easier to mix. Don’t add too much milk, though - the grated apples will add enough moisture to the batter later.
7. Fold in the shredded apples
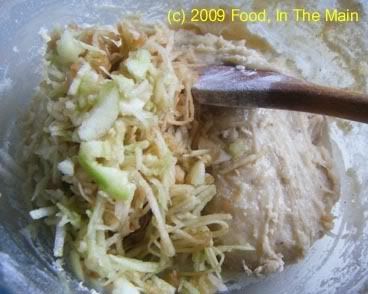
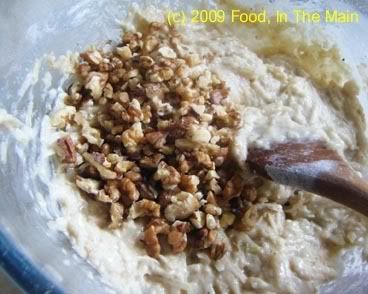
and chopped walnuts into the batter.
8. Arrange the sliced apples on the demerara sugar at the bottom of the pan, overlapping the slices slightly.
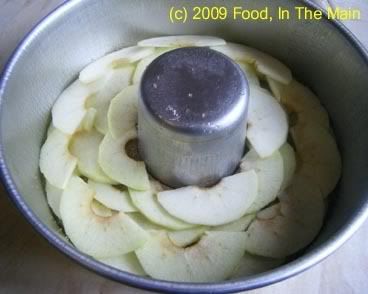
9. Spoon the batter evenly over the sliced apples and bake at 180C for 30 minutes.
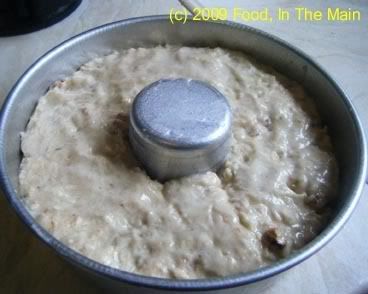
Check to see if the cake is done; if not, give it another five minutes (and a further 5 if required) and check again. The cake should have pulled away slightly at the edges.
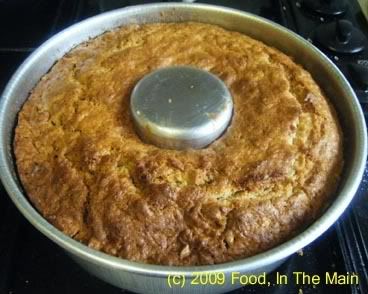
10. Cool the cake in the pan for 15 minutes, then carefully turn out onto a serving plate.
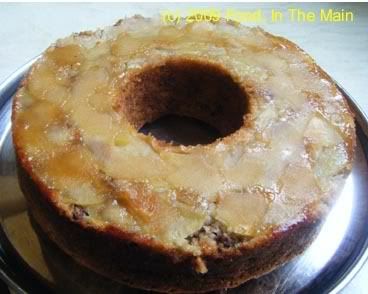
Let cool completely before slicing carefully.
Serve with vanilla icecream or thick cream, if desired.
