Showing posts with label white sugar. Show all posts

Friday, January 01, 2010

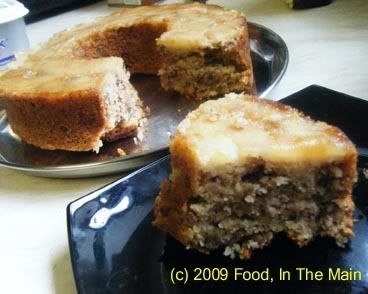
Apple pecan snack cake

Hello to my readers, bloggers and non-bloggers both, on the first day of the new year, and the new decade! Here's hoping that the year brings everybody only the best of everything, and lots of love and laughter too.

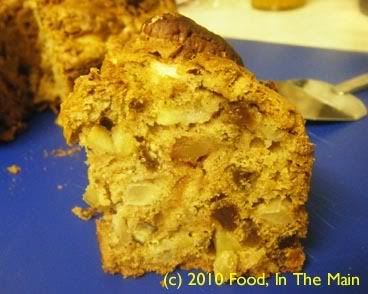
I thought I'd start the first post of 2010 with a recipe for something sweet - a simple snack cake, chunky with tart apples and crunchy with toasted pecans. You can't go wrong with it (fingers crossed as I say this, though, because I'm a prime example of someone who can make a disaster of success!) and it's good just by itself, or for a more decadent dessert, serve warmed, with a dollop of thick organic Jersey cream, sprinkled with glittering demerara sugar, if you like.

Recipe for:
Apple pecan snack cake
Photobucket

Ingredients:

3 tart apples, cored and chopped
1 cup sugar
1/2 cup raisins
1/4 cup pecans, toasted lightly and chopped + 10 or so whole toasted pecans for decorating cake (optional)
1/4 cup oil
2 tsp vanilla extract
1 large egg, beaten
2 cups AP flour
1 tsp baking soda
1/2 tsp baking powder
1 tsp cinnamon powder
1/2 tsp cardamom powder (optional)

Method:

1. Preheat oven to 350F/180C. Spray a 7" round cake pan (I used a bundt pan) with Pam or other spray.

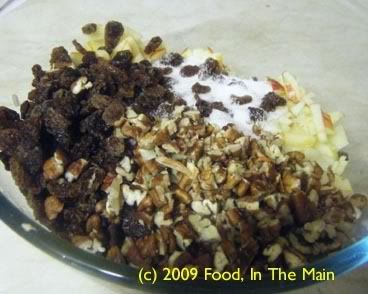
2. In a large mixing bowl, combine the apples, sugar, raisins and chopped pecans.
Photobucket

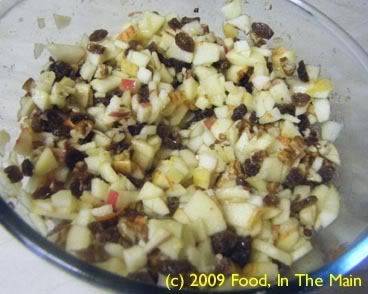
Mix well and let stand for 30 minutes.
Photobucket

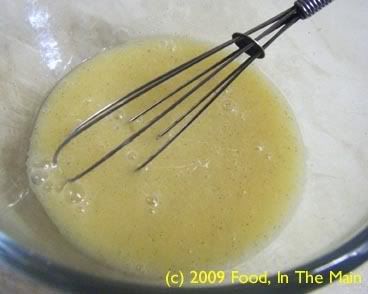
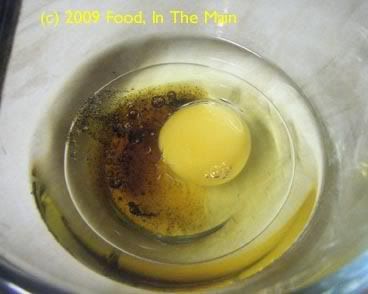
4. In a small bowl, add the oil. vanilla and egg.
Photobucket

Whisk till well combined.

Photobucket

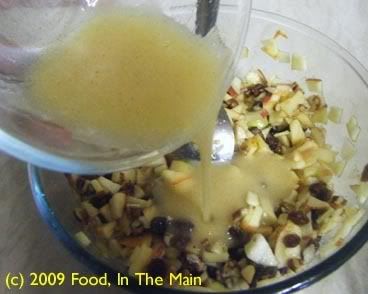
5. Pour this mixture into the apple mixture and stir in.
Photobucket

6. Sift together the flour, baking soda and powder, cinnamon and cardamom powder (if using).

Photobucket

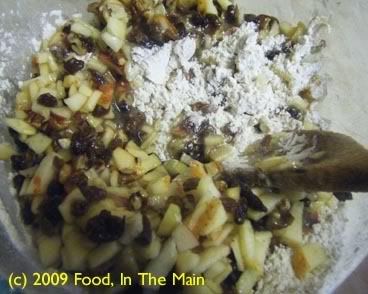
7. Stir the flour mixture into the apple mixture about a third at a time. Stir just enough to moisten the wet ingredients - dont over mix.
Photobucket

8. Pour the batter into the pan.

Photobucket

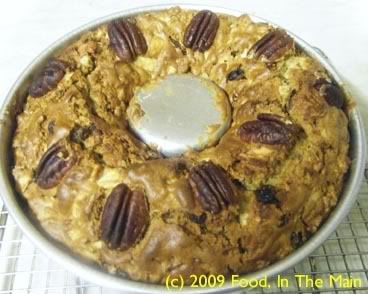
Arrange the remaining whole pecans decoratively on the top. Push them in only very slightly.

Bake for 35-40 minutes or till a tester comes out clean and the cake has pulled away from the sides of the pan.
Photobucket

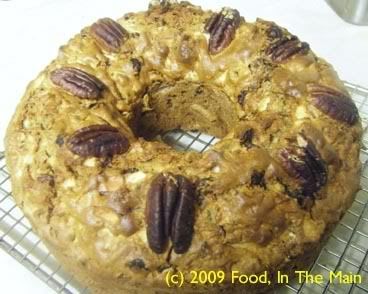
Let the cake remain in the pan for 10 minutes, then turn out onto a wire rack to cool.
Photobucket

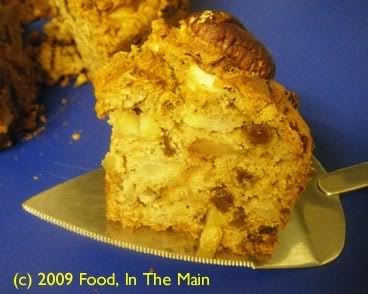
Serve warm by itself, or with some cream if desired.
Photobucket

Monday, May 25, 2009

Eggless moist apple cake

After a long time, I'm really excited about an eggless cake. This was originally called "apple pound cake", and arrived in my inbox a few months back. It called for horrendous amounts of eggs and sugar and butter, and although I saved the recipe because I wanted to play around with the ingredients and quantities, I didn't feel like making the effort to turn idle thoughts into action.

However, there were a few Granny Smith apples that had been in the refrigerator for weeks. They needed using up, but they didn't quite look appetising enough to eat (plus there were fresh eating apples which I'd bought, having forgotten about the Grannies!) So I hauled out my file book of "cakes to try" and chanced upon the apple pound cake recipe again... and my mother's presence here encouraged me to omit the eggs, so that she could eat the cake too. I used oil instead of butter, and substituted the eggs with mashed banana, and because I had run out of regular flour, I used self-raising flour. Then of course I wasnt sure how much baking powder/soda I should add to the flour to make up for the lack of eggs... all in all, let's say that I wasnt very certain of the cake's outcome.

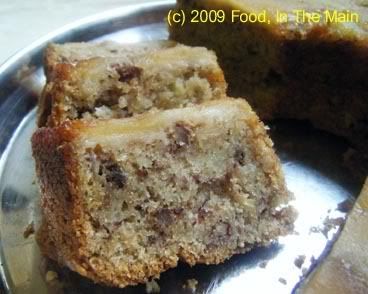
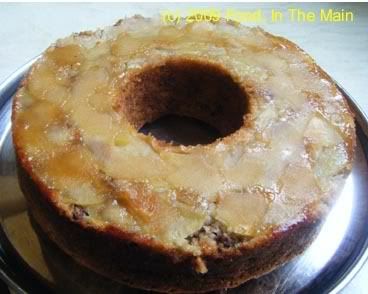
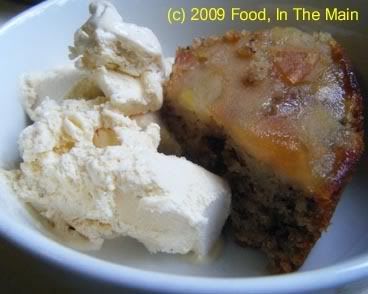
Surprisingly, and very pleasingly, it was super moist and wonderfully flavourful - the moistness from the grated apple and the flavour because I'd used cinnamon and cardamom rather than vanilla extract. The layer of apples at the bottom (which became the top when the cake was inverted - oh, did I forget to mention that I made it an upside-down apple cake?) had caramelised just the tiniest bit from the sprinking of demerara sugar I'd added to the cake pan at the first. About 98% of the apples unmoulded cleanly from the pan, but the bits that were left in the pan tasted unbelievably gorgeous - which I scarfed down as cook's perk, naturally...


All in all, the cake was great on its own with a cup of tea, and just as gorgeous warmed slightly and served with vanilla icecream. All in all, one of the nicest eggless cakes I've made despite my meddling with the instructions and ingredients!

Recipe for:
Moist apple cake

Photobucket

Ingredients:

3 Granny Smith apples
1-1/2 cups self-raising flour
1/2 tsp baking soda
1/4 tsp salt
1/2 tsp cinnamon powder
1/4 tsp cardamom powder
3/4 cup vegetable/sunflower oil
3/4 cup white sugar
3 tbsp demerara sugar
1 small ripe banana (to make 1/4 cup mashed)
1/4 cup chopped walnuts
2-3 tbsp milk

Method:

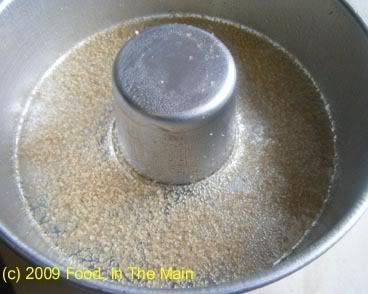
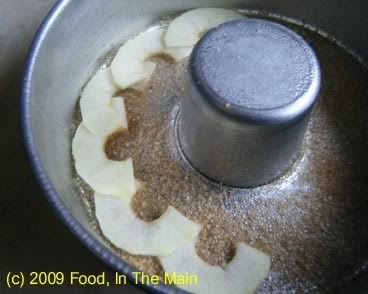
1. Grease an 8” tube pan. Sprinkle demerara sugar evenly over the bottom.

Photobucket

Preheat oven to 180C.

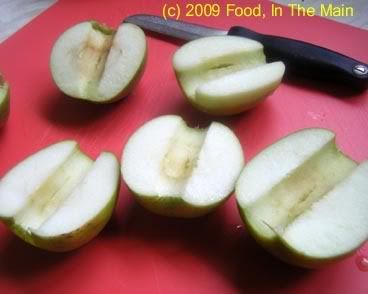
2. Peel and core apples.

Photobucket

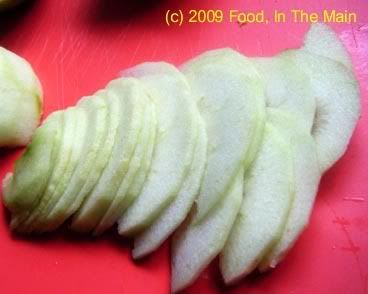
Slice one apple in half vertically, turn it a quarter circle and slice again into ¼ cm thick slices.

Photobucket

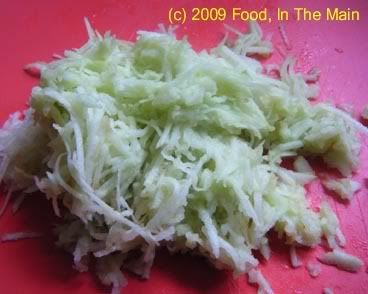
3. Grate the remaining apples and set aside, covered.

Photobucket

4. Combine flour, baking soda, cinnamon and cardamom powder and salt in a medium bowl.

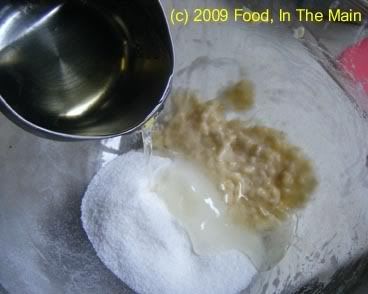
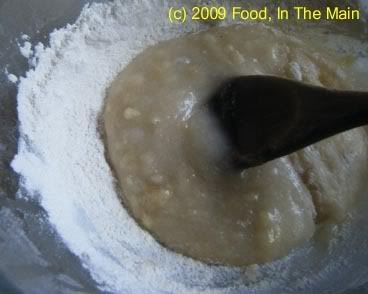
5. In a large bowl, add the mashed banana, white sugar and vegetable oil.

Photobucket

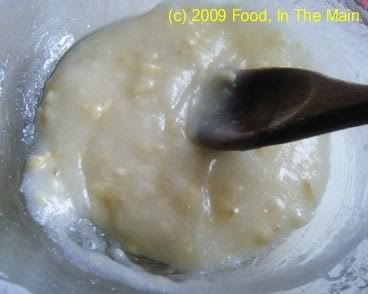
Beat till well blended.

Photobucket

6. Add the flour in three or four stages, mixing well after each addition.

Photobucket

If the batter gets very thick, add a couple of tbsp milk to make it easier to mix. Don’t add too much milk, though - the grated apples will add enough moisture to the batter later.

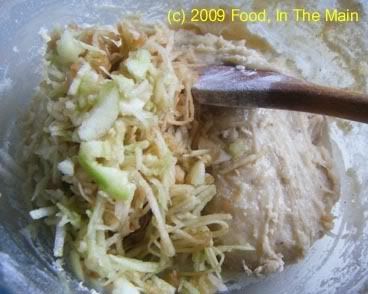
7. Fold in the shredded apples

Photobucket

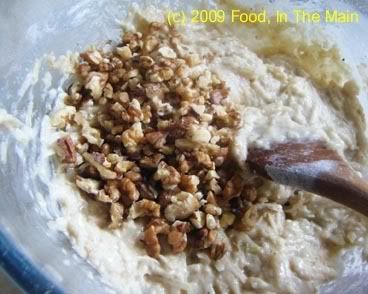
and chopped walnuts into the batter.

Photobucket

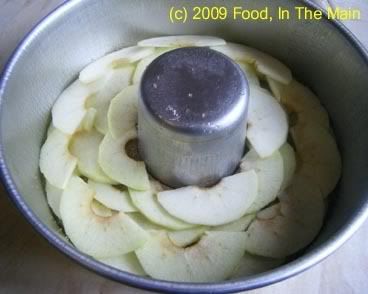
8. Arrange the sliced apples on the demerara sugar at the bottom of the pan, overlapping the slices slightly.

Photobucket

Photobucket

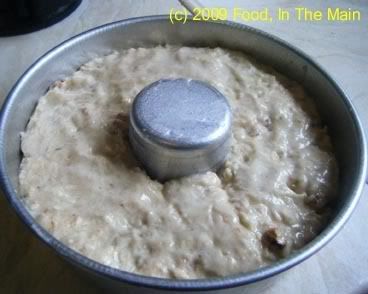
9. Spoon the batter evenly over the sliced apples and bake at 180C for 30 minutes.

Photobucket

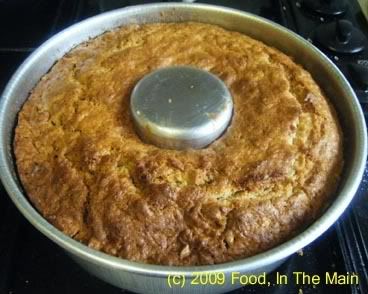
Check to see if the cake is done; if not, give it another five minutes (and a further 5 if required) and check again. The cake should have pulled away slightly at the edges.

Photobucket

10. Cool the cake in the pan for 15 minutes, then carefully turn out onto a serving plate.

Photobucket

Let cool completely before slicing carefully.

Photobucket

Serve with vanilla icecream or thick cream, if desired.
Photobucket

Monday, March 06, 2006

Apple kuchen with golden sultanas

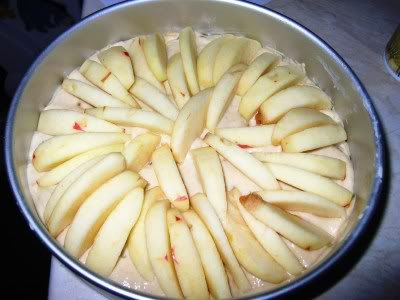
The basic recipe for this really yummy kuchen (German for cake) was from Nic at Bakingsheet - the only added extra from me were the golden sultanas, which I think are nice in nearly anything.

I wanted to make something different for Pete's birthday - not the usual chocolate cake, so this seemed to fit the bill just nicely.

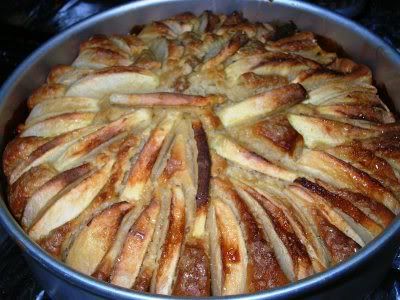
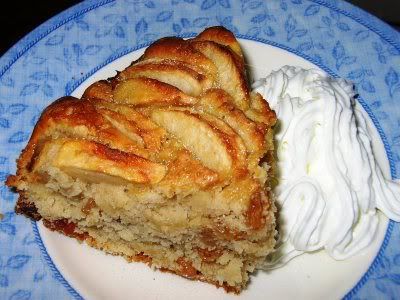
I cant praise this kuchen enough (and Pete loved it too) - the batter rises up beautifully around the apples and then pulls back as the cake cools, giving a very nice effect to the top of the cake. Anybody with better apple-arranging skills will probably end up with an even more picturesque cake, but even my haphazardly placed apples looked very nice.


This kuchen is absolutely delicious served warm with thick cream or icecream. And the aroma and flavour of the vanilla coming through is to die for. Some people find vanilla bland, but I just love it - its flavour is so gentle and elegant. In fact, I also sprinkled vanilla sugar over each serving, which turned out to be an excellent idea.

I used three Pink Lady apples - peeled, cored and sliced - for my kuchen. Or rather, I used two and a bit, and ate the remaining because there really was no space left on top. With hindsight, two apples will do nicely.

Recipe for:
Apple kuchen with golden sultanas


Ingredients:

Two Pink Lady apples, peeled, cored and sliced into 1/2 cm thick wedges
1/3 cup butter, softened
1/2 cup brown sugar
1/4 cup white sugar
1 large egg
2 tsp vanilla extract
1-1/2 cups plain flour
2 tsp baking powder
1/4 tsp salt
1/2 tsp nutmeg
3/4 tsp cinnamon
1/2 cup milk
1/2 cup golden sultanas
1 tbsp sugar for topping (I used demerara)
Vanilla sugar for dusting (optional)

Method:

1. Preheat the oven to 180C (350F). Grease a round 8" cake pan (I used one with a loose base).

2. In a medium bowl, whisk together the flour, salt, baking powder, nutmeg and cinnamon.

3. In a large bowl, beat the butter and sugar until soft and fluffy.

4. Beat in the egg and vanilla extract.

5. Add the flour mix and milk in 4 alternating additions, starting and ending with the flour.

6. Fold in the sultanas and spread the batter in the prepared cake pan.

7. Arrange the apple slices on the top and sprinkle with the demerara sugar.


8. Bake for 45 minutes or so, or until a tester inserted in the centre comes out clean.

9. Serve warm, dusted with vanilla sugar and accompanied by thick cream or icecream.

Sunday, November 06, 2005

Yogurt cake with almonds and sultanas

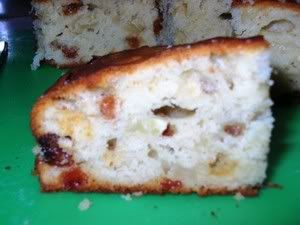
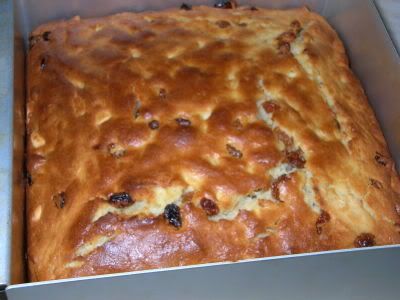
A simple cake, very easy to make, with a delicate flavour, reasonably low-fat (I dont know how to calculate nutrition values, though) because I used Splenda instead of sugar and very low-fat Greek yogurt - what more is there to say? Oh yeah, that it's rather nice with a cup of coffee, as testified by Pete.


Recipe for:
Yogurt cake with almonds and sultanas


Ingredients:

2 cups flour
2 eggs
1 cup low-fat yogurt
1 cup white sugar (I used Splenda)
1/2 cup vegetable oil
1 tbsp baking powder
1 tsp vanilla extract (or paste, for an even more authentic flavour)
1/4 cup almonds, chopped and lightly toasted
1/4 cup golden sultanas
1 tsp rum extract (or essence)

Method:

1. Pre-heat the oven to 180C (350 F). Line the bottom of a round or square 9" cake pan with silicone paper, and grease the sides.

2. In a big bowl, combine the yogurt, eggs, Splenda/sugar and flour.

3. Add the rest of the ingredients and fold lightly till it's all well-mixed.

4. Pour into the prepared tin and bake for 45 minutes or so, or till a cake tester inserted in the centre comes out clean.

5. Cool in the tin for 10 minutes, then turn out on to a wire rack and let cool completely before cutting.

Tuesday, September 27, 2005

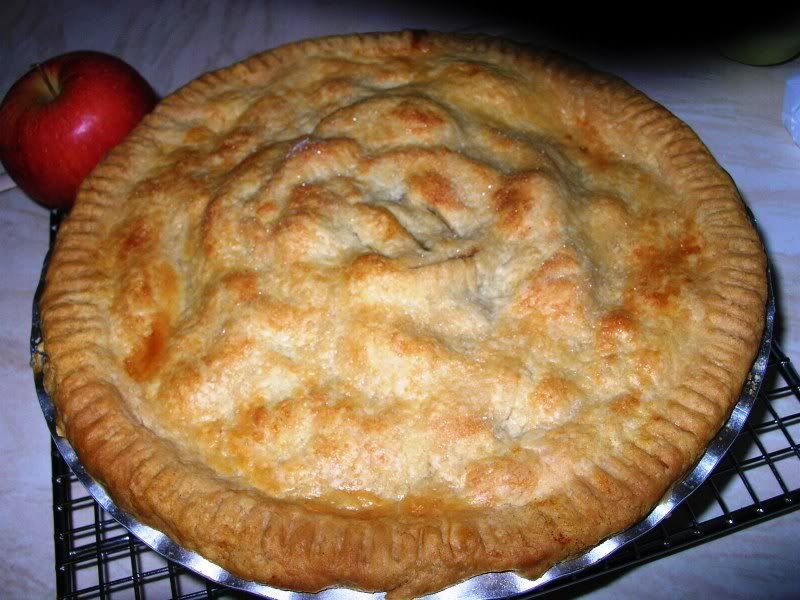
This time it's apple pie

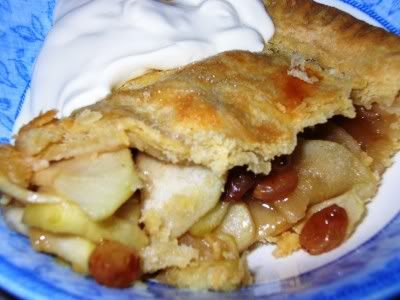
And a better pie than my first attempt, although still not anywhere near perfect to look at. I'm not going to make any more pies for awhile, though... they're simply too calorious (to coin a word) for words - all that butter and margarine and sugar - extravagantly sinful. I baked this pie just to ensure that the first one wouldnt remain a one-off effort :)


This was a deliberate pie. With raisins. Too, I remembered to brush the top of the pie with milk AND sprinkle it with white sugar before baking - something I'd neglected the first time around. The milk gave the pie a beautiful golden glaze, and the sparkly sugar crystals provided the finishing touch. I have to say it looked very pretty! I ate the odd bit of it but my sweet tooth is very easily satisfied and I was glad of the unsweet crust to temper the sweetness of the filling.

My husband and friends demolished the pie in two sittings. Well, I'm glad about that, that's a good thing, else I'd have been a very sad bunny. There's nothing more disheartening than to see something you've made (expending great effort, too) sitting there uneaten and unappreciated until you have to throw it away.

Recipe for:
Double-crust apple pie


Ingredients:

For the pie dough (crust):

2 1/2 cups plain flour
1/2 teaspoon salt
1 tsp cinnamon powder
1/2 cup cold butter, cut into small pieces
6 tablespoons cold margarine (can use shortening instead)
5-7 tablespoons ice water

Method:

1. Stir together the flour, cinnamon powder and salt in a medium bowl.

2. Cut in the butter with two knives. Add the margarine and combine with a large fork until the mixture resembles coarse oatmeal.

3. Sprinkle the water, 1 tablespoon at a time, over the flour mixture and stir
with a fork until all the flour is moistened and the dough holds together
and doesn’t crumble.

4. Gather into a ball. Knead lightly (but not too much) until the dough is smooth. It's ok if the butter is still a bit lumpy. Lumpy is good!

5. Divide the dough into two, form into smooth balls, wrap each ball in clingfilm and refrigerate for at least 30 minutes.

For the apple filling:

4 large Granny Smith apples, cored, peeled and evenly sliced (or cubed, according to preference. I sliced mine.)
Juice of one lemon
1/2 cup white sugar
1/2 cup light brown sugar
1 tsp cinnamon powder
1/2 tsp grated nutmeg/cloves or allspice
1/2 cup golden raisins
1-1/2 tbsp cornflour
1-1/2 tbsp quick cooking tapioca, powdered

1. Toss the apple slices with the lemon juice.

2. Mix the rest of the ingredients together in a separate bowl and set aside.

Assembling the pie:

Method:

1. Roll out one ball of pie dough (leave the other in the fridge till required) on a lightly floured surface into a 10-inch circle, about 1/2 cm thick.

2. Lift up the circle of dough carefully and centre it in an 8" pie dish. Pat it gently in place at the bottom and up the sides.

3. Trim the edge even with the rim of the pie dish.

4. Roll out the other ball of dough into a circle that is about 1 inch larger than the rim of the pie dish. Set aside.

5. Put in a layer of sliced or cubed apples and sprinkle liberally with the sugar-raisin mixture. Add layers of fruit, sprinkling each layer with the sugar mixture. Mound the apples slightly in the centre and top off with the remaining sugar mixture.

5. Place the second circle of pastry over the fruit filling and trim the edge to about half an inch larger than the bottom crust. (I used scissors!)

6. Tuck the overhanging top edge under the bottom crust. Crimp the edges all around with the tines of a fork. Make a few slits at the top so that the steam can come out while the pie is baking.

7. Refrigerate the uncooked pie for 15-20 minutes. Then brush the top with some cold milk and sprinkle some white sugar all over.

8. Place in a pre-heated oven and cook at 180C (350F) for 45 minutes or so, until the top is golden and a skewer passes easily through the fruit when it's poked in the top.

9. Let the pie cool completely before slicing. It can be served warm (re-heat in a hot oven for 5 minutes or use the microwave) or cold with cream/vanilla icecream.

Sunday, July 31, 2005

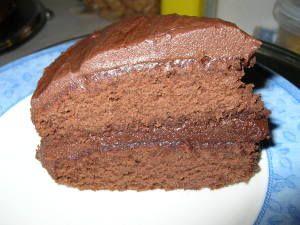
Deep dark chocolate cake

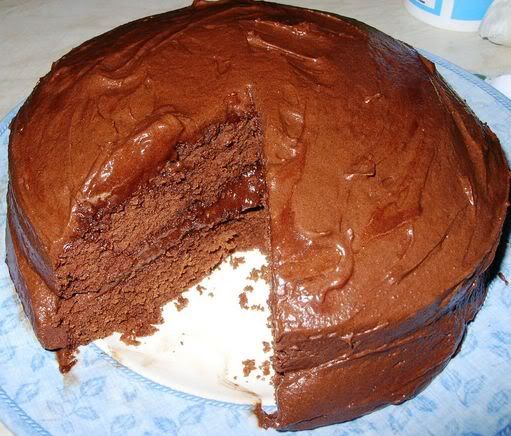
I've tried out quite a few chocolate cake recipes in the last 2-3 years, but this is the one that I like best and make the most often. It's not a complicated recipe (the most important criterion for me as I'm not a naturally gifted baker), so there's no need to faff about with separating eggs and beating the whites separately, or melting chocolate pieces over a double boiler, and other fiddly procedures like that. It's a straightforward, easily followed recipe.

And the end result is superb... dark and very chocolatey without being cloying, with a lovely moist interior that doesnt even require cream or icecream. Not that you CANT serve up a slice with clotted cream or icecream... it's just that it would be rather like gilding a lily!

Image hosted by Photobucket.com

What's probably the most difficult thing to believe - I dont eat much of it myself! I cant - my sweet tooth is not particularly pronounced, so this cake in particular is always made with Pete as the end-user, so to speak. He's only too pleased that I only ever cut the thinnest slice for myself... it leaves him all that much more!

It's also the cake with which I've been trying to entice some dear friends from India into visiting me... perhaps this post will finally persuade them. You reading this, girls?

Recipe for:
Deep dark chocolate cake


Image hosted by Photobucket.com

Ingredients:

2 cups plain flour
1-1/4 cups sugar
1 tsp baking soda
1/2 tsp baking powder
1/4 tsp salt
1/2 cup butter
3/4 cup cocoa powder
2 tsp vanilla extract
2 eggs
1 cup hot water

For the frosting:

1/3 cup butter
1/2 cup cocoa powder
1/3 cup milk
2-1/2 cups icing sugar
1 tsp vanilla extract

Method:

1. Generously grease two 7-inch round cake pans. Pre-heat the oven to 180C (350F).

2. In a small bowl, whisk together the hot water and cocoa until smooth. Let cool.

3. Sift the flour, salt, baking powder and baking soda together and set aside.

4. Beat the butter and sugar in a large bowl until fluffy and light. Add the eggs one at a time, beating well after each addition. Beat in the vanilla extract.

5. Add the flour and the cocoa alternately to the butter-and-egg mix, mixing well after each addition. Start and end with the flour.

6. Divide the batter even between the two cake pans and cook for 30 minutes or until a toothpick or cake tester inserted in the centre comes out dry.

7. Turn off the oven and let the cakes rest in the pans for 5 minutes. Carefully remove the cakes from the pans and let cool completely on wire racks before frosting them.

Frosting:

1. Beat the butter and cocoa powder till well mixed. Add the vanilla essence as well.

2. Add 1/2 cup of the icing sugar and mix carefully, then add a tbsp of the milk to the icing mix and beat again.

3. Continue adding the icing sugar and milk alternately until it's all used up.

4. Beat the frosting until it is thick enough to spread.

5. When the cakes are cold, first sandwich them together with a third of the frosting, then spread the rest of it over the top and sides.

This cake tastes even better on the second day - if there's anything left of it, that is.

Friday, July 08, 2005

Mangoes with minted sugar

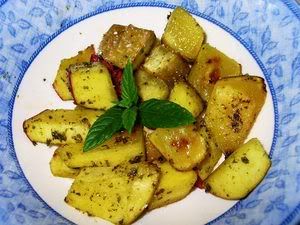
I love flavoured sugar, and vanilla sugar is one of my favourites - the smell of vanilla is just so homely yet heavenly. And today I came across a cooking tip in a baking book which I had borrowed from my mother-in-law. It called for pounding mint with granulated sugar to make minted sugar, which could be sprinkled over fruit such as pineapple. well, I just HAD to try that! (It tastes lovely by itself, too - I couldnt resist trying it out.)

I didnt have any pineapple, but there was this not-quite-ripe mango in my fridge, which I had cut up out of sheer impatience and then regretted the haste, because it was a fair bit more sour than it was sweet, and also not particularly soft in texture.

So I decided to try my newly minted sugar (to coin a phrase, haha) on it. The mango pieces tasted absolutely wonderful sprinkled with the minted sugar, I must say... the sourness almost but not quite negated by the sugar's sweetness, with the freshness of the pounded mint the last thing to register on the tongue.

Image hosted by Photobucket.com

Then I wondered what it would be like to roast the mango pieces. So I did. They turned out quite nice, and the roasting made the pieces a lot softer. For some reason, it also seemed to take away the sourness. I guess if the mango had been riper and softer, the pieces might have become almost mushy in the oven. But mine were quite hard to start with, so it wasnt a disaster. I waited for the pieces to cool to a mouth-friendly warmth, then sprinkled them with more minted sugar and gobbled 'em ALL up!

I do have to say, though, that though the roasted mangoes tasted nice enough, they're best ripe and unroasted. Especially with mint sugar.

Recipe for: Mangoes with minted sugar

Ingredients:

1 large mango (ripe but not mushy-soft), cut into inch-size pieces (de-skinned if the skin is bitter)
2 tbsp granulated sugar
10-15 large fresh leaves of peppermint, spearmint and/or plain mint (I used a mix of all three)

Method:

Pound the sugar and mint in a mortar-and-pestle until the leaves are well broken up and incorporated with the sugar.

Sprinkle over the cut mango pieces in a bowl, give the pieces a good shake to distribute the mint sugar evenly, and serve.