skip to main |
skip to sidebar
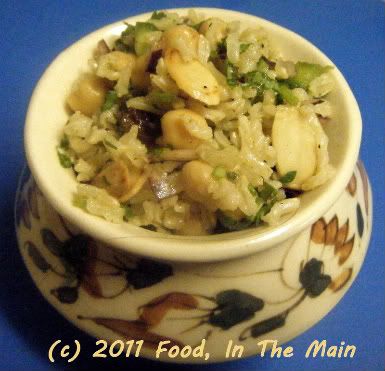
Yep, I've jumped onto the "rice salad" bandwagon, despite my doubts about what a salad actually is. :) Or perhaps I should call this a no-cook "raw" pulao. A salad by any other name - probably tastes exactly the same... right? I actually wasn't entirely certain if this would be to my taste, but as it turned out, it's delicious - IF you like raw onions. I do, and I think the salad tasted even better for sitting overnight in the fridge, when I had it the next day for lunch. At room temperature, I should add. I don't like to eat anything that's refrigerator-cold... not even sandwiches. It has to be room temperature, at the very least.
PS. I saw this recipe on someone's blog, but for the life of me I can't remember whose it was. If you recognise this recipe, dear blogger, please give me a heads-up and I will add a link to your original recipe together with an acknowledgement.
Recipe for: Curried brown rice salad
 Ingredients:
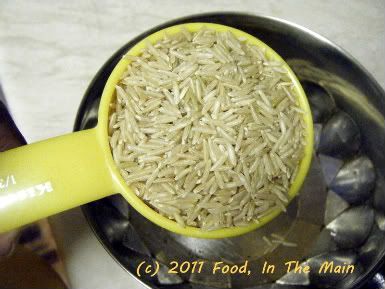 1/3 cup brown basmati rice
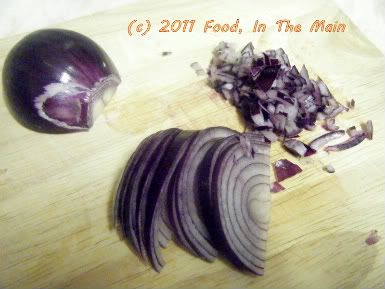 2 tbsp red onion, minced
2 tbsp green bell pepper, minced
1/3 cup chickpeas, cooked (fresh or canned)
3 tbsp coriander, chopped fine
1 tsp sultanas/raisins
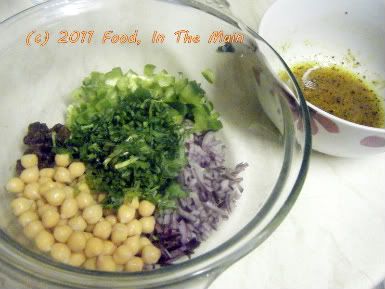 1 tsp sliced almonds, toasted, for garnish
For the dressing:
1 tbsp lime juice
1 tsp orange blossom honey
2 tsp extra virgin olive oil
1 tsp commercial curry powder (I used Schwartz medium-hot)
Salt and pepper to taste
Method:
1. Soak the brown rice for a few hours if possible; put the soaked rice in a pan with a well fitting lid and add 2/3 cup water. Bring to a boil, then turn the heat down to a gentle simmer, cover the pan and let the rice cook till all the water has been absorbed (about 15 minutes). Let the cooked rice sit undisturbed for 15 minutes.
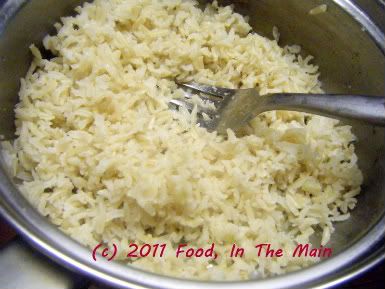 Once it has cooled, fluff gently with a fork. Reserve.
2. In a medium bowl, mix the salad ingredients bar the toasted almonds.
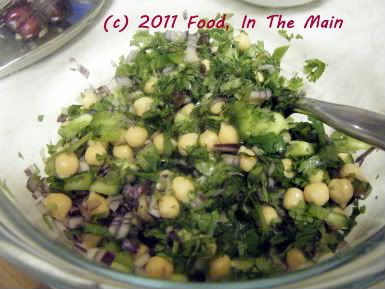 Then add the rice and mix gently to combine.
3. In a small bowl, whisk the ingredients for the dressing.
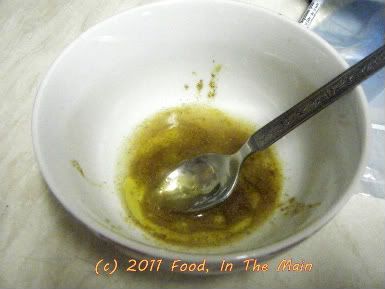 Pour the dressing over the salad and mix again, adding salt and pepper. Taste and adjust the dressing ingredients.
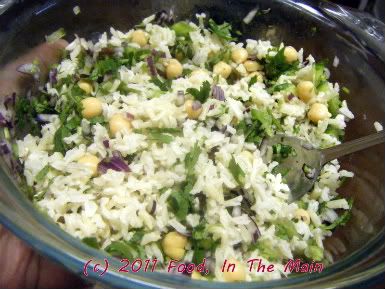 Fluff with a fork so as not to make the rice mushy.
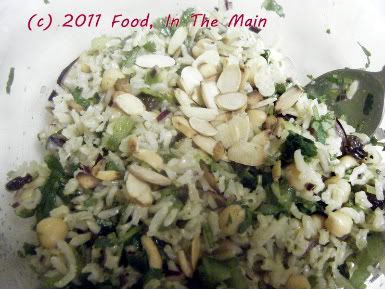 Sprinkle the toasted almonds over. Serve at room temperature, or chilled.
RECIPE: CURRIED BROWN RICE SALAD
Ingredients:
1/3 cup brown rice
2 tbsp red onion, minced
2 tbsp green bell pepper, minced
1/3 cup chickpeas
3 tbsp coriander, chopped fine
1 tsp sultana/raisins
1 tsp sliced almonds, toasted
For the dressing:
1 tbsp lime juice
1 tsp orange blossom honey
1 tsp extra virgin olive oil
1 tsp commercial curry powder (I used Schwartz medium-hot)
Salt and pepper to taste
Method:
1. Soak the brown rice for a few hours if possible; put the soaked rice in a pan with a well fitting lid and add 2/3 cup water. Bring to a boil, then turn the heat down to a gentle simmer, cover the pan and let the rice cook till all the water has been absorbed (about 15 minutes). Let the cooked rice sit undisturbed for 15 minutes. Once it has cooled, fluff gently with a fork. Reserve.
2. In a medium bowl, mix the salad ingredients bar the toasted almonds. Then add the rice and mix gently to combine.
3. In a small bowl, whisk the ingredients for the dressing. Pour the dressing over the salad and mix again, adding salt and pepper. Taste and adjust the dressing ingredients. Fluff with a fork so as not to make the rice mushy. Serve at room temperature.
While vegetarian food is not hard to find in most pubs, hotels etc, the choice is woefully limited – usually pasta of some kind, vegetarian chili, bean burger, sometimes a vegetable curry or Mediterranean-veg lasagna chock full of gross aubergines/eggplant and zucchini (because, you know, they’re Mediterranean vegetables and apparently no other veggies are known to ever be used in Mediterranean cuisine). Some places offer two vegetarian options, if you’re lucky. But usually it’s just one of the above, and vegetarians have to like it or lump it.
I should be glad that there’s at least SOMETHING non-meaty and non-fishy to eat in Western restaurants, and I suppose I am... but I still can’t help wishing that their chefs would show just a little imagination for vegetarians. Which is why I like a little pub in Wem (Pete’s hometown), called the Old Post Office (Pete’s home-away-from), which is owned and run by Pete’s business partner Guy, and a couple of his friends. The pub is called the Old Post Office because before it was converted to a pub, it used to be the old post office premises before they moved lock stock and barrel to the new post office premises – well, why did you think the pub’s name is what it is?
Anyway, I like the pub for all sorts of reasons – one, the younger crowd (the noisy, binge drinking, annoying kind) stay away because it doesn’t offer them much in the way of a “hep” ambience. Two, the pub plays good music on an excellent sound system (which Pete set up). Three, the décor is homely (I especially love the squashy-soft sofas from whose hug it’s difficult to get out) but with an exotic touch in the way of beautiful sculptures and paintings and wall-hangings which Guy brought back from his trips to Africa. The effect is casual and comfortable.
And now for the fourth and most important reason - the food. The pub offers a carvery every Sunday, with at least two different choices of meat, which Pete loves. The Sunday carvery has had very good reviews in the local newspapers, because the servings and accompaniments are generous – and all freshly cooked that day, nothing from frozen. I would be happy to eat just the accompaniments that are available – roast potatoes, boiled potatoes, cabbage, peas, cauliflower or broccoli cheese, roast parsnips, carrots, leeks, stuffing balls, Yorkshire puddings - a veritable feast!
But I get a special entree just for me as the only vegetarian who goes there for Sunday lunch. The two lady chefs make it a point to try out a new recipe for me, even though – or perhaps especially because – vegetarian food is not their comfort zone. It’s not even as if I’m a guinea pig… apparently they try out their new recipes during the week on the regulars (the pub makes it a point to provide sandwiches and other finger food on the house, in the evening), asking them for feedback. And then, on a Sunday, the recipe makes its formal debut – just for me (or any other vegetarian, assuming any comes along. It hasn’t happened yet, they say.)
Since I know that there won’t be any aubergine in anything (the staff all know of my loathing for this gross slimy-when-cooked vegetable), I’m always delighted to try whatever they've made – and so far, every single thing has been a hit. It's really nice of them to take the trouble to make anything, just for one person, especially when they've got their hands full catering for all the regular guests.
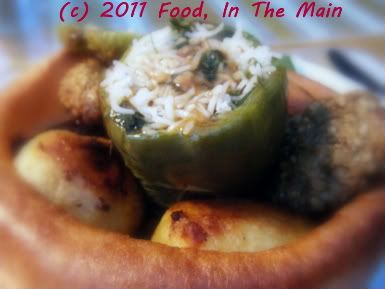
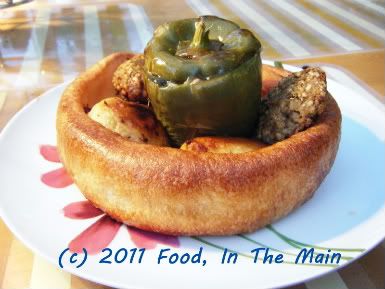
One time it was peppers stuffed with a really nice rice mixture, and since I had peppers at home last Sunday (when Pete and Bex were having a Sunday lunch at home), I decided to make my own main course and share the accompaniments (called “trimmings”) with my husband and stepdaughter for our family meal. Pete served everything in a giant Yorkshire pudding - yummy!
Recipe for: Stuffed green peppers with nutty rice
Ingredients:
2 green peppers (capsicum/bell pepper)
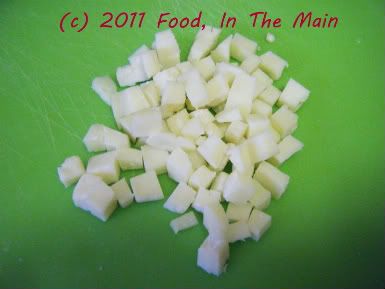
1/4 cup paneer, diced into 1/2 cm cubes
1 cup cooked basmati rice
1 green chilli, sliced into thin rings
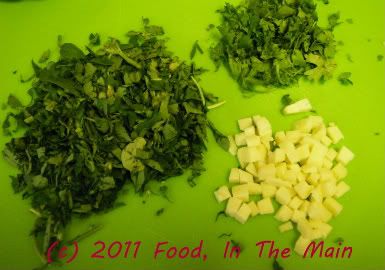
4 tbsp shredded methi leaves (optional)
1/2 cup shredded coriander leaves
1/2 tsp cumin powder
2 tbsp mixed nuts (peanuts, cashewnuts, pecans), chopped
2 tsp raisins or sultanas
1/2 tsp freshly ground black pepper
1/4 tsp garam masala
2 tsp oil
Salt to taste
Method:
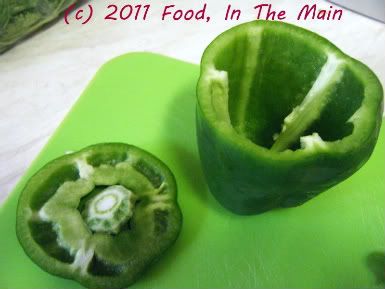
1. Slice off the tops of the peppers and carefully remove the seeds and pith. Make sure the peppers can remain upright; even up the bottoms if required so that they sit flat. Reserve the tops, don't throw them away.
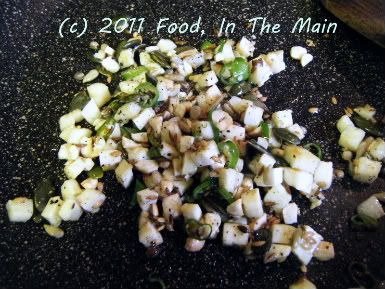
2. Heat the oil in a pan and add the chillies, paneer and chopped nuts. Stir fry till the nuts and the paneer are pale golden brown.
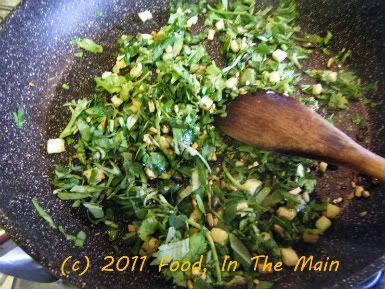
3. Add the coriander and methi leaves and fry till they wilt.
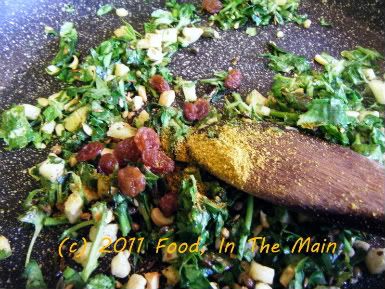
4. Add the sultanas/raisins.
5. Now mix in the rice, garam masala, black pepper powder and salt to taste. Heat this stuffing thoroughly, then turn the heat off and let it cool.
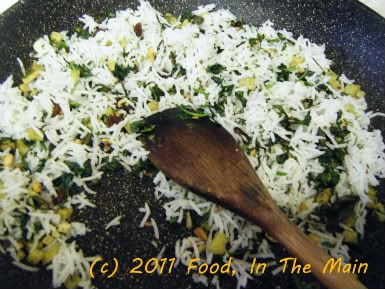
6. Spoon the filling into the prepared peppers, pressing down with the back of the spoon to get as much of the stuffing in as possible,
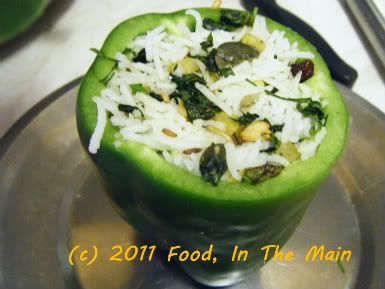
then put the tops of the peppers back on.
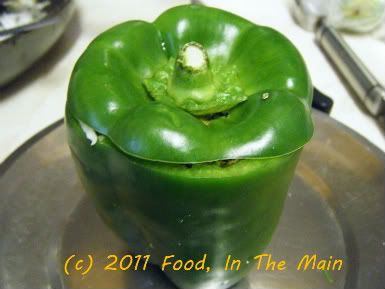
7. Place the stuffed peppers on a baking tray and spray them with Pam on the outside, or brush them with a little oil. Bake in the oven at 200C for 15 minutes or so, or till the peppers are a soft and wrinkled. Don't overcook them.
8. Serve the peppers hot as a main course with a selection of vegetables, and vegetarian gravy.

RECIPE: STUFFED GREEN PEPPERS WITH NUTTY RICE
Ingredients:
2 green peppers (capsicum/bell pepper)
1/4 cup paneer, diced into 1/2 cm cubes
1 cup cooked basmati rice
1 green chilli, sliced into thin rings
4 tbsp shredded methi leaves (optional)
1/2 cup shredded coriander leaves
1/2 tsp cumin powder
2 tbsp mixed nuts (peanuts, cashewnuts, pecans), chopped
2 tsp raisins or sultanas
1/2 tsp freshly ground black pepper
1/4 tsp garam masala
2 tsp oil
Salt to taste
Method:
1. Slice off the tops of the peppers and carefully remove the seeds and pith. Make sure the peppers can remain upright; even up the bottoms if required so that they sit flat. Reserve the tops, don't throw them away.
2. Heat the oil in a pan and add the chillies, paneer and chopped nuts. Stir fry till the nuts and the paneer are pale golden brown.
3. Add the coriander and methi leaves and fry till they wilt.
4. Add the sultanas/raisins.
5. Now mix in the rice, garam masala, black pepper powder and salt to taste. Heat this stuffing thoroughly, then turn the heat off and let it cool.
6. Spoon the filling into the prepared peppers, pressing down with the back of the spoon to get as much of the stuffing in as possible, then put the tops of the peppers back on.
7. Place the stuffed peppers on a baking tray and spray them with Pam on the outside, or brush them with a little oil. Bake in the oven at 200C for 15 minutes or so, or till the peppers are a soft and wrinkled. Don't overcook them.
8. Serve the peppers hot as a main course with a selection of vegetables, and vegetarian gravy.
The most common South Indian item made with rava or semolina is upma. Upma is not my first choice of breakfast or tiffin items, as I might have mentioned before. I don’t hate it, it’s just not my first choice. If I do have it at home, I like it plain, without anything added to jazz it up - like onions or tomatoes or ginger or any other vegetables – but with sugar sprinkled on top, or on the side – I’m not fussy (oh, the irony).
But when it comes to rava kesari, I have no objections at all. A friend who knows of my tepid feelings towards upma once commented that rava kesari is just sweet upma. I’m not certain now, but I think she might have been trying to put me off my serving of kesari – too bad for her it didn’t work. There was no sharing involved from my side, I can tell you.
When I first read about pineapple kesari, a great big light bulb seemed to go off in my head, illuminating every last cobweb in there – now WHY hadn’t the idea of pineapple kesari occurred to me? Adding one of my favourite fruits to a sweet that I liked even “plain” – how perfectly delicious!
And so it was – perfectly delicious.
Note: I have to add that my kesari was a bit on the dry side (ok by me) because I skimped on the ghee – well, slightly skimped. If you, on the other hand, weigh in on the skimpy side of the scales, by all means add another generous tablespoon of the good stuff. Your pineapple kesari will not suffer for it, I assure you.
Recipe for: Pineapple rava (cream of wheat) kesari
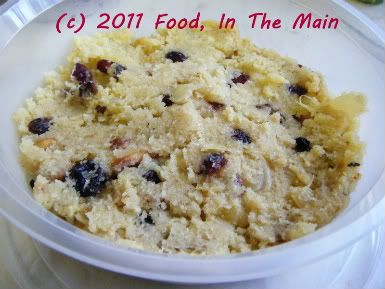 Ingredients:
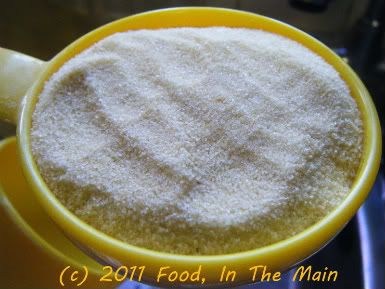
1/2 cup rava (semolina)
 1/4 tsp saffron strands
4 tbsp warm milk
1/2 cup hot milk
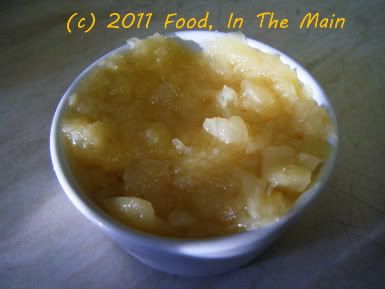
1/4 cup crushed/chopped pineapple (fresh or canned)
 1 cup water
1/4 cup sugar (or to taste)
1/8 tsp cardamom powder
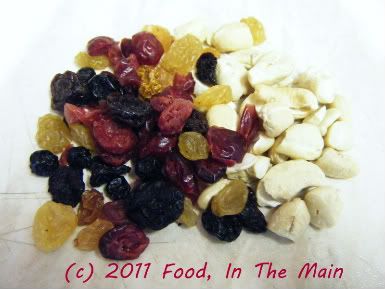
4-5 cashews, broken in pieces
1 tbsp ghee
2 tbsp raisins or mixed dried berries
Method:
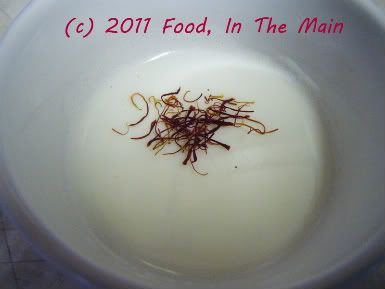
1. Add saffron to 4 tbsp warm milk and set aside to soak.
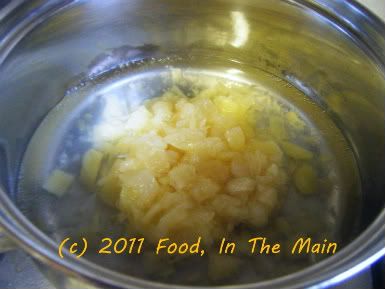
 2. Mix the sugar, pineapple and water together and bring to a boil. Lower the heat to a simmer and leave it for 3-4 minutes while you get the rava ready.
 3. Melt the ghee in a small pan and add the cashews and raisins/berries.
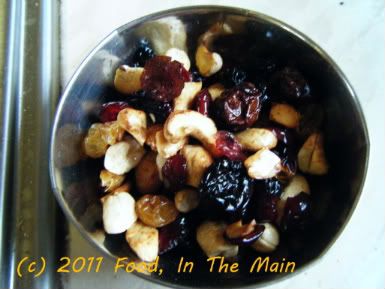
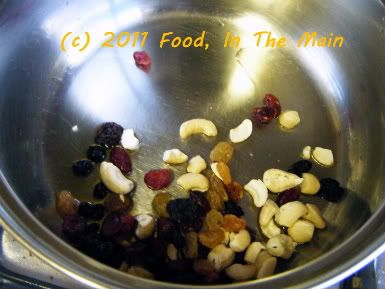 Fry on medium heat till the cashews turn golden brown and the raisins/berries puff up. Remove from pan and reserve.
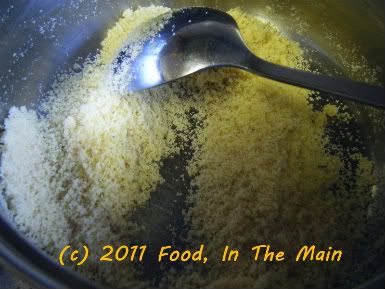
 4. Toast the rava (semolina) on low heat in the same pan till it turns a darker shade and becomes aromatic.
 5. Now carefully pour the boiling pineapple mixture over the toasted rava, stirring briskly to avoid lumps forming.
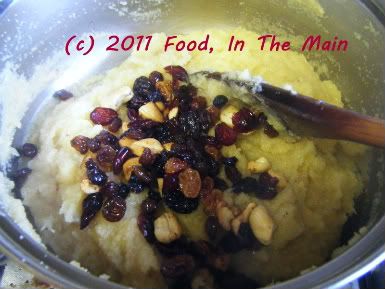
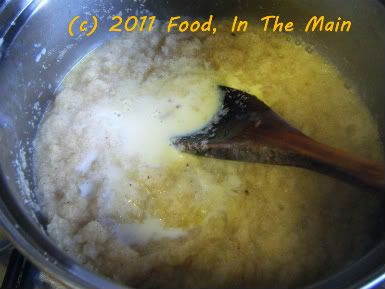 6. Stir in the hot milk as well. Cook the rava for 2-3 minutes longer, then add the ghee-fried cashews and raisins/berries. Serve hot.
RECIPE: PINEAPPLE RAVA (SEMOLINA) KESARI
Ingredients:
1/2 cup rava (semolina)
1/4 tsp saffron strands
4 tbsp warm milk
1/2 cup hot milk
1/4 cup crushed/chopped pineapple (fresh or canned)
1 cup water
1/4 cup sugar (or to taste)
1/8 tsp cardamom powder
4-5 cashews, broken in pieces
1 tbsp ghee
2 tbsp raisins or mixed dried berries
Method:
1. Add saffron to 4 tbsp warm milk and set aside to soak.
2. Mix the sugar, pineapple and water together and bring to a boil. Lower the heat to a simmer and leave it for 3-4 minutes while you get the rava ready.
3. Melt the ghee in a small pan and add the cashews and raisins/berries. Fry on medium heat till the cashews turn golden brown and the raisins/berries puff up. Remove from pan and reserve.
4. Toast the rava (semolina) on low heat in the same pan till it turns a darker shade and becomes aromatic.
5. Now carefully pour the boiling pineapple mixture over the toasted rava, stirring briskly to avoid lumps forming.
6. Stir in the hot milk as well. Cook the rava for 2-3 minutes longer, then add the ghee-fried cashews and raisins/berries. Serve hot.
I think this is the second recipe on my blog that involves aubergines. In five years plus of blogging, only the second recipe. There is a very good reason for this – I hate aubergines. Pete likes them, though, and occasionally guilt overcomes loathing and I make something specially for him, with the purple horrors as the star ingredient. (The guilt has to build up slowly over the years, as there is an awful lot of loathing to overcome.)
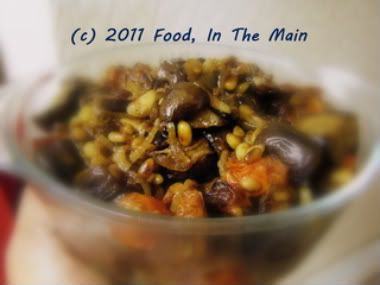
Anyway, this is very definitely an aubergine lover’s dream dish. It’s supposed to be served as a side with grilled lamb chops, but if you’re vegetarian, feel free to dive right in. It’s a pretty dry dish – it might even do well as part of a tapas spread, come to think of it. The onion base tastes absolutely delicious with the garlic and balsamic vinegar and pine nuts, and I am going to make the dish again, at some point, with bell peppers - although I’d probably leave out the raisins. Should do very nicely over spiced couscous, methinks...
Recipe for: Mediterranean-style aubergine
Ingredients:
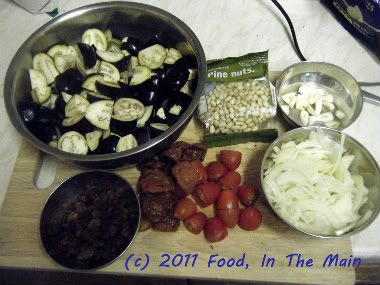
4 cups baby aubergines, quartered
4 cloves garlic, thickly sliced
2 small onions, sliced very fine
2 tbsp extra virgin olive oil
8-10 baby plum tomatoes, cut in half
3 tbsp sundried tomatoes
1 tsp cumin seeds
1/2 tsp cinnamon powder
2 tbsp pine nuts
2 tbsp raisins
2 tsp caster sugar
1 tbsp balsamic vinegar
2 tbsp red wine vinegar
Salt to taste
Method:
1. Heat 1 tbsp extra-virgin olive oil in a large pan and add the garlic and onion.
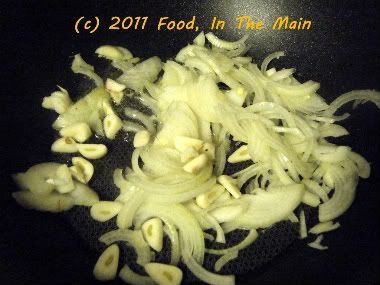
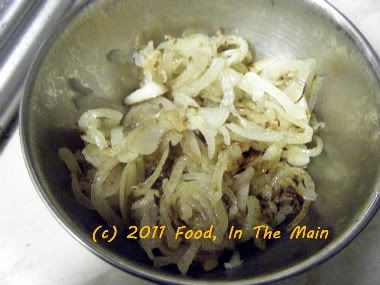
2. Cook for about 5 minutes over a medium heat, until soft and just starting to brown. Remove from the pan and reserve.
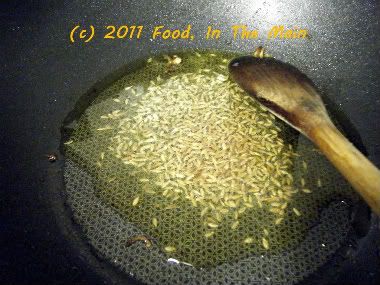
3. Turn up the heat a bit, add the remaining olive oil to the pan. Add the cumin seeds.
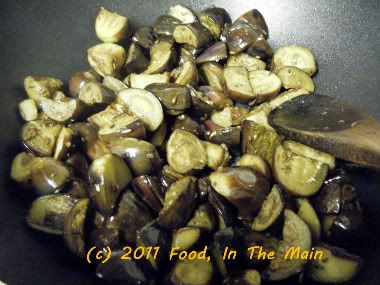
4. Now add the aubergine and fry it, stirring often, for 7-8 minutes, until the aubergine is soft and starting to brown.
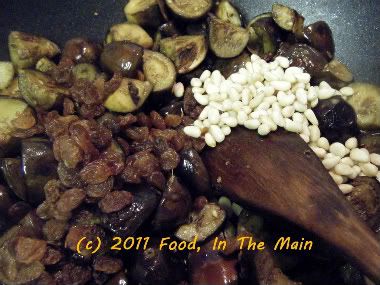
5. Sprinkle in the raisins and pine nuts and stir it all together.
6. Throw in the reserved onion and garlic,
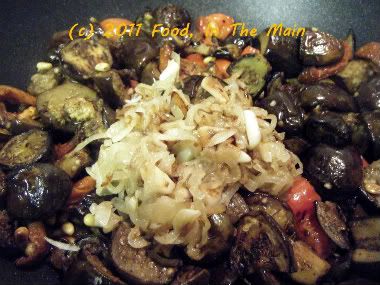
plus the halved plum tomatoes and the ovendried/sundried tomatoes.
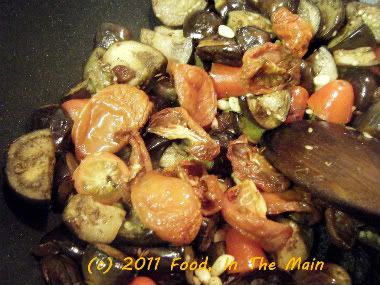
7. Cook for 3-4 minutes, stirring occasionally, until the tomatoes begin to soften.
8. Sprinkle 2 tsp caster sugar and 1 tbsp balsamic vinegar, 2 tbsp white wine vinegar over the aubergine. Stir together until well combined. Add salt to taste, check for seasoning, then remove from the heat.
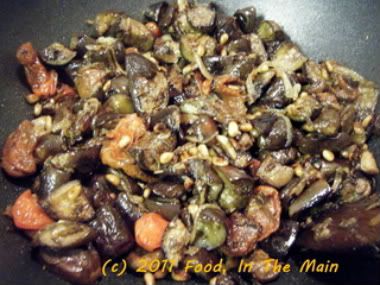
9. Serve warm with couscous, or at room temperature as a snack.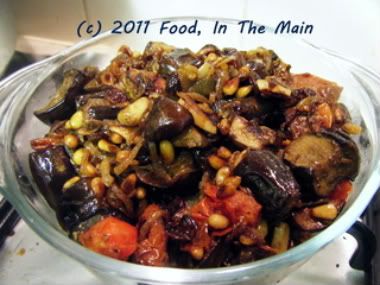
Garnish with a few mint leaves sliced into strips.
RECIPE: MEDITERRANEAN-STYLE AUBERGINE
Ingredients:
4 cups baby aubergines, quartered
4 cloves garlic, thickly sliced
2 small onions, sliced very fine
2 tbsp extra virgin olive oil
8-10 baby plum tomatoes, cut in half
3 tbsp sundried tomatoes
1 tsp cumin seeds
1/2 tsp cinnamon powder
2 tbsp pine nuts
2 tbsp raisins
2 tsp caster sugar
1 tbsp balsamic vinegar
2 tbsp red wine vinegar
Salt to taste
Method:
1. Heat 1 tbsp extra-virgin olive oil in a large pan and add the garlic and onion.
2. Cook for about 5 minutes over a medium heat, until soft and just starting to brown. Remove from the pan and reserve.
3. Turn up the heat a bit, add the remaining olive oil to the pan. Add the cumin seeds.
4. Now add the aubergine and fry it, stirring often, for 7-8 minutes, until the aubergine is soft and starting to brown.
5. Sprinkle in the raisins and pine nuts and stir it all together.
6. Throw in the reserved onion and garlic, plus the halved plum tomatoes and the ovendried/sundried tomatoes.
7. Cook for 3-4 minutes, stirring occasionally, until the tomatoes begin to soften.
8. Sprinkle 2 tsp caster sugar and 1 tbsp balsamic vinegar, 2 tbsp white wine vinegar over the aubergine. Stir together until well combined. Add salt to taste, check for seasoning, then remove from the heat.
9. Serve warm, stirred into couscous, or at room temperature as a salad. Garnish with a few mint leaves sliced into strips.
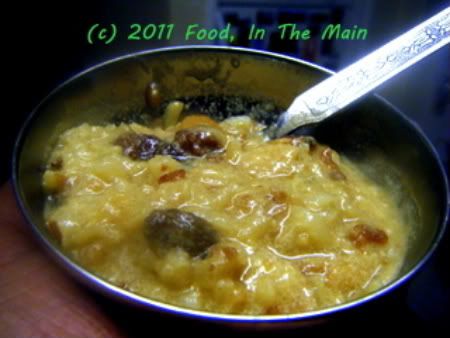
My two pennies on the matter of brown-rice chakkara pongal: It takes longer to cook but tastes chewier and better than regular chakkara pongal.
Other points to note:
1. It might not take YOU as long as it did me to cook the brown rice, even in a pressure cooker, if you know:
a) how long it takes to cook brown rice, and
b) how much liquid to add per measure of brown rice so that it is not just perfectly cooked, but perfectly overcooked (as required for pongal).
2. Following on from 1(b) above - and if 1(a) and (b) don’t apply to you, the way they didn’t to me - your pressure-cooked brown rice+dal might be slightly swimming in milk. This will not matter if:
a) You boil the heck out of the pongal to reduce down the excess milk to the consistency you like, and
b) You like your chakkara pongal to be slightly runny even when cold, rather than so thick that you can slice it.
3. I substituted flaked almonds for the more traditional cashewnuts because I didn’t have the more traditional cashewnuts. You don’t have to do what I did. Especially if you DO have cashewnuts.
With these facts and caveats to hand, you may now go on to the
Recipe for: Brown rice chakkara pongal
 Ingredients:
1 tbsp moong dal
3 tbsp brown basmati rice
1/4 cup jaggery
Seeds from 3 cardamom pods
1-1/2 cups milk
2 tbsp flaked almonds
2 tbsp raisins
1 htsp ghee
About 1/4 cup water
Method:
1. Toast the moong dal in a pan, shaking it frequently so that the dal doesnt burn, until the dal changes to a darker colour.
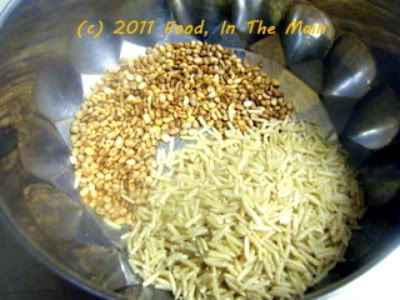 2. Pressure cook the dal, rice and milk for at least 5 whistles, preferably turning down the heat after 3 whistles and letting it simmer for 10 minutes before turning up the heat again.
3. Let the pressure reduce on its own before opening the cooker. Mash the rice and dal a bit - it's ok if there's some milk left in the container.
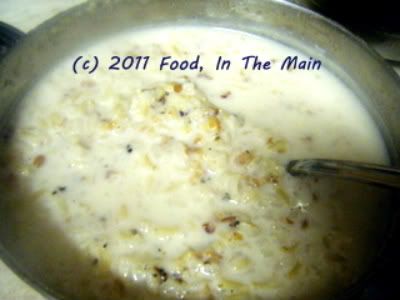 4. Meanwhile, heat the ghee in a pan and fry the raisins and almond flakes until toasted light brown. Remove from the heat and pour onto the milk-dal mixture.
5. Now place the jaggery and water in a pan and let the jaggery dissolve.
 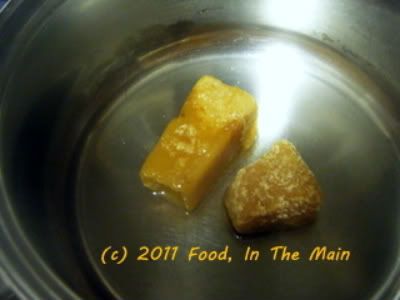 Once it is dissolved and the water is bubbling,
 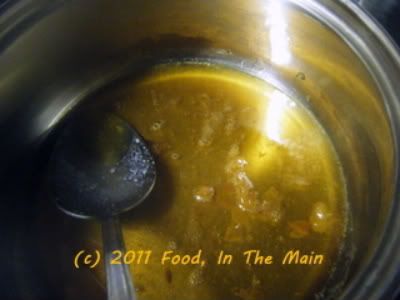 pour the milk-dal mixture into it and stir well.
 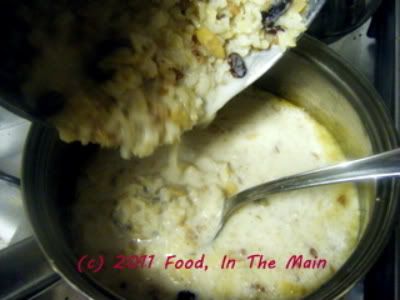 If the chakkara pongal is runny, let it simmer for 5-10 minutes or till the pongal thickens. (It will thicken a bit more on cooling.)
 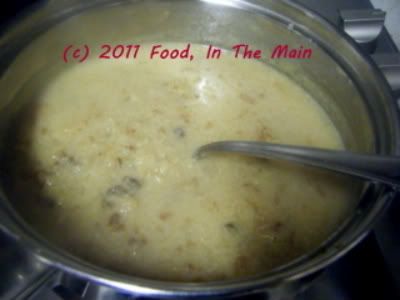 Serve warm.
RECIPE: BROWN RICE CHAKKARA PONGAL
Ingredients:
1 tbsp moong dal
3 tbsp brown basmati rice
1/4 cup jaggery
Seeds from 3 cardamom pods
1-1/2 cups milk
2 tbsp flaked almonds
2 tbsp raisins
1 htsp ghee
About 1/4 cup water
Method:
1. Toast the moong dal in a pan, shaking it frequently so that the dal doesnt burn, until the dal changes to a darker colour.
2. Pressure cook the dal, rice and milk for at least 5 whistles, preferably turning down the heat after 3 whistles and letting it simmer for 10 minutes before turning up the heat again.
3. Let the pressure reduce on its own before opening the cooker. Mash the rice and dal a bit - it's ok if there's some milk left in the container.
4. Meanwhile, heat the ghee in a pan and fry the raisins and almond flakes until toasted light brown. Remove from the heat and pour onto the milk-dal mixture.
5. Now place the jaggery and water in a pan and let the jaggery dissolve. Once it is dissolved and the water is bubbling, pour the milk-dal mixture into it and stir well. If the chakkara pongal is runny, let it simmer for 5-10 minutes or till the pongal thickens. (It will thicken a bit more on cooling.) Serve warm.


