skip to main |
skip to sidebar
I think this is the second recipe on my blog that involves aubergines. In five years plus of blogging, only the second recipe. There is a very good reason for this – I hate aubergines. Pete likes them, though, and occasionally guilt overcomes loathing and I make something specially for him, with the purple horrors as the star ingredient. (The guilt has to build up slowly over the years, as there is an awful lot of loathing to overcome.)
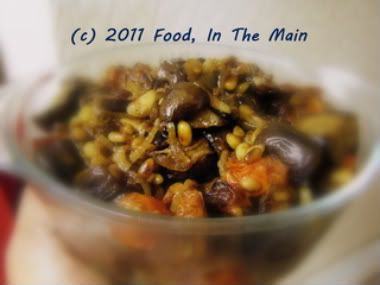
Anyway, this is very definitely an aubergine lover’s dream dish. It’s supposed to be served as a side with grilled lamb chops, but if you’re vegetarian, feel free to dive right in. It’s a pretty dry dish – it might even do well as part of a tapas spread, come to think of it. The onion base tastes absolutely delicious with the garlic and balsamic vinegar and pine nuts, and I am going to make the dish again, at some point, with bell peppers - although I’d probably leave out the raisins. Should do very nicely over spiced couscous, methinks...
Recipe for: Mediterranean-style aubergine
Ingredients:
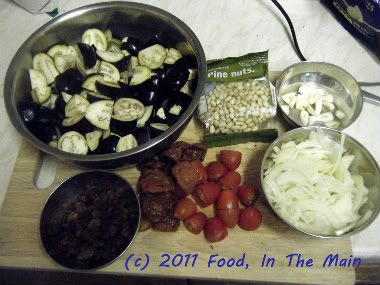
4 cups baby aubergines, quartered
4 cloves garlic, thickly sliced
2 small onions, sliced very fine
2 tbsp extra virgin olive oil
8-10 baby plum tomatoes, cut in half
3 tbsp sundried tomatoes
1 tsp cumin seeds
1/2 tsp cinnamon powder
2 tbsp pine nuts
2 tbsp raisins
2 tsp caster sugar
1 tbsp balsamic vinegar
2 tbsp red wine vinegar
Salt to taste
Method:
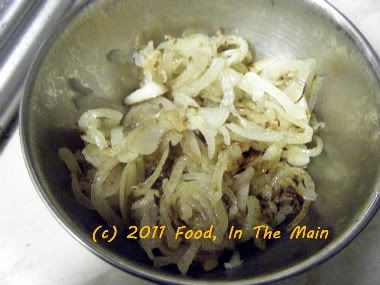
1. Heat 1 tbsp extra-virgin olive oil in a large pan and add the garlic and onion.
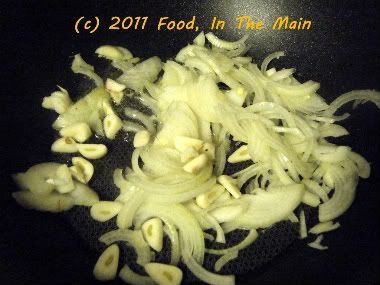
2. Cook for about 5 minutes over a medium heat, until soft and just starting to brown. Remove from the pan and reserve.
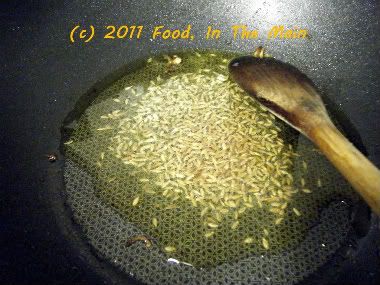
3. Turn up the heat a bit, add the remaining olive oil to the pan. Add the cumin seeds.
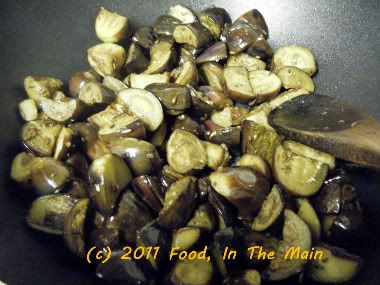
4. Now add the aubergine and fry it, stirring often, for 7-8 minutes, until the aubergine is soft and starting to brown.
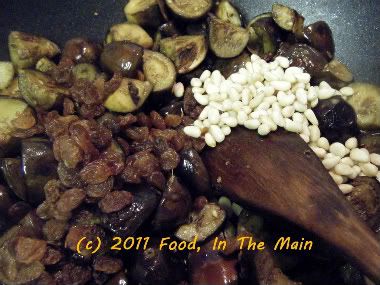
5. Sprinkle in the raisins and pine nuts and stir it all together.
6. Throw in the reserved onion and garlic,
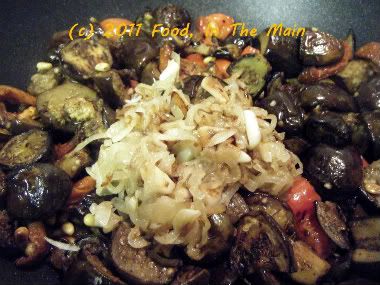
plus the halved plum tomatoes and the ovendried/sundried tomatoes.
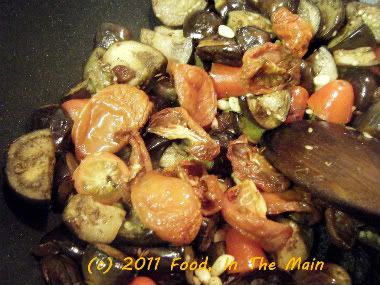
7. Cook for 3-4 minutes, stirring occasionally, until the tomatoes begin to soften.
8. Sprinkle 2 tsp caster sugar and 1 tbsp balsamic vinegar, 2 tbsp white wine vinegar over the aubergine. Stir together until well combined. Add salt to taste, check for seasoning, then remove from the heat.
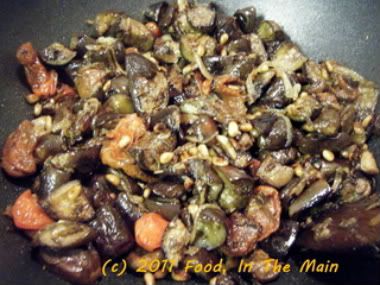
9. Serve warm with couscous, or at room temperature as a snack.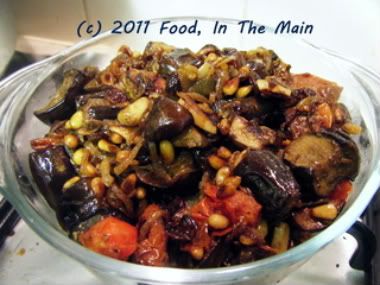
Garnish with a few mint leaves sliced into strips.
RECIPE: MEDITERRANEAN-STYLE AUBERGINE
Ingredients:
4 cups baby aubergines, quartered
4 cloves garlic, thickly sliced
2 small onions, sliced very fine
2 tbsp extra virgin olive oil
8-10 baby plum tomatoes, cut in half
3 tbsp sundried tomatoes
1 tsp cumin seeds
1/2 tsp cinnamon powder
2 tbsp pine nuts
2 tbsp raisins
2 tsp caster sugar
1 tbsp balsamic vinegar
2 tbsp red wine vinegar
Salt to taste
Method:
1. Heat 1 tbsp extra-virgin olive oil in a large pan and add the garlic and onion.
2. Cook for about 5 minutes over a medium heat, until soft and just starting to brown. Remove from the pan and reserve.
3. Turn up the heat a bit, add the remaining olive oil to the pan. Add the cumin seeds.
4. Now add the aubergine and fry it, stirring often, for 7-8 minutes, until the aubergine is soft and starting to brown.
5. Sprinkle in the raisins and pine nuts and stir it all together.
6. Throw in the reserved onion and garlic, plus the halved plum tomatoes and the ovendried/sundried tomatoes.
7. Cook for 3-4 minutes, stirring occasionally, until the tomatoes begin to soften.
8. Sprinkle 2 tsp caster sugar and 1 tbsp balsamic vinegar, 2 tbsp white wine vinegar over the aubergine. Stir together until well combined. Add salt to taste, check for seasoning, then remove from the heat.
9. Serve warm, stirred into couscous, or at room temperature as a salad. Garnish with a few mint leaves sliced into strips.
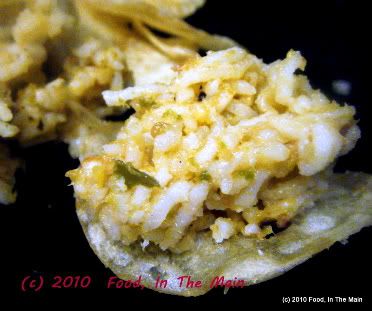
This is the last post for 2010. I would like to wish everybody - regular commenters, lurkers, casual browsers and the odd passers-by - a wonderful, exciting, fulfilling but above all else, a HAPPY new year 2011! I could have seen the old year out on my blog with something sweet, but I think I'll save that for the new year. So the year 2010 on my blog ends with a simple thogayal that uses a rather hated vegetable - brussels sprouts - to make a dish that is entirely suited to Indian taste-buds. I used baby brussels sprouts (couldn't resist buying them, they looked so cute) but regular sized ones will work just as well in this recipe.
Recipe for: Tomato-brussels sprouts thogayal
 Ingredients:
1 cup brussels sprouts, quartered
3 medium plum tomatoes, quartered
4 fresh green chillies, chopped (or to taste)
4 dried red chillies (or to taste)
1 tsp cumin seeds
2 tsp urad dal
1/4 tsp asafoetida powder
Large marble-sized piece of tamarind fruit (or 3/4 tsp tamarind paste)
Salt to taste
4 tsp oil
Method:
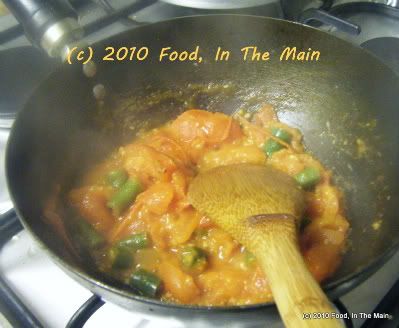
1. Heat 2 tsp oil in a pan and add the asafoetida powder, cumin seeds and green chillies. Fry for 45 seconds, then add the tomatoes and cook on medium heat till the tomatoes are cooked.
 Remove from heat and reserve.
2. Heat the remaining oil in another pan and fry the dry red chillies and urad dal for 30 seconds,
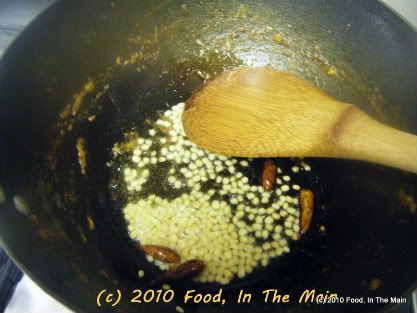 then add the brussels sprouts and stir well.
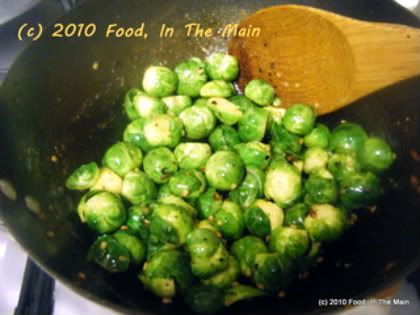 3. Add 3-4 tbsp water, cover the pan and let the sprouts cook till done on low heat, about 8-10 minutes.
4. Grind the cooled tomatoes with the tamarind to a smooth paste, then add the sprouts and grind to a fairly coarse paste. Add salt to taste and mix well.
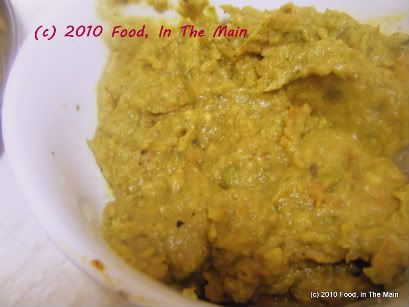 Serve as a side with idlis, dosa, chapaties, etc. Also good mixed with plain
cooked rice and ghee.
RECIPE: TOMATO-BRUSSELS SPROUTS THOGAYAL
Ingredients:
1 cup brussels sprouts, quartered
3-4 medium tomatoes, quartered
4 fresh green chillies, chopped (or to taste)
4 dried red chillies (or to taste)
1 tsp cumin seeds
2 tsp urad dal
1/4 tsp asafoetida powder
Large marble-sized piece of tamarind fruit (or 3/4 tsp tamarind paste)
Salt to taste
4 tsp oil
Method:
1. Heat 2 tsp oil in a pan and add the asafoetida powder, cumin seeds and green chillies. Fry for 45 seconds, then add the tomatoes and cook on medium heat till the tomatoes are cooked. Remove from heat and reserve.
2. Heat the remaining oil in another pan and fry the dry red chillies for 30 seconds, then add the brussels sprouts and stir well.
3. Add 3-4 tbsp water, cover the pan and let the sprouts cook till done on low heat, about 8-10 minutes.
4. Grind the cooled tomatoes with the tamarind to a smooth paste, then add the sprouts and grind to a fairly coarse paste. Add salt to taste and mix well. Serve as a side with idlis, dosa, chapaties, etc. Also good mixed with plain cooked rice and ghee.
 I wonder if there comes a point when it's no longer a thrill to be able to go into your garden and pick your own vegetables, herbs or fruit fresh, to use in your own kitchen (or even to see used in someone else’s kitchen, come to that) for your own family's consumption. I haven't come to that stage and I don't see myself ever doing so, if only because I don’t grow as many edible things as I’d like to because of space constraints and my own limitations as a gardener.
Given that, every little thing that I use from my garden is a source of huge pleasure – the ripe blueberries that I pick off in ones and twos and eat rightaway (not enough of them to do anything else!); the chillies that I’ve picked and used; the herbs (3 types of mint, sage, thyme, chives, parsley, coriander and 3 types of basil), the spinach beet leaves… all of these seem to taste better for having grown in my containers.
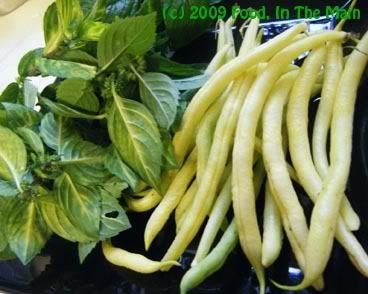
This year, for the first time, I tried growing some dwarf yellow French beans – I have six plants that give me a handful of golden-yellow tender beans every week. Usually I’m happy to boil them, and eat them straightaway without further ado – they’re that good (and I like fresh French beans that much). But this time I wanted to use them in a recipe, and given that I’d got a bunch of mint (it really is growing like crazy this year) from my garden, the last of the coriander and some fresh green chillies, I thought to combine them all in one recipe – along with fresh green peas as well.
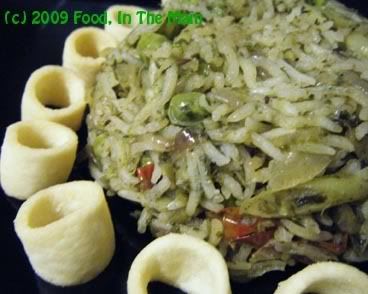
So that is what this is – a very green(fingered) pulao recipe.
Recipe for: Minty golden bean pulao
Ingredients:
1 cup basmati rice, washed and soaked for 20 minutes
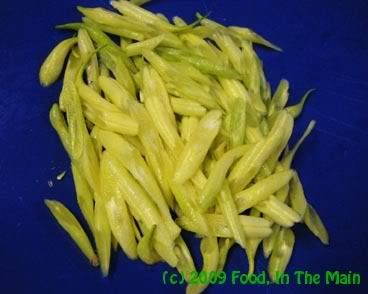
1/2 cup golden (or green) French beans, sliced on the diagonal
1/2 cup fresh green peas
1 cup loosely packed mint leaves
1/2 cup loosely packed coriander leaves
2 tbsp lime/lemon juice
5 baby plum tomatoes (or 1 small tomato), chopped
2 medium onions, sliced thin
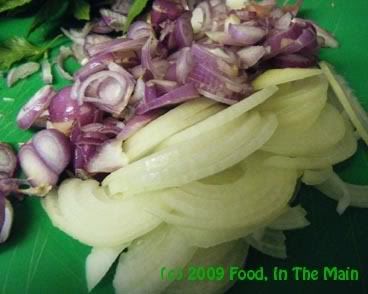
5 purple shallots, sliced thin
4 fresh green chillies (or to taste)
1 tsp cumin seeds
1 tsp coriander powder
1" piece ginger, sliced
Salt to taste
1 tsp oil
2 cups water
Method:
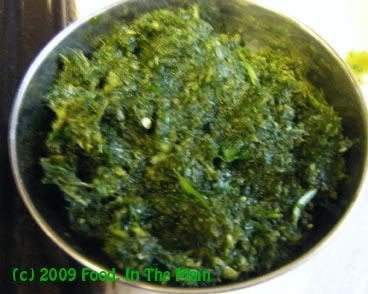
1. Grind the mint, coriander, green chillies and ginger to a smooth paste along with the lemon juice. Reserve.
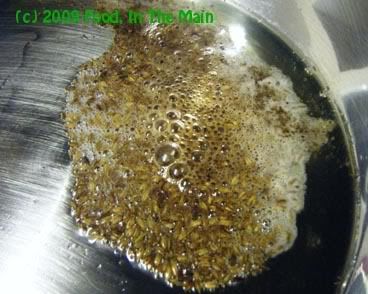
2. In a pan (preferably one which has a tight-fitting lid), heat the oil. Fry the cumin seeds and coriander powder for 30 seconds,
then add the sliced shallots and onions and stir-fry on high heat till the onions start to turn soft.
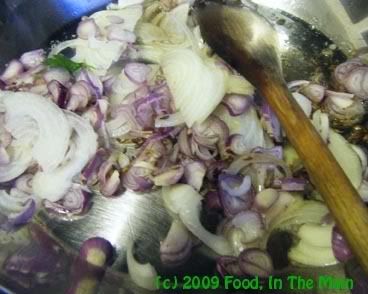
Stir in the tomatoes and let them cook for a couple of minutes.
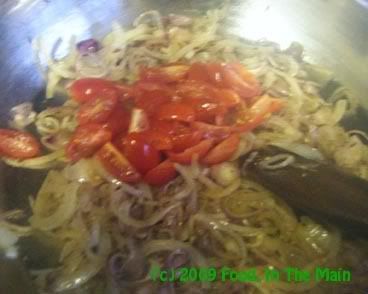
3. Add the green peas and the sliced beans and mix them into the onions, stir-frying for 2-3 minutes.
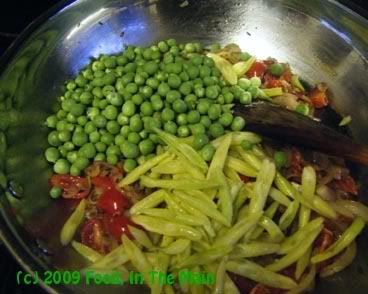
Then add the ground mint-coriander paste
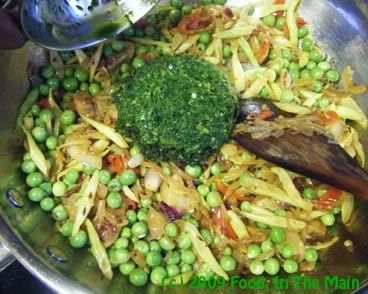
and let it fry till the raw smell goes (about 3 minutes).
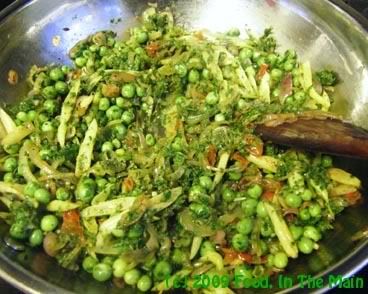
4. Add the soaked rice (without the water), stirring it into the vegetable mixture, keeping the heat med-high. Be careful not to let it "catch" and burn.
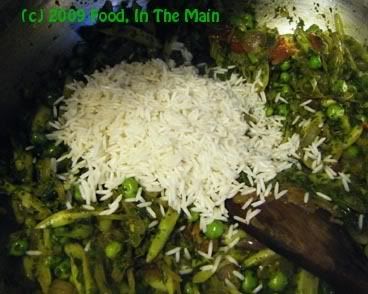
5. Once the rice begins to turn opaque, add 2 cups water and salt to taste.
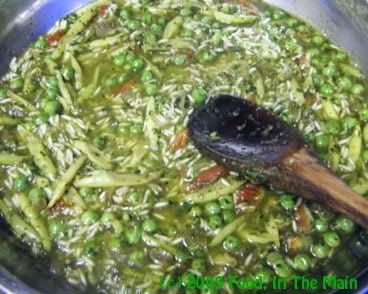
Bring this to a bubbling boil, then turn the heat right down and cover the pan with the lid. Let it cook on the lowest heat for 20 minutes, then turn the heat off and let the pulao sit undisturbed for another 15 minutes.
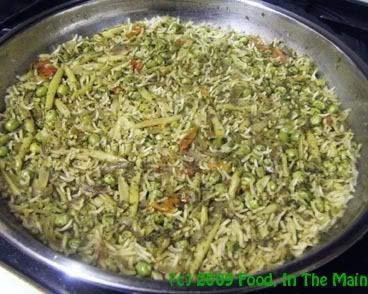
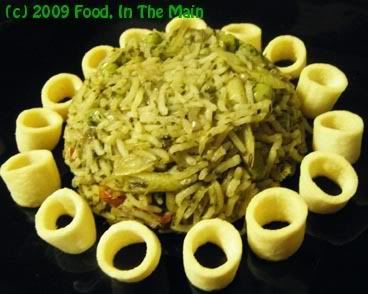
After that, uncover the pan, fluff up the rice with a fork and serve with raita and/or something crunchy on the side.
One of the most dismaying things that can happen to a food blogger is to find that somehow the bandwagon has been missed; that by some freak mischance, a recipe featured possibly in 99.99% of all food blogs – Indian food blogs, I hasten to add – has somehow been omitted from your own blog! Oh, that feeling of being left out in the cold, alone and separate from the buzzing masses of bloggers-with-recipes-in-common is too terrible to describe on a family-friendly blog like this one... so I will, in the interests of preventing readers from weeping all over their keyboards while reading, not describe the pathos of the situation any more.
Seriously, though, I was rather taken aback, while idly flipping down the “Rice” category on my blog, to find that I didn’t seem to have a recipe for tomato rice. It’s not that I haven’t made tomato chutney or thokku – I do have a couple of recipes for those, and one of the ways to make tomato rice is to mix that thokku with cooked rice. It’s the most basic of ways to make this savoury flavoured rice, so it doesn’t require any more instruction than “Mix the tomato thokku with cooked rice in a proportion that is pleasing to your palate”. (In fact, stopping that instruction at “rice” is probably enough!)
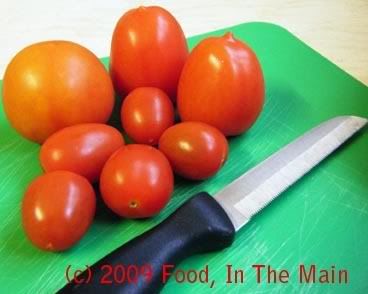
Still, to not have a recipe for tomato rice from scratch, on a blog like mine which purports to list simple basic recipes – well, that was so not on! So I rummaged in my fridge and came up with two ripe plum tomatoes, a few cherry tomatoes and a regular tomato, along with a salad onion – and some further rooting about revealed the existence of a lone red onion as well.
That was plenty for tomato rice for two... and so, my blog now has my version of tomato rice, and I am no longer in the cold. What a warm, fuzzy feeling of acceptance and belonging it is, to be sure… even if it’s only in my mind!
Recipe for: Tomato rice
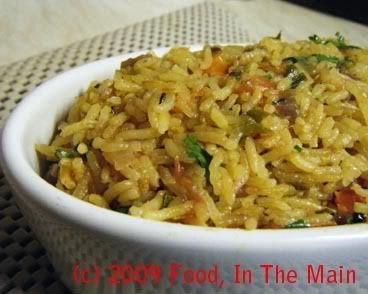
1 cup basmati rice, soaked for 30 minutes
2 cups chopped tomatoes (the better the quality, the better the final taste)
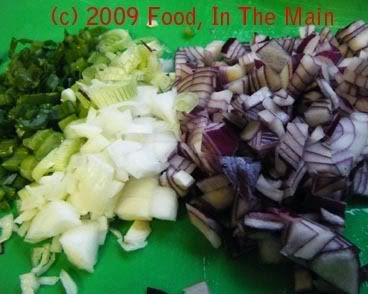
1 large red onion, chopped
1 salad onion with the green bits, chopped (optional)
1 tsp grated ginger
1 tsp cumin seeds
½ tsp garam masala
3-4 fresh green chillies, sliced into thin rings (or to taste)
1/3 tsp asafetida powder
½ tsp turmeric powder
Salt to taste
1-1/2 cups water
2 tsp oil
1 tsp butter
Coriander leaves for garnish
Method:
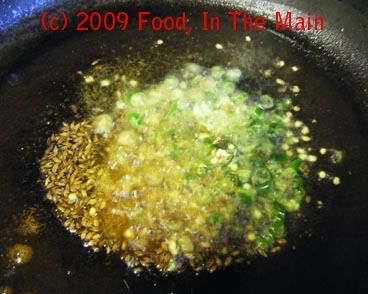
1. Heat the oil in a pan with a tight-fitting lid. Add the cumin seeds, sliced green chillies, turmeric and asafoetida powders and fry them for 40 seconds on high heat, stirring.
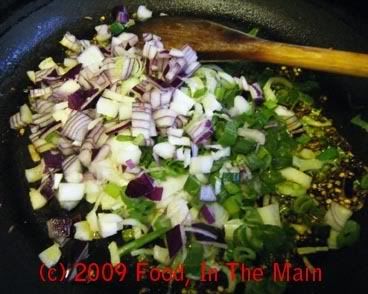
2. Add the chopped onions and mix well, frying till the onions become soft and translucent.
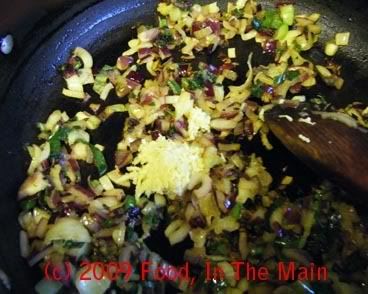
3. Now add the grated ginger and stir it in.
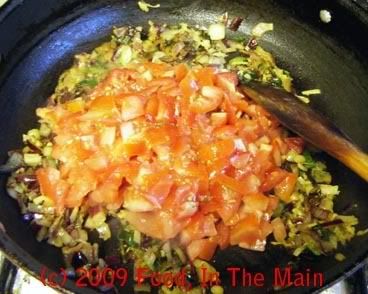
4. Next, toss in the chopped tomatoes
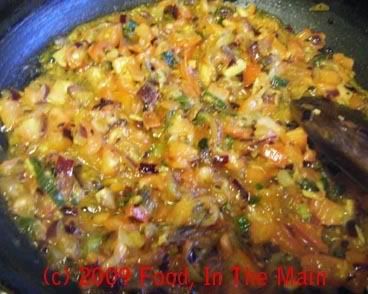
and fry till they begin to turn soft.
5. Now add the drained basmati rice and stir it in.
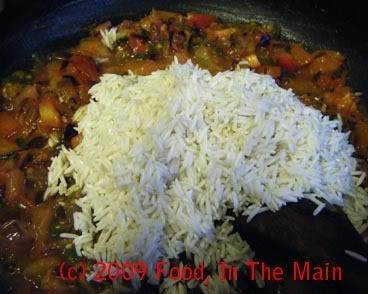
Fry this mixture on high heat, stirring all the time, till it starts to become somewhat dry and tries to clump together.
6. At this point, pour in the 1-1/2 cups water, add the salt and stir it in well. Bring the mixture to a boil.
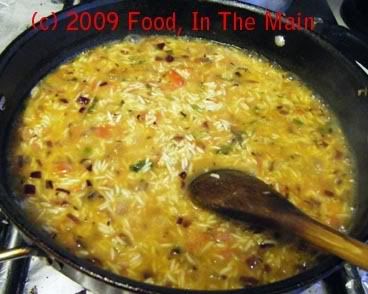
7. Stir in the butter, if using.
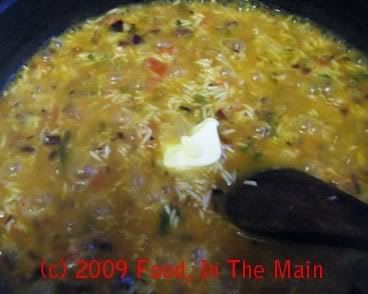
8. Put the lid on the pan once the water is boiling, then turn down the heat and let it cook undisturbed for 15 minutes. Then turn off the heat and let the rice sit covered for up to 30 minutes, but a minimum of 15. Now take off the lid, sprinkle the coriander leaves and gently mix with a fork.
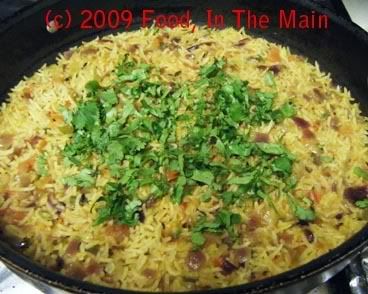
9. Serve warm with a chilled raita and potato chips. This rice tastes even better after a few hours, so it can be made in advance and reheated just before serving.
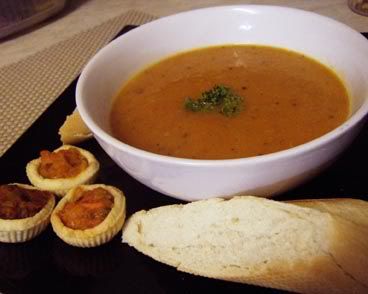
I’ve been wanting to make tomato soup from scratch for the longest time – actually for the last 20 years or so, ever since a very dear friend, A, described in detail the tomato soup that he made at home. This guy, a dedicated cook and an even more dedicated foodie who had traveled extensively on his stomach (not literally), was also blessed with the gift of the gab.
His description of the cooking process, and the taste of the finished product, had me riveted, and when I finally turned my attention back to the tomato soup that I had ordered (we were having lunch at the Mathura Restaurant in Madras), it had morphed into tomato ketchup diluted with water. Strange, that, because until that point I had loved their tomato soup and ordered it pretty much every time I went there. (Another friend of mine religiously had the French onion soup every single time – now there’s a completely true and completely useless fact for your collection, folks.)
Anyhow, since it was A’s fault that the Mathura tomato soup (with four croutons, no less) had been ruined for me forever, he promised to treat me to his home-made specialty – an occasion that never did materialise for one reason or another, as is wont to happen.
But he is more than aware that he owes me (because I keep reminding him), and at some point when I make a trip to Vancouver, he knows he will have to make good.
The point is, ever since that occasion, home-made tomato soup has always seemed the aspirational apex of home comfort food to me, even though we were not big on soup in my family, really – it was mostly an eating-out thing with us, not made at home. Still, that impression about tomato soup stayed with me over the years, although I never got around to making it myself even after I got interested in cooking... partly because it was so tied-in with A and his promise (something like if I was going to have home-made tomato soup, it was going to be HIS soup or nothing at all).
Luckily, stupidity of even that intensity has an expiry date, and after I’d read a few recipes for tomato soup – not just plain ol’ tomato soup, but roasted tomato soup - I finally twigged to the fact that I might be able to make it myself. Once that realization sank in, it took hardly any time to get around from thought to action. (Well, compare it with the pace of evolution and you’ll see how quick I was. Evolution took Nature millions of years. It only took me four.)
Recipe for: Garlicky roasted tomato soup

5 ripe medium-size plum tomatoes, quartered
1 medium red bell pepper, seeded and quartered
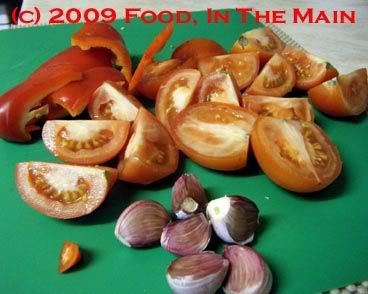
1/4 red scotch bonnet chilli, de-seeded (or use any milder chilli to taste)
5-6 large garlic cloves (unpeeled)
4 medium shallots, halved
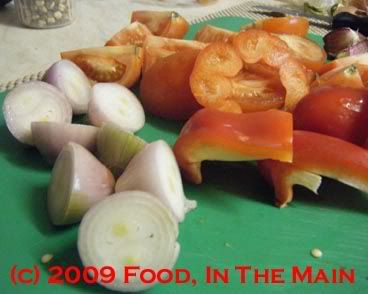
3-4 cups vegetable stock
Coarse sea salt (optional) 1/4 tsp regular paprika powder
Large pinch of smoked paprika powder
1/4 cup full-fat milk/cream
3-4 generous tbsp olive oil
Plenty of fresh coarsely-ground black peppercorns to taste
Method:
1. Pre-heat the oven to 200C. Line a shallow baking tray with foil and grease it with olive oil.
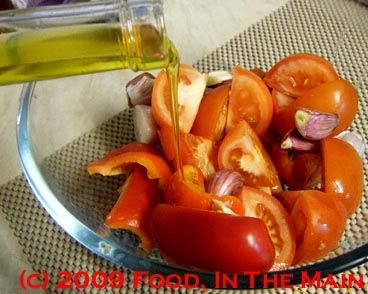
2. Mix together the tomatoes, shallots, peppers, chilli and garlic in a bowl along with the 4-5 tbsp olive oil,
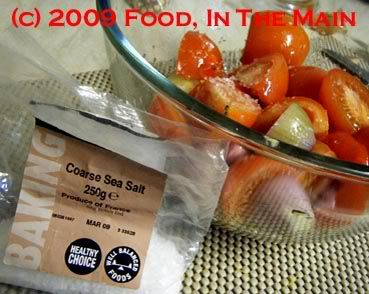
about 1 tsp of the sea salt
and about 1 tbsp coarse-ground black pepper.
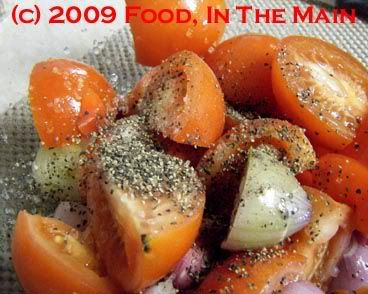
3. Pour the coated vegetables onto the greased tray
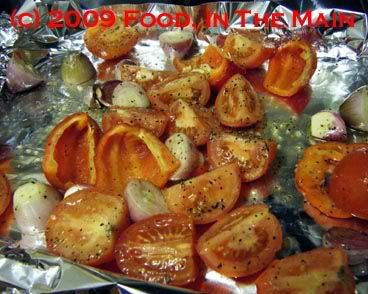
and bake in the oven for about 30 minutes, stirring them after 15 minutes
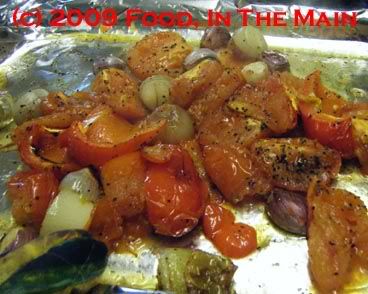
so as to let them brown evenly.
4. When the vegetable juices begin to caramelise and turn brown, and the tomatoes and onions are soft, turn off the oven.
5. Remove the garlic cloves and squeeze out the pulp into a blender along with the rest of the roasted veg.
6. If there is a lot of caramelized bits sticking to the foil, pour 2-3 tbsp boiling water on the bits and gently scrape with a plastic spatula. Pour the resulting liquidy bits into the blender as well.
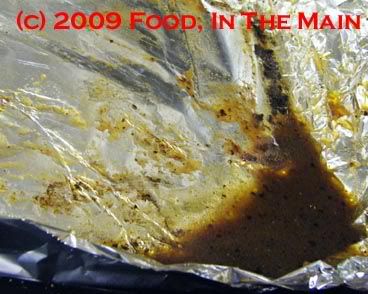
7. When sufficiently cool, add about a cupful of stock to the veg, then puree them to your preferred consistency - you can make it really smooth, or leave some chunky bits in. (I made mine fairly smooth.) Add more stock to the blender while pureeing, if required.
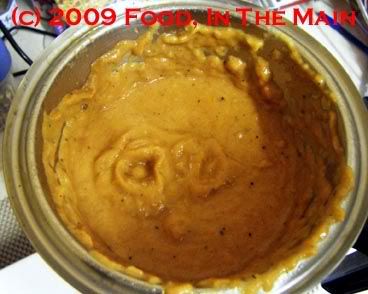
8. Mix the soup with the remaining stock in a saucepan and bring to a gentle simmer. Stir in the whole milk or cream if using,
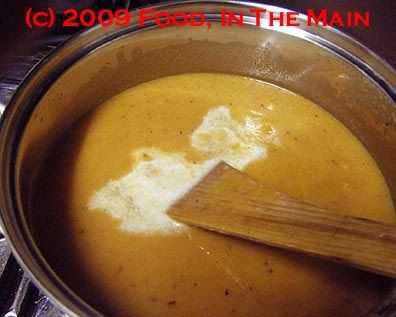
the paprika, and simmer for 3-4 minutes. Check for seasoning, adding more freshly ground black pepper if required.
9. Serve hot in bowls with fresh crusty bread, toast or grilled sandwiches, topped with a little chopped parsley or basil for garnish.
