Showing posts with label vanilla. Show all posts

Tuesday, November 03, 2009

End-of-the-line chocolate banana marble cake

If I were a house-proud, kitchen-efficient, recipe-perfect kitchen goddess who knows exactly what’s in her larder/pantry down to the last half-teaspoon and thus plans or even creates new recipes to finish up comestibles according to their expiry date, I would probably be terminally ashamed to know me. Luckily I’m not a kitchen goddess, so I’m not really ashamed of me, and only mildly embarrassed to admit to having a kitchen that is cluttered with bits and pieces of various things that are nearly-but-not-quite at the end of their edible life.

Once in a while, though, I manage to finish off a couple or three items in one recipe – usually cakes, because they’re fairly forgiving of odd additions so long as you get the flour-leavening-fat ratio reasonably right. This cake is one such. I call it an end-of-the-line cake because its ingredients are pretty much all end of the line - very overripe bananas, the last of a tin of cocoa powder, a couple of tablespoons or so of chocolate chips, some nuts, some buckwheat flour and some very lumpy dark brown sugar.

In hindsight, I should have used that dark brown sugar elsewhere (or maybe even just fed the dustbin with it - the effort I had to expend to break down the damn lumps... honestly!) because I was supposed to be making a marble cake.


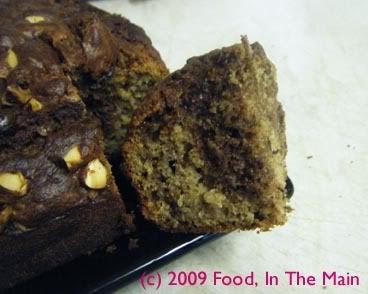
As you would expect, marble cakes look their best when they have a light-coloured and a dark coloured portion. Using dark brown sugar for the batter made it quite dark… and then adding the cocoa to part of it made it darker still, so that the marbling was not exactly what you’d call visible. Dark and darker isn’t really a contrast.

*sigh*

Oh well, non-domestic non-kitchen non-goddess proposes, and God(dess) - possibly Domestic, possibly not - disposes...

Luckily the cake tasted good even if it didn’t make the mark on the fair-and-pretty factor.

Recipe for:
Chocolate banana marble cake
Photobucket
(That shadowy effect on the wedge of cake isn't a shadow - it's the cocoa-dark portion! So much for marbling...)

Ingredients:

1-1/2 cups AP flour
1/4 cup buckwheat flour
2 tsp baking powder
1/4 tsp baking soda
1/4 tsp salt
3/4 cup oil
3/4 cup dark brown sugar
3 small overripe bananas, mashed
2 tsp vanilla extract
2 eggs
6 tbsp Greek yogurt
2 tbsp chopped toasted nuts
2 tbsp dark chocolate chips
1/2 cup cocoa powder

Method:

1. Heat oven to 180C/350F. Spray 7" square pan with nonstick cooking spray.

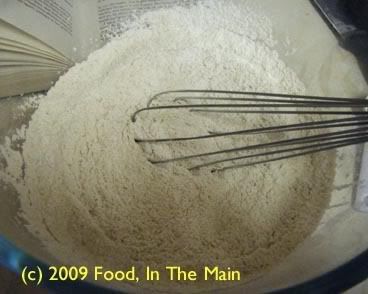
2. In a big bowl, whisk together the flours, baking powder, baking soda, and salt.
Photobucket

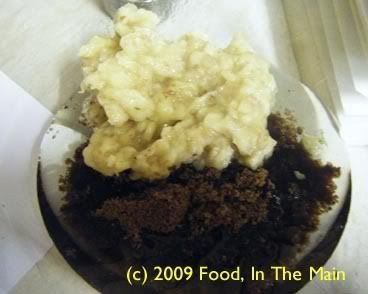
3. In another mixing bowl, combine the oil, sugar, and bananas.
Photobucket

Beat until combined.

4. Add the eggs and vanilla to the mix and beat.

Photobucket

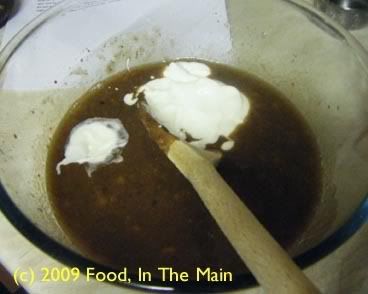
5. Then mix in the yogurt.

Photobucket

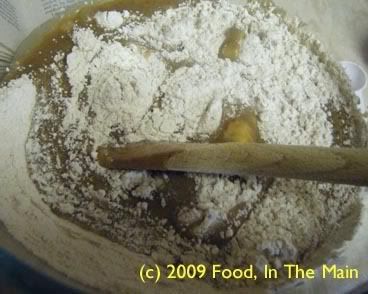
6. Add the dry ingredients to the wet mixture and fold in.
Photobucket

7. Spoon half the batter into the greased pan in dollops.

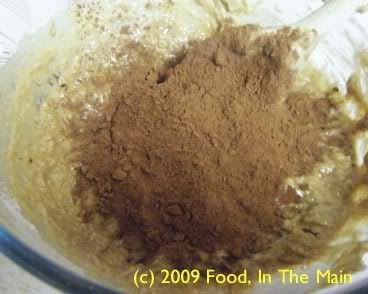
8. Add cocoa to the remaining batter in the mixing bowl and stir until just combined.
Photobucket

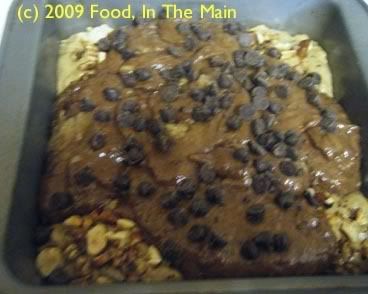
9. Spoon chocolate batter in clumps around the pan, leaving some lighter colored spaces.
Photobucket

Sprinkle the nuts and choc chips over the top of the batter. Use a knife to swirl the batters together, taking care not to mix them too much.

10. Bake for 35-40 minutes or until tester comes out with just a few crumbs attached.

Cool cake in pan on wire rack for 15 minutes before removing the cake. Cool completely before cutting.

Monday, July 28, 2008

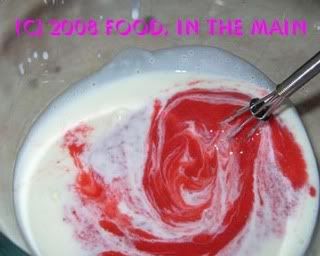
Mike's very strawberry cupcakes

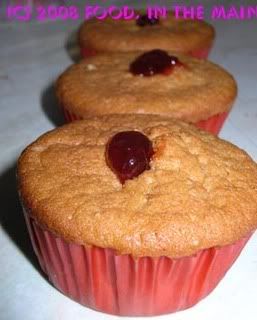
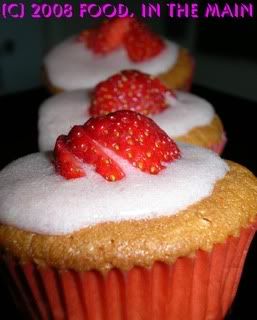
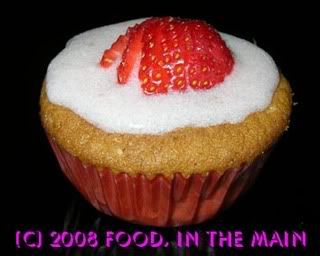
When a strawberry lover like me comes by the sheerest chance across a blog that showcases the most outrageously strawberry cupcakes, what choice is left but to bookmark the recipe, print it out, make a special trip to the supermarket to get strawberries specifically for the recipe, eat the strawberries with vanilla cream instead of making the recipe, postpone making the recipe because of a lack of strawberries, finally send the husband out to get more strawberries for the recipe, eat half of those strawberries as well, and at last make the cupcakes? No choice whatsoever.

If you like strawberries, these cupcakes are chock-full, brimming, absolutely awash in the taste and aroma and colour of these luscious berries. No strawberry lover could pass these up.

The instructions for the cupcakes are as per those on
Mike’s Table, but the ingredients are halved in quantity. I didn’t use cream cheese for the frosting, because I don’t really like cream cheese frosting. I used a mascarpone-based icing instead. I didn’t think the cupcakes needed a heavy frosting, but that’s just my opinion. I also didn’t have any home-made strawberry-rhubarb jam, so I just used regular strawberry jam instead for the cupcake filling.

Recipe for:
Mike's very strawberry cupcakes


Ingredients:

Cupcake batter

1 cup flour
1/2 cup sugar
1 egg
1/4 cup strawberry puree
1 tsp baking powder
1/8 tsp baking soda
1/4 cup butter
¼ + 1/8 cup buttermilk
1 tsp vanilla extract
Large pinch salt
1/4-3/4 cup strawberry jam, whisked to slightly runny

Mascarpone icing

1/2 cup mascarpone cheese, room temperature
1 tbsp butter, room temperature
1 tsp vanilla extract
1/8 cup strawberry puree
1/2 + 1/8 cups icing sugar

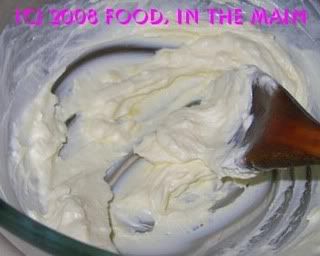
Beat together mascarpone and butter until well combined.


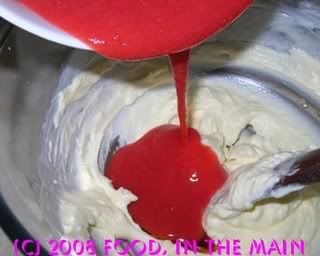
Beat in vanilla and strawberry puree.


Add in icing sugar, scraping down the bowl as you go. When it has all been incorporated, beat on high speed for 1-2 minutes, until icing is smooth. Place in the fridge till required.

Method:

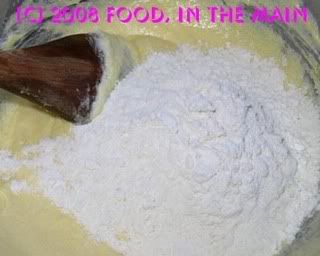
1. Sift the flour, baking powder, and baking soda into a bowl, and then mix salt into that. Set this aside.

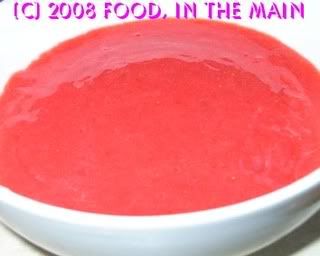
2. Hull, puree, and strain the strawberries to yield about 1/2 cup of puree (about 10 strawberries). Discard the seeds and any other solids remaining in the strainer.


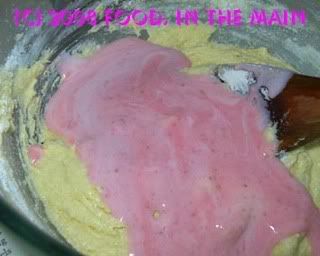
Set 1/8 cup aside for the frosting and mix the remaining strawberry puree in a bowl with the buttermilk.


3. Preheat the oven to 170C.

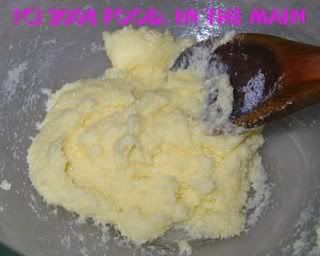
4. Cream the butter and add in the sugar, mixing until the sugar has dissolved into the butter.


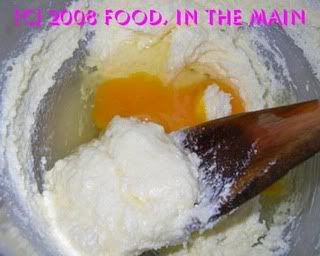
Then, add in the egg, mixing until fully integrated,


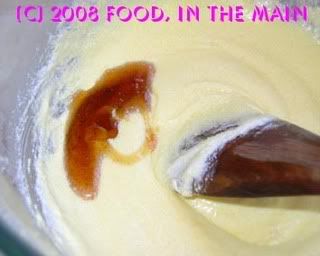
then finally mix in the vanilla.


5. Add a third of the dry mix into the butter bowl and mix just until fully incorporated.


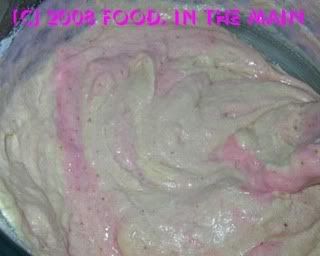
Then add a third of the buttermilk/strawberry bowl, mixing until incorporated.


Repeat until done.


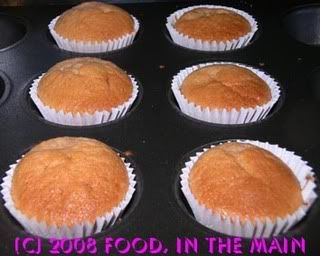
6. Now spoon the batter into paper linings in a muffin tray. Transfer this to the oven, and bake for about 20 minutes - but keep an eye on the cupcakes after about 15 minutes.

7. Once the cupcakes are done, give them a little time to cool and get them out of the pan.


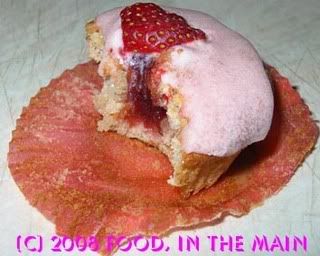
8. To fill the cupcakes with strawberry jam, what I did was poke a hole in the middle with a stiff drinking straw. Then I filled an icing bag with strawberry jam, fitted a medium nozzle on it and pushed the nozzle into the hole I'd made. Then I squirted the jam into it slowly, until I could feel the cake plump out, the I withdrew the nozzle carefully, still squeezing until the jam oozed a little from the top. (It doesnt HAVE to ooze, it just did for me!)


9. Take the icing out of the fridge, beat to smooth if required, then ice the cupcakes and decorate with sliced strawberries.


Wait for the icing to firm up before diving into the cupcakes.


(Putting them in the fridge for a bit speeds up this process.)

Thursday, July 03, 2008

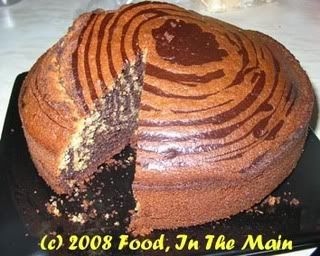
Tiger cake

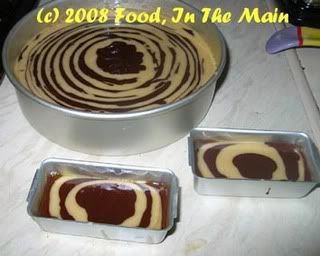
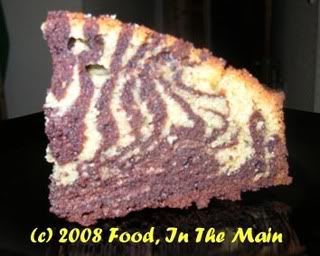
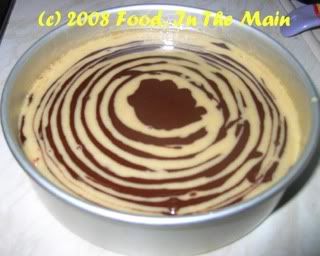
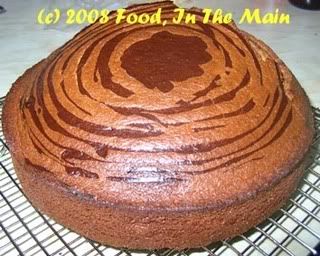
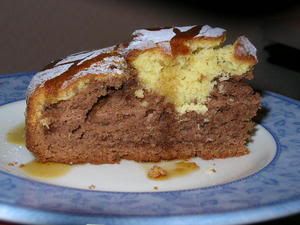
Relax, folks, this cake is just a zebra masquerading as a tiger :) I thought the "stripes" looked more tigerish than zebraesque, so I renamed it. What's in a name, after all.

Whoever thought up this technique was (is?) a genius in his or her own way. Such a simple thing to do, with such spectacular results (especially if done perfectly) - no fiddly procedures, no cutting cakes into shapes, or glueing them with icing or marzipan to construct edifices. Just two batters used alternately. Absolute genius, I tell you.

My cousin Hema and I made this cake - or rather, Hema made it under instructions. Normally I shy away from baking cakes that use more than two eggs - maximum 3 - but this time as I was instructing, it seemed better to follow the recipe exactly instead of improvising. (She can learn improvisation by herself!)

As it turned out, we should have gone with our instinct and "loosened" the chocolate batter which had become thicker than the plain one by addition of cocoa powder. Because we didnt do that in the first place, the first few layers of chocolate didnt fall easily off the spoon and didnt quite make it to the centre of the cake pan.


Oh well... live and learn. (The recipe below has the correct revised measurements.)

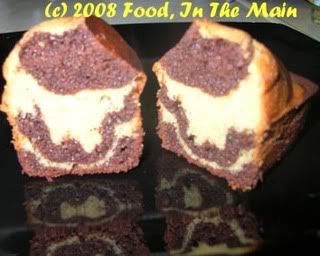
Despite our initial hiccup, the inside of the cake looked spectacular when cut.


It had risen rather a lot on one side while baking - probably because the batter was not mixed quite right? - and I surreptitiously pushed it down (carefully!) with the heel of my hand when nobody was looking. Not too much and not too hard, though, because I didnt want to ruin it totally!
All in all, this is a nice cake and excellent for impressing your guests and making them think you're a baking genius!


Previous recipes baked with Hema:
Peanut butter cookies, Cashew vanilla cookies, Cranberry orange cookies


Edited to add: Thanks, Divya, for pointing out that I'd said 1/2 tbsp cocoa powder, instead of 1/2 cup! 1/2 tbsp would have done no good at all! Thanks for being so observant! (Recipe has been updated) :)

Recipe for:
Tiger cake


Ingredients:

4 eggs
1 cup sugar
1 cup milk
1 cup oil
1 tsp vanilla extract
2 cups plain flour
2 tsp baking powder
1/4 tsp salt
1/2 cup dark cocoa powder
Milk as required

Method:

1. In a large mixing bowl, combine eggs and sugar until creamy and light in colour.


2. Add milk and oil and continue beating till well blended.

3. Add vanilla. Gradually add flour and then beat until the batter is smooth.

4. Divide mixture into 2 equal portions. Keep one portion plain.

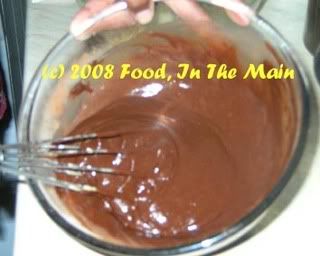
5. Add cocoa powder to the other and mix well. Add enough milk to thin out the batter to the consistency of the plain portion.


6. Preheat oven to 180C. Scoop a ladle of plain batter into the middle of the baking pan.

7. Then scoop a ladle of the cocoa batter and pour it in the centre on top of the plain batter. Continue this way until the batters are finished. The more you "layer" them, the more stripes you will get in the finished cake.


Do NOT spread the batter or tilt the pan to distribute the mixture.

8. Bake for 40 minutes or till the cake tests done.

Saturday, June 21, 2008

Eggless cashew vanilla cookies

Over the next few days - or weeks, depending on the levels of sloth and indifference - I'll be posting a few recipes of cookies and cakes that Hema (my cousin) and I baked. Well, mostly Hema, with me hovering around "instructing". Yes, that's what I like to call it. The first of these was eggless peanut butter cookies.

So here is a recipe for eggless cashew vanilla cookies. There arent any takers for cookies in my house, unless you count Hobnobs (chocolate-covered digestives) of which Pete is inordinately fond. I'm not likely to be making those, so I stand by my statement that there arent any takers for cookies in my house.

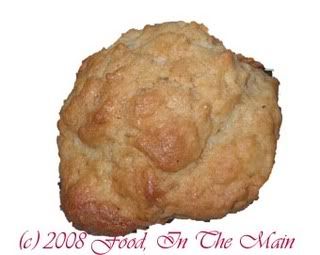
It's only because Hema was there that I made cookies at all. These were nice, but I think they would have been better with the cashews being lightly toasted first rather than used raw as I did. And also, be very sure to remove the cookies from the baking tray after 2 minutes - they will get increasingly more difficult to remove if they cool on the tray itself. You have been warned.

Recipe for:
Cashew vanilla cookies


Ingredients:

1 cup plain/all purpose flour
1/2 tsp baking powder
1/4 tsp baking soda
1/8 tsp salt
1/4 cup soft butter
1/2 cup brown sugar
1 tsp vanilla extract
1/3 cup yogurt (original recipe said to use cream)
4 tbsp chopped cashews (lightly toasted if you like)

Method:

1. Preheat the oven to 180°C/350°F.

2. Sift together the flour, salt, baking powder and soda.

3. Cream the butter, sugar and vanilla. Beat until smooth.

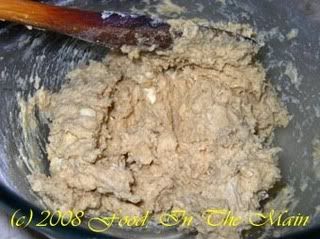
4. Add flour mixture and yogurt, stir in till well incorporated.


5. Mix in cashews.

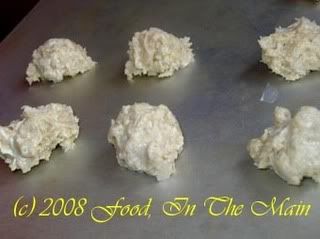
6. Drop by tablespoons (or use lightly wetted fingers to shape into balls) on ungreased (yes, ungreased) cookie sheet 1-1/2 inches apart.


Bake for 10-12 minutes or until the tops are golden brown.


7. Cool 2 minutes in the oven, then immediately remove to racks. Cool and store in an airtight container.

Monday, March 06, 2006

Apple kuchen with golden sultanas

The basic recipe for this really yummy kuchen (German for cake) was from Nic at Bakingsheet - the only added extra from me were the golden sultanas, which I think are nice in nearly anything.

I wanted to make something different for Pete's birthday - not the usual chocolate cake, so this seemed to fit the bill just nicely.

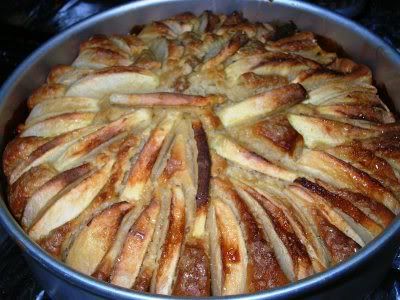
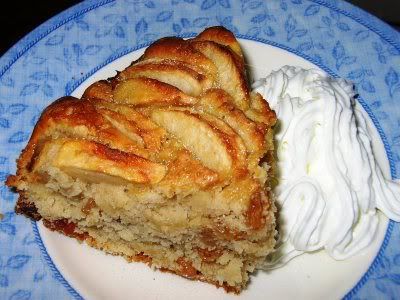
I cant praise this kuchen enough (and Pete loved it too) - the batter rises up beautifully around the apples and then pulls back as the cake cools, giving a very nice effect to the top of the cake. Anybody with better apple-arranging skills will probably end up with an even more picturesque cake, but even my haphazardly placed apples looked very nice.


This kuchen is absolutely delicious served warm with thick cream or icecream. And the aroma and flavour of the vanilla coming through is to die for. Some people find vanilla bland, but I just love it - its flavour is so gentle and elegant. In fact, I also sprinkled vanilla sugar over each serving, which turned out to be an excellent idea.

I used three Pink Lady apples - peeled, cored and sliced - for my kuchen. Or rather, I used two and a bit, and ate the remaining because there really was no space left on top. With hindsight, two apples will do nicely.

Recipe for:
Apple kuchen with golden sultanas


Ingredients:

Two Pink Lady apples, peeled, cored and sliced into 1/2 cm thick wedges
1/3 cup butter, softened
1/2 cup brown sugar
1/4 cup white sugar
1 large egg
2 tsp vanilla extract
1-1/2 cups plain flour
2 tsp baking powder
1/4 tsp salt
1/2 tsp nutmeg
3/4 tsp cinnamon
1/2 cup milk
1/2 cup golden sultanas
1 tbsp sugar for topping (I used demerara)
Vanilla sugar for dusting (optional)

Method:

1. Preheat the oven to 180C (350F). Grease a round 8" cake pan (I used one with a loose base).

2. In a medium bowl, whisk together the flour, salt, baking powder, nutmeg and cinnamon.

3. In a large bowl, beat the butter and sugar until soft and fluffy.

4. Beat in the egg and vanilla extract.

5. Add the flour mix and milk in 4 alternating additions, starting and ending with the flour.

6. Fold in the sultanas and spread the batter in the prepared cake pan.

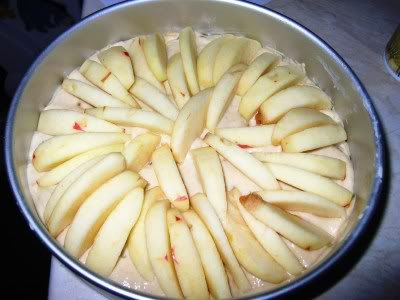
7. Arrange the apple slices on the top and sprinkle with the demerara sugar.


8. Bake for 45 minutes or so, or until a tester inserted in the centre comes out clean.

9. Serve warm, dusted with vanilla sugar and accompanied by thick cream or icecream.

Wednesday, February 01, 2006

Wallflower "cake" bars

I owe this one entirely to Julie, of A Finger in Every Pie and her gorgeous recipe for Wallflower Loaf. There are only a few changes from her recipe, plus I didnt bake it in a loaf tin - I used a square cake pan instead. But oh my, what a wonderful end result!

As the lovely Julie says, it's NOT fruitcake - but it's so much better than that, if you ask me. I absolutely love a chewy-nutty texture and this concoction is the very embodiment of that particular combination. It IS sweet, yes, but since I cut the "cake" into small bars, they were perfect for delivering just enough sweetness to alleviate the sugar fix without going over-the-top - and of course the nuts provided a contrast to the sweet taste.

Julie used walnuts in her recipe, and Turkish apricots and medjool dates. I didnt have anything as exotic - just "Tesco's best" seedless dates and tangy dried apricots. I can only imagine how much better Julie's Wallflower Loaf must have tasted, because humble though my ingredients were, they still made for a really wonderful outcome.


Oh, and I didnt use walnuts either - I substituted pecans because I think walnuts taste rather too bitter. Julie had also mentioned that the cake tends to burn easily, so I was extra careful with it right from the start (I have an unfortunate tendency to over-bake things). I started baking the cake at about 170C and after 30 minutes or so, I lowered the temperature another 10 degrees. The end result was near perfect. I didnt add any cinnamon or nutmeg, but the spices were barely missed, the bars were so addictively good!

Gotta say it again - thanks to Julie for a gorgeous, EASY recipe!

Recipe for:
Wallflower "cake" bars


Ingredients:

1-1/2 cups seedless dates, cut in half
2 cups dried apricots, cut in half
1-1/2 to 2 cups pecans, broken in half
3/4 cup flour
1/4 tsp. baking powder
1/4 tsp. baking soda
1/4 tsp. salt
1/2 cup wildflower honey (I used orange blossom honey)
2 eggs
1 tsp. vanilla
Grated zest of 1 orange

Method:

1. Line a 6" or 7" square cake pan and line with parchment paper. Spray lightly with oil.

2. Combine the dried fruits and nuts together.


3. Combine the flour, baking powder, baking soda and salt in a bowl.

4. In another large bowl, beat the honey, eggs, vanilla and orange zest together.

5. Add the flour to the beaten egg and honey mix to make a thick batter.

6. Add the chopped dried fruits and nuts to the batter and stir till they are thinly coated. It will look like there is way too little batter, but like Julia said, it rises up around the fruits and nuts JUST right.


7. Pour the mixture into a 6" square baking pan that has been lined with silicone paper and press down lightly.


8. Put the pan into the oven at 170C and let the cake bake for 30 minutes or so. Then lower the heat by 10 degrees and let it cook till a skewer inserted in the middle comes out clean.


9. Let the cake cool completely in the pan before slicing it into bars.


Tuesday, May 17, 2005

Chocolate-orange marble sponge cake

Image hosted by Photobucket.com
Chocolate-orange marble sponge cake. It turned out pretty good - soft and spongy without the kind of choking dryness that defies all attempts at swallowing. It would have been nicer still had I not forgotten about it in the oven (I did say I'm an amateur cook, prone to distractions!)... the extra 10 minutes that it spent in the oven made the top of the cake a bit crispy. It also developed cracks *sigh*. Not unpleasant, really, but also not required. The cake was just sweet enough for me, but my husband doesnt just have a sweet tooth - he has a mouthful of them! So I drizzled some pure Canadian maple syrup (difficult to get in the UK, I kid you not) over the top of the cake. A satisfactory ending for all.

Chocolate-orange marble sponge cake:

Ingredients:

2 cups all-purpose or cake flour
2-1/2 tsp baking powder
1/2 tspsalt
2/3 cup butter or margarine
1-1/2 cups sugar (I used 3/4 cup 'light' sugar and 1/2 cup Splenda granular to make 1-1/4 cups, but I like my cake with less sugar)
3 large eggs
1 tsp extract of vanilla
3/4 cup milk (I used whole milk)
1/4 cup unsweetened cocoa powder, sifted
2 tbsp orange-flavoured liqueur or concentrated orange juice, or failing that, freshly squeezed juice from 1/2 a medium-sized orange
1 tbsp grated orange rind

Method:

1. Sift flour, baking powder and salt in a bowl and set aside.

2. Cream the butter or margarine in another bowl, add sugar/Splenda mix gradually and keep creaming till the mixture is soft and fluffy. Note that the addition of Splenda granular means that the mixture may well become a bit stiff.

3. Add the eggs one at a time, and beat thoroughly after each addition. Then add the vanilla.

4. Now add the flour mix and the milk alternately, starting and ending with the flour, and only stirring to mix. DO NOT BEAT.

5. Divide this batter in half. Add the unsweetened cocoa powder to one half and stir until blended.

6. To the other half, add the orange rind and liqueur/concentrate/fresh juice, whichever you are using. Stir until blended.

7. Spoon the batter into an 8" round cake pan that has been greased or lined with silicone paper. Alternate the chocolate and orange batter in the pan. There will be more batter than can be accommodated in one layer, so continue spooning the batter alternately over the first layer, making sure that the orange batter goes over the chocolate batter in the pan.

8. Bake for 45 minutes in a 1800C oven (350 Fahrenheit), or until done. Test with a skewer.

9. Let the cake stand in the pan for a couple of minutes, then turn out onto a wire rack and let cool. Sprinkle the top lightly with confectioners sugar when the cake has cooled completely.

10. Serve with a drizzle of maple syrup for those who like their cake sweet, or with orange-flavoured cream.