skip to main |
skip to sidebar
If I were a house-proud, kitchen-efficient, recipe-perfect kitchen goddess who knows exactly what’s in her larder/pantry down to the last half-teaspoon and thus plans or even creates new recipes to finish up comestibles according to their expiry date, I would probably be terminally ashamed to know me. Luckily I’m not a kitchen goddess, so I’m not really ashamed of me, and only mildly embarrassed to admit to having a kitchen that is cluttered with bits and pieces of various things that are nearly-but-not-quite at the end of their edible life.
Once in a while, though, I manage to finish off a couple or three items in one recipe – usually cakes, because they’re fairly forgiving of odd additions so long as you get the flour-leavening-fat ratio reasonably right. This cake is one such. I call it an end-of-the-line cake because its ingredients are pretty much all end of the line - very overripe bananas, the last of a tin of cocoa powder, a couple of tablespoons or so of chocolate chips, some nuts, some buckwheat flour and some very lumpy dark brown sugar.
In hindsight, I should have used that dark brown sugar elsewhere (or maybe even just fed the dustbin with it - the effort I had to expend to break down the damn lumps... honestly!) because I was supposed to be making a marble cake. As you would expect, marble cakes look their best when they have a light-coloured and a dark coloured portion. Using dark brown sugar for the batter made it quite dark… and then adding the cocoa to part of it made it darker still, so that the marbling was not exactly what you’d call visible. Dark and darker isn’t really a contrast.
*sigh*
Oh well, non-domestic non-kitchen non-goddess proposes, and God(dess) - possibly Domestic, possibly not - disposes...
Luckily the cake tasted good even if it didn’t make the mark on the fair-and-pretty factor.
Recipe for: Chocolate banana marble cake
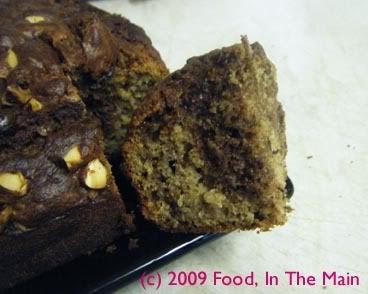
(That shadowy effect on the wedge of cake isn't a shadow - it's the cocoa-dark portion! So much for marbling...)
Ingredients:
1-1/2 cups AP flour
1/4 cup buckwheat flour
2 tsp baking powder
1/4 tsp baking soda
1/4 tsp salt
3/4 cup oil
3/4 cup dark brown sugar
3 small overripe bananas, mashed
2 tsp vanilla extract
2 eggs
6 tbsp Greek yogurt
2 tbsp chopped toasted nuts
2 tbsp dark chocolate chips
1/2 cup cocoa powder
Method:
1. Heat oven to 180C/350F. Spray 7" square pan with nonstick cooking spray.
2. In a big bowl, whisk together the flours, baking powder, baking soda, and salt.
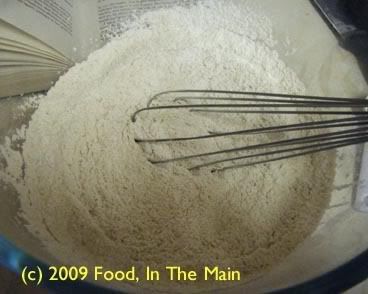
3. In another mixing bowl, combine the oil, sugar, and bananas.
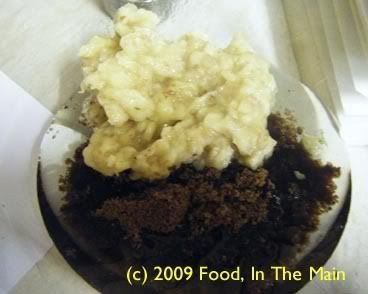
Beat until combined.
4. Add the eggs and vanilla to the mix and beat.

5. Then mix in the yogurt.
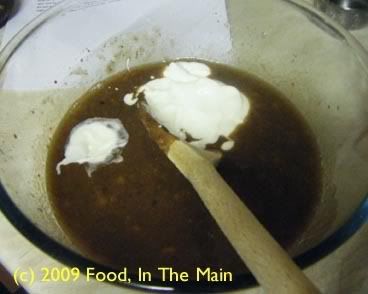
6. Add the dry ingredients to the wet mixture and fold in.
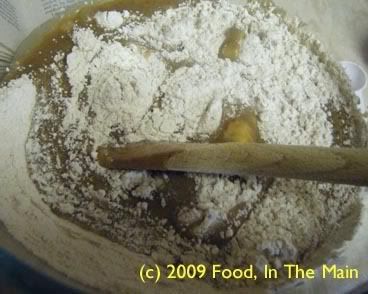
7. Spoon half the batter into the greased pan in dollops.
8. Add cocoa to the remaining batter in the mixing bowl and stir until just combined.
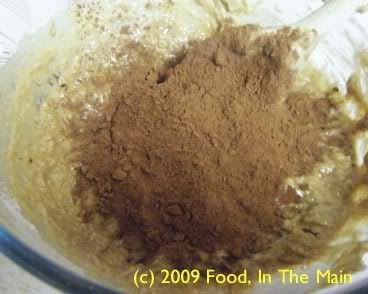
9. Spoon chocolate batter in clumps around the pan, leaving some lighter colored spaces.
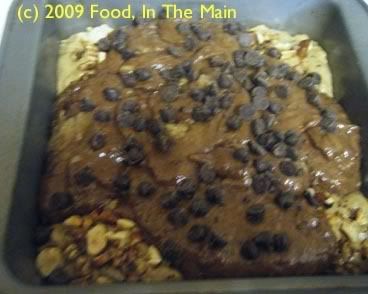
Sprinkle the nuts and choc chips over the top of the batter. Use a knife to swirl the batters together, taking care not to mix them too much.
10. Bake for 35-40 minutes or until tester comes out with just a few crumbs attached.
Cool cake in pan on wire rack for 15 minutes before removing the cake. Cool completely before cutting.
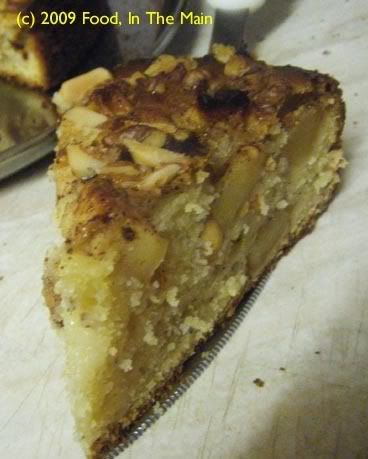 They say you can’t compare apples and oranges. I guess I can see why. Apples are hard and have thin skins you can usually eat; oranges and soft and you can’t eat the skin (at least not raw). Apples can be red or green or pink, whereas oranges are usually... well, orange. Apples are famously cooked in pies, and as far as I’m aware, I’ve never come across orange pie. (I might be merely ignorant, of course.)
The good thing here is that they – whoever they are – have never said that apples and oranges can’t be used in a recipe together... and I got proof of this from Google, which came up (only eventually) with a recipe for a cake that seemed easy AND doable AND tasty AND good-looking… AND, as it turned out, a blogger’s mum’s recipe. Evidently other people before me have discovered that apples and oranges go rather nicely – in fact quite deliciously - together in some things, like cake.
Boy, was it good. I reduced the quantity of the ingredients and replaced half the sugar with Splenda, and then halved the quantity of the remaining sugar so that I only used 1/4 cup in all.
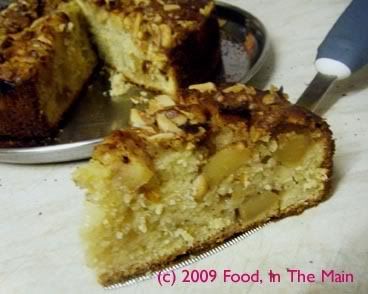
Usually baking with just Splenda makes the cake a bit heavier in texture than otherwise – at least that’s been my experience so far. But this cake, although it seemed a tad sticky/moist at first, sort of fluffed itself out when it cooled, so that the cake part was nice and light and spongy. The apple chunks in it kept the cake moist for three days, and it smelt and tasted just as good as fresh, when it was warmed up in the microwave before serving.
It really was a delicious cake and I managed to use up three apples and four small oranges – which had been my intention in the first place.
Recipe for: Chunky apple and orange cake
Ingredients:
3 medium apples
1 tsp cinnamon
2-1/2 tbsp unrefined demerara sugar
2 tsp orange zest
1-3/4 cups flour, sifted
1/2 tablespoon baking powder
1/2 teaspoon salt
1/2 cup vegetable oil
1/4 cup sugar
1/2 cup Splenda
1/2 cup orange juice (from four small oranges)
1-1/2 teaspoons vanilla
2 large eggs
3 tbsp chopped mixed nuts (I used walnuts and almonds)
Method:
1. Preheat oven to 350F/180C. Grease a round loose-bottomed (or springform) 7" pan. Peel, core and chop apples into chunks. Toss with cinnamon, sugar and orange zest. Set aside for 10 minutes.
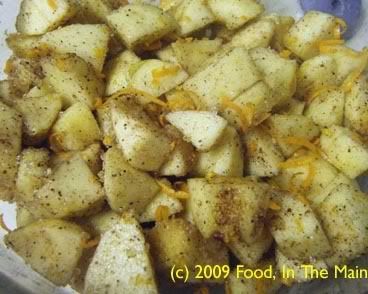
2. Stir together flour, baking powder and salt in a large mixing bowl.

3. In a separate bowl, whisk together oil, orange juice, sugar and vanilla.
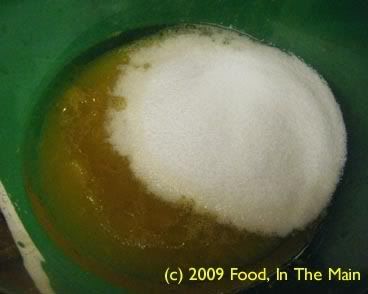
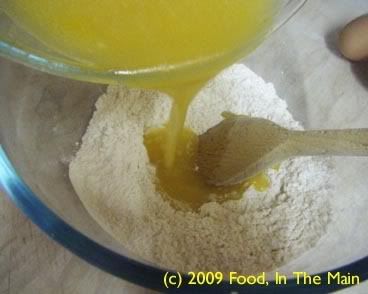
4. Mix wet ingredients into the dry ones,
then add eggs, one at a time.
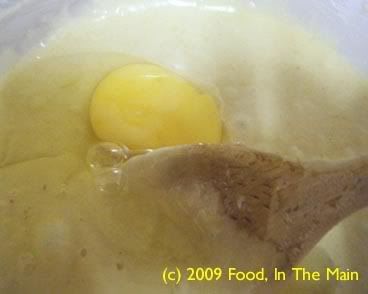
Scrape down the bowl to ensure all ingredients are incorporated.
5. Pour half of batter into prepared pan.
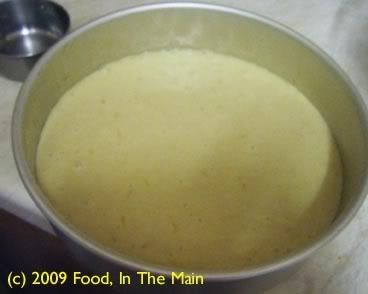
6. Spread half of apples over it.
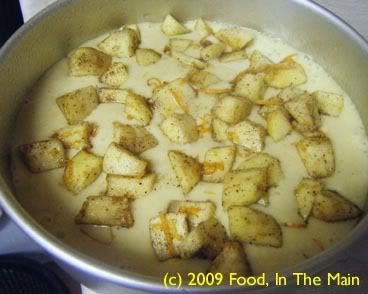
7. Pour the remaining batter over the apples and arrange the remaining apples on top. Sprinkle the nuts around the apple chunks.
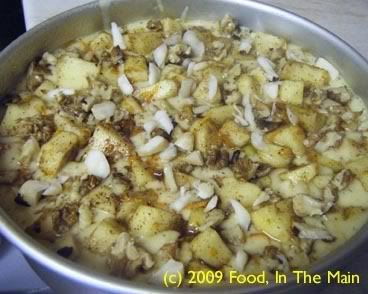
8. Bake for about an hour (check after 45 minutes), or until a tester comes out clean and the cake has pulled away slightly from the pan.
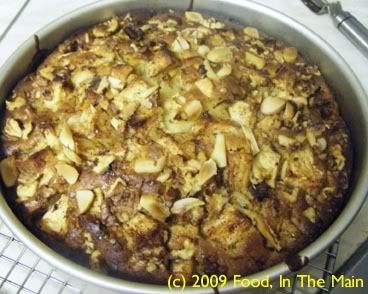
9. Cool the cake in the pan for 10 minutes, then turn out onto a wire rack.
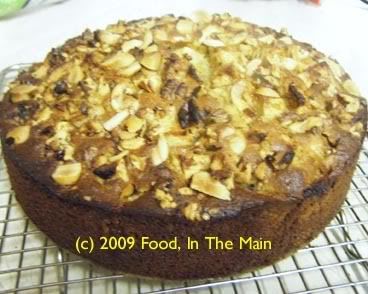
Serve warm.
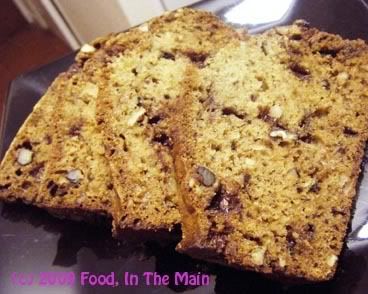
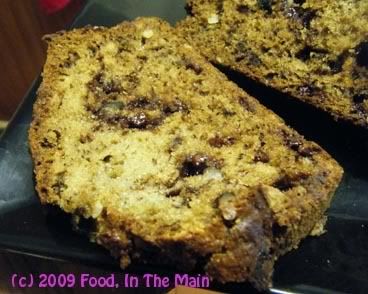
So, sometimes I can be quite slow at picking up on things – like the fact that chocolate chips in banana bread really do work quite well. I guess since I’m not overly crazy about chocolate, I've not bothered to try banana bread recipes that specified chocolate. This time I added the semi-sweet chocolate chips because they were just past their best-by date and any more time on the shelf would have only seen 'em off into the rubbish bin. The choc chips added moistness to the bread (an unexpected plus) – or at least I think they did. The bread might have been moist anyway because the bananas I used were almost at the liquid stage of ripe.
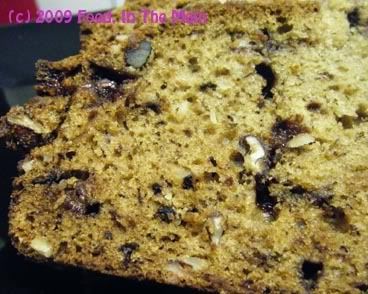
Anyhow - Pete loved the banana bread (he’s not much of a fan of this, most other times), and I found the choc chips in it surprisingly nice too. Who knew that chocolate and bananas would work well together...! (apart from the millions of others who’ve already tried and tested and written about the combination, that is.)
Recipe for: Choc chip banana bread
Ingredients:
2 cups flour (I used 1 cup AP and 1 cup wholewheat)
1-1/2 tsp baking soda
1/2 tsp salt
4 overripe bananas
3/4 cup sugar
4 tbsp unsalted butter/margarine, melted and cooled
2 large eggs
1 tsp vanilla extract
1/4 cups mixed nuts, chopped (I used walnuts, pecans and brazils)
1/2 cup semi-sweet chocolate chips
Method:
1. Preheat oven to 180C/350F and lightly grease a 9x5-inch loaf pan.
2. In a large bowl, combine the flour, baking soda, and salt.
3. Mash 2 bananas with a fork in a small bowl. They should be a bit lumpy.
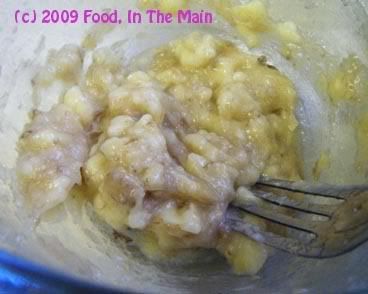
4. In another bowl, whisk the remaining bananas and sugar together till well combined.
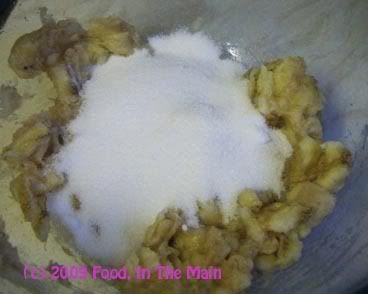
5. Add the melted butter/margarine, eggs, and vanilla and beat well.
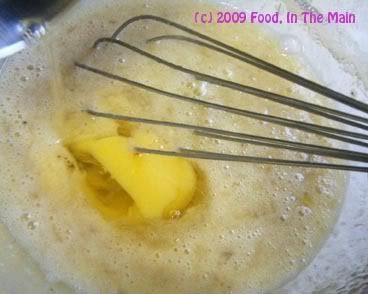
Stir in the reserved mashed bananas.
6. Add the mashed bananas to the flour and mix till just incorporated.
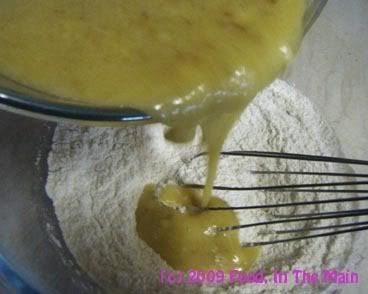
7. Fold in the nuts and the chocolate chips
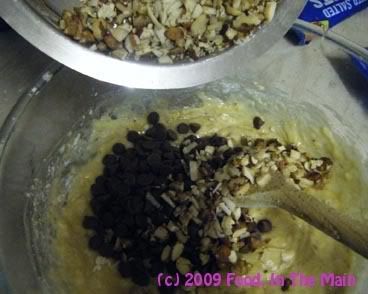
then pour the batter into the prepared loaf tin.
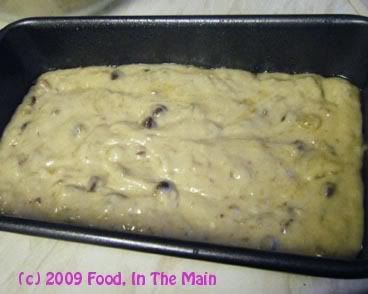
Bake for about 45 minutes or so (but start checking after 30 minutes), until the loaf is golden brown and a toothpick inserted into the middle of the loaf comes out clean.
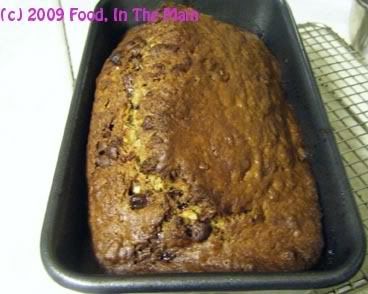
8. Cool the bread in the pan for 10 minutes or so, and then turn out onto a wire rack to cool completely before slicing.
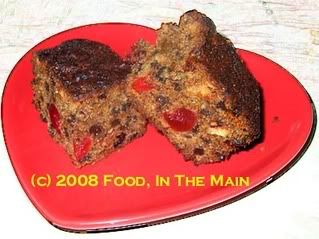
Anybody remember the powering-up war-cry of He-Man (of He-Man and the Masters of the Universe fame) – “Iiiiiiiiiiiiiiiiiiii’ve got the POWER!”? Well, if this cake had a voice – and the exaggerated V-shaped over-muscular animated cartoon body of He-Man - that’s what it would be shouting – “Iiiiiiiiiiiiiiiiiiiiiiiii’ve got the POWERRRRR!”. And it would be right, it’s got dried goji berries, blueberries, cranberries, sour cherries and currants, not to mention almonds, and if that doesn’t make a powerful cake, I don’t know what does.
Recipe for: Power fruit cake
Ingredients:
1/2 cup brown sugar
1 cup butter, cut into pieces
2 cups mixed fruit (I used cranberries, goji berries, blueberries, dried sour cherries and currants)
1/4 cup sliced almonds (or other chopped nuts of choice)
1 tsp mixed spice
1/4 tsp clove powder
1/4 tsp cinnamon powder
1/4 tsp cardamom powder
1/2 pint milk
1 cup glace cherries washed of excess syrup and dried on kitchen paper
2 eggs, beaten
1 cup self-raising flour
1 tsp soda bicarb
Method:
1. Place the sugar, butter, fruit, spices and milk in a large saucepan and bring to the boil.
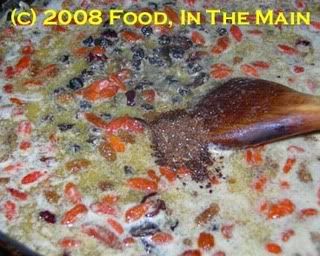
Boil for a minute or two, then switch off the heat and let the mixture cool. It might look curdled as it cools, but dont worry, all will be well.
2. Preheat the oven to 160C.
3. Add the nuts to the fruit mixture and stir,
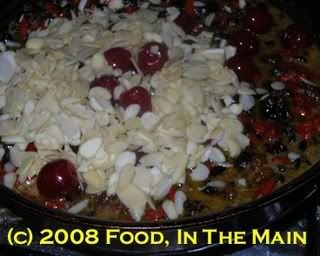
then add the beaten eggs and mix well.
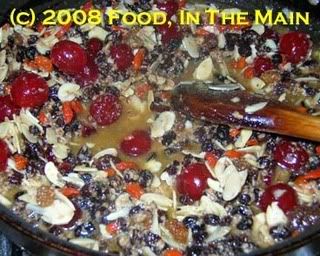
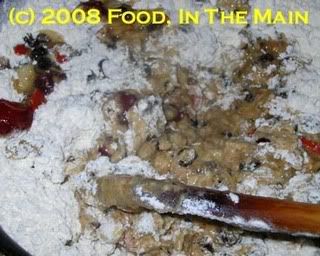
4. Add the flour and fold through the mix. The batter will be quite thick.
6. Place the mixture in a greased, deep square 8" cake tin.
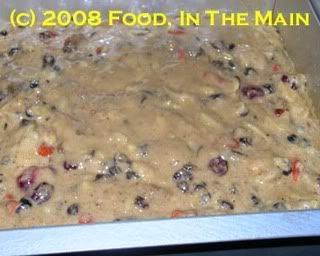
Bake for about 1 hour, checking that the cake isnt burning on the top, after about 30 minutes. If it looks like browning too quickly, cover the top with brown paper.
7. The cake might need more than an hour to cook, or less, depending on the sort of oven you have. After 40 minutes, check the cake with a skewer to see if it's cooked. If not, check every 7 minutes until the tester comes out clean.
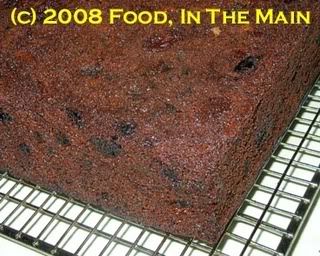
8. Cool in the cake tin for 5 minutes, then turn out onto a wire rack and cool completely.
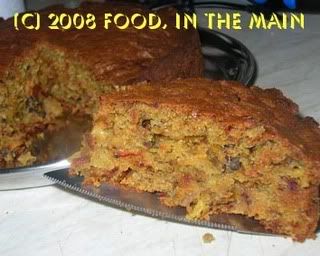
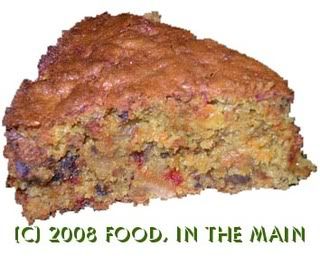
I got the basic recipe for this cake from Joy of Baking, one of my favourite blogs for cake porn. I’ve made carrot cake a few times before, but I like trying out new variations when I come across them, and the tip of adding crushed pineapple was tempting. Then, because there was a small beetroot in the fridge, I reduced the amount of carrot required and made up the deficit with the beet, grated. Well, why not? I just wanted to see if the beetroot would make its presence felt and if anybody would object to it in a cake.
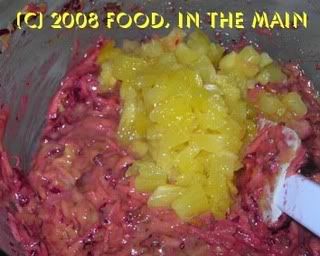
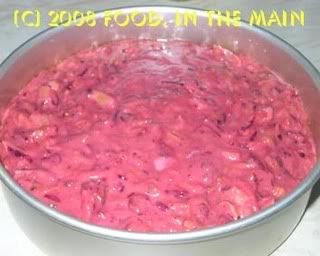
As it turned out, nobody could tell there was beetroot in it. The batter turned pink thanks to the addition of the beetroot but the end result didn’t have the red colour that I imagined would show up. I could taste the beetroot, but perhaps it’s because I knew it was there.
I do like to sneakily make people eat things they profess not to like, wait for them to say “mmmm… that’s nice” and then hit them with the reality. (It gives me a certain satisfaction which probably has its roots in sheer meanness!) This formula worked perfectly with Pete and his daughter (yet again, haha).
Unfortunately for Pete, he cant play that trick on me… that sort of thing doesn’t work because my palate is very discerning and can pretty much always tell if there’s something I don’t like in my food. Nobody but NOBODY can sneak aubergine/brinjal/eggplant into anything I eat - and folks, this aint a challenge, so don’t force me to throw up a rainbow-coloured yawn. (I came across that phrase recently in a novel set in Australia – isnt that just the prettiest euphemism for a very unpretty physical reaction? I just HAD to use it myself!)
As far as beetroot in cake is concerned, I would say that a judicious use would be the best way. I don’t think I would care for a cake made entirely with beet – that would most likely be a bit too strong a flavour to mask with anything else.
Recipe for: Pineapple-beet-carrot cake
1/2 cup brazil nuts and walnuts, coarsely chopped
1 cup carrots, grated
1/2 cup beetroot, grated
1-1/4 cup all-purpose flour
1/2 teaspoon baking soda
1 teaspoon baking powder
1/4 teaspoon salt
1/2 tsp allspice + 1/2 tsp cardamom powder
2 large eggs
1/2 cup granulated white sugar
6 tbsp oil vegetable of sunflower oil
1 heaping tbsp ghee
1 tsp pure vanilla extract
1/2 cup crushed pineapple, well drained
Method:
1. Preheat oven to 350F (180C). Spray 8” round pan with non-stick spray and line the bottom with silicone paper.
2. Toast the chopped nuts on a skillet, stirring constantly, till the nuts are lightly browned and fragrant.
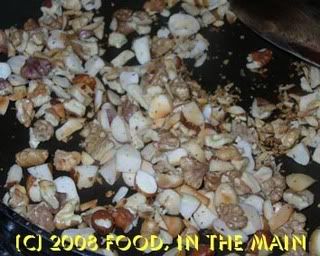
Let cool.
3. Peel and finely grate the carrots and beetroot. Set aside.
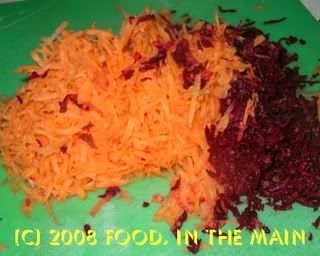
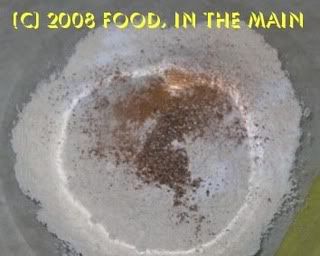
4. In a separate bowl whisk together the flour, baking soda, baking powder, salt, and allspice & cardamom. Set aside.
5. Beat the eggs until frothy.
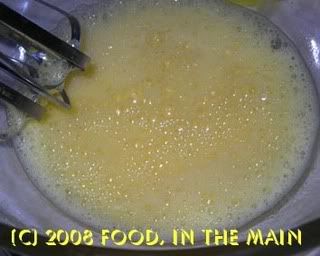
6. Gradually add the sugar and keep beating until the batter is thick and light colored.
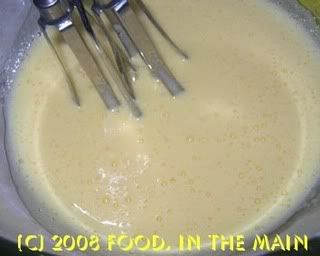
7. Add the oil in a steady stream and then beat in the vanilla extract. Add the flour mixture and beat just until incorporated.
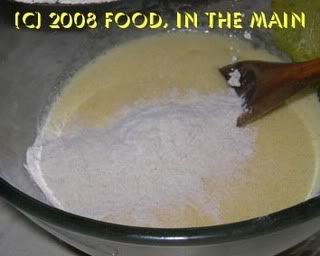
Add the ghee and mix in.
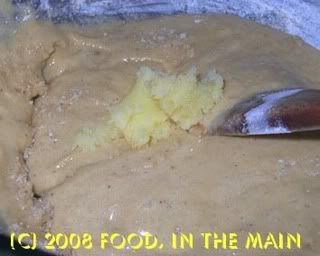
8. With a large rubber spatula fold in the grated carrots and beet and chopped nuts.
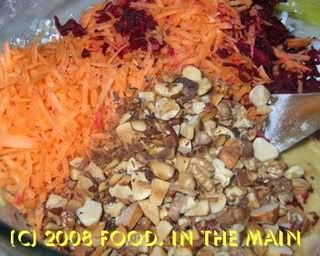
9. Stir in the crushed pineapple.
Spoon the batter into the prepared cake pan.
Bake 30 minutes or until a toothpick inserted in the centre comes out clean.
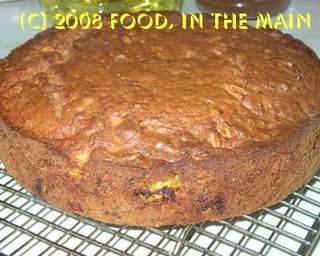
10. Remove from oven and let cool on a wire rack. After about 5-10 minutes invert the cake onto the wire rack, remove the pan and silicone paper, and then cool completely before cutting.
