Showing posts with label buttermilk. Show all posts

Monday, January 24, 2011

Citrus olive oil cake

I unearthed this cake recipe from a binder of printed-off recipes from long ago (over 7 years) which I rediscovered last week. The recipe was from the New Yorker.

I know why I’d printed it off (because, intriguingly, olive oil is one of the ingredients in the cake) and I also know why I didn’t end up making it right away – because blood oranges are also among the ingredients. I didn’t have a clue what blood oranges were, at that point, and didn’t know where I could source them either.

I didn’t think about substituting regular oranges (duh) – because I didn’t have much experience baking, and I didn’t know if the recipe would work without the blood oranges that were called for.

Lastly, but not leastly (Why can’t it be said that way? Well, I have now, and it’s here to stay. More fun than “last but not least”, isn’t it?) I literally had no idea what “supreming an orange” was. I mean, I could safely assume that “blood orange” was a variety of orange. But “supreme of orange” could have been, for all I knew, really bad English to mean that blood oranges were supreme among oranges. Well, how was I to know any different?

It’s only fairly recently that I learnt what it is to “supreme an orange” – basically, a flashy, “cheffy” way of using a paring knife to peel an orange, cut out the segments and remove the seeds and as much of the white pith as possible, retaining only the juicy inner bits.

Phooey. We’ve been doing it in India forever, mainly to feed the orange to toddlers. Of course ours is a hands-on technique, literally – and yeah, the end result isn’t as pretty as when an orange is “supremed” with a knife. But it is also an unfussy way of doing a simple job. Ah well... I guess Western chefs didn’t invent the technique with the intention of feeding toddlers; their orange supremes are usually to garnish fancy desserts.

Each technique obviously has its plus points. But for the purposes of THIS recipe, fancy supreming was really not required, as the slices would neither be retained whole, nor used as a garnish. And had I known this 7 years ago, I might have tried the cake 7 years ago.

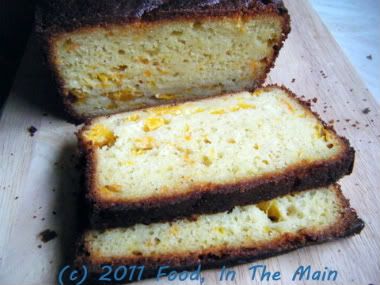
However, that’s neither here nor there (just don’t ask me where, please). This is my first olive oil cake, and I admit I was wondering if the oil would taste nice in a sweet citrus-flavoured cake. I was very relieved not to be able to taste it at all, when I sampled the cake later. The cake is not very sweet, because I misread the instructions and ended up with a very liquidy batter necessitating the addition of more flour... but I didn't add any extra sugar.

The recipe below shows the adjusted quantities. However, it still takes a LONG time to bake – I had to leave mine shortly after I’d put the batter in the oven, to drop off my stepson and his girlfriend at their respective homes. What with having to drive to two destinations 12 miles apart (more or less) through a HORRIBLY thick fog late at night on narrow country roads, it took me a good hour and a half to return.

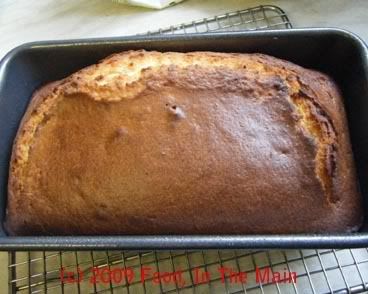
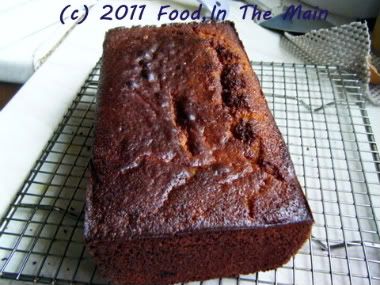
My husband, deep in work mode, had not even realised there was a cake slowly charring in the oven, so by the time I dashed in to the rescue, the cake was PRETTY brown and rather crisper on top than I would have liked. However, much to my surprise, it was not crisp and overdone all the way through – in fact, it was perfectly done on the inside. So obviously it had needed the long cooking period. If I’d been in the house, I would probably have sheltered the cake with aluminium foil after an hour or so, to prevent it from over-browning.

So, as I was saying, the cake may not be very sweet even with the adjusted sugar quantity. I like it that way but if you have a sweeter tooth, I’d suggest you make a simple icing with orange juice and icing sugar and pour it (or spread it – whichever your preference) over the top of the cake after it has cooled.

Recipe for: Citrus olive oil cake
Photobucket
Ingredients:

3 medium oranges
1 small lemon
1-1/4 cup sugar
Buttermilk or plain yogurt
3 large eggs
2 cups all-purpose flour
1 1/2 teaspoons baking powder
1/2 teaspoon baking soda
1/4 teaspoon salt
2 tsp vanilla extract
2/3 cup extra virgin olive oil

Method:

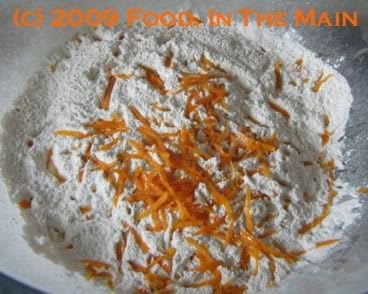
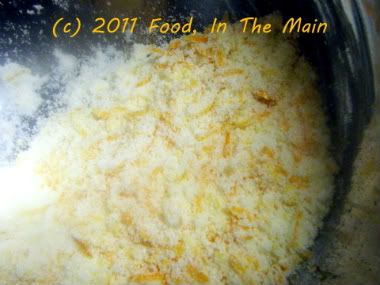
1. Preheat oven to 350 degrees. Grease a 9-by-5-inch loaf pan really well. Grate zest from 2 oranges and the lemon, and place in a bowl with sugar. Using your fingers, rub ingredients together until the zest is evenly distributed in the sugar.
Photobucket
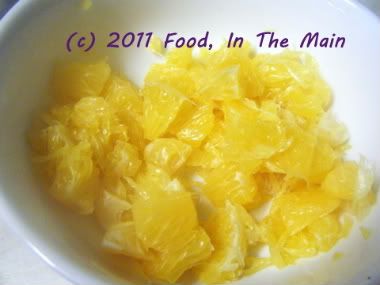
2. Cut the zested oranges in half and remove the segments. Remove as much of the white pith as possible, retaining the inner pulp. Do this over a bowl so that you don't waste the juice or any pulp. Keep the pulp in small chunks as much as possible, rather than disintegrate it.
Photobucket
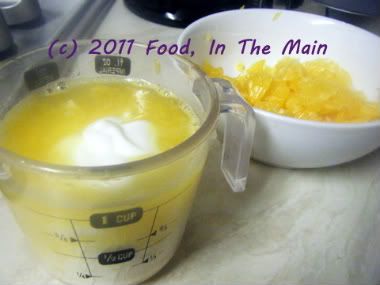
3. Cut the remaining orange in half and squeeze the juice into a measuring cup. Do the same with the zested lemon.

4. Add enough buttermilk or yogurt to the juice to make 2/3 cup liquid.
Photobucket
5. Pour the mixture into the bowl with sugar and whisk well,
Photobucket
then whisk in the eggs one by one.
Photobucket
6. In another bowl, whisk together flour, baking powder, baking soda and salt. Gently whisk dry ingredients into the wet ones.
Photobucket
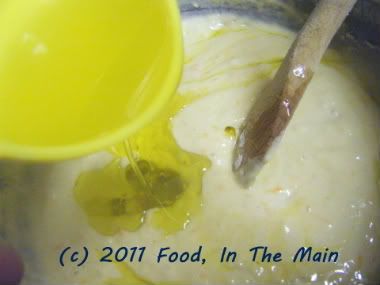
7. Now, using a spatula, fold in the oil a little at a time.
Photobucket
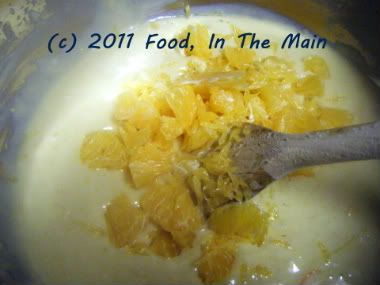
8. Fold in the pieces of orange segments.
Photobucket
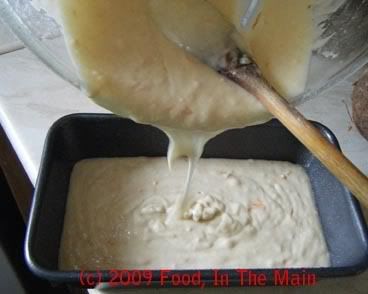
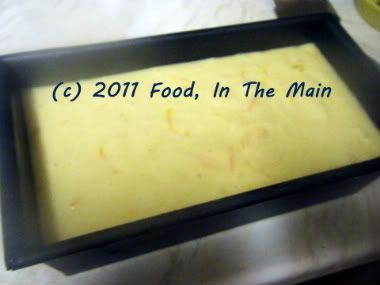
Pour the batter into the prepared pan and smooth the top.
Photobucket
9. Bake the cake for at least 55 minutes (cover the top with foil if it looks like browning too quickly), or until it is golden and a tester inserted in the cake comes out clean.
Photobucket
Cool on a rack for 5 minutes, then unmould carefully and cool to room temperature right-side up.
You can make a simple icing for the top, if you have a strong sweet tooth.
(Caveat: Ovens differ in temperature, so don't put your trust totally in the baking time given. Check the cake after about 45 minutes and keep checking every so often till it is cooked.)

RECIPE: CITRUS OLIVE OIL CAKE

Ingredients:

3 medium oranges
1 small lemon
1-1/4 cups sugar
Buttermilk or plain yogurt
3 large eggs
2 cups all-purpose flour
1 1/2 teaspoons baking powder
1/2 teaspoon baking soda
1/4 teaspoon salt
2/3 cup extra virgin olive oil

Method:

1.Preheat oven to 350 degrees. Grease a 9-by-5-inch loaf pan really well. Grate zest from 2 oranges and the lemon, and place in a bowl with sugar. Using your fingers, rub ingredients together until the zest is evenly distributed in the sugar.
2. Cut the zested oranges in half and remove the segments. Remove as much of the white pith as possible, retaining the inner pulp. Do this over a bowl so that you don't waste the juice or any pulp. Keep the pulp in small chunks as much as possible, rather than disintegrate it.
3. Cut the remaining orange in half and squeeze the juice into a measuring cup.
4. Add enough buttermilk or yogurt to the juice to make 2/3 cup liquid.
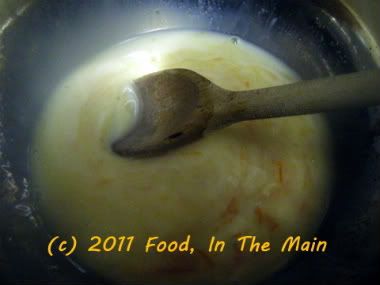
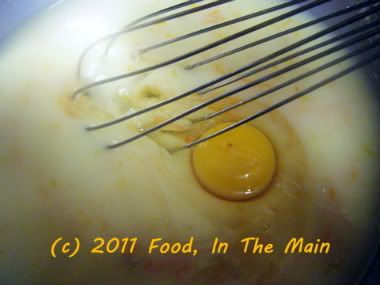
5. Pour the mixture into the bowl with sugar and whisk well, then whisk in the eggs one by one.
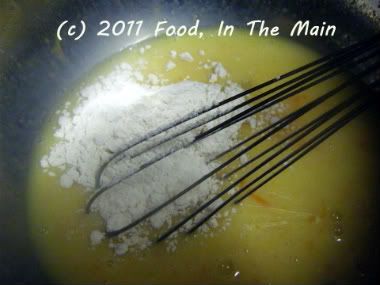
6. In another bowl, whisk together flour, baking powder, baking soda and salt. Gently whisk dry ingredients into the wet ones.
7. Now, using a spatula, fold in the oil a little at a time.
8. Fold in the pieces of orange segments. Scrape the batter into the prepared pan and smooth the top.
9. Bake the cake for at least 55 minutes (cover the top with foil if it looks like browning too quickly), or until it is golden and a tester inserted in the cake comes out clean. Cool on a rack for 5 minutes, then unmould and cool to room temperature right-side up. You can make a simple icing for the top, if you have a strong sweet tooth.
Saturday, May 23, 2009

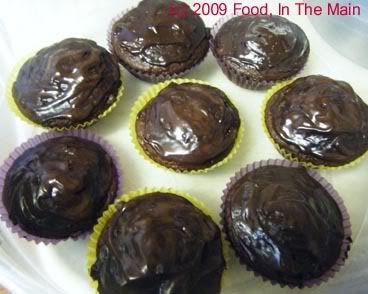
Eggless triple chocolate buttermilk cupcakes

Not the snappiest of titles for a post - or a recipe - but on the plus side, there's no room for misunderstanding as to what it is, I guess. Perhaps I should have called it "Eggless triple chocolate butterfree buttermilk vanilla scented cupcakes" and done away with the ingredient list altogether...

Never mind, I'll save that ingredients-as-title idea for another post. Never let a good idea go waste. Recycle, recycle, recycle, isn't that the mantra?

The reason I made these cupcakes was because I stopped Pete from buying cupcakes from the supermarket with the promise that I'd make some at home. (Honestly, the list on the back of the package had E-ngredients rather than ingredients! I'm all for Pete having a long, long life - no-one could pray for that more - but I'd rather he retained his human qualities through all of it rather than become an artificial life form through ingesting manufactured chemicals.)

Anyway, since my mother's a chocolate fiend but not one that devours any chocolate derivations with egg in it, I made the cupcakes eggless. The recipe is more or less from
Nic at Baking Bites, with a few changes.

Photobucket

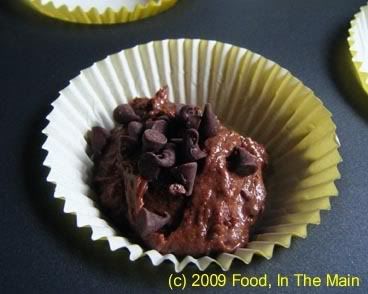
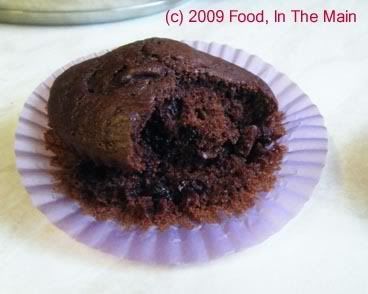
Here's a cupcake before the ganache went on. I took a bite out of it just to see what it was like - and because I'm not terribly fond of icing or frosting. Glad to say that the cupcake was just as delicious in its double-chocolate version as with the final chocolate addition.

Recipe for:
Eggless triple choc buttermilk cupcakes

Photobucket

Ingredients:

1-3/4 cups self-rising flour
¼ cup cocoa powder
¾ cup sugar
1 tsp baking soda
½ tsp salt
1-1/4 cup buttermilk, room temp
¼ cup oil
1 tsp cider vinegar
1 tsp vanilla extract
¼ cup semi-sweet mini chocolate morsels

For the ganache:

4 ounces (110 gms) dark chocolate, cut into small pieces
1/3 cup heavy whipping cream
1 tbsp unsalted butter


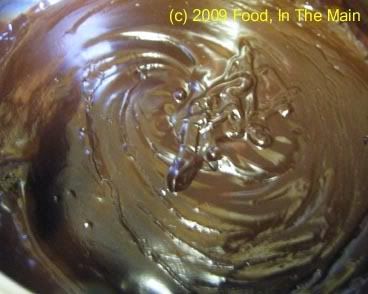
Bring the cream to a boil in a heavy-bottom saucepan. Take it off the heat and add the butter and chocolate, stirring till it's all melted and thickened and shiny. Place in the fridge for the ganache to get to a spreading consistency, if preferred.
Photobucket

Method for cupcakes:

1. Preheat oven to 180C. Line two 12-cup cupcake pans with paper cups.

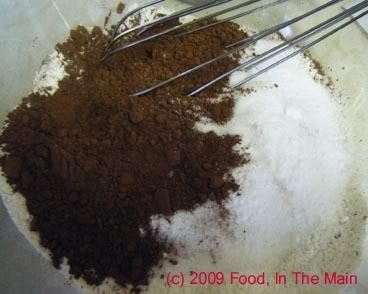
2. In a large bowl, whisk together flour, sugar, baking soda and salt.

Photobucket

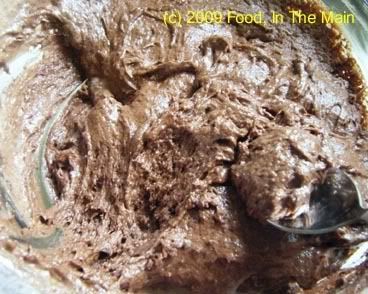
3. Pour in the buttermilk, oil, vinegar, vanilla and stir till just combined.

Photobucket

The batter will be quite thick.

4. Put 1 tsp batter in a cup, add about 10 mini morsels,

Photobucket

then cover with another tsp batter. It’s ok if the morsels don’t stay in the centre. Finish up the rest of the batter the same way.

Photobucket

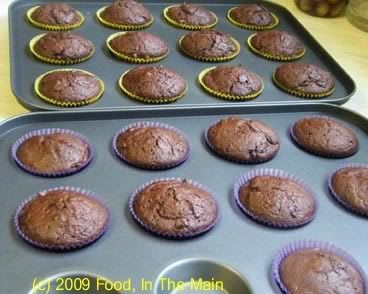
5. Bake for 15 minutes or till done when tested with a thin skewer.

Photobucket

Photobucket

6. Cool, then dip the tops into ganache (or spread the ganache with a small spatula)

Photobucket

and set the cupcakes aside in a cool place till the ganache hardens.

Thursday, April 16, 2009

Buttermilk blood-orange cake

Until recently, blood oranges were in the realm of “What the heck are they?”, as far as I was concerned. The name didn’t appeal terribly, either. Blood orange? What, a meat-lover’s fruit now? Did it taste like blood (ugh, gruesome thought)?

Then I googled around and learnt that blood oranges were so named because their interior is anything from a deep orangey-red to crimson in colour - totally unlike your regular orange which is just, well, orange. Some of the sources mentioned that blood oranges tasted better and had a sweeter fragrance than regular oranges.

Ok, so blood oranges were fancy citrus fruit grown in the US, in Spain and in Italy. And, they were pretty exotic because of being rare and difficult to get elsewhere, especially without great expense - which basically meant that unless I actually traveled to that part of Italy or Spain or the US, I was not very likely get an opportunity to strike up an acquaintance with any blood oranges.

That seemed pretty much that, so I set aside any such hope and refrained from printing off all the wonderful blood orange recipes so efficiently searched and presented by Google.

And then, in my local Sainsbury, I came across a pack of blood oranges. Four of them, nestling in a thermocol holder under a hard plastic cover.

The price was as exotic as the fruit, but I reverently put the pack in my trolley. After all, they were cheaper than the cost of traveling to Spain or Italy or the USA (but gosh, not by much!).

Then it was homeward bound in a lather of excitement, me barely able to wait to get inside the front door so that I could open up the pack and get face-to-face with my first ever blood oranges. Pete was left to carry the bags into the house and put everything away (a task I hate only next to vacuuming. Shopping is fun, but putting everything away is the polar opposite. Anybody agree?). Pete might have grumbled, but I have no recollection. I happen to subscribe to the school of thought which believes that foodies and food-blog writers should be left to gloat and fuss over their latest purchase or exotica without having to be bothered with the minutiae of home life. (Especially housework.)

Anyway, the thing about describing something is that words can only do so much to tell the reader what it actually tastes or feels or smells like. Photographs can show what it looks like, but the smell/taste/feel sensations remain woefully unconveyed (I hope that is a valid word.)

That’s why my first deep sniff of my first blood orange was such a heady affair – it was orangey, of course, but there was something more to it... it was more fruity and somehow almost perfumey. I was in for a bit of disappointment when I cut it open, though - I was expecting a deep ruby red, or at least a flame orange, all through, but only part of it was red... towards the centre it was like a regular orange. And the taste... it was glorious! A burst of sweet with the slightest hint of tart, it was so good that I was half tempted to eat them all, never mind making anything with them.

But I desisted because I had to make the most of these hard-to-get fruit. After scouting for recipes, I settled on a buttermilk blood-orange cake. I love orange-flavoured cakes, as I've probably mentioned before, and this one was absoutely glorious. It may have been the blood oranges, it may have been my imagination, but the loaf-cake was probably the most addictively orangily good one I've ever made. I took two slices of it every day to work for a week, and it stayed beautifully moist for 3 whole days. It didnt exactly crumble to bits thereafter, though... it just was a bit drier than fresh - but the flavour and taste were just as lovely. This loaf-cake is a sure-fire repeat recipe.

Recipe for:
Buttermilk blood-orange cake

Photobucket

Ingredients:

1-1/2 cups buttermilk
2 cups self-raising flour
1/2 tsp baking powder

Zest of one medium orange
1/2 cup fresh blood-orange juice (no problem with having pulp in it)
1/2 cup oil

1 medium egg
1-1/4 cups sugar
2 tsp vanilla extract

Method:

1. Mix together the self-raising flour, sugar, baking powder and grated orange zest.

Photobucket

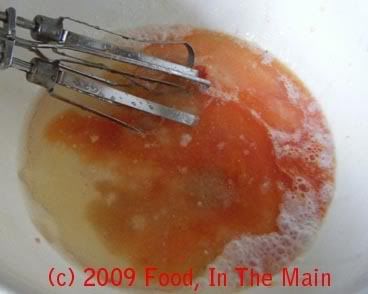
2. Put the oil and orange juice in a large bowl along with the vanilla extract.

Photobucket

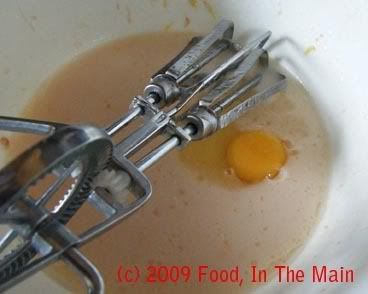
3. Whisk in the egg until well incorporated and the mixture is lightly frothy.

Photobucket

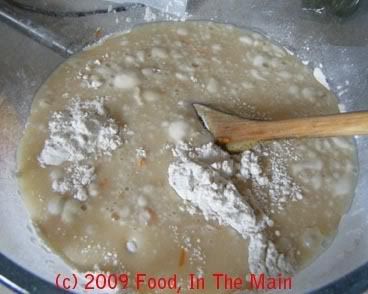
4. Then stir in the buttermilk. Now add the flour to the wet mixture.


Photobucket

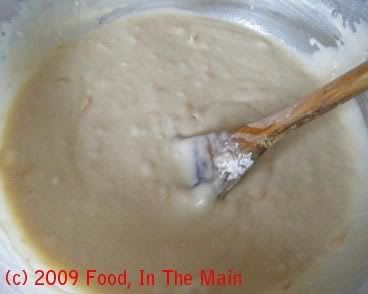
5. Stir till the batter is smooth. Don't over beat.
Photobucket

6. Pour the batter into a 2-pound loaf pan sprayed with Pam.

Photobucket

7. Bake in a 180C oven for 40 minutes or till the cake tests done. Since ovens vary in performance, start checking the cake at 30 minutes and test every 5 minutes to see if it's done.

Photobucket

8. Leave in the pan for 10 minutes, then turn out on to a wire rack to cool completely.

Monday, February 02, 2009

White bread - Trial 1

This bread baking bug seems to have taken me over big-time.

It’s one thing for a newbie baker to be well-informed about the recipe and what the yeast should or shouldn’t be doing – but when the yeast too appears to have read and digested the same recipe (so to speak) as its user, and knows its role in the whole process and, what’s more, executes that role perfectly... well, the satisfaction felt by the baker just about defies description. But if you want an inkling of how it feels, just think of an artist with his or her masterpiece, an author with his or her completed novel, a parent with a perfect child... it’s like that, only the process is easier, and better still, the satisfaction goes just as deep. (It does with me, at any rate.)

I made
pav buns fairly recently (yes, still mentioning it, thanks) with great success. The same recipe, doubled to make a (very) large loaf, didn’t stay soft. It made fantastic toast for 3-4 days, but was too dry for sandwiches.

When I tried it with one cup whole-wheat flour and 2 cups of strong white bread flour, it made a reasonable loaf, but I found it rather heavy. I have to admit that I really don’t care for (health-freaks please stop reading here and move on to next para) whole-wheat bread much. I quite like bread with seeds in, and I love German rye bread... but whole wheat bread especially with oats in really doesn’t do anything to endear itself to my taste buds.

So I decided to try and work through a few recipes for white bread (which I will try one by one over the next few weeks or so), using unbleached enriched strong white bread flour, to see which one proved (baking pun there, ahaha, yes I had to point it out in case it was missed due to its feebleness) to be the best in terms of taste and texture.

The first recipe from my collection turned out to have an egg among its ingredients. An egg! For plain white bread! I’d never heard of an egg used in baking regular bread, although I do know that special breads like brioche and challah require eggs. Still, I thought I would give it a go and see how the bread turned out.

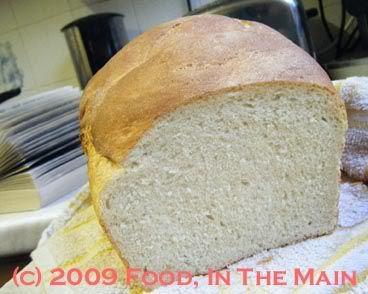
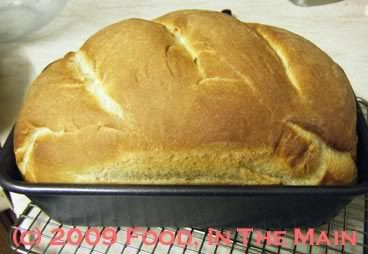
The loaf was quite good, actually – there was no eggy aftertaste, although the inside seemed ever so slightly yellow... but I put that down to the fact that the egg I used had a remarkably yellow yolk, thanks to the corn-fed hen (one of many many) raised by a friend on his smallholding.

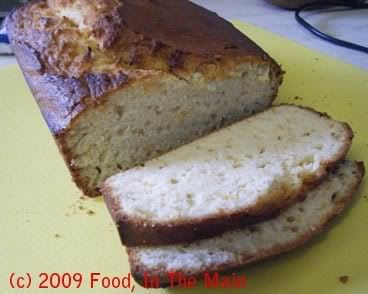
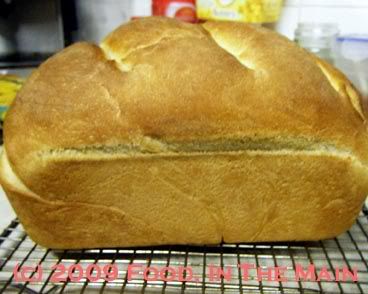
The texture of the bread was a bit heavy, I thought, but not unduly so. It wasn’t airy and light, certainly, but perhaps I’ve been used to store-bought bread which certainly has no weight to it. (That fluffy weightlessness is one of the reasons why I’ve preferred to buy bread from a proper, stand-alone, independent bakery whenever possible. Bread isn’t meant to be feather-light, I don’t think.)

Anyway, you certainly wouldn’t have wanted to use the loaf I baked as a brick. It sliced simply beautifully and also made quite good toast. It didn’t dry out quickly either. All in all, not a bad start to my bread baking... but this recipe is also not The Ultimate White Bread recipe for me. I still can't really get my head around the fact that regular bread needs eggs in the ingredients... so on to Trial 2 next week!

Recipe for:
White bread (Trial 1)

Photobucket

Ingredients:

4-3/4 cups very strong white bread flour
1-1/2 tsp salt
1-1/2 tbsp sugar
2 tsp yeast
1 large egg, slightly beaten so that the egg yolk amalgamates with the egg white
2-1/2 tbsp butter/margarine/oil
1-3/4 cups buttermilk (I mixed 3/4 cup non-fat Greek yogurt with 3/4 cup water and 1 tbsp vinegar because I didnt have buttermilk)

Method:

1. Mix flour, salt, sugar and yeast in a large bowl.

Photobucket

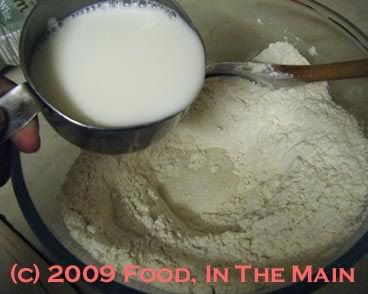
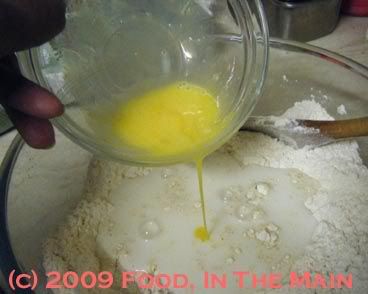
2. Make a well in the centre and pour in the buttermilk

Photobucket

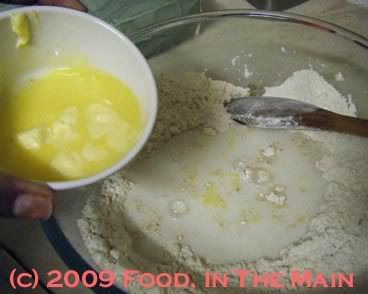
beaten egg

Photobucket

butter/margarine/oil (if using butter or margarine, melt it and cool it a little)

Photobucket

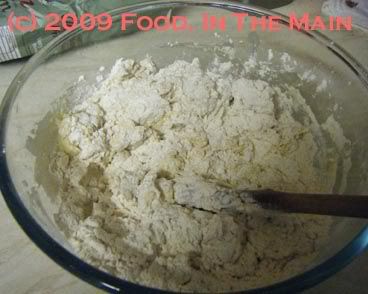
and stir with a wooden spoon

Photobucket

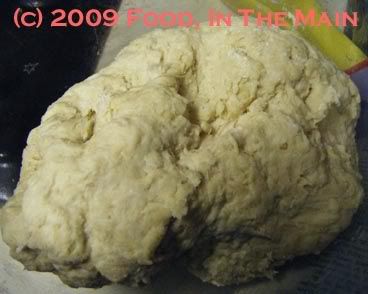
to bring the dough together.

Photobucket

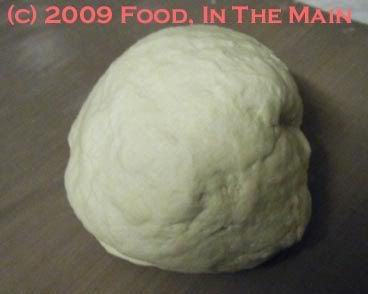
3. Turn the dough out onto a lightly floured worktop and knead for 6-8 minutes till it becomes smooth and soft. It's ok if it's slightly sticky, but it shouldn't be too dry.

Photobucket

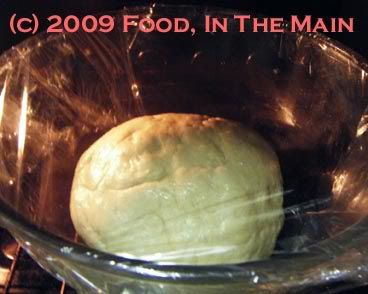
4. Place the dough in a large, lightly oiled bowl and turn it over once or twice to coat it. Cover the bowl with clingwrap

Photobucket

and place in a warm draught-free place (mine was in the oven with the light on) till the dough is doubled in volume. (About 2 hours or so)

5. Now punch the dough down gently and knead lightly for a minute, shaping it to fit in a lightly greased loaf pan that can take a 2-pound loaf of bread.

6. Spray the top of the loaf lightly with non-stick spray and cover loosely with clingwrap. Let the dough rise again (30-45 minutes) till it rises above the rim of the pan.

7. Bake in a 180C oven for 30-40 minutes or till the loaf is golden on top.

Photobucket

The bread can be considered to be done if it sounds hollow when tapped on the bottom (you'll have to remove it from the pan first!).

8. Let cool for a few minutes in the pan,

Photobucket

then remove and wrap the loaf in a clean tea towel till required.

Photobucket

Slice when cool.

Saturday, January 03, 2009

I say pav buns, you say dinner rolls...

It's been such a long time - 2 months, pretty much exactly - since I felt like posting anything on this blog that I myself was beginning to wonder if I would ever get back to it. Not in a "I MUST resurrect this blog" way, but more in a "I wonder if I'll get around to resurrecting this blog" sort of way. I have lots of recipes which havent made their way here yet... and I'm not sure that they will even though most of them have photos. It's been awhile since I made them, and the josh (enthusiasm) has just sort of leaked away.

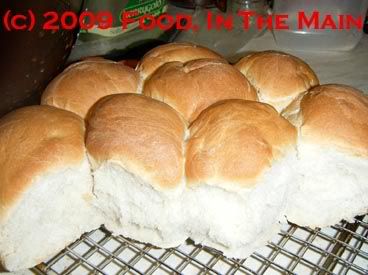
Still, the new year deserves a new effort - and mine this time was to bake bread from scratch, by hand. I had tried making stuffed buns (minus the stuffing) some few days back, and although the buns were edible enough, they didnt quite make the cut. Then I tried the
pav buns from the Jugalbandits and that was a very much better effort. The flavour and aroma were lovely, but the texture still left something to be desired - probably because of something I did (or didnt). It wasnt soft like I wanted my pav buns to be.

Today, I tried out a recipe for
dinner rolls from Nic, of Baking Bites - and that was a spectacular success. I've tried baking bread before, with not much success when it came to hand baking. Using a bread machine sort of worked, but it didn't seem like I was really baking, y'know? Neither the experience nor the bread was authentic.

Anyway, this time I decided I wouldn’t worry about the outcome. In fact, I was so laidback, I was practically horizontal (so I took advantage of that position and had a snooze while the yeast did its business - twice!). It worked. The dinner rolls came out absolutely perfect - golden brown top, soft fluffy interior - exactly as I've seen in bakeries. It was just amazing.


I personally think the texture was so glorious because of Nic's specification to mix 1 cup of flour with 1 cup of warm water and 2.5 tsp of instant dried yeast and let it sit for at least an hour and up to 3 hours. I think that starter was what made the rolls so incredibly good. I didn’t use white whole-wheat flour as she did, though (because I didn’t have it and didn’t know where to get it)... so I used strong white bread flour throughout, and it worked just fine! I didn’t bother with the egg wash, either. I meant to brush the tops of the rolls with milk, but I forgot. It didn't seem to matter anyway. The rolls were perfect - pav buns, in Indian terms. Even the shape was pav-like because the round baking tin I used was slightly too small to accommodate all the buns, and they turned out tall-ish rather than round. Soft, fluffy, gorgeous...

Forgive my exuberance (and master-bakers, don't snigger, please!) - it's the first time that any bread I've baked with yeast, made from scratch, has come out so well, and I'm really rather thrilled. Yes, I've only made simple dinner rolls, but for someone like me, a non-bread-baker, it's quite an achievement. Thanks, Nic! Happy New Year, all!

PS. There's no point trying out these buns unless you have a lot of time - and contrarily enough (and this is VERY important), lots of things to fill that time. Otherwise, simply waiting for the dough to rise will drive you over the borders of wherever you live and right into the land of Insania.)

Recipe for:
Pav buns/dinner rolls


Photobucket
Ingredients:

3-1/2 cups strong white bread flour
1 cup water, warm
2-1/2 tsp active dry yeast
1/2 cup buttermilk
1 tbsp butter, melted
2 tbsp sugar
1-1/2 tsp salt

1. Mix 1 cup bread flour, 1 cup water and the yeast in a large bowl so that there are no lumps. Let this stand, covered with plastic wrap, for 1-3 hours in a warm place. The idea is for the mixture to get bubbly and rise a bit. (This starter took about an hour, with the bowl placed in the oven and just the pilot light turned on.
)

2. Now stir 2 cups of the remaining flour, the buttermilk, melted butter, sugar and salt into the starter. Mix with a wooden spoon till the dough pulls away from the side of the bowl.

3. Turn the dough out onto a clean, lightly floured surface and knead, adding the remaining flour a tbsp at a time, if required. The dough should be springy, smooth and elastic when done (takes 6-8 minutes of kneading by hand).

4. Now grease the bowl lightly with butter or oil, and put the dough in, turning it around once or twice so that it is coated. Cover with plastic wrap and pop back into your warm place. (Mine was again the oven.) Leave it for 1-1/2 hours or so till the dough is doubled in volume.

5. Turn the risen dough back onto the lightly floured surface and punch down lightly, then divide into golf-ball sized rounds.

6. Grease a 9” round cake pan lightly and line the bottom with non-stick silicone paper. Place the rolls into the pan, leaving about ½” gap between each – about 7 around the edge and 2 or three in the centre). (I left only ¼” gap, which made the buns tall-ish rather than round in the final rising.) Cover the rolls with a clean dish towel and let them rise for 45 minutes or so – yes, again in a warm place. The rolls should have “fused” where theytouched.

7. Preheat the oven to 180C and bake the rolls for 30 minutes (by all means remove the dish towel before baking, because I don’t know what would happen if the towel stayed on.) They should ALL be uniformly golden brown on top.

8. Remove the rolls from the pan and cool on a wire rack for 10 minutes. Serve warm with butter, and at the table, let each person pull apart a roll from the main bunch.

Monday, July 28, 2008

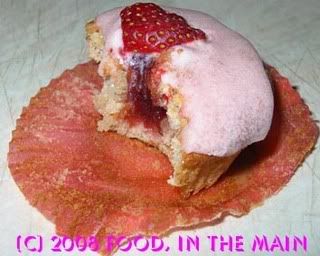
Mike's very strawberry cupcakes

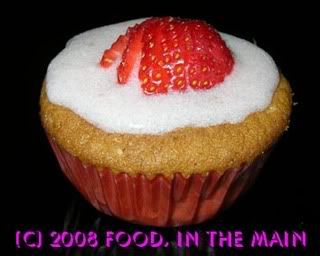
When a strawberry lover like me comes by the sheerest chance across a blog that showcases the most outrageously strawberry cupcakes, what choice is left but to bookmark the recipe, print it out, make a special trip to the supermarket to get strawberries specifically for the recipe, eat the strawberries with vanilla cream instead of making the recipe, postpone making the recipe because of a lack of strawberries, finally send the husband out to get more strawberries for the recipe, eat half of those strawberries as well, and at last make the cupcakes? No choice whatsoever.

If you like strawberries, these cupcakes are chock-full, brimming, absolutely awash in the taste and aroma and colour of these luscious berries. No strawberry lover could pass these up.

The instructions for the cupcakes are as per those on
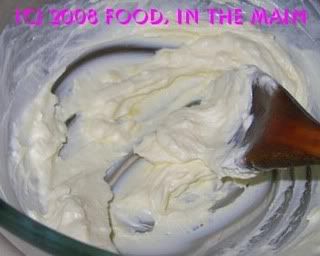
Mike’s Table, but the ingredients are halved in quantity. I didn’t use cream cheese for the frosting, because I don’t really like cream cheese frosting. I used a mascarpone-based icing instead. I didn’t think the cupcakes needed a heavy frosting, but that’s just my opinion. I also didn’t have any home-made strawberry-rhubarb jam, so I just used regular strawberry jam instead for the cupcake filling.

Recipe for:
Mike's very strawberry cupcakes


Ingredients:

Cupcake batter

1 cup flour
1/2 cup sugar
1 egg
1/4 cup strawberry puree
1 tsp baking powder
1/8 tsp baking soda
1/4 cup butter
¼ + 1/8 cup buttermilk
1 tsp vanilla extract
Large pinch salt
1/4-3/4 cup strawberry jam, whisked to slightly runny

Mascarpone icing

1/2 cup mascarpone cheese, room temperature
1 tbsp butter, room temperature
1 tsp vanilla extract
1/8 cup strawberry puree
1/2 + 1/8 cups icing sugar

Beat together mascarpone and butter until well combined.


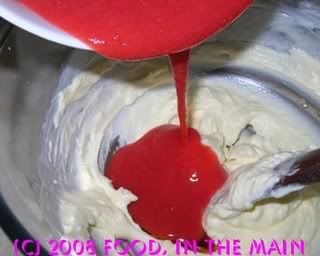
Beat in vanilla and strawberry puree.


Add in icing sugar, scraping down the bowl as you go. When it has all been incorporated, beat on high speed for 1-2 minutes, until icing is smooth. Place in the fridge till required.
Method:

1. Sift the flour, baking powder, and baking soda into a bowl, and then mix salt into that. Set this aside.

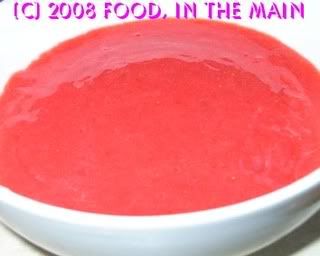
2. Hull, puree, and strain the strawberries to yield about 1/2 cup of puree (about 10 strawberries). Discard the seeds and any other solids remaining in the strainer.


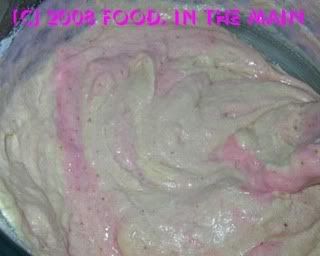
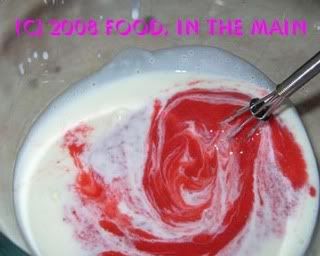
Set 1/8 cup aside for the frosting and mix the remaining strawberry puree in a bowl with the buttermilk.


3. Preheat the oven to 170C.

4. Cream the butter and add in the sugar, mixing until the sugar has dissolved into the butter.


Then, add in the egg, mixing until fully integrated,


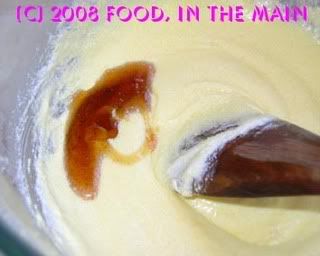
then finally mix in the vanilla.


5. Add a third of the dry mix into the butter bowl and mix just until fully incorporated.


Then add a third of the buttermilk/strawberry bowl, mixing until incorporated.


Repeat until done.


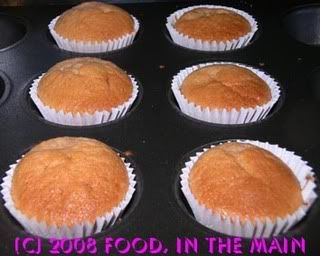
6. Now spoon the batter into paper linings in a muffin tray. Transfer this to the oven, and bake for about 20 minutes - but keep an eye on the cupcakes after about 15 minutes.

7. Once the cupcakes are done, give them a little time to cool and get them out of the pan.


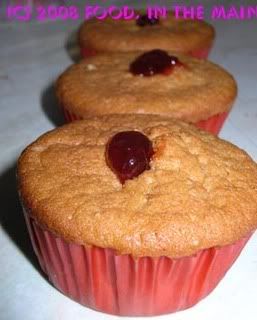
8. To fill the cupcakes with strawberry jam, what I did was poke a hole in the middle with a stiff drinking straw. Then I filled an icing bag with strawberry jam, fitted a medium nozzle on it and pushed the nozzle into the hole I'd made. Then I squirted the jam into it slowly, until I could feel the cake plump out, the I withdrew the nozzle carefully, still squeezing until the jam oozed a little from the top. (It doesnt HAVE to ooze, it just did for me!)


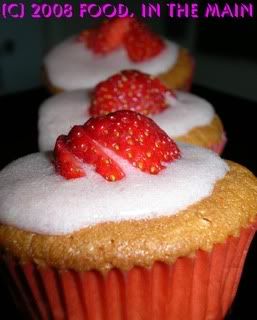
9. Take the icing out of the fridge, beat to smooth if required, then ice the cupcakes and decorate with sliced strawberries.


Wait for the icing to firm up before diving into the cupcakes.


(Putting them in the fridge for a bit speeds up this process.)