Showing posts with label all-purpose flour. Show all posts

Monday, January 25, 2016

Pineapple upside down cake

All these years of blogging, all these cakes I've made... and I've never posted a pineapple upside down cake recipe! It's kinda retro and old fashioned, apparently, but I've never understood how anything can be "in fashion" or "outdated" when it comes to food - especially if it's a tasty, delicious recipe. Who cares if it's from the '70s or the '50s or the '80s? For heaven's sake, it's FOOD, not fashion. It annoys me tremendously when some idiot foodista or television chef somewhere labels a particular greens or grain or fruit as "fashionable" or "healthy" or "THE must-have item", and the entire bleddy food blog world immediately features it, so that there is a landslide of samey same posts. I dislike food fads with a passion! Okay, my soapbox rant is over for today. 

So, pineapple cake. I only made it because Pete bought a bag of fresh pineapple "fingers" that was so acidic and sharp, it could have stripped the enamel from your teeth no problem. He then had the brainwave of making pineapple upside down cake. Or rather, getting me to make it. Since I had a simple, one-bowl sort of recipe (based on a BBC Good Food recipe) for this cake, I acceded to his request. 

While the recipe called for pineapple syrup and vanilla extract to flavour the cake, I didn't have either ingredient, my pineapple being fresh rather than canned. But there was enough pineapple juice at the bottom of the bag, which I substituted for the syrup. And then simply ignored the fact that there was no vanilla extract in my store cupboard. It didn't matter, anyway. The cake smelt amazing as it baked, so fragrant and pineappley, and it tasted as beautiful as it smelt. I love this cake - I just can't understand why it took me so long to post the recipe!

Recipe for: Pineapple upside down cake
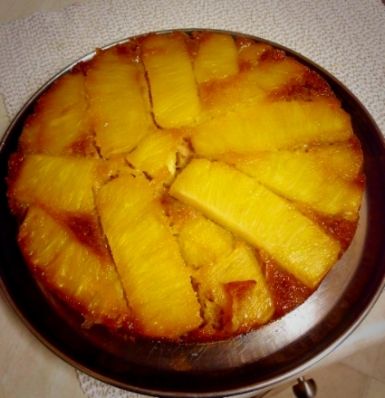
 photo 2d2ece7f-b3c8-47c1-b7db-79daeb003197_zps6kmbngue.jpg

Ingredients: 

For the topping

50 gm softened butter
50 gm soft light brown sugar
Fresh pineapple fingers or tinned pineapple slices

For the cake

100 gm softened butter
100 gm soft light brown sugar
125 gm plain flour
1 tsp baking powder
1/2 tsp baking soda
2 large eggs
2 tbsp pineapple juice
1 tsp vanilla extract (if you have it)

Method:

1. Preheat the oven to 180C/350F. 

2. Beat the butter and sugar for the topping until soft and creamy. Spread this as best as possible around the bottom and halfway up the sides of a 7" round cake pan. 

3. Arrange the pineapple slices and cherries (if using) over this such that the entire bottom of the tin is covered with as few spaces as possible. 

4. In a big bowl, add all the cake ingredients and beat until the batter is soft and smooth, and the ingredients well mixed. 

5. Drop the batter by spoonfuls over the pineapple rings and spread evenly to cover.

6. Bake for 30-45 minutes until a tester inserted in the cake comes out clean. The cake could take longer than 45 minutes, or be done in less. Test at 35 minutes, then every 5-7 minutes until it is cooked. 

7. Let it sit in the pan for 10 minutes, then turn it out onto a serving plate. Eat warm, with or without vanilla ice cream.


Monday, April 29, 2013

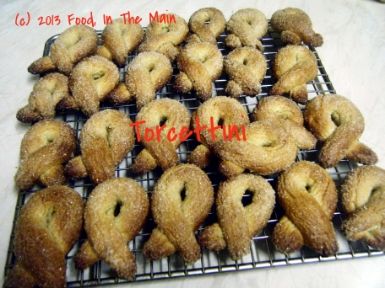
We Knead To Bake #4 - Torcettini di Saint Vincent yeasted cookies

(Adapted from A Baker’s Tour by Nick Malgieri)

 photo 2d45381e-0021-4ab0-8119-5f053742d236_zps6795fdbd.jpg

Cookies are not my thing. I might have tried baking cookies maybe a scant 2 dozen times in the last 10 years (or since I started cooking, anyway). Not always successfully, I might add. There aren't many biscuits that have come out well, except for the multiple batches of ginger biscuits that I baked last Christmas, much to Pete's satisfaction. Pete loves ginger biscuits, but not really any others. As for me, I'm no cookie monster!

Anyway - these yeasted cookies were pretty easy to make. Like most everyone else, we both liked the sugar crust and the caramelised underside of the cookies. They were different from anything I've had before, that's for certain!

And one more thing - I'm glad I've managed to post this recipe before the end of April. I missed the publish date of 24th April because of a combination of circumstances, the most distressing one being a bereavement in the family. Still... it's a part of the cycle of life, I suppose, and life being what it is, it must go on. So... onward to May's challenge!


 photo 46e9092a-4149-47e4-8ff4-9099da2374a1_zpsd90e42a2.jpg

Ingredients:

1/2 cup warm water
1-1/4 tsp active dry yeast (or 1 tsp instant yeast)
1-1/2 cups all-purpose flour
1/4 tsp salt
1 tsp lime/lemon zest or 1 tsp crushed anise seeds
2-1/2 tbsp unsalted butter, cold and cut into small pieces
about 1/3 cup granulated sugar for rolling the cookies

Method:

1. Dissolve the yeast in the warm water, in a small bowl and keep aside.

2. Put the flour and the salt in a large bowl and stir everything together. Add the butter pieces and pulse until the butter is well mixed and the flour-butter mixture looks powdery.

3. Add the yeast-water mixture and knead just till it all comes together as a ball. Place the ball of dough in a oiled bowl, turning it so it is well coated with the oil. Cover the bowl, and let the dough rise. This dough does not really double in volume, but it should look “puffy” after about an hour or so. When you pinch off a bit from the top you can see the interior looking a bit like honeycomb. Press down the dough to deflate it, wrap it in cling wrap and refrigerate it for at least one hour or up to 24 hours.

4. When ready to make the cookies, take the dough out and lightly roll it out into an approximately 6” square. If the dough feels sticky, scatter a little sugar on it. Using a pizza wheel cut the dough into four strips of equal width. Cut each strip into 6 equal pieces, by cutting across, making a total of 24 pieces. The measurements are not very critical in this part because this just makes it easier to have 24 equal sized bits of dough, as compared to pinching of bits of the dough.

5. Roll each piece into a pencil thick “rope” about 5” long. Sprinkle a little sugar on your work surface and roll the “rope” in it so the sugar crusts the dough uniformly. Form the “rope” into a loop crossing it over before the ends.
 photo 1b8ce3c0-48c3-4962-b043-eba7a17cea2d_zpsad93676c.jpg
6. Place the Torcettini on parchment lined baking sheets, leaving 1-1/2" between them. Leave them for about 20 minutes or so till they rise/ puff up slightly. They will not “puff up” much, like bread, but the “puff” will be visible.

7. Bake them at 160C (325F) for about 25 minutes till they’re a nice golden brown.
 photo 8dea603c-2a72-4146-a093-ed662349737b_zps6be2cc48.jpg
Cool the cookies completely, on a rack. Store them in an air-tight container at room temperature.

Monday, April 30, 2012

Oaty banana snack cake

DSCF8122
I don't know where I got this recipe - it was in my collection of recipes, hand-written in those days when I (presumably) didn't have a printer handy. I can't imagine why else I would have written it out painstakingly rather than printing it. Once upon a time, I used to be an enthusiastic letter writer, writing chatty letters of up to a dozen pages to penpals and friends. In fact, the number of handwritten pages doubled if I was writing to my German penpals at the time, because I'd have to compose my letter in "rough" (because of the many stop-starts and cross-outs) and then copy it out again in "fair". 

And to think that now, if I have to write more than 10 lines at a stretch, I get cramps in my hand...! Yes, actual cramps - and honestly I don't know whether that's due to old age or the unaccustomedness of exerting pressure on a pen with my fingers. I did attempt to write longhand letters to a couple of old friends recently, but the effort didn't last beyond two exchanges. The fact that I don't write anymore has no bearing on my love for writing paper and fountain pens - I just LOVE both!

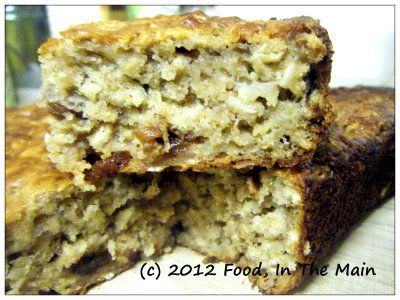
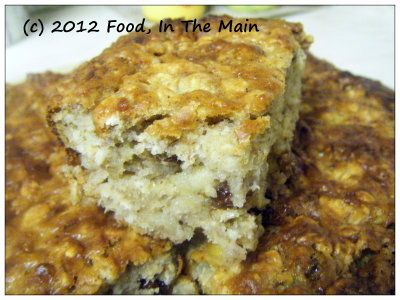
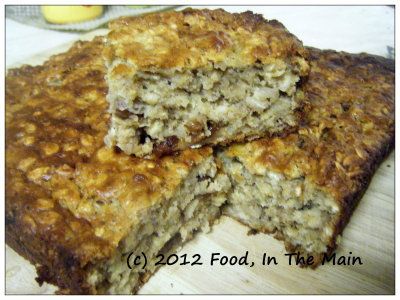
Um... yes, I do realise that pens, paper and handwritten letters have no bearing on this recipe. The cake is chewy with oats, rich with the flavour of bananas and not very sweet. I used an expensive brand of orange oil extract because I didn't have any oranges (for zest). But do use actual fresh orange zest (and 1/4 cup of orange juice) if you have them. The batter is thick enough to take the optional 1/4 cup of juice without becoming overly runny.

Recipe for: Oaty banana cake
DSCF8120
Ingredients:
1-1/2 cups oats (I used organic jumbo oats)
1 cup all-purpose flour
1 tsp baking powder
1/2 tsp baking soda
1/4 tsp salt
1 tsp cinnamon powder
1/3 heaping cup demerara sugar (or use brown sugar)
1/3 cup sultanas or raisins
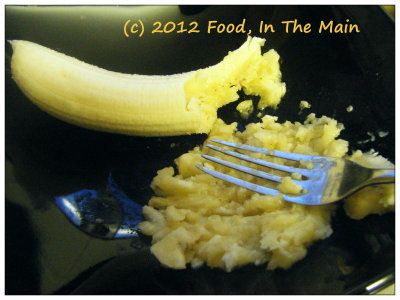
1 cup mashed ripe bananas (two medium)
DSCF8107
1 large egg
1 cup yogurt (I used low-fat Greek style)
2 tsp vanilla extract
1 tbsp orange zest or 2 tsp orange oil extract
2 tbsp oil
1/4 cup orange juice (optional)

Method:
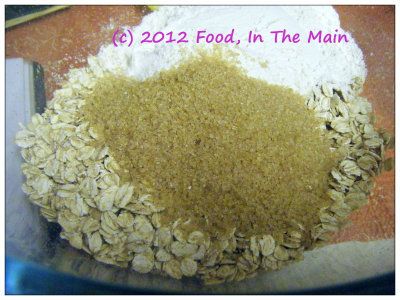
1. Mix together the oats, flour, sugar, baking powder, baking soda, salt, raisins and cinnamon powder in a large bowl.
DSCF8102-1
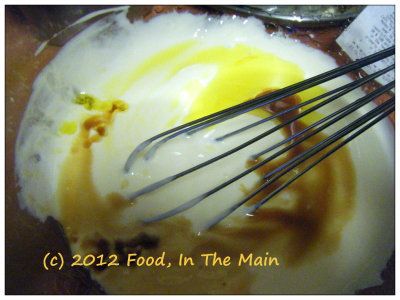
2. In another bowl, lightly beat the egg, then whisk in the yogurt, oil, vanilla extract, orange zest
DSCF8105
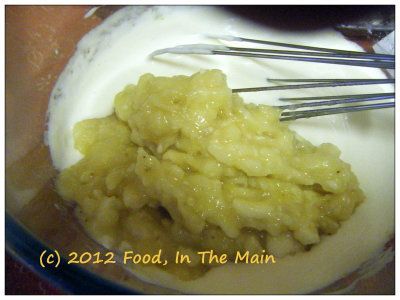
and mashed bananas.
DSCF8108
DSCF8109
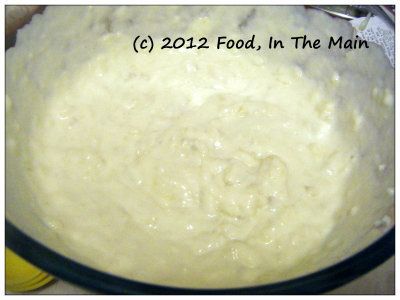
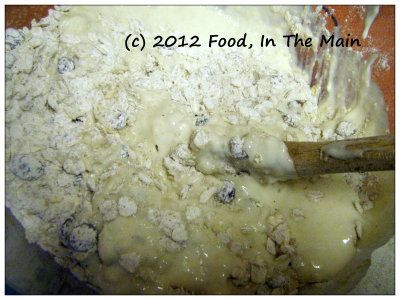
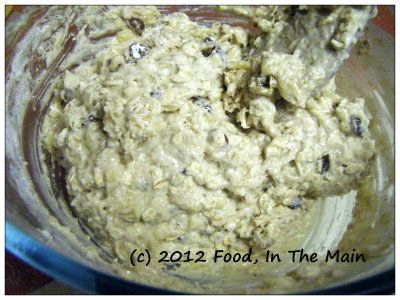
3. Pour the wet batter into the dry mix,
DSCF8110
then lightly stir until just mixed.
DSCF8111
Do not overbeat. The batter will be quite thick.
4. Spray a 7" square baking pan with Pam (or grease thoroughly with butter, if you like), and pour the batter into the pan.
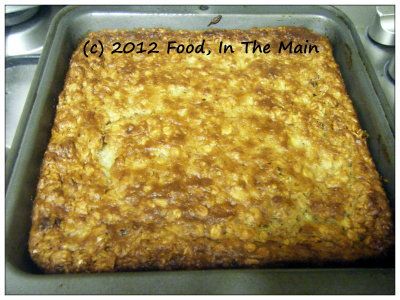
5. Bake at 180C/350F for about 30-40 minutes, or till a tester comes out clean.
DSCF8112
Check the cake after 30 minutes and keep an eye on it thereafter. Once the cake is done, let it remain in the pan for 5  minutes. Remove to a wire cooling rack.
DSCF8118
When the cake is cool, cut into bars and serve. 

RECIPE: OATY BANANA SNACK CAKE
Ingredients:
1-1/2 cups oats (I used organic jumbo oats)
1 cup all-purpose flour
1 tsp baking powder
1/2 tsp baking soda
1/4 tsp salt
1 tsp cinnamon powder
1/3 heaping cup demerara sugar (or use brown sugar)
1/3 cup sultanas or raisins
1 cup mashed ripe bananas (two medium)
1 large egg
1 cup yogurt (I used low-fat Greek style)
2 tsp vanilla extract
1 tbsp orange zest or 2 tsp orange oil extract
2 tbsp oil 
1/4 cup orange juice (optional)
Method:
1. Mix together the oats, flour, sugar, baking powder, baking soda, salt, raisins and cinnamon powder in a large bowl. 
2. In another bowl, lightly beat the egg, then whisk in the yogurt, oil, vanilla extract, orange zest and mashed bananas. 
3. Pour the wet batter into the dry mix, then lightly stir until just mixed. Do not overbeat. The batter will be quite thick. 
4. Spray a 7" square baking pan with Pam (or grease thoroughly with butter, if you like), and pour the batter into the pan. 
5. Bake at 180C/350F for about 30-40 minutes, or till a tester comes out clean. Check the cake after 30 minutes and keep an eye on it thereafter. Once the cake is done, let it remain in the pan for 5  minutes. Remove to a wire cooling rack. When the cake is cool, cut into bars and serve. 

Sunday, April 29, 2012

Cherry muffins

DSCF8097
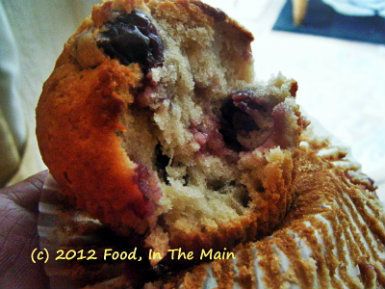
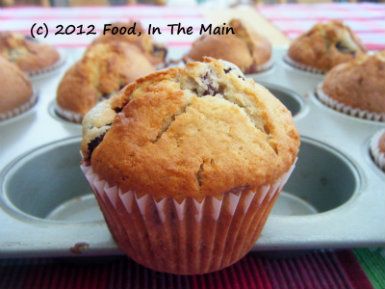
This is a simple muffin recipe - not that muffins are overly complicated things to make, but there are recipes which do turn them into a full-scale production. For this one, however, you mix the dry and the wet separately, then introduce the wet to the dry to make the batter, fold the cherries in briefly and voila! Bob's your uncle and the muffin batter is all ready to go in the muffin pans. (If, by the way, Bob IS your uncle, do say hello from me. I don't have an uncle Bob in my life.)
Recipe for: Cherry muffins
DSCF8096

Ingredients:
2 cups sour cherries (I used canned cherries, drained)
2-3/4 cups all-purpose flour
2/3 cup sugar
2 tsp baking powder
2 tsp vanilla extract
4 tbsp butter, melted
2 large eggs
1 cup milk

Method:
1. Mix together the flour, baking powder and sugar in a large bowl.
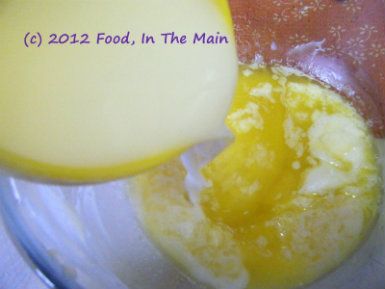
2. In a smaller bowl, mix the melted butter,
DSCF8091
milk,
DSCF8091
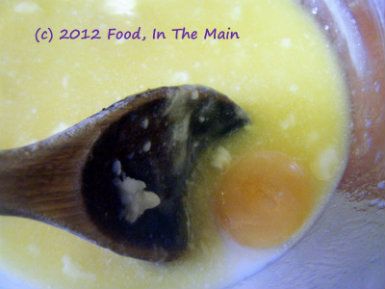
eggs and vanilla
DSCF8092
and stir till well combined.

3. Make a well in the flour, then pour in the wet milk mixture and stir together lightly until the flour is just combined.
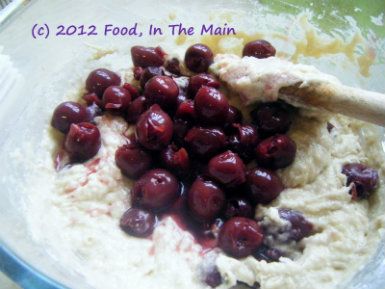
4. Stir in the cherries,
DSCF8093
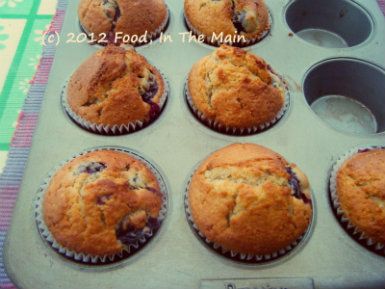
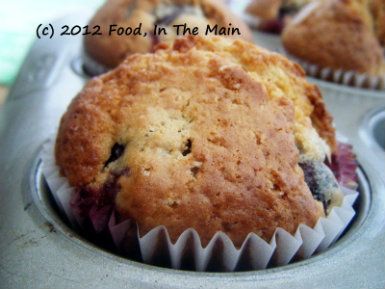
 then spoon the batter into a muffin pan lined with paper cases. Bake at 180C for about 30 minutes, till the muffins are golden brown on top.
DSCF8094
Remove from the oven and let the muffins cool in the pan for 10 minutes.
DSCF8095
Serve warm.


RECIPE: CHERRY MUFFINS

Ingredients:
2 cups sour cherries (I used canned cherries, drained)
2-3/4 cups all-purpose flour
2/3 cup sugar
2 tsp baking powder
2 tsp vanilla extract
4 tbsp butter, melted
2 large eggs
1 cup milk

Method:
1. Mix together the flour, baking powder and sugar in a large bowl.
2. In a smaller bowl, mix the melted butter, milk, eggs and vanilla and stir till well combined.
3. Make a well in the flour, then pour in the wet milk mixture and stir together lightly until the flour is just combined.
4. Stir in the cherries, then spoon the batter into a muffin pan lined with paper cases. Bake at 180C for about 30 minutes, till the muffins are golden brown on top. Remove from the oven and let the muffins cool in the pan for 10 minutes. Serve warm.

Wednesday, February 23, 2011

Blueberry cake

I usually opt for the simplest cake recipes, as I’ve said before (often) (TOO often, sigh regular readers – and if you’re not sighing, regular readers, you should be). The simpler, the better. My most favourite cake recipes are one-bowl affairs where fussy sifting and beating and careful folding and so on do not figure in the instructions.

But this time, in a dramatic departure from my usual modus operandi, the recipe involves fussy separating, AND beating, AND sifting, AND careful folding AND plenty of elbow grease. Sounds disgusting, doesn’t it, especially the elbow grease? If you usually make use of an electric egg beater, you can safely omit the elbow grease, but the rest of the dramatic departure method still holds good. Don’t say you haven’t been warned. And don't ask why I went for the dramatic departure. I still can't believe I chose a recipe where I had to whip the egg whites by hand... 

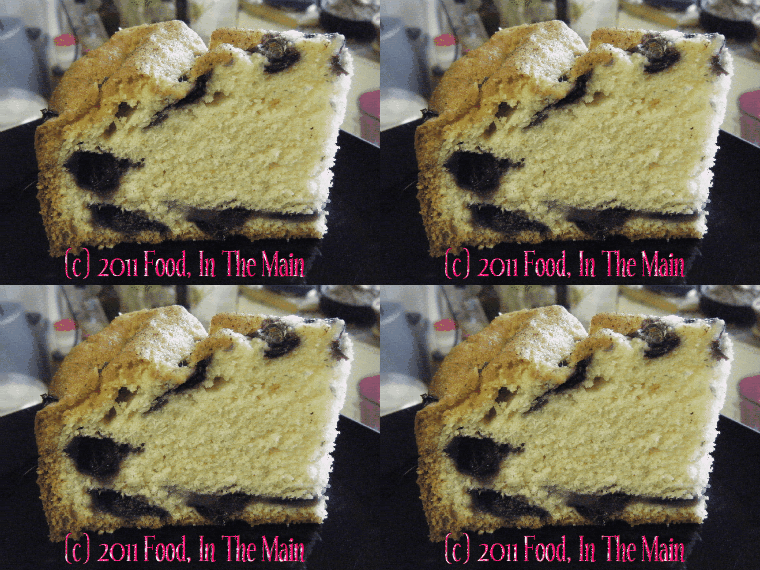
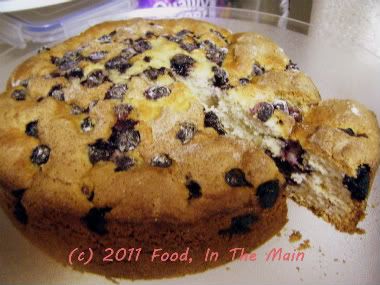
Anyway, after seeing the finished cake, I thought that the procedure had been fussy for no real reason… but on reflection (and after tasting), I think it resulted in a lighter, fluffier, higher rising cake – especially considering that the cake tin I’d used had seemed a bit too big for the amount of batter involved.

And what a delicious cake it was, too.


Recipe for: Blueberry cake
Photobucket
Ingredients:
2 eggs, separated
1/4 cup + 1/2 cup sugar
1/2 cup butter/margarine, softened
1/4 tsp salt
2 tsp vanilla extract
1-1/2 cups flour
1 tbsp flour to coat berries
1 tsp baking powder
1/3 cup milk
1-1/2 cup fresh blueberries
cinnamon sugar for topping

Method:

1. Preheat oven to 180C.

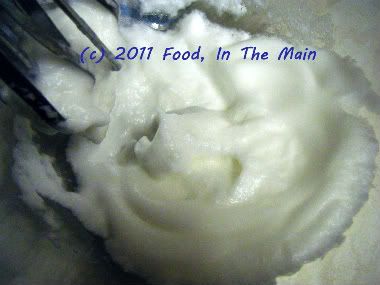
2. Beat egg whites until it forms soft peaks.
Photobucket
Beat in 1/4 cup of sugar.
Photobucket
3. In another bowl, cream margarine/butter.
Photobucket
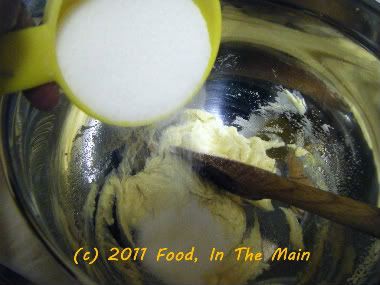
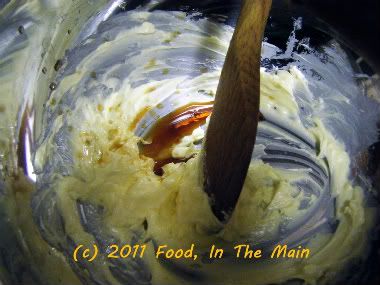
Add salt, vanilla, and remaining sugar gradually.
Photobucket
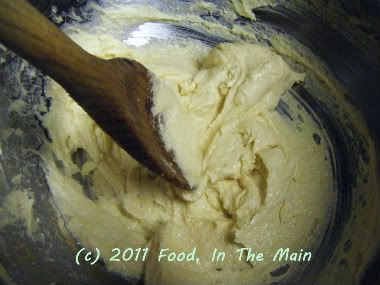
4. Add egg yolks and beat until creamy.
Photobucket
5. Mix flour with baking powder.Photobucket
Add alternately to creamed mixture with milk.
Photobucket
6. Fold in beaten egg whites.
Photobucket
7. Turn out half the batter into an 8" round pan that has been sprayed with Pam.
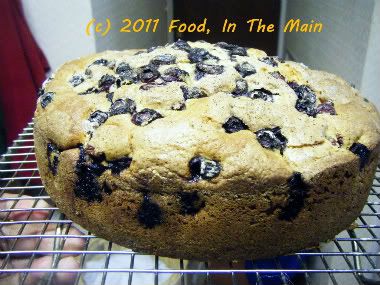
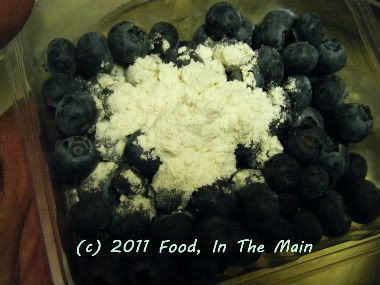
8. Coat the blueberries with 1 tablespoon of flour,
Photobucket
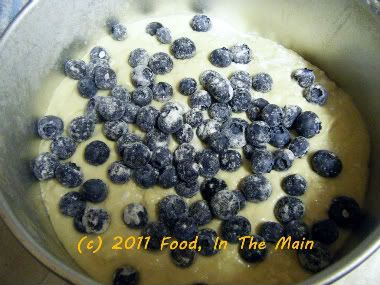
then add half of the berries to the batter in the pan, as far as possible spacing them out evenly without letting them touch the edges of the pan.
Photobucket
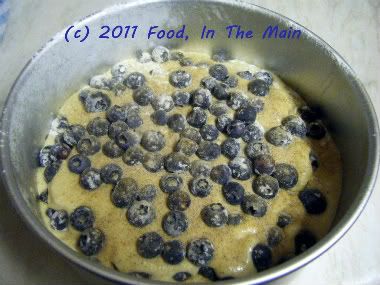
9. Pour in the remaining batter over the berries, then sprinkle the rest of the berries over the top.
10. Sprinkle cinnamon sugar over the top of the batter.
Photobucket
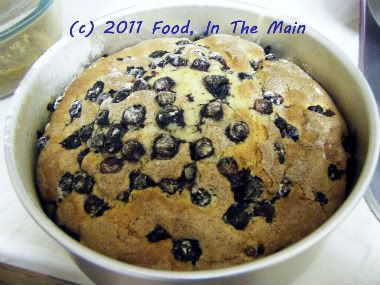
Bake in the oven for about an hour or so, or till a cake tester inserted in the centre comes out clean.
Photobucket
11. Let the cake remain in the pan for 10 minutes, then remove to a wire rack.
Photobucket
Serve warm with a cup of coffee or tea.
Photobucket

RECIPE: BLUEBERRY CAKE

Ingredients:
2 eggs, separated
1/4 cup + 1/2 cup sugar
1/2 cup butter/margarine, softened
1/4 tsp salt
2 tsp vanilla extract
1-1/2 cups flour
1 tbsp flour to coat berries
1 tsp baking powder
1/3 cup milk
1-1/2 cup fresh blueberries
cinnamon sugar for topping

Method:
1. Preheat oven to 180C.
2. Beat egg whites until it forms soft peaks.
Beat in 1/4 cup of sugar.
3. In another bowl, cream margarine/butter. Add salt, vanilla, and
remaining sugar gradually.
4. Add egg yolks and beat until creamy.
5. Mix flour with baking powder.
Add alternately to creamed mixture with milk.
6. Fold in beaten egg whites.
7. Turn out half the batter into an 8" round pan that has been sprayed with Pam.
8. Coat the blueberries with 1 tablespoon of flour, then add half of the berries to the batter in the pan, as far as possible spacing them out evenly without letting them touch the edges of the pan.
9. Pour in the remaining batter over the berries, then sprinkle the rest of the berries over the top.
10. Sprinkle cinnamon sugar over the top of the batter. Bake in the oven for about an hour or so, or till a cake tester inserted in the centre comes out clean.
11. Let the cake remain in the pan for 10 minutes, then remove to a wire rack. Serve warm with a cup of coffee or tea.

Monday, January 24, 2011

Citrus olive oil cake

I unearthed this cake recipe from a binder of printed-off recipes from long ago (over 7 years) which I rediscovered last week. The recipe was from the New Yorker.

I know why I’d printed it off (because, intriguingly, olive oil is one of the ingredients in the cake) and I also know why I didn’t end up making it right away – because blood oranges are also among the ingredients. I didn’t have a clue what blood oranges were, at that point, and didn’t know where I could source them either.

I didn’t think about substituting regular oranges (duh) – because I didn’t have much experience baking, and I didn’t know if the recipe would work without the blood oranges that were called for.

Lastly, but not leastly (Why can’t it be said that way? Well, I have now, and it’s here to stay. More fun than “last but not least”, isn’t it?) I literally had no idea what “supreming an orange” was. I mean, I could safely assume that “blood orange” was a variety of orange. But “supreme of orange” could have been, for all I knew, really bad English to mean that blood oranges were supreme among oranges. Well, how was I to know any different?

It’s only fairly recently that I learnt what it is to “supreme an orange” – basically, a flashy, “cheffy” way of using a paring knife to peel an orange, cut out the segments and remove the seeds and as much of the white pith as possible, retaining only the juicy inner bits.

Phooey. We’ve been doing it in India forever, mainly to feed the orange to toddlers. Of course ours is a hands-on technique, literally – and yeah, the end result isn’t as pretty as when an orange is “supremed” with a knife. But it is also an unfussy way of doing a simple job. Ah well... I guess Western chefs didn’t invent the technique with the intention of feeding toddlers; their orange supremes are usually to garnish fancy desserts.

Each technique obviously has its plus points. But for the purposes of THIS recipe, fancy supreming was really not required, as the slices would neither be retained whole, nor used as a garnish. And had I known this 7 years ago, I might have tried the cake 7 years ago.

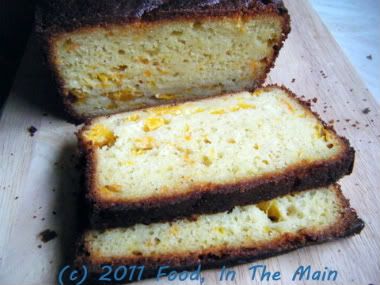
However, that’s neither here nor there (just don’t ask me where, please). This is my first olive oil cake, and I admit I was wondering if the oil would taste nice in a sweet citrus-flavoured cake. I was very relieved not to be able to taste it at all, when I sampled the cake later. The cake is not very sweet, because I misread the instructions and ended up with a very liquidy batter necessitating the addition of more flour... but I didn't add any extra sugar.

The recipe below shows the adjusted quantities. However, it still takes a LONG time to bake – I had to leave mine shortly after I’d put the batter in the oven, to drop off my stepson and his girlfriend at their respective homes. What with having to drive to two destinations 12 miles apart (more or less) through a HORRIBLY thick fog late at night on narrow country roads, it took me a good hour and a half to return.

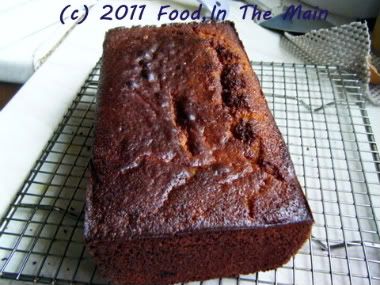
My husband, deep in work mode, had not even realised there was a cake slowly charring in the oven, so by the time I dashed in to the rescue, the cake was PRETTY brown and rather crisper on top than I would have liked. However, much to my surprise, it was not crisp and overdone all the way through – in fact, it was perfectly done on the inside. So obviously it had needed the long cooking period. If I’d been in the house, I would probably have sheltered the cake with aluminium foil after an hour or so, to prevent it from over-browning.

So, as I was saying, the cake may not be very sweet even with the adjusted sugar quantity. I like it that way but if you have a sweeter tooth, I’d suggest you make a simple icing with orange juice and icing sugar and pour it (or spread it – whichever your preference) over the top of the cake after it has cooled.

Recipe for: Citrus olive oil cake
Photobucket
Ingredients:

3 medium oranges
1 small lemon
1-1/4 cup sugar
Buttermilk or plain yogurt
3 large eggs
2 cups all-purpose flour
1 1/2 teaspoons baking powder
1/2 teaspoon baking soda
1/4 teaspoon salt
2 tsp vanilla extract
2/3 cup extra virgin olive oil

Method:

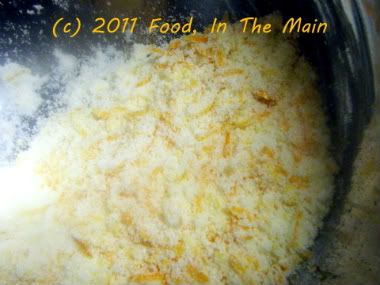
1. Preheat oven to 350 degrees. Grease a 9-by-5-inch loaf pan really well. Grate zest from 2 oranges and the lemon, and place in a bowl with sugar. Using your fingers, rub ingredients together until the zest is evenly distributed in the sugar.
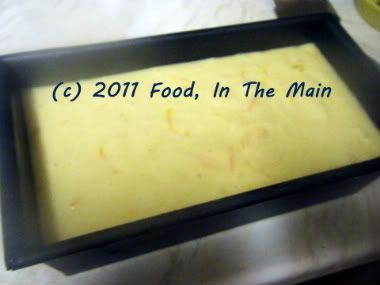
Photobucket
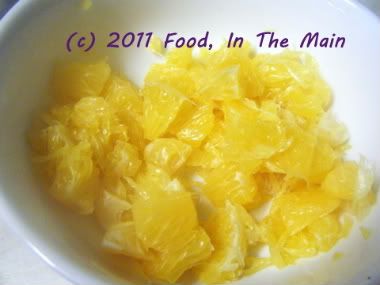
2. Cut the zested oranges in half and remove the segments. Remove as much of the white pith as possible, retaining the inner pulp. Do this over a bowl so that you don't waste the juice or any pulp. Keep the pulp in small chunks as much as possible, rather than disintegrate it.
Photobucket
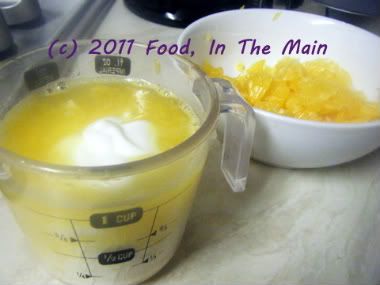
3. Cut the remaining orange in half and squeeze the juice into a measuring cup. Do the same with the zested lemon.

4. Add enough buttermilk or yogurt to the juice to make 2/3 cup liquid.
Photobucket
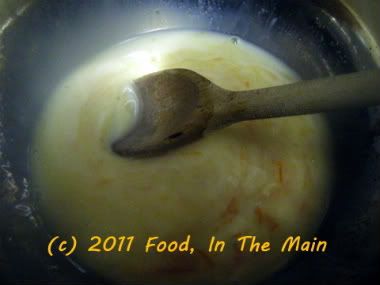
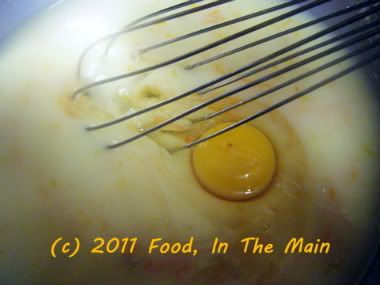
5. Pour the mixture into the bowl with sugar and whisk well,
Photobucket
then whisk in the eggs one by one.
Photobucket
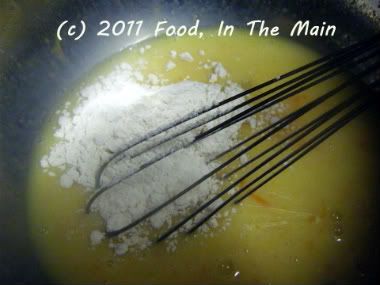
6. In another bowl, whisk together flour, baking powder, baking soda and salt. Gently whisk dry ingredients into the wet ones.
Photobucket
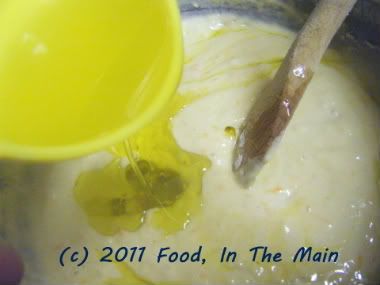
7. Now, using a spatula, fold in the oil a little at a time.
Photobucket
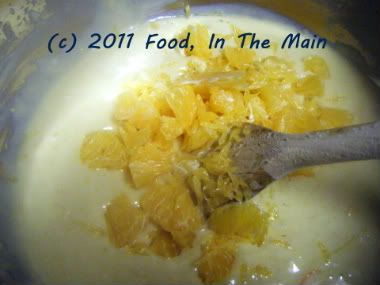
8. Fold in the pieces of orange segments.
Photobucket
Pour the batter into the prepared pan and smooth the top.
Photobucket
9. Bake the cake for at least 55 minutes (cover the top with foil if it looks like browning too quickly), or until it is golden and a tester inserted in the cake comes out clean.
Photobucket
Cool on a rack for 5 minutes, then unmould carefully and cool to room temperature right-side up.
You can make a simple icing for the top, if you have a strong sweet tooth.
(Caveat: Ovens differ in temperature, so don't put your trust totally in the baking time given. Check the cake after about 45 minutes and keep checking every so often till it is cooked.)

RECIPE: CITRUS OLIVE OIL CAKE

Ingredients:

3 medium oranges
1 small lemon
1-1/4 cups sugar
Buttermilk or plain yogurt
3 large eggs
2 cups all-purpose flour
1 1/2 teaspoons baking powder
1/2 teaspoon baking soda
1/4 teaspoon salt
2/3 cup extra virgin olive oil

Method:

1.Preheat oven to 350 degrees. Grease a 9-by-5-inch loaf pan really well. Grate zest from 2 oranges and the lemon, and place in a bowl with sugar. Using your fingers, rub ingredients together until the zest is evenly distributed in the sugar.
2. Cut the zested oranges in half and remove the segments. Remove as much of the white pith as possible, retaining the inner pulp. Do this over a bowl so that you don't waste the juice or any pulp. Keep the pulp in small chunks as much as possible, rather than disintegrate it.
3. Cut the remaining orange in half and squeeze the juice into a measuring cup.
4. Add enough buttermilk or yogurt to the juice to make 2/3 cup liquid.
5. Pour the mixture into the bowl with sugar and whisk well, then whisk in the eggs one by one.
6. In another bowl, whisk together flour, baking powder, baking soda and salt. Gently whisk dry ingredients into the wet ones.
7. Now, using a spatula, fold in the oil a little at a time.
8. Fold in the pieces of orange segments. Scrape the batter into the prepared pan and smooth the top.
9. Bake the cake for at least 55 minutes (cover the top with foil if it looks like browning too quickly), or until it is golden and a tester inserted in the cake comes out clean. Cool on a rack for 5 minutes, then unmould and cool to room temperature right-side up. You can make a simple icing for the top, if you have a strong sweet tooth.