Showing posts with label pav buns. Show all posts

Monday, February 09, 2009

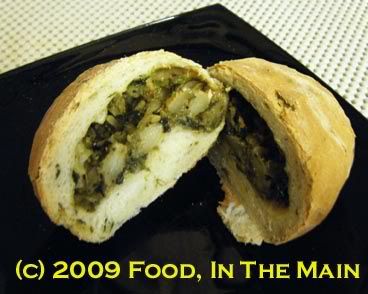
Curried vegetable-stuffed methi buns

It’s nice to be baking bread, because now I feel a bit emboldened to try recipes I’ve had since forever but never bothered making because – well, because I didn’t bake bread. It’s only recently that I’ve ventured into this area of baking, with so far – touch wood! – a reasonable rate of success. Who knows, I might yet get to be a Daring Baker and build whole edifices of cake (although I wouldn’t advise anyone to hold their breath waiting…).

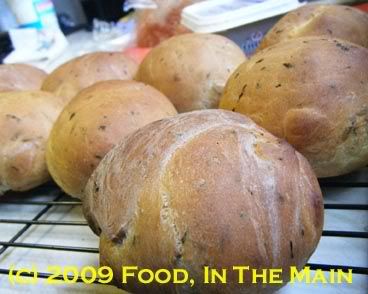
Anyway, last weekend I made up my mind to bake curried vegetable-stuffed buns. And, in a breathtaking bit of daring derring-do (I felt like Errol Flynn at his most swashbuckling, to tell you the truth), I added fresh methi (fenugreek) leaves and omam (ajwain/carom) to the bread dough.
Photobucket

It all worked perfectly.

PS. I’m not going to gush any more than that this time, in case I alienate the few readers I have who expect me to be matter-of-fact, restrained and factual in writing about my recipes and their outcome… do I even have any such readers?

*sigh*

Recipe for:
Curried vegetable-stuffed methi buns
Photobucket

Ingredients - For the stuffing:

1 medium potato, boiled, peeled and roughly mashed/crumbled
½ cup finely chopped green beans, cooked
1 cup sliced spinach
¾ cup finely sliced shallots (or onion)
½ tsp sambar powder
½ tsp garam masala
½ tsp red chilli powder
¼ tsp asafetida powder (optional)
1 tsp cumin seeds
¼ tsp turmeric powder
Salt to taste
2 tsp oil

Method – the stuffing:

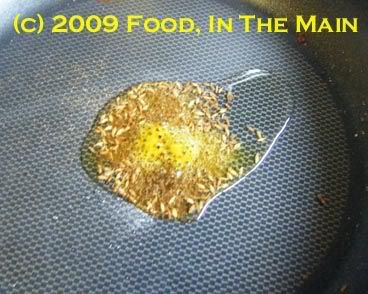
1. Heat the oil in a skillet and add the asafetida, the cumin seeds, turmeric powder and garam masala and fry for 30 seconds.
Photobucket

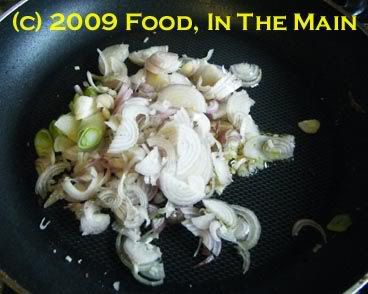
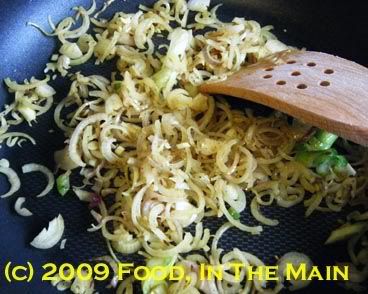
2. Add the sliced shallots

Photobucket

and fry for 3-4 minutes or till they start turning soft.
Photobucket

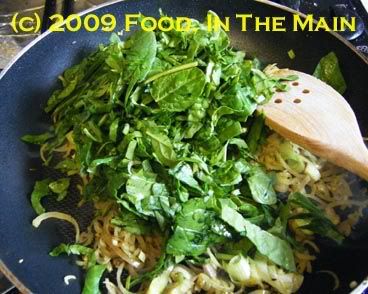
3. Then add the spinach leaves and sauté till they wilt.
Photobucket

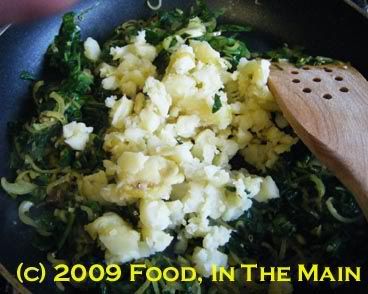
4. Next, add the mashed potato and mix in,
Photobucket

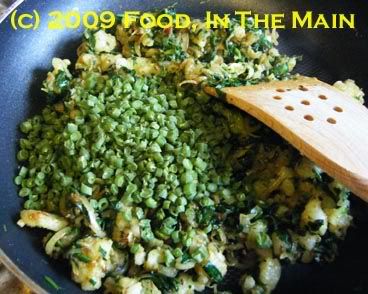
then the cooked green beans.

Photobucket

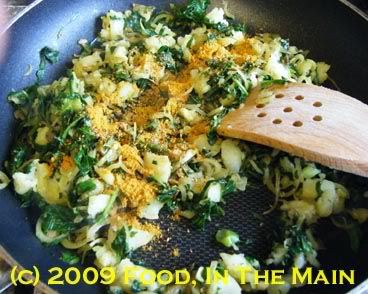
5. Sprinkle the sambar powder, chilli powder and salt in to distribute it evenly.
Photobucket

6. Let cool completely. The stuffing should be as dry as possible, so let it cool uncovered, so that condensation does not drip back in.

Ingredients - for the buns:

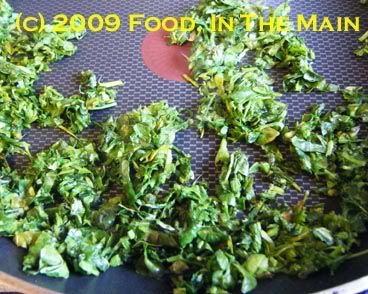
1 cup methi leaves, washed, dried and chopped, sautéed in ½ tsp oil till wilted, then cooled
Photobucket
3-1/2 cups strong white bread flour
2-1/2 tsp instant dry yeast
½ tsp carom/ajwain/omam seeds (increase to 1 tsp if you really, really love the taste!)
1 cup water
½ cup buttermilk
2 tbsp melted butter
Salt to taste

Method – the buns:

1. Mix 1 cup bread flour, 1 cup water and the yeast in a large bowl so that there are no lumps. Let this stand, covered with plastic wrap, for 1-3 hours in a warm place, till it becomes bubbly.

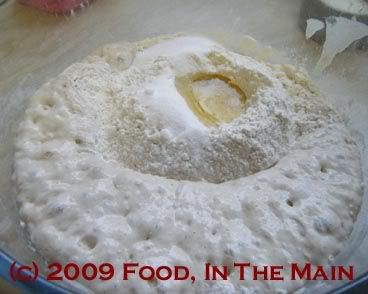
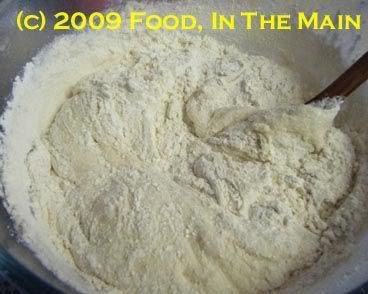
2. Now stir 2 cups of the remaining flour,
Photobucket

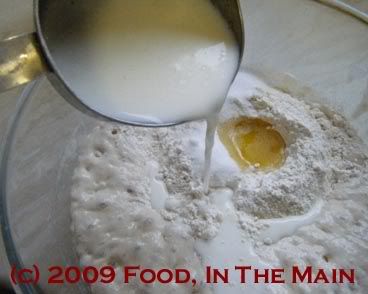
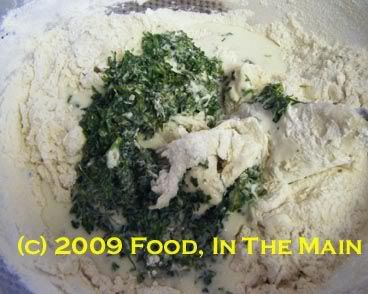
the buttermilk and sautéed methi leaves, melted butter,
Photobucket

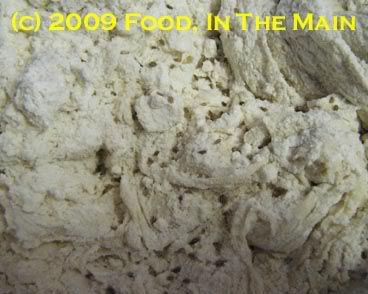
ajwain/carom/omam and salt into the starter.
Photobucket

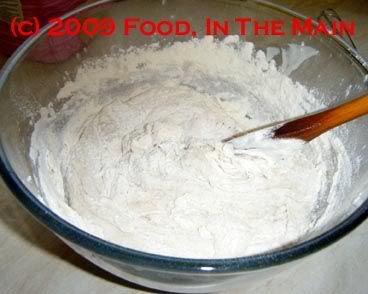
Mix with a wooden spoon till the dough pulls away from the side of the bowl.

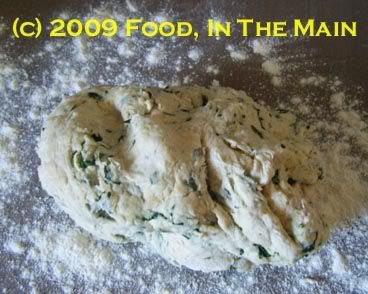
3. Turn the dough out onto a clean, lightly floured surface and knead, adding the remaining flour a tbsp at a time, if required.
Photobucket

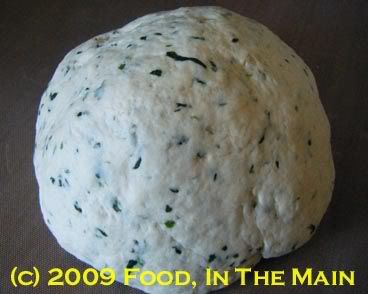
The dough should be springy, smooth and elastic when done (takes 6-8 minutes of kneading by hand).
Photobucket

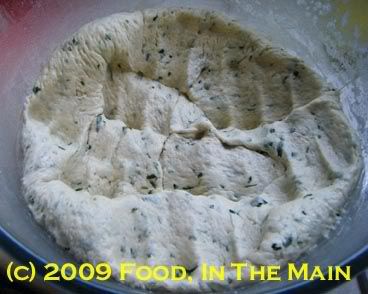
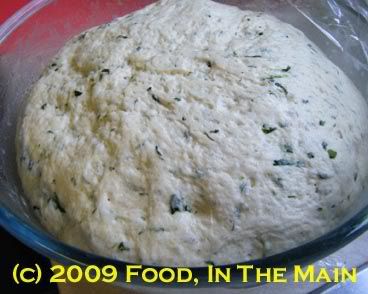
4. Now grease the bowl lightly with butter or oil, and put the dough in, turning it around once or twice so that it is coated. Cover with plastic wrap and pop back into your warm place. (Mine was again the oven.) Leave it for 1-1/2 hours or so till the dough is doubled in volume.
Photobucket

5. Punch the dough down lightly,

Photobucket

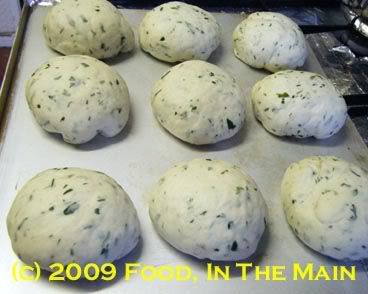
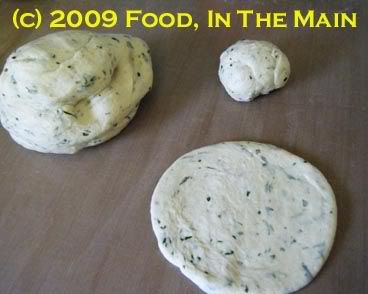
turn it out onto the kneading surface, knead very briefly, and divide into tennis-ball sized rounds. (This makes about 9 large buns.)
Photobucket

Roll each round into a circle of about 5” diameter.

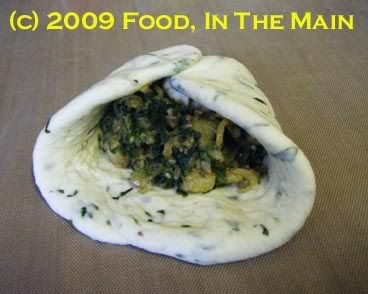
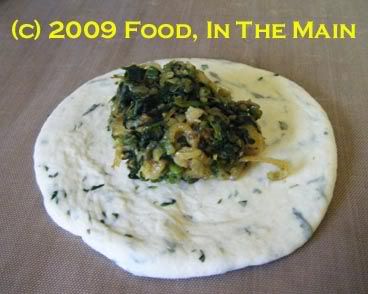
6. Place 2 tbsp of the filling in the centre of the circle,
Photobucket

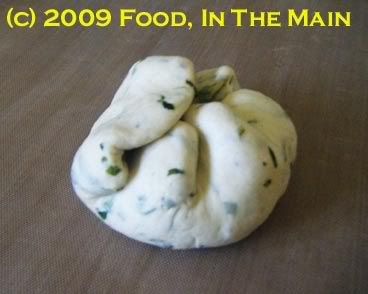
then fold the circle closed.

Photobucket

Pinch the folds to seal the stuffing in,
Photobucket

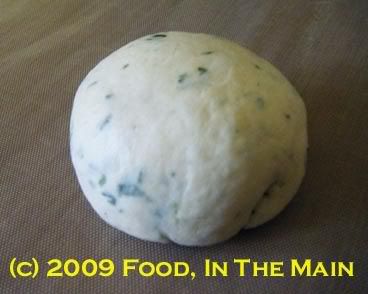
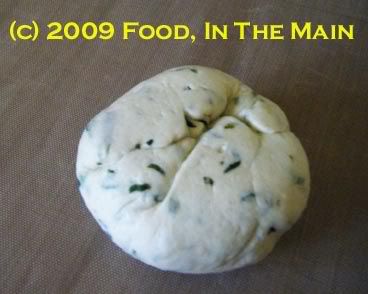
then place the ball seam side down and sort of roll it in place to make sure the seams are fully closed.
Photobucket

Photobucket
Underside of filled dough ball after rolling in place to close the seams.

Repeat with remaining balls of dough and filling.

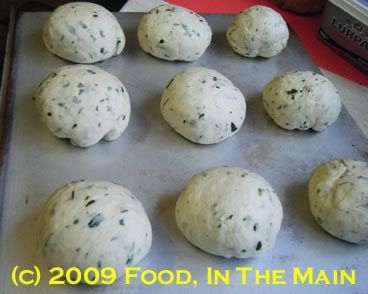
8. Place the filled dough balls on a baking sheet covered with non-stick silicone paper (or lightly grease the sheet if, like me, you’re out of non-stick paper)
Photobucket

and let rise for 20 minutes.

Photobucket

9. Put the tray in a cold oven and turn it on to 200C. (The rolls will rise further as the oven heats to the required temperature.)

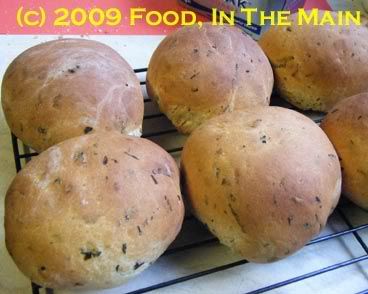
Bake the filled rolls for 30 minutes or so, till golden brown on top. If they sound hollow when tapped on the bottom, they’re done.
Photobucket

10. Wrap the rolls in a clean tea towel if you like the crust to be soft. If not, let cool on a rack till just warm. Serve the buns as a snack by themselves or with soup.

Wednesday, January 07, 2009

Pav buns/dinner/sandwich rolls - the pictorial

This recipe is actually for the pav buns/dinner rolls that I made a few days back. And yes, before you ask, I am not yet tired of mentioning the fact that I baked them myself! (Twice!) The photos were taken the second time I made the same recipe, but I decided to shape the buns like sandwich baps (English term for a flattish soft flour-topped sandwich roll) - which is why the finished-product photo doesn’t show pav bun-shaped bread. It's the same recipe as in the earlier post, though.

The post is basically a pictorial, so for a change I’ll let the photos do the talking. One photo equals a thousand words, to quote an oft-repeated phrase, so … er (hoping my maths skills are up to the task) ... I guess that means I’ve written some 18,000 words, not counting the words in this paragraph. A pretty good effort, all said, wouldn’t you agree?

In pictures, then:


Photobucket
The bubbly result of one cup of flour, one cup of warm water and 2.5 tsp yeast, mixed well and left to ferment in the oven for about an hour with the pilot light turned on.

Photobucket
Adding the remaining 2 cups flour, 1 tbsp melted butter, salt and sugar.

Photobucket
1/2 cup buttermilk going into the bowl now...

Photobucket
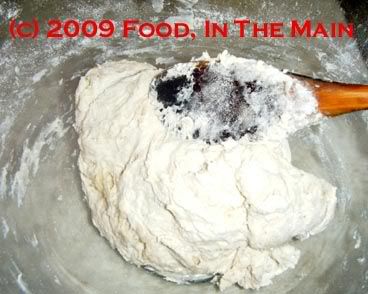
Stirring the whole thing with a wooden spoon to bring the ingredients into a rough dough.

Photobucket
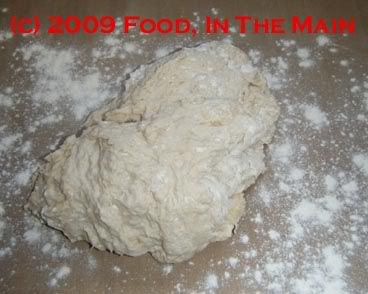
Now that the dough has come together reasonably well, time for some kneading.

Photobucket
Remove the dough to a lightly floured surface.

Photobucket
This is hungry dough - it's taken up the extra flour from the kneading surface.

Photobucket
Don't be afraid to scatter more flour on the surface - like so - while kneading.

Photobucket
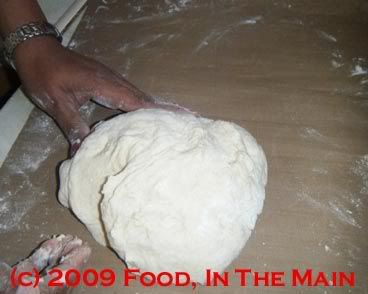
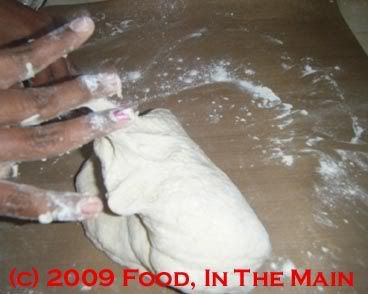
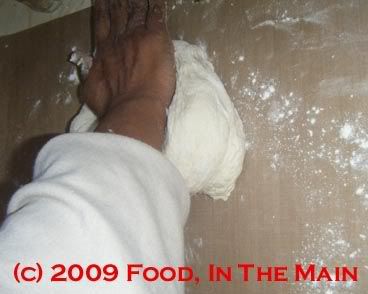
Fold the dough towards you while kneading

Photobucket
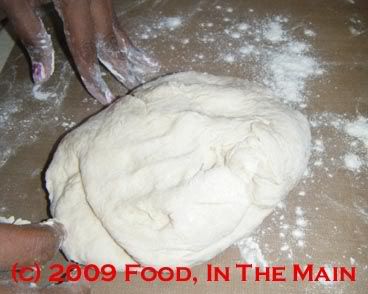
Then push it away from you with the heel of your hand. Turn the dough a quarter circle, then repeat the folding-pushing maneouvre for 6-8 minutes.

Photobucket
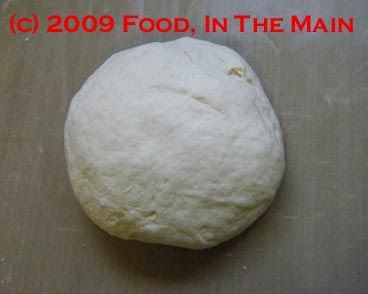
At last - the dough is now elastic and smooth, ready for the next step.

Photobucket
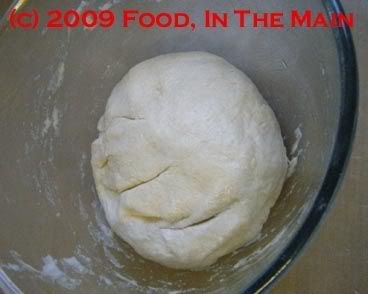
The dough now back in the greased bowl, covered with cling film, for 1-1/2 to 2 hours in the pilot-light-lit oven.

Photobucket
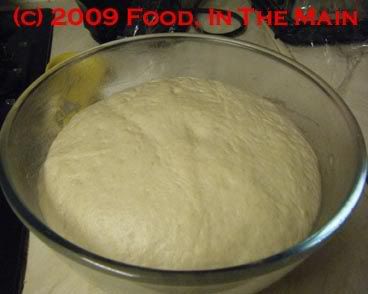
After about 1 hour 45 minutes - the dough has risen nicely to double the original volume.

Photobucket
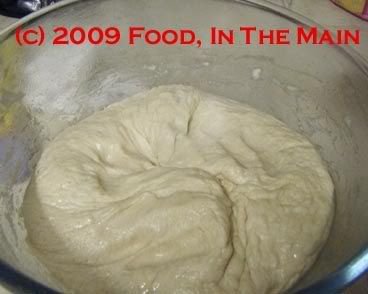
Punch it down gently.

Photobucket
Put the dough back on the kneading surface to be pinched off and rolled into bun shapes, ready for the second rising. (Nothing to do with religion!)

Photobucket
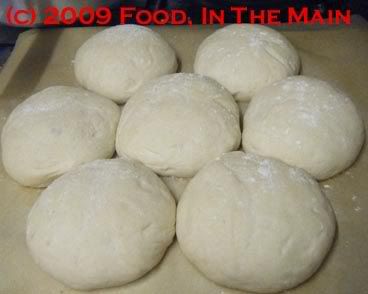
After 45 minutes in the oven, the bun-shaped dough balls have risen again and filled the gaps to stick together. Sprinkle extra flour on them before baking.


Photobucket
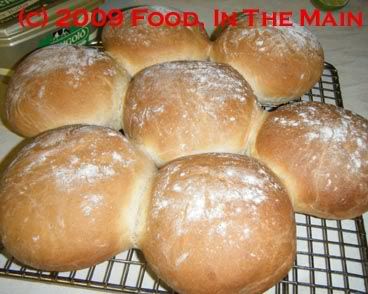
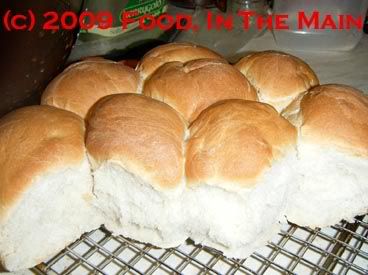
Golden-brown sandwich baps, fresh from the oven. These took about 30 minutes to bake at 180C.

Photobucket
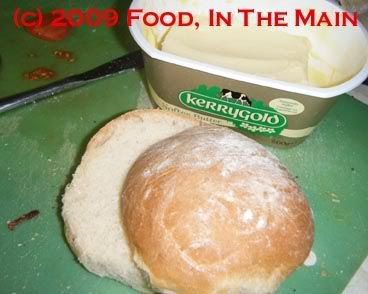
Sliced and ready to become a sandwich - use a filling of your choice, and enjoy the soft, yeastily aromatic bread baked by your own hands!

Saturday, January 03, 2009

I say pav buns, you say dinner rolls...

It's been such a long time - 2 months, pretty much exactly - since I felt like posting anything on this blog that I myself was beginning to wonder if I would ever get back to it. Not in a "I MUST resurrect this blog" way, but more in a "I wonder if I'll get around to resurrecting this blog" sort of way. I have lots of recipes which havent made their way here yet... and I'm not sure that they will even though most of them have photos. It's been awhile since I made them, and the josh (enthusiasm) has just sort of leaked away.

Still, the new year deserves a new effort - and mine this time was to bake bread from scratch, by hand. I had tried making stuffed buns (minus the stuffing) some few days back, and although the buns were edible enough, they didnt quite make the cut. Then I tried the
pav buns from the Jugalbandits and that was a very much better effort. The flavour and aroma were lovely, but the texture still left something to be desired - probably because of something I did (or didnt). It wasnt soft like I wanted my pav buns to be.

Today, I tried out a recipe for
dinner rolls from Nic, of Baking Bites - and that was a spectacular success. I've tried baking bread before, with not much success when it came to hand baking. Using a bread machine sort of worked, but it didn't seem like I was really baking, y'know? Neither the experience nor the bread was authentic.

Anyway, this time I decided I wouldn’t worry about the outcome. In fact, I was so laidback, I was practically horizontal (so I took advantage of that position and had a snooze while the yeast did its business - twice!). It worked. The dinner rolls came out absolutely perfect - golden brown top, soft fluffy interior - exactly as I've seen in bakeries. It was just amazing.


I personally think the texture was so glorious because of Nic's specification to mix 1 cup of flour with 1 cup of warm water and 2.5 tsp of instant dried yeast and let it sit for at least an hour and up to 3 hours. I think that starter was what made the rolls so incredibly good. I didn’t use white whole-wheat flour as she did, though (because I didn’t have it and didn’t know where to get it)... so I used strong white bread flour throughout, and it worked just fine! I didn’t bother with the egg wash, either. I meant to brush the tops of the rolls with milk, but I forgot. It didn't seem to matter anyway. The rolls were perfect - pav buns, in Indian terms. Even the shape was pav-like because the round baking tin I used was slightly too small to accommodate all the buns, and they turned out tall-ish rather than round. Soft, fluffy, gorgeous...

Forgive my exuberance (and master-bakers, don't snigger, please!) - it's the first time that any bread I've baked with yeast, made from scratch, has come out so well, and I'm really rather thrilled. Yes, I've only made simple dinner rolls, but for someone like me, a non-bread-baker, it's quite an achievement. Thanks, Nic! Happy New Year, all!

PS. There's no point trying out these buns unless you have a lot of time - and contrarily enough (and this is VERY important), lots of things to fill that time. Otherwise, simply waiting for the dough to rise will drive you over the borders of wherever you live and right into the land of Insania.)

Recipe for:
Pav buns/dinner rolls


Photobucket
Ingredients:

3-1/2 cups strong white bread flour
1 cup water, warm
2-1/2 tsp active dry yeast
1/2 cup buttermilk
1 tbsp butter, melted
2 tbsp sugar
1-1/2 tsp salt

1. Mix 1 cup bread flour, 1 cup water and the yeast in a large bowl so that there are no lumps. Let this stand, covered with plastic wrap, for 1-3 hours in a warm place. The idea is for the mixture to get bubbly and rise a bit. (This starter took about an hour, with the bowl placed in the oven and just the pilot light turned on.
)

2. Now stir 2 cups of the remaining flour, the buttermilk, melted butter, sugar and salt into the starter. Mix with a wooden spoon till the dough pulls away from the side of the bowl.

3. Turn the dough out onto a clean, lightly floured surface and knead, adding the remaining flour a tbsp at a time, if required. The dough should be springy, smooth and elastic when done (takes 6-8 minutes of kneading by hand).

4. Now grease the bowl lightly with butter or oil, and put the dough in, turning it around once or twice so that it is coated. Cover with plastic wrap and pop back into your warm place. (Mine was again the oven.) Leave it for 1-1/2 hours or so till the dough is doubled in volume.

5. Turn the risen dough back onto the lightly floured surface and punch down lightly, then divide into golf-ball sized rounds.

6. Grease a 9” round cake pan lightly and line the bottom with non-stick silicone paper. Place the rolls into the pan, leaving about ½” gap between each – about 7 around the edge and 2 or three in the centre). (I left only ¼” gap, which made the buns tall-ish rather than round in the final rising.) Cover the rolls with a clean dish towel and let them rise for 45 minutes or so – yes, again in a warm place. The rolls should have “fused” where theytouched.

7. Preheat the oven to 180C and bake the rolls for 30 minutes (by all means remove the dish towel before baking, because I don’t know what would happen if the towel stayed on.) They should ALL be uniformly golden brown on top.

8. Remove the rolls from the pan and cool on a wire rack for 10 minutes. Serve warm with butter, and at the table, let each person pull apart a roll from the main bunch.