skip to main |
skip to sidebar
(Adapted from King Arthur Flour)
First off, I have to apologise for the delay in posting my version of this month's challenge - actually, last month's, now. In my defence, my laptop was on a dreadful go-slow, and on top of that, the Internet connection at home was unavailable all of last week as we'd changed over from AOL to BT... and the engineer from BT could only come last Friday to actually install whatever he needed to install for us to go online. So now we have a superfast connection... but my laptop has not received the memo yet, methinks. It's extremely frustrating to work on photographs when it takes 5 minutes to save every change that's made. But this post had to be published, and I didn't want to risk being thrown out of this group for a perceived lack of participation. (I but jest, I know Aparna is very forgiving!)
Anyway, those of you who are still dropping by my blog might be wondering who's been writing my posts for me. I wonder that myself, because the last few posts show every sign of having been dashed off by someone who didn't know how to write, who didn't want to write in the first place and who had a dozen different distractions. That was me. Distracted and reluctant. And it showed in my writing - hastily done for the sake of doing it, not because I was enjoying the process. I'm still in the reluctant phase, so this probably isn't going to be a long post. I just wanted to make my excuses for the quality of my posts lately. I know I can do better, and I probably eventually will.
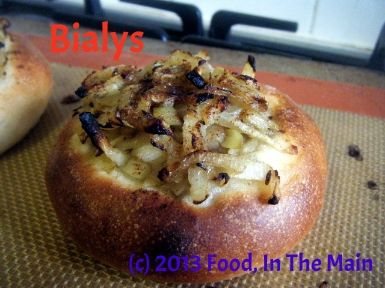
On to the bialys. I've made them twice - they're pretty easy to make, but the reason I made them the second time is because the onion filling got burnt practically to cinders. My first mistake was to cook the onions for too long on the hob, and my second mistake was to leave the overcooked onions to cool in the frying pan itself. That was a rookie mistake, really. So the already overcooked onion simply got incinerated when they spent 20 minutes in a 230C oven. The bialys tasted great, so Pete and I ate the bready part after I'd chiselled off the charred onions.
This anecdote is merely to emphasise that it's very important to cook the onions till just soft and no more. And remove the cooked onions to a bowl where they can cool.
The second batch of bialys was spectacularly tasty. You can add chopped, cooked smoked bacon to the onion mix for the non-vegetarians, like I did. Believe me, those bacon bialys just vanished.
Recipe for: Bialys
Ingredients:
For the dough:
1 teaspoon instant yeast
1 tbsp sugar
1 1/4 cup warm water
3 cups all-purpose flour (use bread flour if you can find it or all-purpose flour + 1 tbsp vital wheat gluten)
1 tsp salt
Milk for brushing the dough
For the Onion Filling:
1 tbsp oil
3 medium onions, finely chopped
1 1/2 tsp cumin seeds
3/4 tsp garam masala
Salt to taste
Method:
1. Make the dough first. Put the yeast, sugar, salt and flour in a large bowl. Mix well and then add the warm water in a steady stream. Knead until the dough comes together as a mass and then let the dough rest for 10 minutes. This will help the dough absorb water. Knead again, adding a little more water or flour (not too much) if you need it, until your dough is smooth and elastic but not sticky.
2. Shape tre dough into a ball and put it in a well-oiled bowl, turning the dough till it is well coated. Cover and let it rise till about double. This should take about 2 hours. If you’re not making the bialys right away, you can refrigerate the dough overnight at this point. When ready to make them, keep the dough at room temperature for about half an hour and then proceed with the rest of the recipe.
3. In the meantime, make the filling. Heat the oil in a pan, and add the cumin seeds. When the crackle, add the onions, and sauté over low to medium heat. Sprinkle a little salt and continue sautéing until they become soft and turn golden brown in colour. Add the garam masala and stir well. Keep the caramelised onions aside to cool.
4. Sprinkle your work surface lightly with flour and place the dough on it. Divide it into 8 equal pieces and shape each one into a roll by flattening it and then pinching the ends together to form a smooth ball. Place the rolls on a lightly greased baking sheet and cover them with a towel. Let them rise for about one hour (about 1 1/2 to 2 hours for refrigerated dough) till pressing with a finger on the top leaves a dent.
5. Work on one piece at a time, while you keep the others covered so they don’t dry out. When the rolls are ready, pick them up one at a time and using your fingers, form the depression in the middle. Hold the roll like a steering wheel with your thumbs in the middle and your fingers around the edges. Pinch the dough between your thumb and fingers, rotating as you go and gradually making the depression wider without actually poking a hole through.
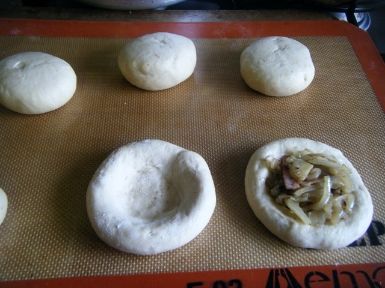
6. Remember not to press on the edges, or they will flatten out. Once shaped, you should have a depression about 3” in diameter with 1” of puffy dough around the edge, so your Bialy should be about 4” to 5” in diameter. Prick the centre of the bialys with a fork so the centre doesn’t rise when baking.
7. Place the shaped dough on a parchment lined (or greased) baking tray leaving about 2 inches space between them. Place the caramelised onion filling in the depressions of each Bialy. Brush the outer dough circle with milk. Bake the bialys at 230C (450F) for about 15 minutes till they’re golden brown in colour.

Cool them on a rack. Serve slightly warm or at room temperature.
I made this bread quite a while back, while in the grip of severe “baking bread from scratch” fever. That’s how these things get me – I start out all fired up, rather like a milk cooker which has lost its pressure valve and therefore can’t regulate the outlet of excitable steam and therefore bubbles over when the enthusiasm level heats up too much… and then the fire goes out.
Ideally, what I need is some sort of pressure valve that will let off the excess enthusiasm, or at least regulate the letting off of it so that it doesn't bubble over and extinguish itself...
How about that, I’ve just had an epiphany in front of everybody!
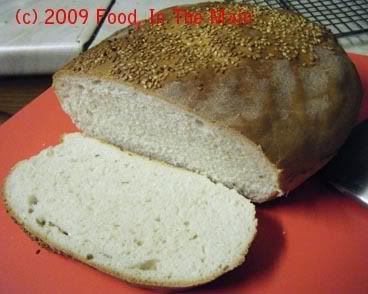
Anyway, I’m not really sure what makes this a Greek white bread, but that’s what the recipe said when it popped into my inbox, and that’s what I’m saying as well. Maybe it’s the olive oil? But the Italians and Spanish use olive oil too, so maybe not. Well, whatever. After all, What’s in a name? That which we call a bread by any other name would taste as sweet (sorry, Shakespeare) – or as nice, at any rate. This bread isn’t sweet, but it IS nice.
PS. The fire hasn’t actually gone out as regards baking bread by hand… but it has fizzled a little. I’m sure something will occur to turn the heat up again, and then just watch out! The bread will rise again.
Recipe for: Greek white bread
Ingredients:
3-3/4 cups of strong bread flour
1 1/2 cups of lukewarm water
2 tsp dry yeast
2 tablespoons of olive oil
1 teaspoon of salt
water for brushing
sesame seeds
Method:
1. Dissolve yeast in the warm water.
2. In a mixing bowl, combine 1-1/2 cups of flour, salt, oil, and yeast with water, and mix until thoroughly blended.
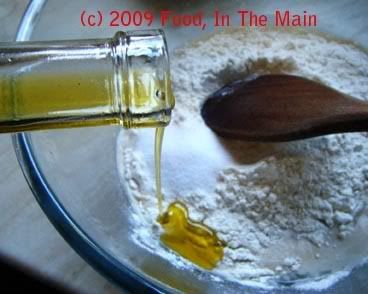
Cover tightly with plastic wrap and let sit for 30 minutes in a warm, draught-free place till it's somewhat bubbly.
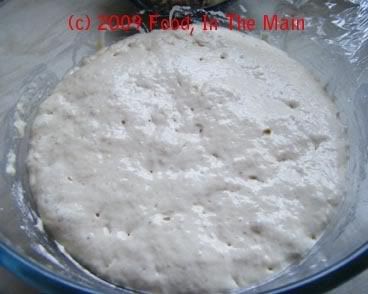
2. Add 1-1/2 cups of flour to the yeast mixture and combine with hands to form a cohesive dough.
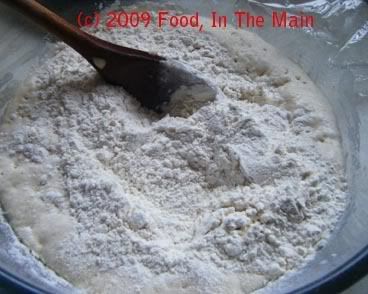
3. Turn out onto a floured work surface and knead in as much of the remaining flour as needed until the dough is smooth, elastic and non-sticky.
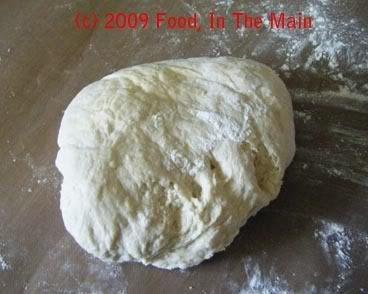
4. Shape into a loaf
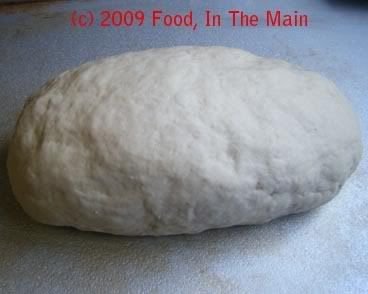
brush with water and sprinkle sesame seeds on top.
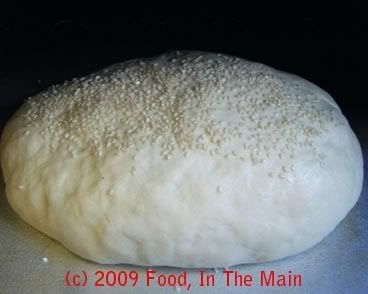
5. Put the shaped loaf on a nonstick cookie sheet, and place on the middle rack in a cold oven for 15 minutes.
5. Turn on oven to 425°F (220°C) and bake on the middle rack for 30 minutes or until golden. Let cool before slicing.

It’s nice to be baking bread, because now I feel a bit emboldened to try recipes I’ve had since forever but never bothered making because – well, because I didn’t bake bread. It’s only recently that I’ve ventured into this area of baking, with so far – touch wood! – a reasonable rate of success. Who knows, I might yet get to be a Daring Baker and build whole edifices of cake (although I wouldn’t advise anyone to hold their breath waiting…).
Anyway, last weekend I made up my mind to bake curried vegetable-stuffed buns. And, in a breathtaking bit of daring derring-do (I felt like Errol Flynn at his most swashbuckling, to tell you the truth), I added fresh methi (fenugreek) leaves and omam (ajwain/carom) to the bread dough.
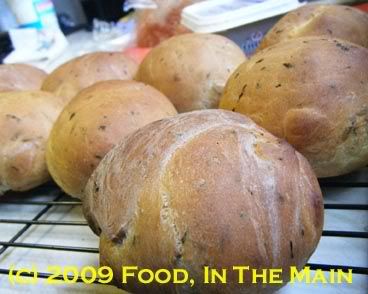
It all worked perfectly.
PS. I’m not going to gush any more than that this time, in case I alienate the few readers I have who expect me to be matter-of-fact, restrained and factual in writing about my recipes and their outcome… do I even have any such readers?
*sigh*
Recipe for: Curried vegetable-stuffed methi buns
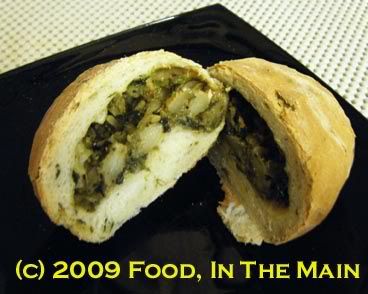
Ingredients - For the stuffing:
1 medium potato, boiled, peeled and roughly mashed/crumbled
½ cup finely chopped green beans, cooked
1 cup sliced spinach
¾ cup finely sliced shallots (or onion)
½ tsp sambar powder
½ tsp garam masala
½ tsp red chilli powder
¼ tsp asafetida powder (optional)
1 tsp cumin seeds
¼ tsp turmeric powder
Salt to taste
2 tsp oil
Method – the stuffing:
1. Heat the oil in a skillet and add the asafetida, the cumin seeds, turmeric powder and garam masala and fry for 30 seconds.
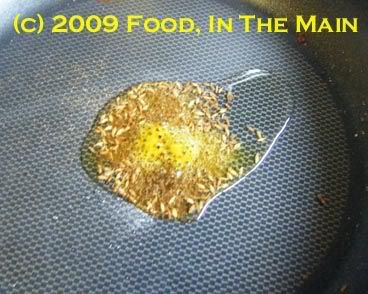
2. Add the sliced shallots
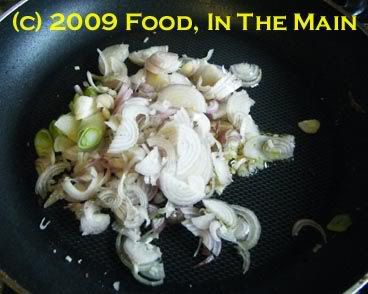
and fry for 3-4 minutes or till they start turning soft.
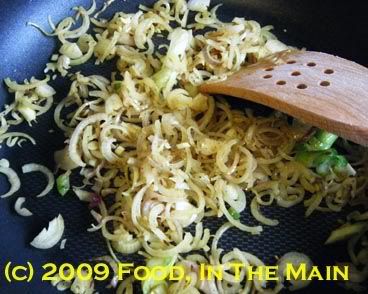
3. Then add the spinach leaves and sauté till they wilt.
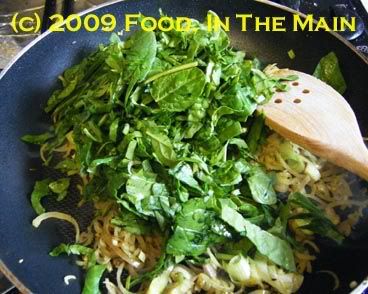
4. Next, add the mashed potato and mix in,
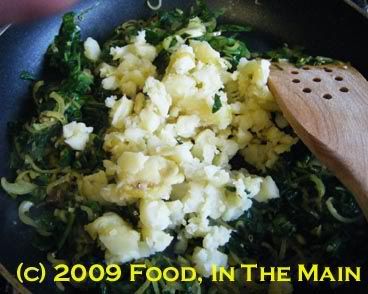
then the cooked green beans.
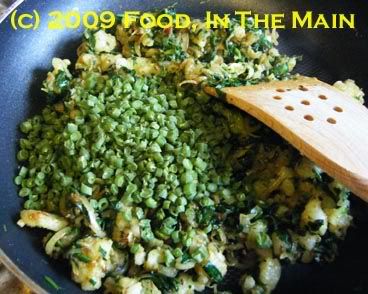
5. Sprinkle the sambar powder, chilli powder and salt in to distribute it evenly.
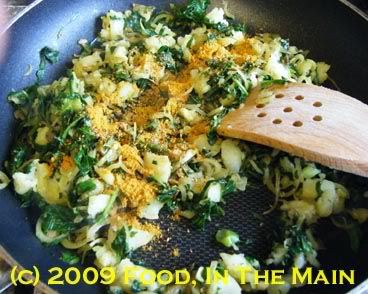
6. Let cool completely. The stuffing should be as dry as possible, so let it cool uncovered, so that condensation does not drip back in.
Ingredients - for the buns:
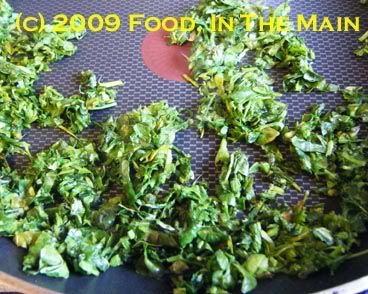
1 cup methi leaves, washed, dried and chopped, sautéed in ½ tsp oil till wilted, then cooled
3-1/2 cups strong white bread flour
2-1/2 tsp instant dry yeast
½ tsp carom/ajwain/omam seeds (increase to 1 tsp if you really, really love the taste!)
1 cup water
½ cup buttermilk
2 tbsp melted butter
Salt to taste
Method – the buns:
1. Mix 1 cup bread flour, 1 cup water and the yeast in a large bowl so that there are no lumps. Let this stand, covered with plastic wrap, for 1-3 hours in a warm place, till it becomes bubbly.
2. Now stir 2 cups of the remaining flour,
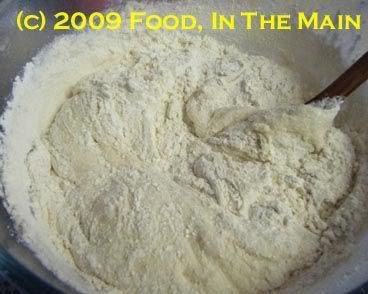
the buttermilk and sautéed methi leaves, melted butter,
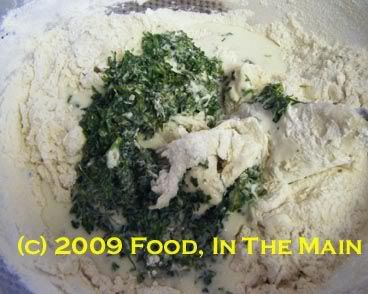
ajwain/carom/omam and salt into the starter.
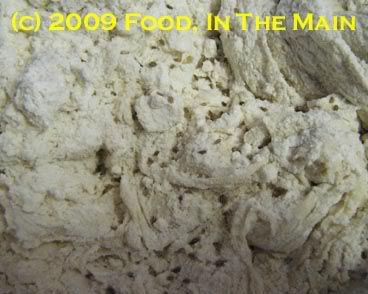
Mix with a wooden spoon till the dough pulls away from the side of the bowl.
3. Turn the dough out onto a clean, lightly floured surface and knead, adding the remaining flour a tbsp at a time, if required.
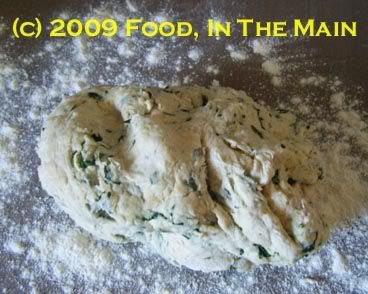
The dough should be springy, smooth and elastic when done (takes 6-8 minutes of kneading by hand).
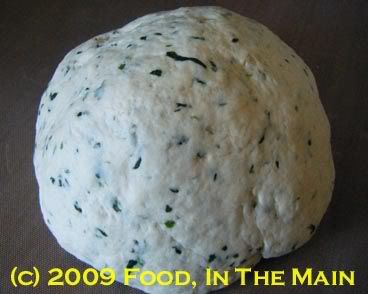
4. Now grease the bowl lightly with butter or oil, and put the dough in, turning it around once or twice so that it is coated. Cover with plastic wrap and pop back into your warm place. (Mine was again the oven.) Leave it for 1-1/2 hours or so till the dough is doubled in volume.
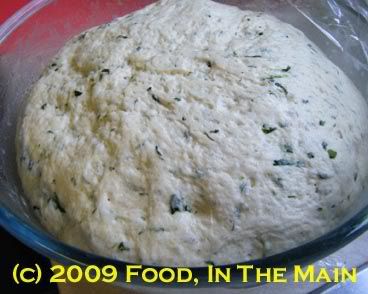
5. Punch the dough down lightly,
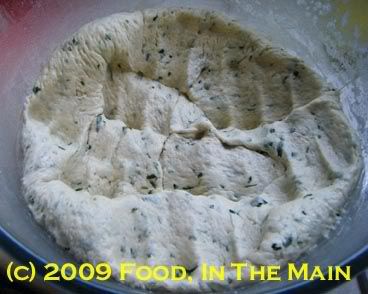
turn it out onto the kneading surface, knead very briefly, and divide into tennis-ball sized rounds. (This makes about 9 large buns.)
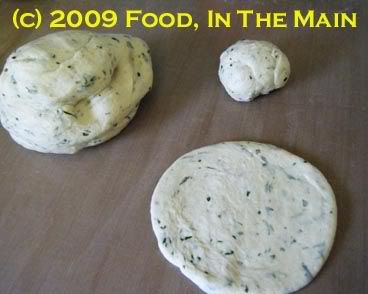
Roll each round into a circle of about 5” diameter.
6. Place 2 tbsp of the filling in the centre of the circle,
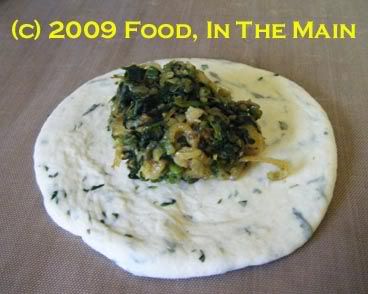
then fold the circle closed.
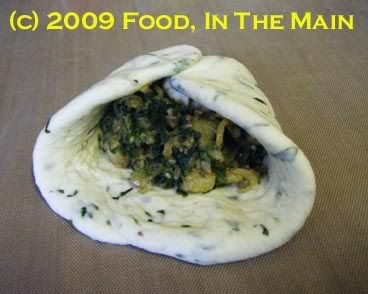
Pinch the folds to seal the stuffing in,
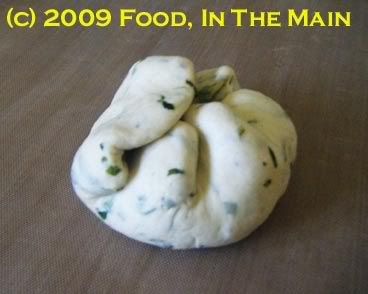
then place the ball seam side down and sort of roll it in place to make sure the seams are fully closed.
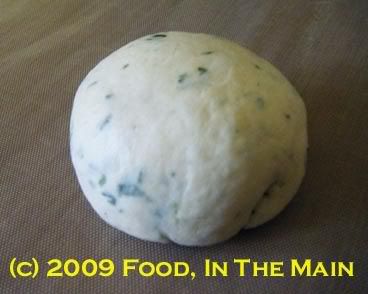
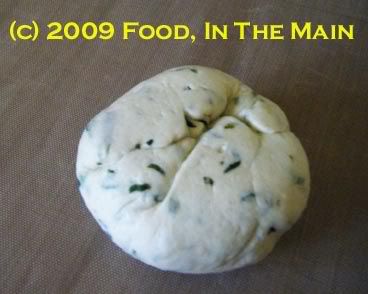
Underside of filled dough ball after rolling in place to close the seams.
Repeat with remaining balls of dough and filling.
8. Place the filled dough balls on a baking sheet covered with non-stick silicone paper (or lightly grease the sheet if, like me, you’re out of non-stick paper)
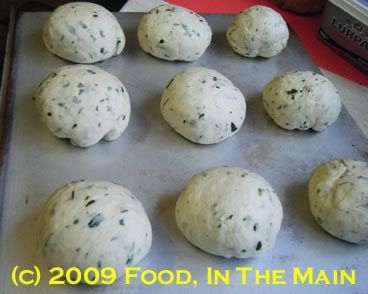
and let rise for 20 minutes.
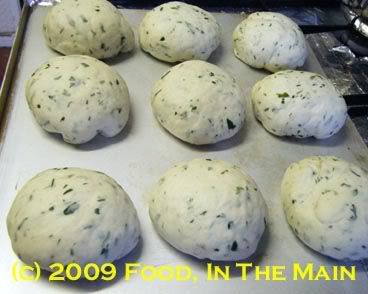
9. Put the tray in a cold oven and turn it on to 200C. (The rolls will rise further as the oven heats to the required temperature.)
Bake the filled rolls for 30 minutes or so, till golden brown on top. If they sound hollow when tapped on the bottom, they’re done.
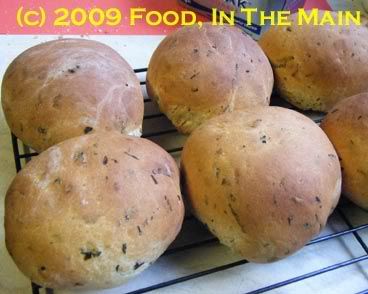
10. Wrap the rolls in a clean tea towel if you like the crust to be soft. If not, let cool on a rack till just warm. Serve the buns as a snack by themselves or with soup.
It’s only been a year and a half since the New York Times came out with Jim Lahey’s recipe for no-knead bread, and I guess I’m… ummmm… let’s see – yeah, absolutely bang on target for being possibly the last person on earth to hop on to the no-kneadwagon and join the teeming masses of all the other bakers and cookers and bloggers who have grown roots on that wagon from being there for so long.
I’m not going to bother with giving a recipe for no-knead bread on this post because there are hundreds out there - everybody and their pet dog has tried it and put up a post on their blog (or so it seemed when I went to look at reviews). Plus I’ve linked to the original recipe anyway.
About the recipe, all I will say is that I don’t do fractions (5/8th of a cup of water??? how much is that in normal person terms? Who on earth gives instructions in *irregular fractions anyway?), so I used 1-1/2 cups of water with 3 cups of flour to make the dough. It didn’t seem to affect the dough (not that I noticed) and I needed that amount anyway to get the flour to hold together.
The dough bubbled beautifully in its bowl, although when I turned it out on a floured surface, I had my doubts about whether it would pull together. But it did, beautifully. And then, after being shaped and placed on non-stick paper to rise for two hours, it rose beautifully.
I’m pretty certain that it would not have risen, though, were we not having very warm weather right now. I’m not a confident or enthusiastic baker of bread (due to past unsuccessful experiments where the yeast went on hartal and stubbornly refused to rise to anything, leave alone the occasion), so you can say this is pretty much the first time I’ve baked bread that was edible.
Actually it was MORE than edible, it was fantastic! The bread smelt incredibly good while baking, and the crust… oh the crust! It crackled while it cooled, just as all the recipes said, and it was crusty and gorgeously tasty. Pete was all ready to have a go at it the moment it came out of the oven, but I put up a barrier complete with yellow “Keep Out – this means YOU, Pete” tape all around it, so that it could sit undisturbed and cool for the requisite period of time. Which was meant to be an hour, really, but I could only manage 45 minutes before our self-control died an abrupt death.
Since Pete had been really very good about waiting for the bread despite being very hungry (he’d postponed his breakfast after smelling the bread baking, preferring to wait for fresh home-baked bread), I decided that it was only right that he do the honours and inaugurate my very first crusty loaf of beautifully rustic bread.

So now, ladies and gentlemen, for the first time since May 2005, I present to you all without further ado, the long-deferred debut of... Pete’s hands on Food, In The Main! And when I say that, I mean right after you read my disclaimer footnote!
* When I say “irregular fractions” I have no clue what it means in mathematical terms. Basically, to me, “regular” fractions are those that are etched on my measuring spoons and cups – 1/2, 3/4, 1/3, 1/4. Any weird fractions like 3/5, 5/8 and so on, that don’t show up on my measuring spoons and cups, are “irregular” as far as I’m concerned. Not only irregular, but downright weird. Any recipes that specify such abnormalities will have their instructions ignored. You have been told.
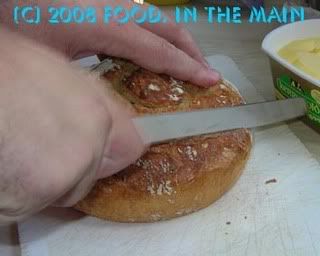
Ta-DAAAAAAAAAAA!
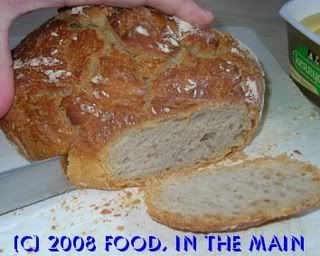
The ceremonial slicing of the loaf...
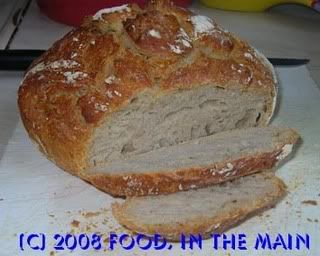
A no-hands view
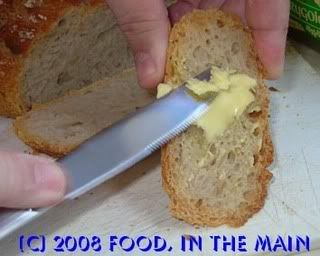
And finally, the slathering of the butter...mmm mmm MMMM!


