skip to main |
skip to sidebar
It’s nice to be baking bread, because now I feel a bit emboldened to try recipes I’ve had since forever but never bothered making because – well, because I didn’t bake bread. It’s only recently that I’ve ventured into this area of baking, with so far – touch wood! – a reasonable rate of success. Who knows, I might yet get to be a Daring Baker and build whole edifices of cake (although I wouldn’t advise anyone to hold their breath waiting…).
Anyway, last weekend I made up my mind to bake curried vegetable-stuffed buns. And, in a breathtaking bit of daring derring-do (I felt like Errol Flynn at his most swashbuckling, to tell you the truth), I added fresh methi (fenugreek) leaves and omam (ajwain/carom) to the bread dough.
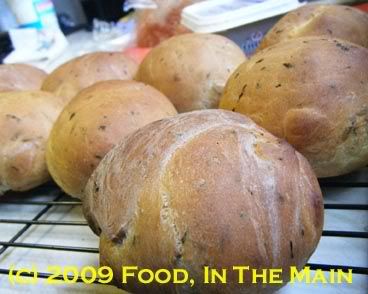
It all worked perfectly.
PS. I’m not going to gush any more than that this time, in case I alienate the few readers I have who expect me to be matter-of-fact, restrained and factual in writing about my recipes and their outcome… do I even have any such readers?
*sigh*
Recipe for: Curried vegetable-stuffed methi buns
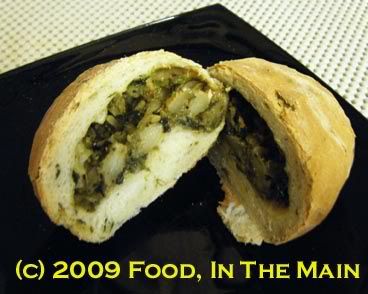
Ingredients - For the stuffing:
1 medium potato, boiled, peeled and roughly mashed/crumbled
½ cup finely chopped green beans, cooked
1 cup sliced spinach
¾ cup finely sliced shallots (or onion)
½ tsp sambar powder
½ tsp garam masala
½ tsp red chilli powder
¼ tsp asafetida powder (optional)
1 tsp cumin seeds
¼ tsp turmeric powder
Salt to taste
2 tsp oil
Method – the stuffing:
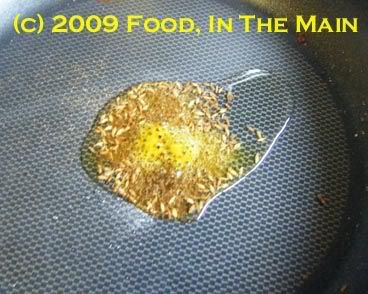
1. Heat the oil in a skillet and add the asafetida, the cumin seeds, turmeric powder and garam masala and fry for 30 seconds.
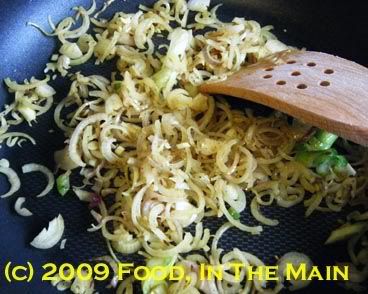
2. Add the sliced shallots
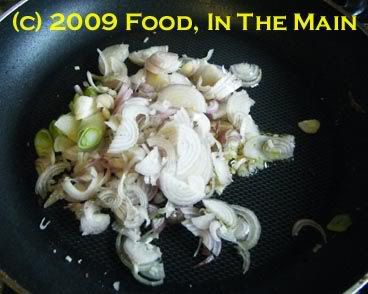
and fry for 3-4 minutes or till they start turning soft.
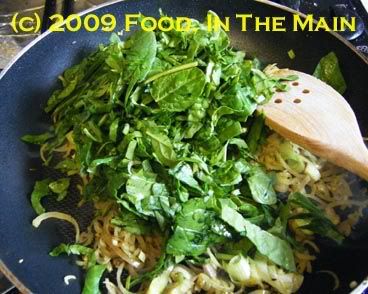
3. Then add the spinach leaves and sauté till they wilt.
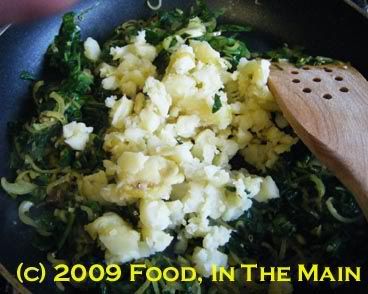
4. Next, add the mashed potato and mix in,
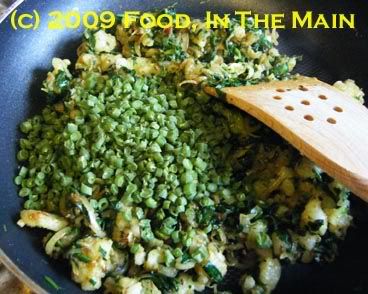
then the cooked green beans.
5. Sprinkle the sambar powder, chilli powder and salt in to distribute it evenly.
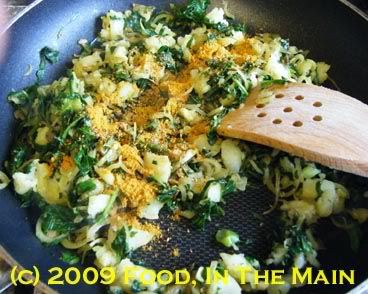
6. Let cool completely. The stuffing should be as dry as possible, so let it cool uncovered, so that condensation does not drip back in.
Ingredients - for the buns:
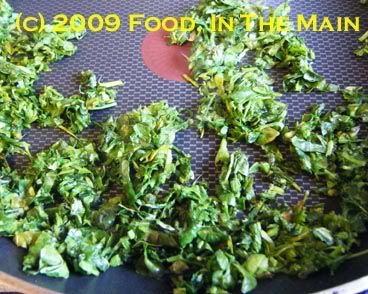
1 cup methi leaves, washed, dried and chopped, sautéed in ½ tsp oil till wilted, then cooled
3-1/2 cups strong white bread flour
2-1/2 tsp instant dry yeast
½ tsp carom/ajwain/omam seeds (increase to 1 tsp if you really, really love the taste!)
1 cup water
½ cup buttermilk
2 tbsp melted butter
Salt to taste
Method – the buns:
1. Mix 1 cup bread flour, 1 cup water and the yeast in a large bowl so that there are no lumps. Let this stand, covered with plastic wrap, for 1-3 hours in a warm place, till it becomes bubbly.
2. Now stir 2 cups of the remaining flour,
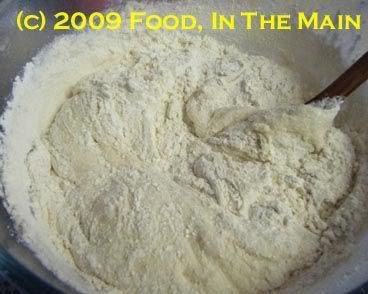
the buttermilk and sautéed methi leaves, melted butter,
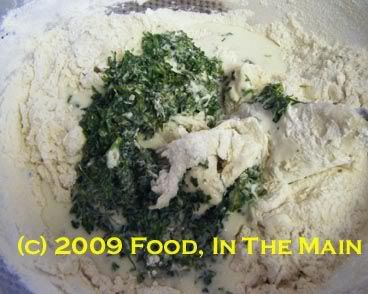
ajwain/carom/omam and salt into the starter.
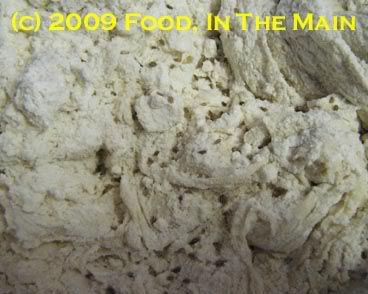
Mix with a wooden spoon till the dough pulls away from the side of the bowl.
3. Turn the dough out onto a clean, lightly floured surface and knead, adding the remaining flour a tbsp at a time, if required.
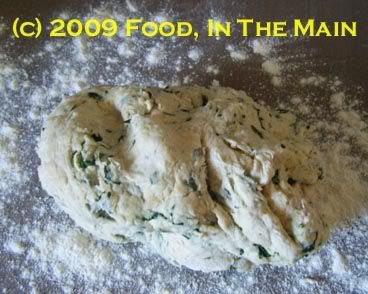
The dough should be springy, smooth and elastic when done (takes 6-8 minutes of kneading by hand).
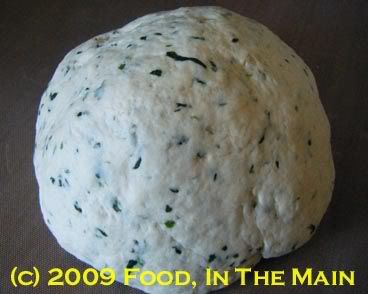
4. Now grease the bowl lightly with butter or oil, and put the dough in, turning it around once or twice so that it is coated. Cover with plastic wrap and pop back into your warm place. (Mine was again the oven.) Leave it for 1-1/2 hours or so till the dough is doubled in volume.
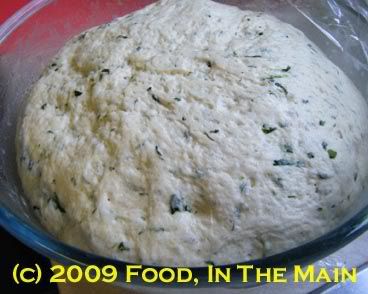
5. Punch the dough down lightly,
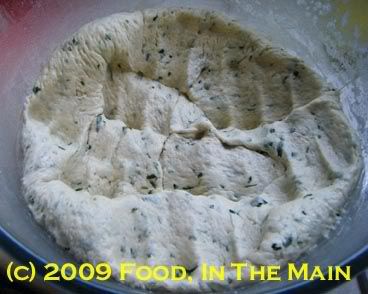
turn it out onto the kneading surface, knead very briefly, and divide into tennis-ball sized rounds. (This makes about 9 large buns.)
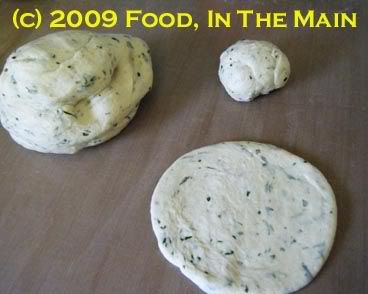
Roll each round into a circle of about 5” diameter.
6. Place 2 tbsp of the filling in the centre of the circle,
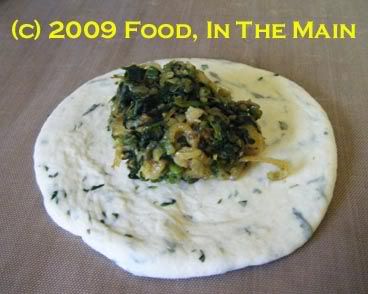
then fold the circle closed.
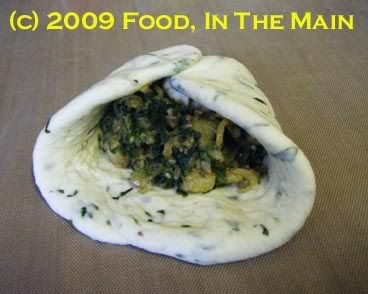
Pinch the folds to seal the stuffing in,
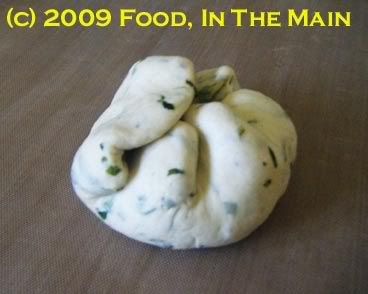
then place the ball seam side down and sort of roll it in place to make sure the seams are fully closed.
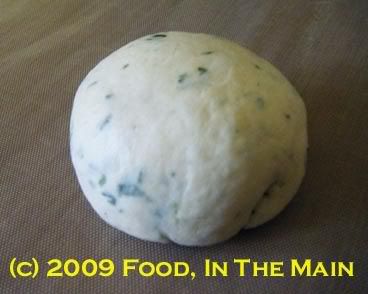
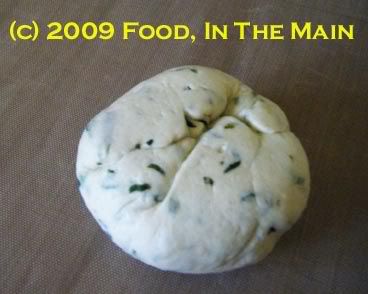
Underside of filled dough ball after rolling in place to close the seams.
Repeat with remaining balls of dough and filling.
8. Place the filled dough balls on a baking sheet covered with non-stick silicone paper (or lightly grease the sheet if, like me, you’re out of non-stick paper)
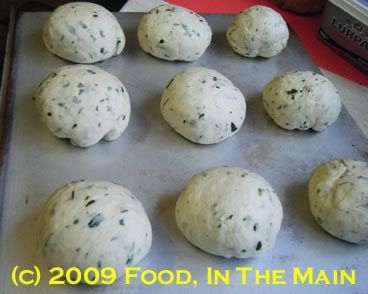
and let rise for 20 minutes.
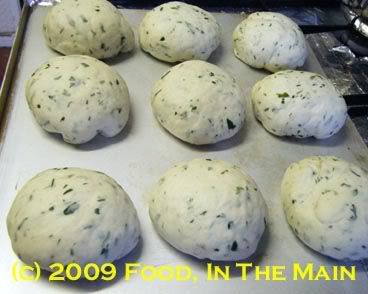
9. Put the tray in a cold oven and turn it on to 200C. (The rolls will rise further as the oven heats to the required temperature.)
Bake the filled rolls for 30 minutes or so, till golden brown on top. If they sound hollow when tapped on the bottom, they’re done.
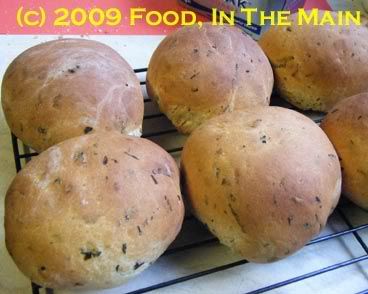
10. Wrap the rolls in a clean tea towel if you like the crust to be soft. If not, let cool on a rack till just warm. Serve the buns as a snack by themselves or with soup.
The British love their onion bhajis. This I know because of the number of times that I’ve made bhajis, on specific request, as a starter every time we’ve had friends around for a home-cooked “authentic Indian” (meal, naturally).
This time I decided to vary it just a bit with fresh methi and peanuts, hoping that they wouldn’t be rejected as “not proper bhajis” - and what do you know, the pakodas were such a big hit that the consensus was that I should “always do it this way”. Huh. So much for onion bhaji love – a love about as lasting and sincere as the tears raised by the fumes from the onions! *grin*
I have to say that the bhajis really were exceptional, though – the slight bitterness of the methi, the crunch of the peanuts and the sweetness from the onions… I guess I should not have been surprised that loyalties were transferred from the plain onion bhajis to these!
Recipe for: Methi peanut pakoda
Ingredients:
2 cups fresh methi leaves and tender stems, roughly chopped
1 cup raw red-skinned peanuts
2 medium onions, sliced thin
2 medium potatoes, sliced into thin sticks
3 tbsp rice flour
1 cup besan (gram flour/chickpea flour/kadala maavu) + more as required
1 tsp cumin-coriander powder
1/4 tsp asafoetida powder
2 tsp red chilli powder (or to taste)
Salt to taste
Oil to deep fry
A few tbsp water
Method:
1. Put the vegetables and peanuts into a large bowl and mix well.
2. In another bowl, mix the flours, spices and salt together.
3. Heat enough oil in a kadai or deep fryer. Meanwhile, add the vegetables to the flour and mix together with 3-4 tbsp water. Adjust the gramflour/water combination until the vegetables are just held together with the batter.
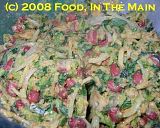
It should not be too thick or too watery.
4. Pinch off small pieces of the dough and put in the hot oil a few at a time, taking care not to crowd the surface.
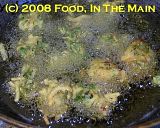
5. Fry on medium high heat, turning the pakodas with a slotted spoon, until they are crisp and golden brown.
6. Drain on kitchen paper and serve hot with any chutney.
This isnt so much about a recipe as about an experience - one that I never, ever, EVER want to undergo again. As far as I'm concerned, it was more traumatic than any other disaster I've had in the kitchen. Yeah, it even beat cakes that wouldnt rise, cakes that looked and tasted like sweetened Fevicol, muffins that refused to part from their cases, rice that congealed into a lump, dosa batter that over-fermented and bubbled over spectacularly all over the kitchen counter and thence to the floor with a smell reminiscent of damp rotting garbage... and so on. Those disasters, difficult as they were to deal with, were restricted to me and my ego - they didn’t affect anyone else. Especially physically.
But the occasion I'm talking about very nearly forced us to evacuate the house, it was that bad. Let me start at the beginning, though. Ever since I saw Sra’s sambar kaaram post on her blog When My Soup Came Alive, I’d been wanting to make it. It sounded like just the thing – versatile enough to be used as molagapodi or as emergency seasoning/added flavour for vegetables and so on.
The first item on her list of ingredients was dry red chillies. Now I only had fiery little red chillies, not the long, less hot ones that are more commonly used in Indian kitchens. I’d been looking for the latter, but for some reason they’re not available on the online grocery shop I use or in the Indian shop in Telford. The only other place I knew of was Birmingham, and it certainly wasn’t worth the trip there for just one item.
Anyway, the chillies I had were termed “extra hot chillies” – but they didn’t have a more specific name. I suspect they were birds eye chillies, because they were less than an inch long. I wasn’t going to make sambar kaaram in the quantities specified by Sra, so I scaled down the recipe to more manageable proportions – and cut down on the little red devils even more, knowing how potent they were.
Dry-roast the ingredients separately, the instructions said. The first item was the chillies. At this point, I should have foreseen what would happen – and if any of you would have realised it, if you were in my position, hats off to you. I guess I didn’t have my thinking cap on that day. So what I did was throw about 1/8 cup of the little dry red chillies in my hot pan and start dry-roasting them.
I had taken the precaution of shutting the doors and windows and turning on the extractor fan, so I wasn’t too worried about any fumes affecting Pete. I expected some fumes, because dry-roasting red chillies always releases fumes, but I was confident of being able to handle it without much trouble.
Within a few moments, though, it felt like the air in the kitchen had been replaced with some toxic gas. The fumes from the chillies were extremely potent – I could hear Pete coughing in the next room. I didn’t want to open the kitchen door to go out because I knew the fumes would escape out there, making it even worse for Pete. So I turned off the heat, hoping that the air would soon clear. But it just seemed to get worse, and every breath I took felt like I was drawing fire into my lungs. I was coughing so hard that I couldn’t breathe, and my eyes were stinging. I opened the window to let in fresh air, but that didn’t help either. I had panicky thoughts of the fumes getting into my neighbour’s garage and affecting them as well, imagining that they would alert the police about poison gas and I'd be arrested as a terrorist for attempted biological warfare or for disturbing the peace or poisoning the neighbours or something. I know it sounds ridiculous and exaggerated, but those fumes were no joke, believe me.
Eventually I had to get out of the kitchen, and it DID affect the other rooms when I opened the door to get out – but it wasn’t as strong out there as it was inside. Besides, we fled upstairs after opening the doors to the conservatory and the back garden. Still, it took a couple of hours before I could muster up the courage to re-enter the kitchen and even then the residual fumes started me coughing again.
I’m not kidding when I say that chemical warfare had nothing on those red chillies – they would be a cheap, deadly and most effective way to incapacitate any enemy… as long as you could ensure that the fumes didn’t get back to you!
That was a lesson learnt the hard way… but those are the lessons that you never forget, right? I treat those little red bombs with the greatest respect now.
So did I throw them away? Not on your Nellie, not after all the trouble I’d gone through! I made the sambar kaaram, and it was as tasty as I’d imagined it on reading Sra’s recipe. Of course it was hideously hot despite my having reduced the amount of chillies when I scaled down the ingredients... so I had to repair it by adding more of the other items on the list.
Oh, other than reducing the quantities used, I haven’t changed Sra’s recipe or instructions.
Recipe for: Sambar kaaram
Dry red chillies: 50 gm
Coriander seeds: 25 gm
Fenugreek/Methi seeds: 5 gm
Cumin/jeera seeds: 5 gm
Black gram/urad dal: 10 gm
Salt, to taste
Garlic cloves: to taste (I used 10 fat cloves for a very garlicky taste)
Method:
1. Dry roast the first five ingredients separately.
2. Let cool and grind to a powder, then add salt.
3. Crush garlic roughly, add to the powder and run it in the grinder again.
4. Store in an airtight container.
I love the combination of methi (fenugreek greens) with potatoes - there's something about the slightly bitter taste of the greens combined with the texture and flavour of lightly fried potatoes (first boiled and perhaps peeled) that really appeals to my taste buds. It's best if the greens are not fried to a crisp - just enough to wilt them, much like spinach.
So if you had the time and the patience to fry the greens separately and add them to the potatoes afterwards, when the spuds are beginning to acquire crispy bits, I would say that would be a pretty good thing to do. Alu methi is especially nice with chapaties and rotis, although I wouldnt object to it as a side with rice and sambar/any kuzhambu/rasam/curds.
Recipe for: Alu methi (potatoes with fenugreek greens)

Ingredients:
5-6 medium potatoes, boiled (peeling is optional) and cubed
2 cups methi, washed and chopped
2 tsp oil
Salt to taste
For tempering:
2 tsp mustard seeds
2 tsp urad dal
1/4 tsp asafoetida powder
1 tsp red chilli powder
1/2 tsp freshly ground black pepper
Method:
1. Heat 1 tsp oil in a small pan and add the chopped methi to it. Stir fry on high heat, until it is wilted, then remove from the heat. Reserve.

2. In a bigger pan, heat the remaining tsp of oil and add the tempering ingredients. Close the pan while the mustard seeds pop.
3. Put in the boiled, cubed potatoes and stir carefully to mix the ingredients, adding salt to taste. Dont break up the potatoes.
4. Let the potatoes fry over medium heat till they begin to crisp a little - spray them with oil if required.
5. When the potatoes are done to your liking, add the reserved methi and mix in carefully. Serve hot with chapaties or as a side dish with rice.
I love my greens - any greens, which is a quantum change from when I was younger. But I cant really tell them apart, taste-wise, unless it be the sour-sharp tangy "gongura", which is an Andhra specialty (as demonstrated deliciously by Indira in her blog). I wish I could get gongura here. The Indian grocery market in Birmingham does not run to quite such regional varieties, unfortunately.
My mother used to buy "ara keerai" and "mola keerai" from the local travelling vendor, claiming that the two were different in taste - but I could never tell them apart, either in looks or in taste. "Saag" and "palak", North Indian varieties of spinach, are interchangeable as well, to me. If I cant get these known Indian greens, I'm happy to settle for the generic "greens" available in the English supermarkets. I honestly dont find them any different when used in dals or cooked, mashed and seasoned in the Tamil way.
Today, though, there was fresh saag (or it could have been palak), courtesy of a foray to the Birmingham shops, and some of my very own home-grown fenugreek greens (yessss!), so I decided to make saag-paneer. And then while rummaging in my cupboard, I found a nearly empty pack of pink masoor dal - it came to about 1/2 cup. It didnt seem worthwhile to store such a small amount or transfer it to a tin, so I decided to use it up.
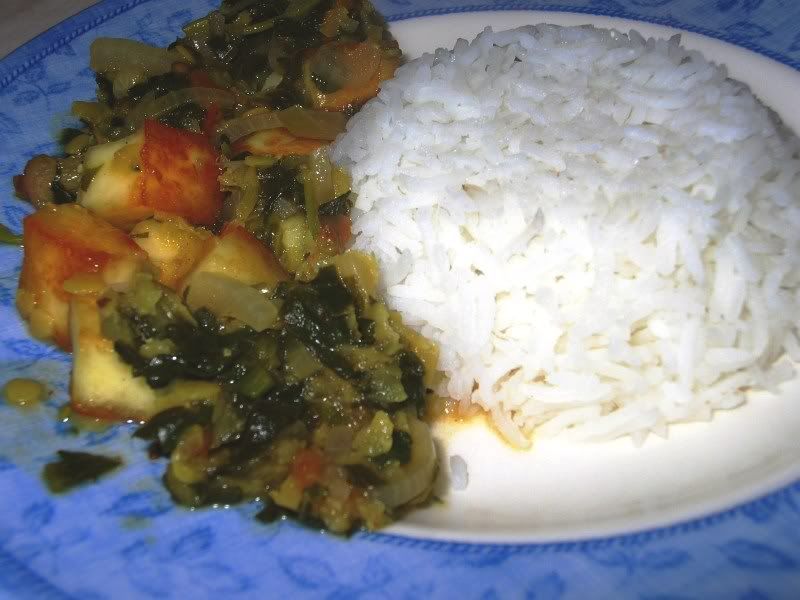
Voila! - saag paneer with masoor dal.
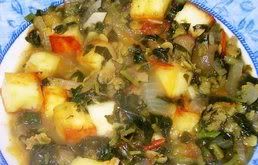
The cupful of fenugreek greens (methi) added to the saag provided the winning touch, because the final result was just mouth-wateringly tasty. I do love my methi! And the 1/2 cup of masoor dal, cooked, was just enough to hold together the rest of the ingredients, making it unnecessary to add any cornflour or rice-flour as a thickener. And boy was it tasty! Masoor is one of my favourite dals because it cooks so quickly. I've always though it a bit of a shame, though, that the pretty salmon pink colour disappears when the dal is cooked - it turns yellowish instead.
Oh, and the best part of this dal - the only fat content is from the paneer. If you use low-fat paneer, so much the better!
Recipe for: Saag-paneer with masoor dal
Ingredients:
1 bunch fresh spinach leaves, cut into strips
1 cup fresh methi (fenugreek) leaves, chopped
1 large onion, sliced thin
2 large ripe tomatoes, chopped
200 gm paneer, cubed and lightly stir-fried in a tsp of oil
3 green chillies, chopped fine (optional)
1/2 tsp red chilli powder (optional)
1/2 tsp garam masala or chana masala
2 large cloves garlic, chopped
3/4 cup pink masoor dal
1/2 tsp turmeric powder (optional)
Low-fat cooking oil spray
For tempering:
1 tsp oil or ghee
1/2 tsp garam masala
1 heaped tsp cumin seeds
2 dried red chillies, broken in half (optional)
Method:
1. Wash the masoor dal and cook it in about 1-1/2 cups water mixed with the turmeric powder, till it's done but not mushy. (Remove any froth with a spoon). Drain the water and reserve (about a cupful).
2. In a wide pan, heat the tsp of oil and add the garlic and chopped green chillies (if using). Stir-fry for 30 seconds, then add the sliced onions. Squirt the onions with a couple of sprays of cooking oil. Fry till the onions start turning brown.
3. Add the chopped tomatoes and cook for 2-3 minutes, then add the chopped greens. Sprinkle 3-4 tbsp of the reserved dal-water over the greens. Cover the pan and cook for 5-6 minutes on medium-low, until the greens are wilted and cooked.
4. Now add the red chilly powder (if using), the cooked masoor dal and the rest of the dal-water and mix well. Add salt to taste.
5. Add the lightly fried, cubed paneer and simmer the dal for 4-5 minutes.
Seasoning:
Heat a tsp of oil/ghee in a small pan, add the dry red chillies (if using) and the cumin seeds. When the seeds change colour and give off a nice aroma (a few seconds), add 1/2 tsp of garam masala and take the pan off the fire. Pour this seasoning over the surface of the dal and serve hot with plain steamed rice and microwaved papad.


