skip to main |
skip to sidebar
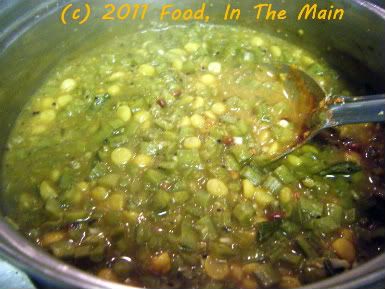
Until my mother mentioned it, I didn’t know that kothavarakkai (cluster beans) could even be made into kootu (although, thinking about it, there’s no reason why not – it’s just that it never occurred to me).
This kootu, however, is quite different from the other kootu recipes I’ve posted so far. I probably wouldn’t have liked it as a kid (preferring it as usili above all, because kothavarakkai has a mild bitterness to it that the dal disguised). But, as a more discerning adult, I have to say I welcomed the chance to learn another way to prepare this vegetable. It was definitely to my taste, what with all the kadalai paruppu in it, but my mother was dissatisfied because she felt it would’ve been better with less of that particular dal.
We’ve agreed to disagree on the issue.
Recipe for: Kothavarakkai kootu
 Ingredients:
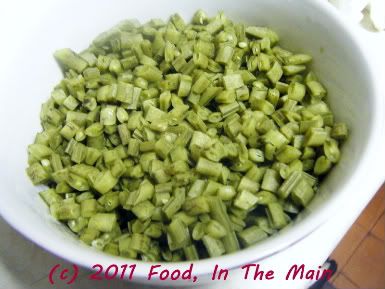
2 cups kothavarakkai, chopped
 1/4 cup masoor dal, cooked and mashed
1/4 cup chana dal/kadalai paruppu, soaked for 15 minutes
1 tsp tamarind paste dissolved in 2 cups water
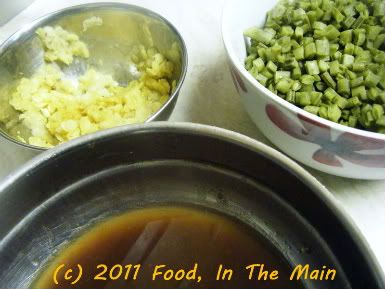 2-3 tbsp finely grated coconut
2 tsp oil
2 heaped tsp sambar powder
1 tsp coriander powder
1 tsp brown mustard seeds
1 tbsp whole urad dal (or regular broken urad dal if you don't have whole)
1/4 tsp asafoetida powder
a few fresh curry leaves, torn up
1 tbsp rice flour
Salt to taste
Method:
1. Pressure cook the kothavarakkai with 2 cups tamarind water (3 whistles) or microwave (8-10 minutes in an 800W oven on full power). You can also cook it on the hob with 2 cups tamarind water till the vegetable is soft.
2. Cook the soaked chana dal/kadalai paruppu in 1 cup water on the hob until it is cooked but still retains its shape (should be able to easily squash the dal between your finger and thumb). There should not be too much water left.
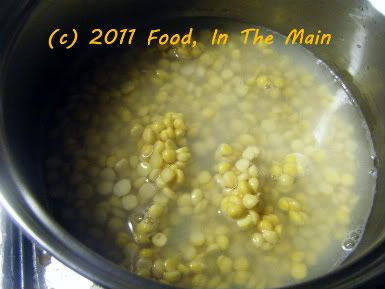 3. Add the kothavarakkai to the chana dal along with the cooking water. The liquid level should be just enough to cover the dal and vegetable (you can add more water if required).
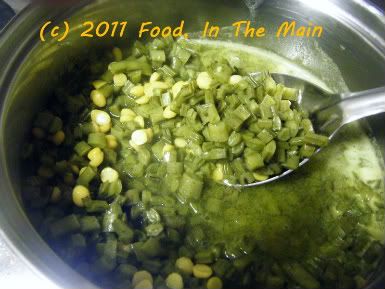 4. Add two heaped tsp sambar powder and stir it in.
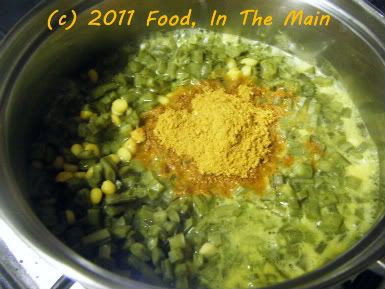 5. Add salt to taste and stir that in too.
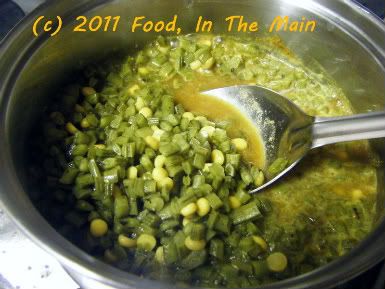 6. Mix the cooked masoor dal and 1 tbsp rice flour with some water from the pan itself, to make a pourable paste, and mix that in with the kothavarakkai in the pan.
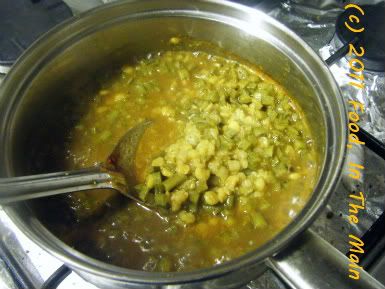 Let this simmer on medium-low heat for 5 minutes.
7. In the meantime, heat 2 tsp oil in a small pan. Add the asafoetida powder, 1 tbsp whole urad dal, 1 tsp mustard seeds, the curry leaves and 1 tsp coriander powder and let it fry for 30-40 seconds on medium-high heat. When the urad dal starts turning a lovely reddish colour, add the grated coconut and fry till it begins to get a pale brown tinge and smells nutty and fried.
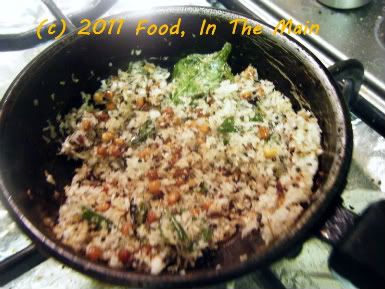 8. Add the fried coconut mix immediately to the kothavarakkai and stir it in.
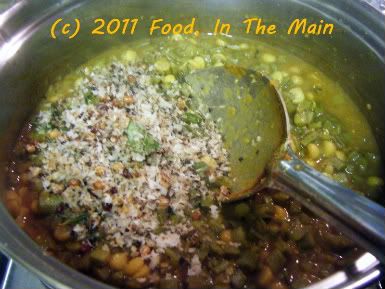 Bring the kootu to a boil and let it remain on high heat for 2 minutes. Then take it off the heat and let it rest for 10 minutes. Serve warm with steamed white rice and appalam or vadam and any pickle.
RECIPE: KOTHAVARAKKAI KOOTU
Ingredients:
2 cups kothavarakkai, chopped
1/4 cup masoor dal, cooked and mashed
1/4 cup chana dal, soaked for 15 minutes
1 tsp tamarind paste dissolved in 2 cups water
2-3 tbsp finely grated coconut
2 tsp oil
2 heaped tsp sambar powder
1 tsp coriander powder
1 tsp brown mustard seeds
1 tbsp whole urad dal (or regular broken urad dal if you don't have whole)
1/4 tsp asafoetida powder
a few fresh curry leaves, torn up
1 tbsp rice flour
Salt to taste
Method:
1. Pressure cook the kothavarakkai with 2 cups tamarind water (3 whistles) or microwave (8-10 minutes in an 800W oven on full power). You can also cook it on the hob with 2 cups tamarind water till the vegetable is soft.
2. Cook the soaked chana dal/kadalai paruppu in 1 cup water on the hob until it is cooked but still retains its shape (should be able to easily squash the dal between your finger and thumb). There should not be too much water left.
3. Add the kothavarakkai to the chana dal along with the cooking water. The liquid level should be just enough to cover the dal and vegetable (you can add more water if required).
4. Add two heaped tsp sambar powder and stir it in.
5. Add salt to taste and stir that in too.
6. Mix the cooked masoor dal and 1 tbsp rice flour with some water from the pan itself, to make a pourable paste, and mix that in with the kothavarakkai in the pan. Let this simmer on medium-low heat for 5 minutes.
7. In the meantime, heat 2 tsp oil in a small pan. Add the asafoetida powder, 1 tbsp whole urad dal, 1 tsp mustard seeds, the curry leaves and 1 tsp coriander powder and let it fry for 30-40 seconds on medium-high heat. When the urad dal starts turning a lovely reddish colour, add the grated coconut and fry till it begins to get a pale brown tinge and smells nutty and fried.
8. Add the fried coconut mix immediately to the kothavarakkai and stir it in. Bring the kootu to a boil and let it remain on high heat for 2 minutes. Switch off the heat and serve warm with steamed white rice and appalam or vadam and any pickle.
Over the last few years, I’ve been testing my limits with that most unattractive of vegetables, the bittergourd (or karela, bitter melon, pavakkai or whatever name you call it – my husband terms them “rats”), to see just HOW much I love it.
I used to hate it completely, in any form, as a kid. In my late teens or thereabouts, I would as a concession eat them deep fried (yes, I know, very broad-minded of me) mainly because the ones from Hot Chips in Abhiramapuram were sensational.
Eventually, after a couple of decades, I got around to eating them pan-fried crisp, as a dry curry. After that things moved a lot more rapidly in the experimentation department, and I moved on to karela-without-frying-too-much, karela as a semi-dry curry cooked with onions and tomatoes, karela with mustard paste (a double-whammy in the strong flavour department).
While karela pitla (South Indian style) is probably not as scary as it used to be, or even as full-on as karela-with-mustard-paste, I still had to see if I'd like it - just to drive away the last of the childhood fear and hatred of the karela's bitter flavour. And, of course, I passed the test with flying colours, practically inhaling the pitla which my mother made a day or two before she left Shrewsbury.
The only karela-based item that I know I won't like is karela juice. Where that is concerned, I think I'm as blinkered as I ever was, with just one standard reaction: "No way Felipe." (Jose wasn't available.)
Recipe for: Bittergourd/karela/pavakkai pitla
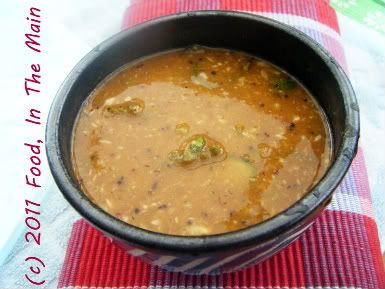
Ingredients:
2 medium karela/bittergourd/pavakkai, sliced into rounds
1 cup masoor dal, cooked
1 tbsp tamarind paste
3 tsp gingelly oil (or any neutral cooking oil)
1 tsp mustard seeds
2 tbsp sambar powder
2 tbsp finely grated coconut
1/2 tsp asafoetida powder
1 tbsp rice flour
Salt to taste
a few fresh curry leaves, torn up
3-4 cups water
Method:
1. Heat the oil in a small pan and add the asafoetida powder, mustard seeds and curry leaves.
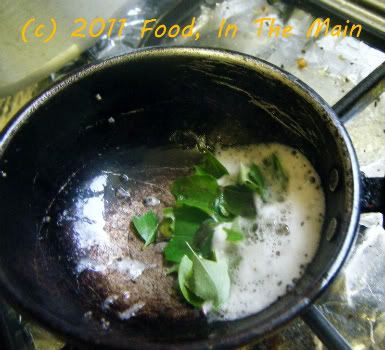 Cover and let the seeds pop, then add the grated coconut.
 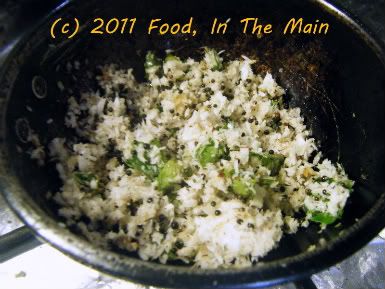 Fry on medium heat till the coconut is light brown and aromatic.
 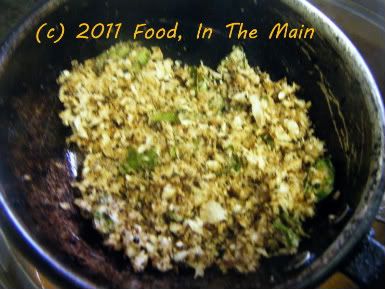 Remove from heat and set aside till required.
2. Put about a cupful of water in a pan along with the karela/bittergourd/pavakkai and turmeric powder.
 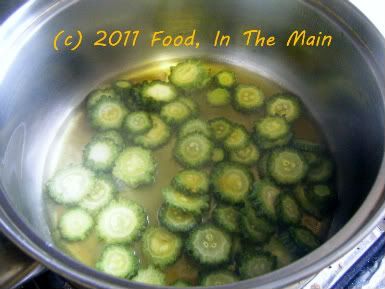 Let it cook till it becomes soft.
3. Dissolve the tamarind paste in 2 cup water and add it to the cooked karela/bittergourd/pavakkai.
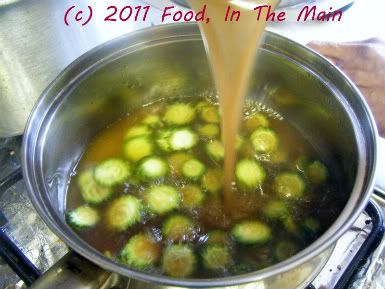 4. Bring this to a boil, then add the sambar powder and rice powder and stir till well mixed.
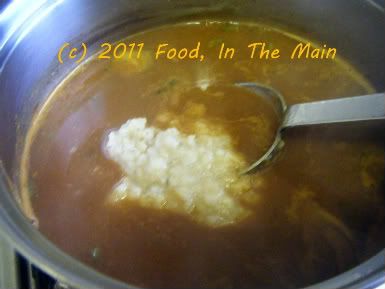
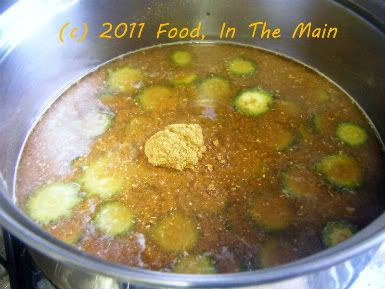 5. Stir in the cooked masoor dal
  6. Add salt to taste along with the roasted coconut and mix in.
 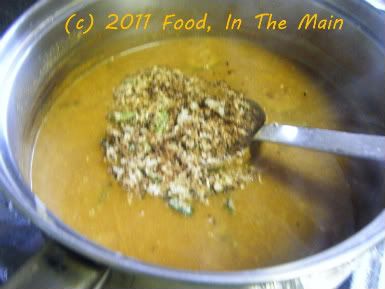 7. Boil the pitla for a few minutes longer till it thickens.
 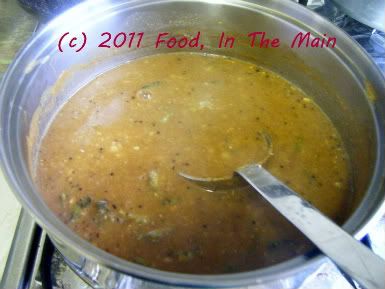 Serve hot with rice.
 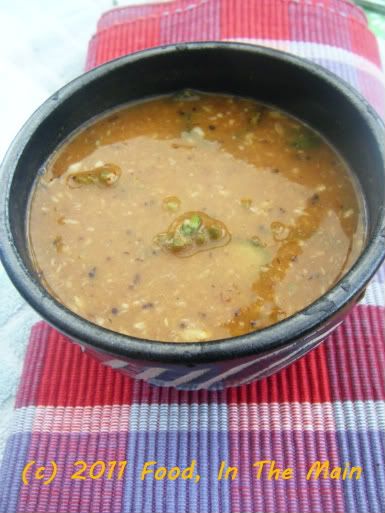 RECIPE: BITTERGOURD/KARELA/PAVAKKAI PITLA
Ingredients:
2 medium karela/bittergourd/pavakkai, sliced into rounds
1 tbsp tamarind paste
3 tsp gingelly oil (or any neutral cooking oil)
1 tsp mustard seeds
2 tbsp sambar powder
2 tbsp finely grated coconut
1/2 tsp asafoetida powder
1 tbsp rice flour
Salt to taste
a few fresh curry leaves, torn up
3-4 cups water
Method:
1. Heat the oil in a small pan and add the asafoetida powder, mustard seeds and curry leaves. Cover and let the seeds pop, then add the grated coconut. Fry on medium heat till the coconut is light brown and aromatic. Remove from heat and set aside till required.
2. Put about a cupful of water in a pan along with the karela/bittergourd/pavakkai and turmeric powder. Let it cook till it becomes soft.
3. Dissolve the tamarind paste in 2 cup water and add it to the cooked karela/bittergourd/pavakkai.
4. Bring this to a boil, then add the sambar powder and rice powder and stir till well mixed.
5. Stir in the cooked masoor dal.
6. Add salt to taste along with the roasted coconut and mix in.
7. Boil the pitla for a couple of minutes longer. Serve hot with rice.
Squashes and pumpkins - especially the yellow kind - are usually prized by people who love them for their sweetish taste. Me, I'm kind of meh about them for precisely that reason... they're not quite sweet and not quite savoury either, and when you roast them they turn squidgy. (Parsnips, which are also kind of sweetish, at least have the decency to turn crisp on the outside when oven-roasted, so I tend to like those. But squashes... they just squash.)
Anyway, I've bought butternut squashes before and let them sit around till even they were too awful to be used (and believe me, they take a very very long time to get that way because of their incredibly hard outer skin or shell), and then thrown them away. This time I was determined to use the squash, so after 15 minutes of determined - and sometimes downright dangerous - sawing, I had the squash halved vertically, to see its innards for the first time ever with my own two eyes (four if you count my contact lenses).
Once the thing was peeled, it was a doddle. It roasted without any trouble and I made the soup without any trouble either. I cooked up some masoor dal for protein and pureed that with the roasted squash as well. Pete liked the soup quite a lot, although I was a bit ambivalent about its taste, myself. It was, as I had known it would be, a bit too sweet for me even with the addition of plenty of ground pepper. But even Pete had to admit that the caramelised onions and croutons were what raised the stakes in the soup arena. Without those savoury garnishes the butternut squash soup would have been just too... yup, you guessed it, sweet.
Recipe for: Roasted butternut squash soup with caramelised onions
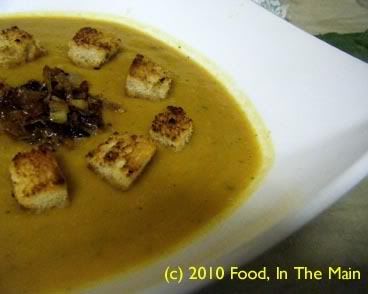
Ingredients:
1 medium butternut squash
3 cups vegetable stock
1 medium onion, chopped
1/3 cup evaporated skim milk
1/4 tsp cinnamon
1 tsp black peppercorns, freshly ground to powder
2 cloves garlic
1/4 cup masoor dal
2 tbsp olive oil
a few toasted herbed croutons for garnish (NOT optional)
salt to taste
For caramelised onions:
1 small onion, very thinly sliced
1 tsp butter
2 tsp sugar
Method:
1. Preheat the oven to 350F/180C.
2. Cut the butternut squash in half lengthwise and scoop out the seeds and stringy bits with a spoon.
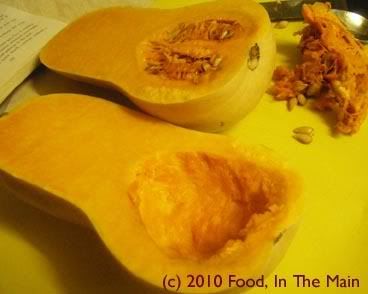
Peel the squash and chop it into 2" chunks.
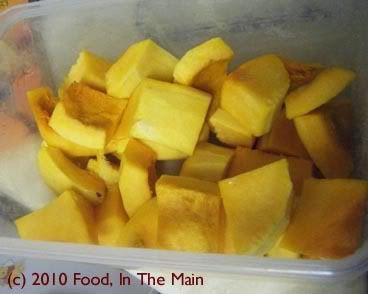
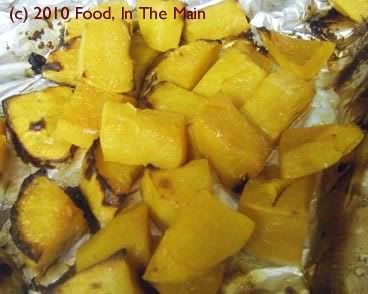
Roast, uncovered, until the squash is soft - about 45 minutes, but check to see.
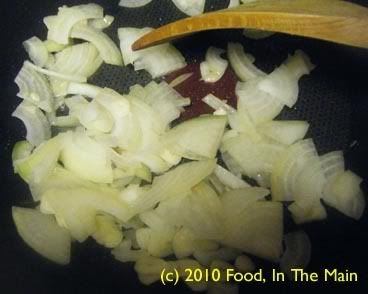
3. Heat 1 tbsp olive oil in a pan and sweat the garlic and chopped onion until slightly translucent.
4. Add the stock and masoor dal along with the cinnamon.

5. Let this bubble gently on medium high heat until the lentils are nearly transparent and soft.
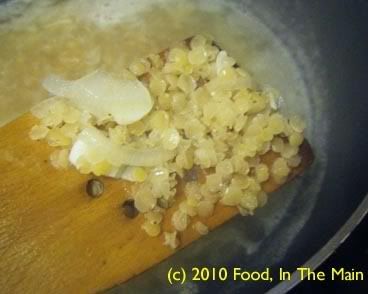
Set aside to cool.
6. In the meantime, heat the butter in a small pan.
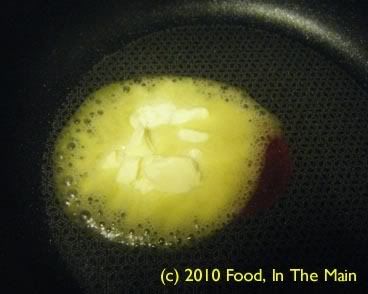
Let it melt and turn golden brown (be careful not to burn it), then add the sliced onion.
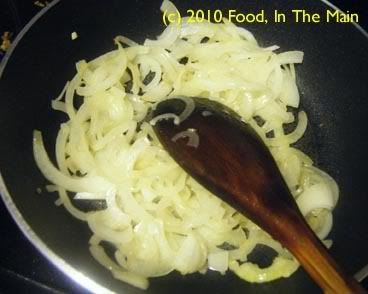
Turn down the heat and let the onions soften slowly, stirring now and then, till they're soft and caramelised to a golden brown. This should take about 10 minutes or so.
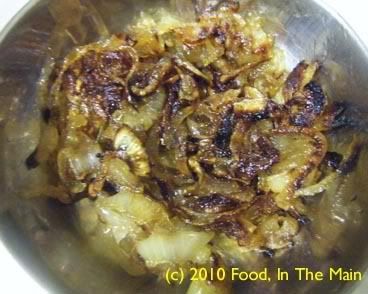
Reserve the caramelised onions for garnish.
7. Now scoop out the cooked lentils along with half the cooking liquid,
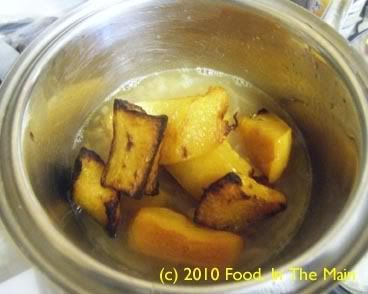
and blend to a puree along with the roasted squash.
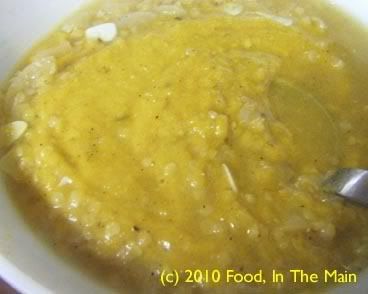
8. Return the blended vegetables to the pan containing the remaining cooking water and stir it all till well mixed.
9. Pour in the evaporated milk and stir it in.
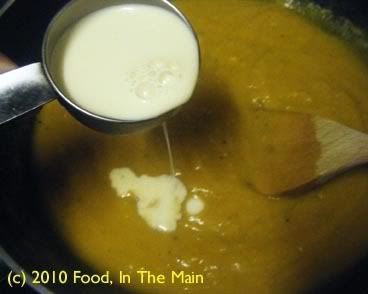
Bring to a gentle simmer,
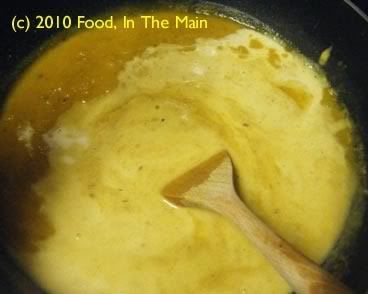
then add the freshly ground black pepper and salt to taste. Stir it in. Let the soup simmer for 2-3 minutes longer, then switch off the heat.
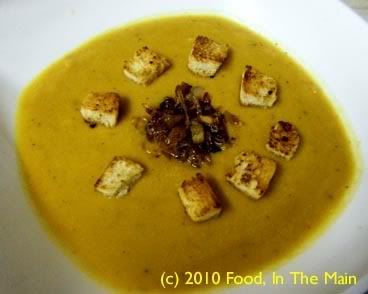
10. Serve the soup in warmed bowls topped with some caramelised onions and the croutons.
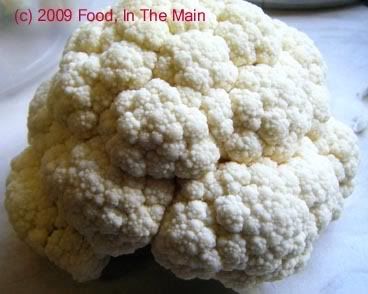 Cauliflowers were not my favourite vegetable when I was a younger person, and there were very few dishes made with it that I liked then. The rare occasions on which I had cauliflower anything were usually in restaurants... usually with the hapless vegetable deep-fried into submission and labeled as manchurian (or manjoori, or manjoorian, or manchuri, and even menjurien - depending on the restaurant, and with the variations limited solely by the creativity of the employee in charge of writing out the menu).
I don’t remember my mother making anything with cauliflower that make me feel more kindly towards the vegetable – and let me hasten to add that it wasn’t her fault, it was more than likely just me being pig-headed about changing my opinion.
But when amma made cauliflower usili with it the last time she was here, this smelly vegetable shone in an entirely new light. Yes I know, usili is hardly a new concept, but let’s just say that I hadn’t thought about cauliflower usili as a viable recipe… and really, the smell of cooking cauliflower put me off trying it for myself – it comes only next to the smell of cooking carrots for unpleasantness. This time when amma made it – with masoor dal, no less - I made sure to click photos so that the recipe could be recorded for posterity and potential cooks/homemakers/foodies. I may or may not make it myself – only time and desperation will tell – but I do vouch for its utter scrumminess.
Er - just wondering... who else has the problem of reverting to Enid Blytonish expressions of approval when it comes to food enthusiasm? Malory Towers or St Clare’s, anyone?
Recipe for: Cauliflower masoor-dal usili
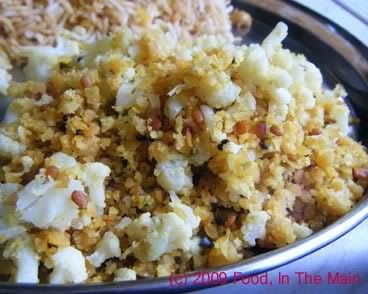
Ingredients:
1 medium head of cauliflower, broken into florets
1 cup masoor dal
3-4 fresh green chillies (or to taste)
2 tsp urad dal
1 tsp mustard seeds
4-5 fresh curry leaves
1/4 tsp asafoetida powder
1 tsp oil
Salt to taste
1. Wash masoor dal in 2-3 changes of water, then soak in water for 2o minutes.
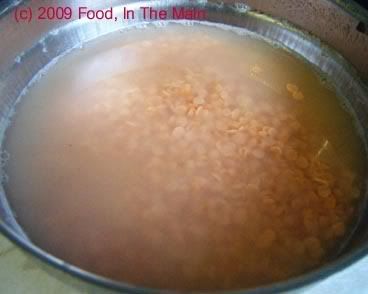
2. Grind to a coarse paste with green chillies and 1/2 tsp salt.
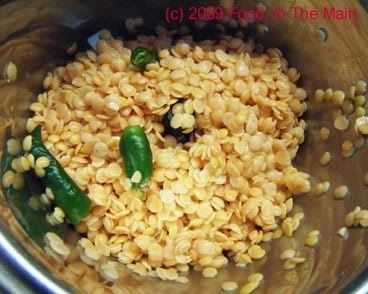
3. Steam the ground dal for 12 minutes in a steamer.
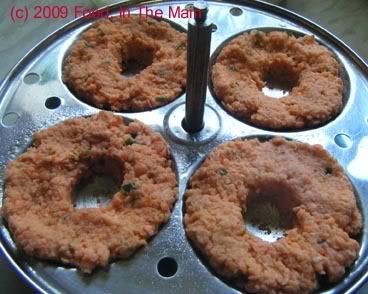
4. Wait 5 minutes, then remove the steamed dal cakes and break them up.
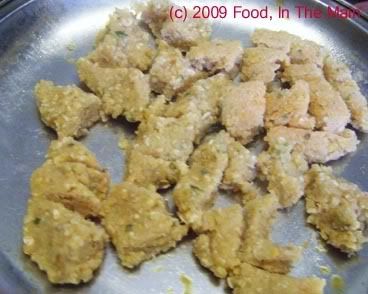
5. Use your fingers to crumble the dal to small pieces. There should be no large lumps left.
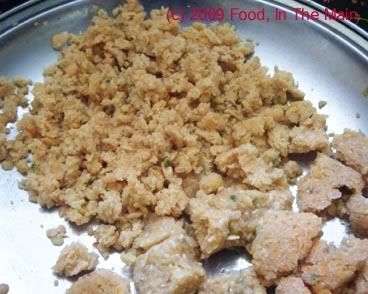
6. Steam the cauliflower florets till they're done but not mushy.
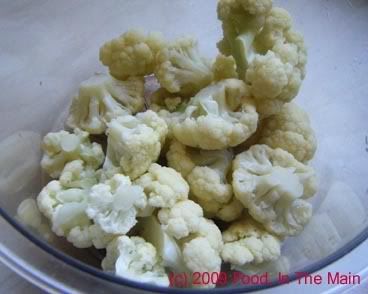
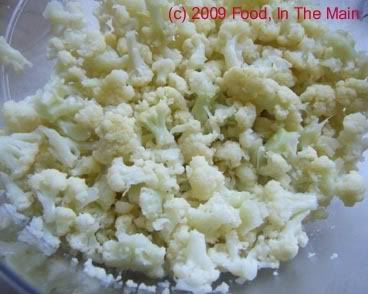
7. Mash the cooked florets gently with a spoon to break them up into small pieces - pea-sized or smaller if possible.
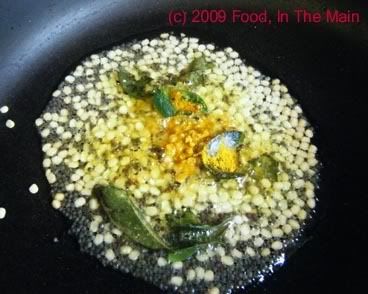
8. Heat the oil in a pan, add the mustard seeds, curry leaves, asafoetida powder, turmeric powder and urad dal. Cover the pan while the mustard seeds pop.
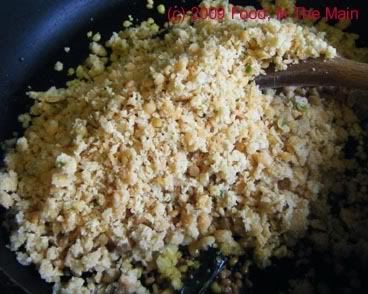
9. When the urad dal turns golden brown, add the crumbled cooked dal and mix well.
10. After a couple of minutes, add the cauliflower pieces and another 1/2 tsp salt (remember the dal is already salted, so don't add too much salt).
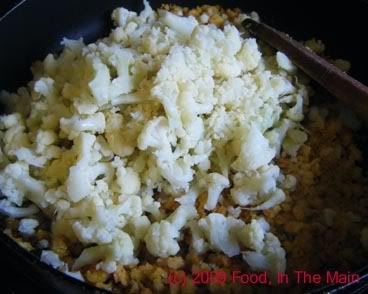
11. Mix the dal and vegetables lightly till it's all evenly distributed. When the usili is thoroughly heated, turn the heat off.
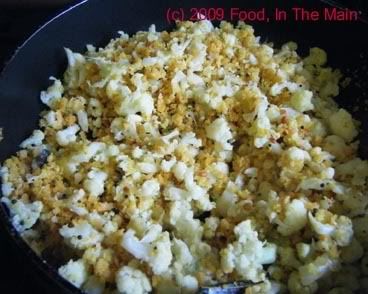
12. Serve hot as a side dish with plain cooked rice and any dal-less gravy (mor kozhambu, vattha kuzhambu, etc) or thogayal.
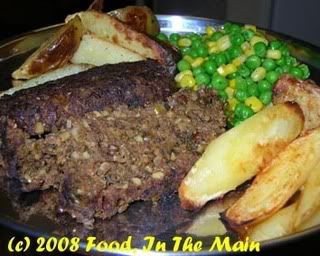
The first time I tried nut roast was a few years ago, when we went for Sunday lunch with my father-in-law and his partner, in honour of his birthday, to a pub that he favours. Sunday lunch usually involves roast beef, lamb or turkey, sometimes chicken, along with a selection of steamed vegetables and roasted potatoes, and of course a jug of gravy.
Me being vegetarian, I had to go for the only veggie option there was in the Sunday lunch section – which was nut roast. I didn’t know what it was or what I was going to get, but to my pleasant surprise, it was delicious! I don’t know if they made the nut roast from scratch at the pub or whether it was just cooked from frozen, but it didn’t matter – it was absolutely scrummy. I never had it anywhere else and we never went to that pub except with my f-i-l, but every time we went there, that’s what I had. The nut roast.
I don’t know why I didn’t think to try making it at home… well, perhaps I do know. It’s probably because the nut roast, in my mind, was linked to a specific meal at a specific place on a specific date with specific people… (and does the word specific now look as weird to you as it does to me? Repetition causes confusion.)
My mother is going to spend Christmas with us this year, the first time that circumstances have made it possible for her to be with us. (People, there IS a point to this, I’m not digressing, and especially not digressing without reason!) She was wondering what she would be able to eat for Christmas dinner, since she doesn’t even eat eggs or anything containing eggs in any form, and whether it would be too much trouble to cook for just her alone. That’s when I had the brilliant idea – I would make a nut roast for the vegetarians in the family! (See, I TOLD you, there was a point and I just made it. Without going off on a tangent. [All you need for this to happen is get the moon and the stars in the correct alignment. NOW I’m digressing. Guess the moon and stars moved.])
Of course, I didnt want to make a nut roast on Christmas Eve and then have it flop, so the next thing to do was make it now, as an experiment. (If it didnt work, at least I wouldnt have ruined our meal for Christmas!) So, I researched nut roasts and discovered that the recipe is nicely forgiving, able to accommodate pretty much anything you throw into it. The recipe below is an amalgamation of 2-3 different ones, using ingredients I prefer (courgette not aubergine, for instance; wholewheat granary breadcrumbs instead of white, etc)... and omitting the eggs entirely.
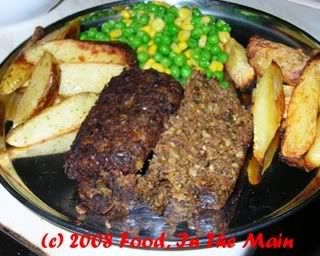
To my delight, the nut roast was as gorgeous as the one I'd had at the pub... the texture and taste were perfect. If it didnt quite hold together as well as it should have, I attribute it to the lack of egg as a "binder" (In hindsight, I should have added extra breadcrumbs). Not that I minded, and even Pete, despite good-naturedly grumbling about "too many vegetables", thought it was very tasty.
Hooray, I have a vegetarian roast recipe for Christmas! (Amma, take note.)
Recipe for: Nut roast
Ingredients:
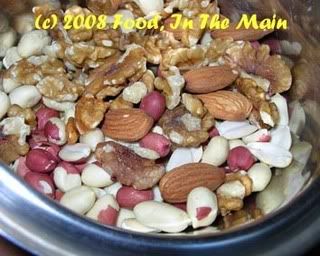
1 cup peanuts
½ cup walnuts
Handful cashews (about 10)
Handful almonds (about 10)
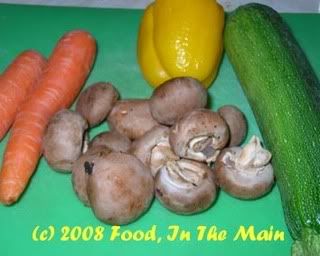
1 medium courgette
1 medium carrot
1 medium onion
1 bell pepper
1 cup button mushrooms
4 cloves garlic, minced
1/2 cup masoor dal (+ 2 tbsp whole masoor - optional)
2-3 dried birds eye chillies, minced (or use fresh green chillies to taste, minced)
2 cups fresh breadcrumbs (I used wholewheat granary bread)
2 cups chopped herbs (combination of parsley, coriander and dill)
1 tsp dried thyme
3/4 tsp turmeric powder
1 tbsp dark soy sauce
2 tbsp Worcestershire sauce
2 tsp sunflower oil
1 tsp dried thyme
Salt and pepper to taste
Method:
1. Wash the masoor dal.
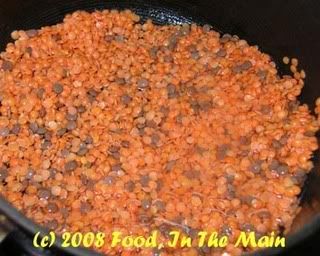
Cook in boiling water till done but not mushy.
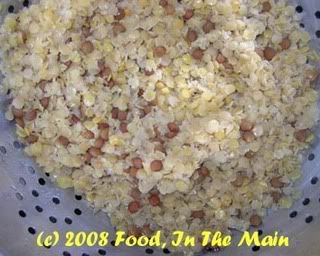
The stove-top will do fine for this as masoor cooks very quickly, and you can keep track of its texture. Drain off the cooking water and reserve the cooked lentils.
2. Chop the nuts finely (but not to a powder – just small pieces) in a food processor (or by hand if you have that sort of patience).
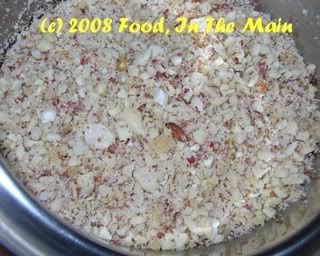
3. Peel and grate the carrot. Chop the courgette, onion, bell pepper and mushrooms very finely.
4. Heat the oil in a large, heavy bottomed pan and fry the onions, garlic and chillies till the onion is soft and brown.
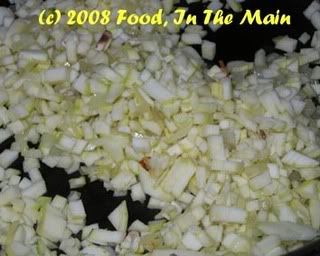
5. Add the chopped herbs, dried thyme, turmeric powder, chopped courgettes and mushrooms now and stir well.
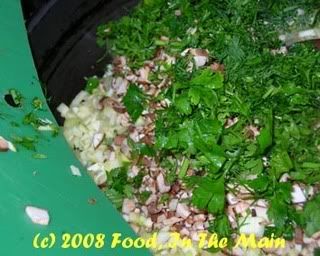
6. Cover the pan and let the vegetables cook for 4-5 minutes, then add the grated carrots and bell pepper.
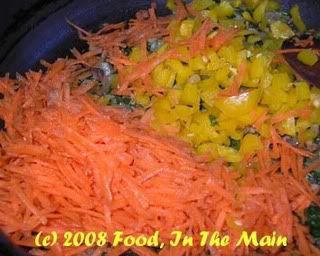
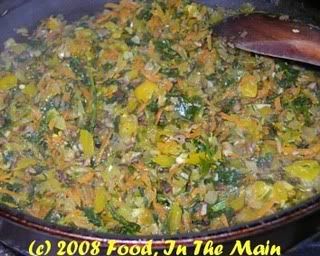
Saute for 7-10 minutes or till the vegetables are cooked.
Transfer the vegetables to a big bowl and let cool.
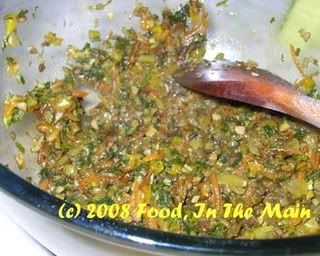
7. Then add the soy sauce and Worcestershire sauce and mix in. Add a little salt (about ½ tsp) and 1 tsp freshly ground black pepper, the chopped nuts,
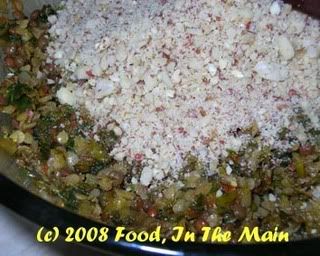
the cooked lentils
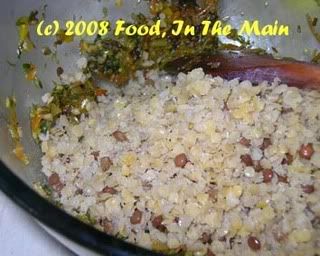
and the breadcrumbs
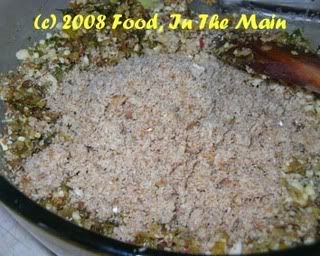
and mix it all with your hands to make a homogenous mixture
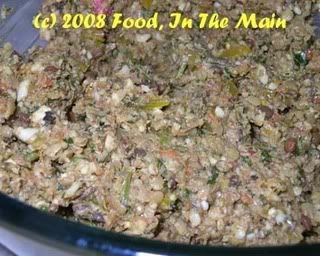
– it shouldn’t be dry but also don’t make it sloppy or runny, or the roast will not “set” in the oven. Also check for seasoning now and correct if necessary.
8. Pack the mixture tightly into a greased loaf tin,
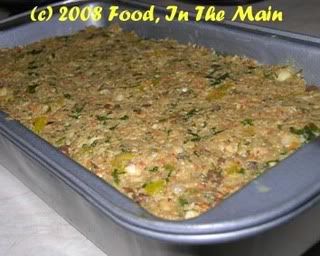
cover with foil

and bake for 45 minutes covered, at 180C. After that take the foil off, lower the temperature to 160C and cook uncovered for another 10 minutes. Turn the oven off and let the loaf rest for 5-10 minutes in the oven itself, before unmoulding onto a serving plate.
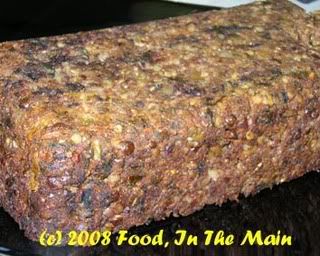
Serve thickly sliced with a selection of roasted and/or steamed vegetables.
