Showing posts with label pepper. Show all posts

Saturday, May 12, 2012

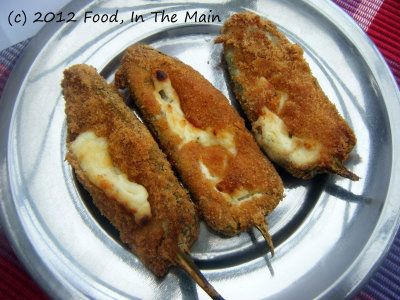
Baked jalapeno poppers

The first time I ate these little things was at a work party in Singapore and they were the frozen store-bought type - but they were so delicious that I made a pig out of myself over them. I don't remember eating anything else that evening, actually. It could have just been the relief of finding something to eat that was vegetarian (our office parties had plenty of delicious looking things to eat, 98% of them barred to me), but that was not the real reason I monopolised the poppers - the real reason was a sort of disbelieving greed that something could be so darn good. I didn't imagine that replicating them at home was possible, so I didn't bother. I didn't even know what they were called, other than the generic "stuffed pepper".

Eventually, though, years later and thanks to the Internet and food websites, I discovered that the peppers were called jalapenos, and that the stuffed ones had a name - poppers. Going by my own experience, I imagined that was because you couldn't stop popping them into your mouth. Pop pop pop...

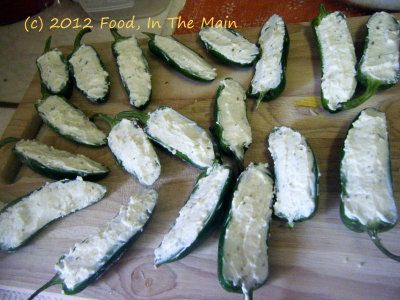
Anyway, if I was making these just for myself, I would not have bothered to remove the innards from the jalapenos. But as there were other less chilli-tolerant people who would be trying out the poppers, I removed every last vestige of seeds and pith that I could manage. So, stuffed with cheese as they were, the poppers didnt quite give me that hit of heat I would've ideally liked. That said, they were still quite, quite delicious. One of the few things, in my opinion, that are just as gorgeous baked as deep-fried. 

Don't get me wrong, just because they are baked doesn't mean these jalapenos are low in fat or can be classified as health food (oh how I wish...!) - far from it. But they're that much less fattier than deep-fried, that's all. They're best had fresh and warm - I don't think I would recommend eating them oven-hot, because the cheese would probably strip the lining from your cheeks. Eat them warm, though, and tell me these poppers aren't the scrummiest thing you've ever tasted...

Recipe for: Baked jalapeno poppers
DSCF8181a
Ingredients:
10 jalapenos, all of a size
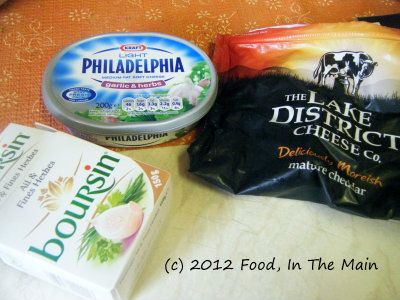
1/3 cup garlic-herb cream cheese
1/3 cup Boursin cheese
1/3 cup grated mature Cheddar cheese
DSCF8164a
2 tsp milk
1/2 tsp ground pepper
1/2 cup plain flour
1/2 tsp garlic powder
1 egg + 1 egg white
Breadcrumbs as required (1 generous cup)
Water


Method:
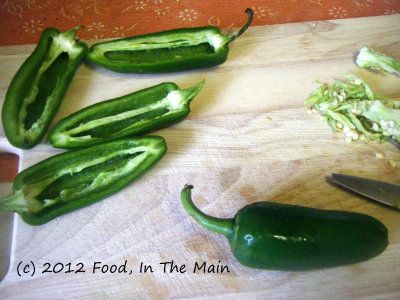
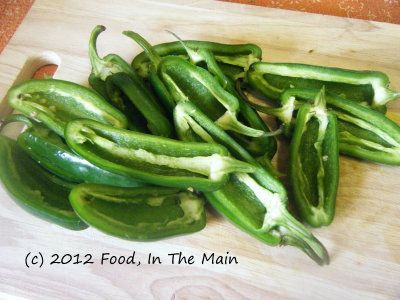
1. Halve the jalapenos lengthwise and carefully remove the seeds and pith without cutting through the flesh.
DSCF8158a
DSCF8159a
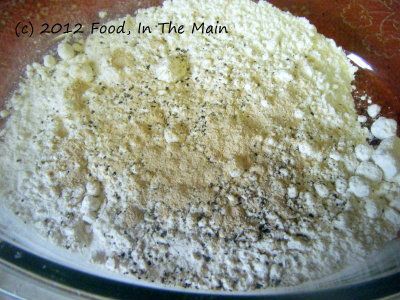
2. Mix the flour, pepper and garlic powder in a shallow, wide bowl.
DSCF8160a
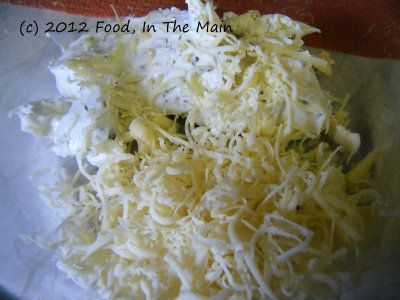
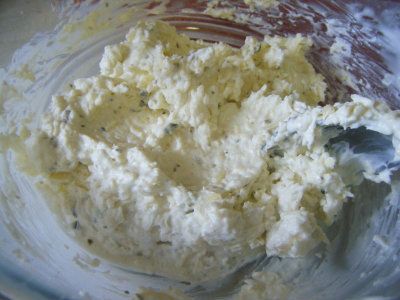
3. Put the cream cheese, Boursin and cheddar in a bowl and mix together well.
DSCF8165a
Dribble in the milk and blend again.
DSCF8167a
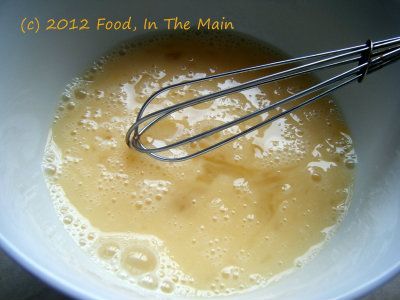
4. Whisk the egg and egg white till well blended but not foamy.
DSCF8162a
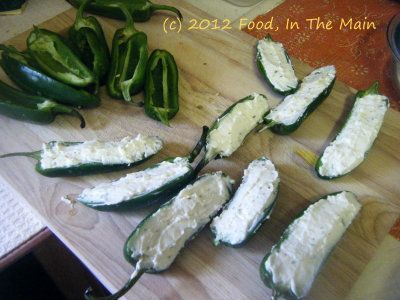
5. Fill the jalapeno halves with the cream cheese mixture.
DSCF8169a
DSCF8170a
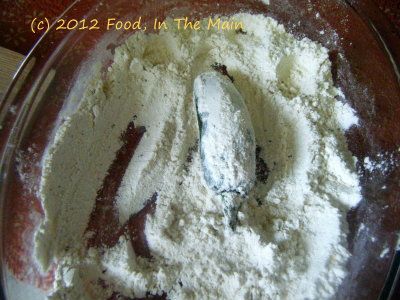
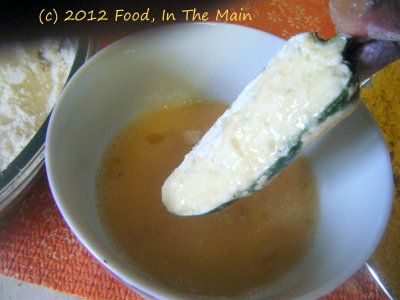
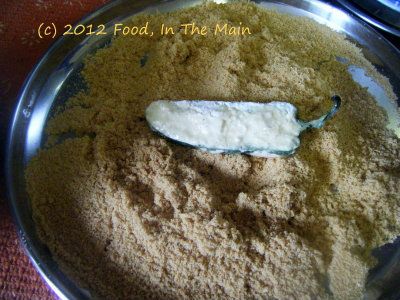
6. Put some plain water in a shallow bowl. Dip each filled jalapeno first in the water, then in the flour so that both sides are well covered,
DSCF8177a
then in the beaten egg,
DSCF8174a
and finally in the breadcrumbs.
DSCF8175a
Place on a non-stick foil-covered baking tray.
DSCF8179a
7. Heat the oven to 180C/350F and bake the jalapenos for about 30-40 minutes - it took 30  minutes in my fan-assisted oven.
DSCF8180a
8. Serve warm or at room temperature.

RECIPE: BAKED JALAPENO POPPERS
Ingredients:
10 jalapenos, all of a size
1/3 cup garlic-herb cream cheese
1/3 cup Boursin cheese
1/3 cup grated mature Cheddar cheese
2 tsp milk
1/2 tsp ground pepper
1/2 cup plain flour
1/2 tsp garlic powder
1 egg + 1 egg white
Breadcrumbs as required (1 generous cup)
Water
Method:
1. Halve the jalapenos lengthwise and carefully remove the seeds and pith without cutting through the flesh. 
2. Mix the flour, pepper and garlic powder in a shallow, wide bowl.
3. Put the cream cheese, Boursin and cheddar in a bowl and mix together well. Dribble in the milk and blend again. 
4. Whisk the egg and egg white till well blended but not foamy. 
5. Fill the jalapeno halves with the cream cheese mixture. 
6. Put some plain water in a shallow bowl. Dip each filled jalapeno first in the water, then in the flour so that both sides are well covered, then in the beaten egg, and finally in the breadcrumbs. Place on a non-stick foil-covered baking tray. 
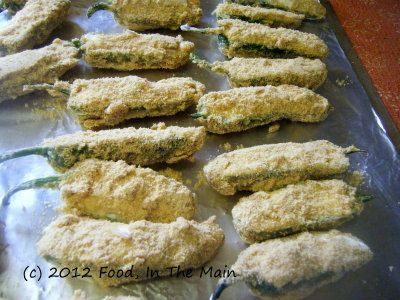
7. Heat the oven to 180C/350F and bake the jalapenos for about 30-40 minutes - it took 30  minutes in my fan-assisted oven.
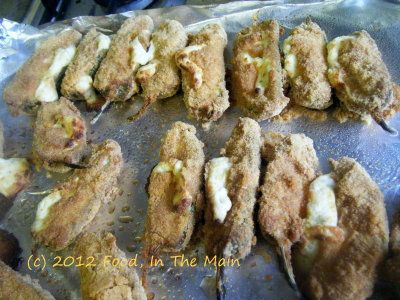
8. Serve warm or at room temperature. 

Thursday, October 02, 2008

Milagu kuzhambu (black pepper gravy)

Years ago, when my dad was based in Srinagar with me and my siblings studying in Madras, my mother used to shuttle between the two cities. I’m guessing she was torn between wanting to take care of us in Madras – I was in the first year of college and my sister and brother still in school – and being with my dad whose health was not good at the time.

It was a fairly odd sort of arrangement for us, because we kids lived with our maternal grandparents in their large home… except that we occupied the upstairs and they lived in the downstairs portion. My grandmother would cook for herself and my granddad, as they were very orthodox and did not believe – quite rightly, too – that I could maintain their high standards of “patthu” and “yecchal” and all the rest of the overdone Brahmin Iyer kitchen rituals. My grandparents might also have suspected that I couldn’t be bothered about observing any of it… something that they could not accept for themselves.

Also, our school and college timings and my granddad’s morning puja rituals (with my grandma cooking food only after her morning bath, and that food allowed to be eaten only after the puja was over) were totally incompatible – if we had waited for all that to take place every morning, getting to school on time would have been impossible.

Whatever the reason, therefore, I had use of the kitchen upstairs to cook basic stuff for me and my sibs, with my grandma providing things like sambar or kootu or whatever took her fancy.

So, every time before my mother left for Srinagar, she would make some fridge staples to last us a few weeks and save me having to cook anything more than the basic rice and dal – I was not particularly enthusiastic about kitchen duties at that point. One of the things she made was black pepper
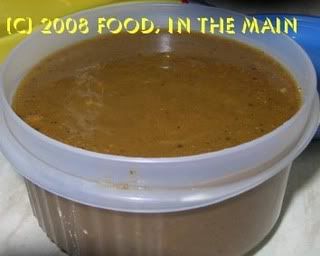
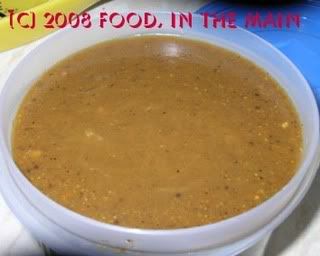
vattha kuzhambu– but in concentrated form, like pulikachal. Anytime I wanted a quick kuzhambu, all I had to do was boil up some tamarind water, dissolve 2-3 tbsp of the concentrate in it – and voila! The gravy was ready in a jiffy.

This recipe that I came across reminded me strongly of that long-ago milagu kuzhambu, so I decided to make it, to see if it was anything like that in my memory. And do you know what… it was actually exactly like my mom didn’t make! (sorry about the anticlimax). :o) But… it was fiery and aromatic and a little of it was plenty for one meal, so it lasted me ages in the fridge. I thoroughly recommend this milagu kuzhambu to anybody who likes the hot peppery taste generated by plenty of hot black peppercorns supplemented with some dried red chillies. That, some hot plain rice, a dollop of ghee and – yes, yes, yes, always the pan-fried potatoes for perfect nostalgia and a satisfying meal… ahhhh…

Recipe for:
Milagu kuzhambu


Ingredients:

2 tbsp black peppercorns
2 tbsp cumin seeds
2 tbsp tur dal
2 tbsp coriander seeds
1/4 tsp asafoetida powder
12-15 curry leaves
4-5 dried red chillies
1 htsp tamarind paste
Salt to taste
2 tsp oil (Nallennai for preference)
1/4 tsp turmeric powder
1/2 tsp mustard seeds
1/2 tsp urad dal
Salt to taste
Water as required

Method:

1. Heat 1/2 tsp oil in a pan, add the peppercorns, cumin seeds, coriander seeds, tur dal, curry leaves and red chillies and fry on medium heat. Take the pan off the heat when the dal turns golden and let it cool.

2. Grind the roasted ingredients to a fine powder. Then add 1/2 cup water along with the tamarind paste and grind to a homogenous masala paste. It will thicken quite quickly, so add a little more water as required to make it thick and pourable.

3. Heat the remaining oil in the pan, add the mustard seeds and urad dal, cover the pan and let the seeds pop on high heat for a 30-60 seconds. Add the asafoetida powder now along with the turmeric powder.

4. Dissolve the masala paste in 1-1/2 cups water and pour into the pan. Add salt to taste and stir.

5. Let the kuzhambu come to a boil (add water if it is too thick, but dont make the kuzhambu runny), then simmer on medium heat for 5 minutes.


Serve hot with steamed rice, a serving of cooked tur dal if you like, and a topping of ghee. Mix, eat and immediately enter pepper heaven.

This kuzhambu stays good for a couple of weeks in an airtight container kept in the fridge. Use a clean dry spoon every time.

Monday, July 07, 2008

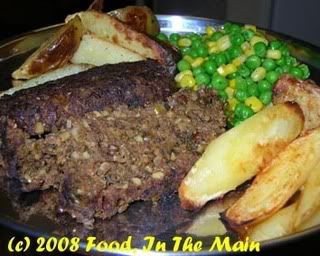
Savoury egg-free nut roast

The first time I tried nut roast was a few years ago, when we went for Sunday lunch with my father-in-law and his partner, in honour of his birthday, to a pub that he favours. Sunday lunch usually involves roast beef, lamb or turkey, sometimes chicken, along with a selection of steamed vegetables and roasted potatoes, and of course a jug of gravy.

Me being vegetarian, I had to go for the only veggie option there was in the Sunday lunch section – which was nut roast. I didn’t know what it was or what I was going to get, but to my pleasant surprise, it was delicious! I don’t know if they made the nut roast from scratch at the pub or whether it was just cooked from frozen, but it didn’t matter – it was absolutely scrummy. I never had it anywhere else and we never went to that pub except with my f-i-l, but every time we went there, that’s what I had. The nut roast.

I don’t know why I didn’t think to try making it at home… well, perhaps I do know. It’s probably because the nut roast, in my mind, was linked to a specific meal at a specific place on a specific date with specific people… (and does the word specific now look as weird to you as it does to me? Repetition causes confusion.)

My mother is going to spend Christmas with us this year, the first time that circumstances have made it possible for her to be with us. (People, there IS a point to this, I’m not digressing, and especially not digressing without reason!) She was wondering what she would be able to eat for Christmas dinner, since she doesn’t even eat eggs or anything containing eggs in any form, and whether it would be too much trouble to cook for just her alone. That’s when I had the brilliant idea – I would make a nut roast for the vegetarians in the family! (See, I TOLD you, there was a point and I just made it. Without going off on a tangent. [All you need for this to happen is get the moon and the stars in the correct alignment. NOW I’m digressing. Guess the moon and stars moved.])

Of course, I didnt want to make a nut roast on Christmas Eve and then have it flop, so the next thing to do was make it now, as an experiment. (If it didnt work, at least I wouldnt have ruined our meal for Christmas!) So, I researched nut roasts and discovered that the recipe is nicely forgiving, able to accommodate pretty much anything you throw into it. The recipe below is an amalgamation of 2-3 different ones, using ingredients I prefer (courgette not aubergine, for instance; wholewheat granary breadcrumbs instead of white, etc)... and omitting the eggs entirely.

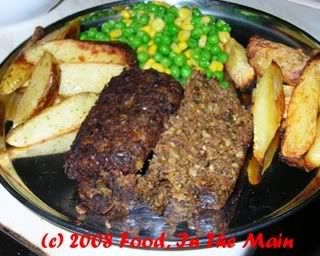
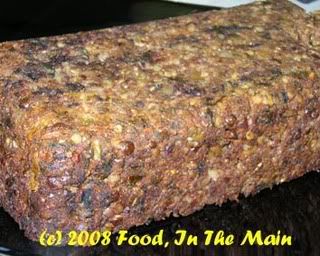
To my delight, the nut roast was as gorgeous as the one I'd had at the pub... the texture and taste were perfect. If it didnt quite hold together as well as it should have, I attribute it to the lack of egg as a "binder" (In hindsight, I should have added extra breadcrumbs). Not that I minded, and even Pete, despite good-naturedly grumbling about "too many vegetables", thought it was very tasty.

Hooray, I have a vegetarian roast recipe for Christmas! (Amma, take note.)

Recipe for:
Nut roast


Ingredients:


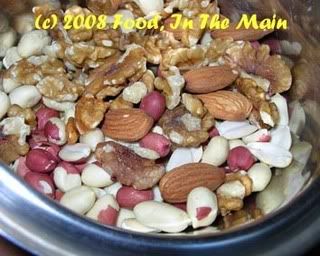
1 cup peanuts
½ cup walnuts
Handful cashews (about 10)
Handful almonds (about 10)


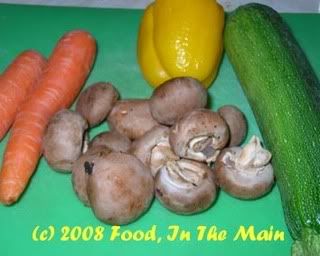
1 medium courgette
1 medium carrot
1 medium onion
1 bell pepper
1 cup button mushrooms
4 cloves garlic, minced
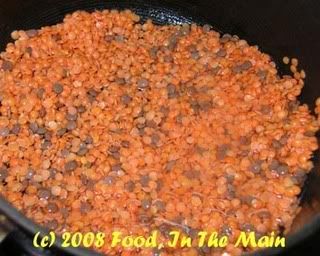
1/2 cup masoor dal (+ 2 tbsp whole masoor - optional)
2-3 dried birds eye chillies, minced (or use fresh green chillies to taste, minced)
2 cups fresh breadcrumbs (I used wholewheat granary bread)
2 cups chopped herbs (combination of parsley, coriander and dill)
1 tsp dried thyme
3/4 tsp turmeric powder
1 tbsp dark soy sauce
2 tbsp Worcestershire sauce
2 tsp sunflower oil
1 tsp dried thyme
Salt and pepper to taste

Method:

1. Wash the masoor dal.


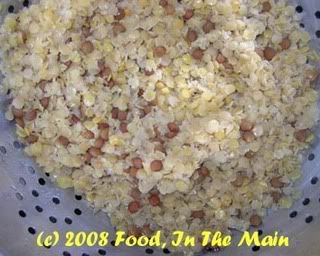
Cook in boiling water till done but not mushy.


The stove-top will do fine for this as masoor cooks very quickly, and you can keep track of its texture. Drain off the cooking water and reserve the cooked lentils.

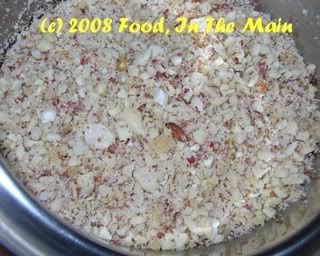
2. Chop the nuts finely (but not to a powder – just small pieces) in a food processor (or by hand if you have that sort of patience).


3. Peel and grate the carrot. Chop the courgette, onion, bell pepper and mushrooms very finely.

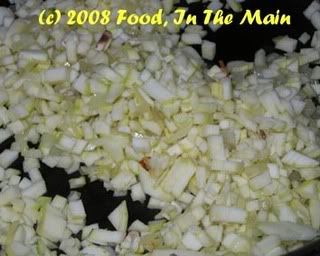
4. Heat the oil in a large, heavy bottomed pan and fry the onions, garlic and chillies till the onion is soft and brown.


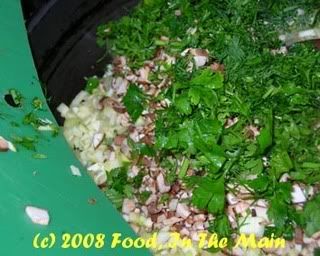
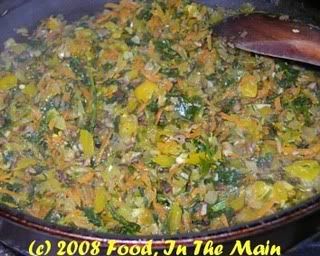
5. Add the chopped herbs, dried thyme, turmeric powder, chopped courgettes and mushrooms now and stir well.


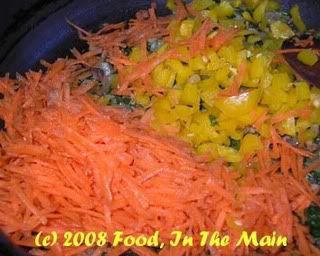
6. Cover the pan and let the vegetables cook for 4-5 minutes, then add the grated carrots and bell pepper.


Saute for 7-10 minutes or till the vegetables are cooked.


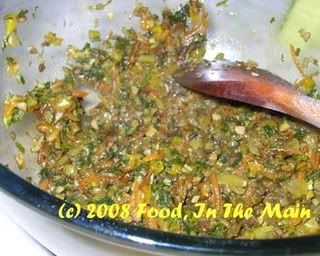
Transfer the vegetables to a big bowl and let cool.


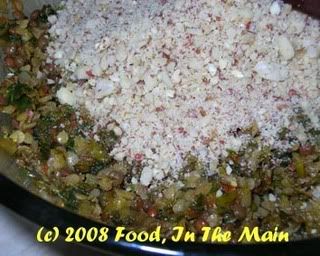
7. Then add the soy sauce and Worcestershire sauce and mix in. Add a little salt (about ½ tsp) and 1 tsp freshly ground black pepper, the chopped nuts,


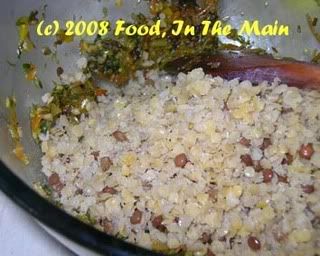
the cooked lentils


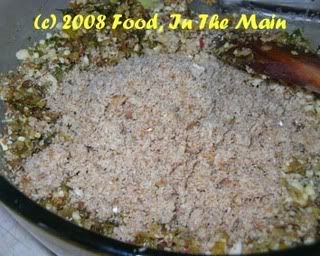
and the breadcrumbs


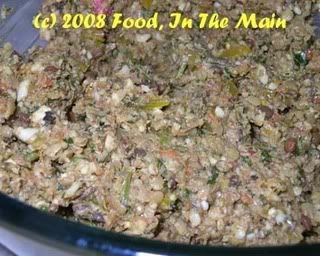
and mix it all with your hands to make a homogenous mixture


– it shouldn’t be dry but also don’t make it sloppy or runny, or the roast will not “set” in the oven. Also check for seasoning now and correct if necessary.

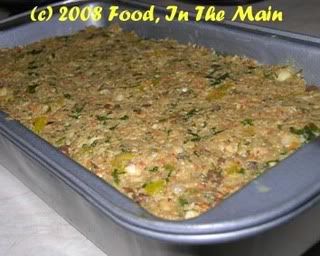
8. Pack the mixture tightly into a greased loaf tin,


cover with foil


and bake for 45 minutes covered, at 180C. After that take the foil off, lower the temperature to 160C and cook uncovered for another 10 minutes. Turn the oven off and let the loaf rest for 5-10 minutes in the oven itself, before unmoulding onto a serving plate.


Serve thickly sliced with a selection of roasted and/or steamed vegetables.