skip to main |
skip to sidebar
Over the last few years, I’ve been testing my limits with that most unattractive of vegetables, the bittergourd (or karela, bitter melon, pavakkai or whatever name you call it – my husband terms them “rats”), to see just HOW much I love it.
I used to hate it completely, in any form, as a kid. In my late teens or thereabouts, I would as a concession eat them deep fried (yes, I know, very broad-minded of me) mainly because the ones from Hot Chips in Abhiramapuram were sensational.
Eventually, after a couple of decades, I got around to eating them pan-fried crisp, as a dry curry. After that things moved a lot more rapidly in the experimentation department, and I moved on to karela-without-frying-too-much, karela as a semi-dry curry cooked with onions and tomatoes, karela with mustard paste (a double-whammy in the strong flavour department).
While karela pitla (South Indian style) is probably not as scary as it used to be, or even as full-on as karela-with-mustard-paste, I still had to see if I'd like it - just to drive away the last of the childhood fear and hatred of the karela's bitter flavour. And, of course, I passed the test with flying colours, practically inhaling the pitla which my mother made a day or two before she left Shrewsbury.
The only karela-based item that I know I won't like is karela juice. Where that is concerned, I think I'm as blinkered as I ever was, with just one standard reaction: "No way Felipe." (Jose wasn't available.)
Recipe for: Bittergourd/karela/pavakkai pitla
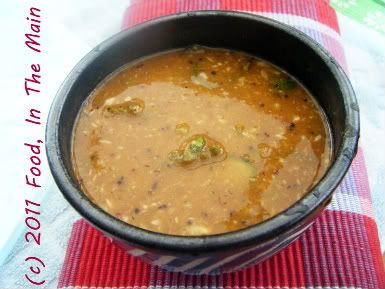
Ingredients:
2 medium karela/bittergourd/pavakkai, sliced into rounds
1 cup masoor dal, cooked
1 tbsp tamarind paste
3 tsp gingelly oil (or any neutral cooking oil)
1 tsp mustard seeds
2 tbsp sambar powder
2 tbsp finely grated coconut
1/2 tsp asafoetida powder
1 tbsp rice flour
Salt to taste
a few fresh curry leaves, torn up
3-4 cups water
Method:
1. Heat the oil in a small pan and add the asafoetida powder, mustard seeds and curry leaves.
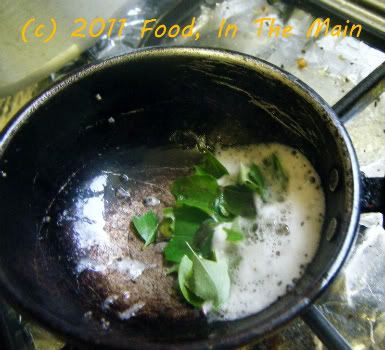 Cover and let the seeds pop, then add the grated coconut.
 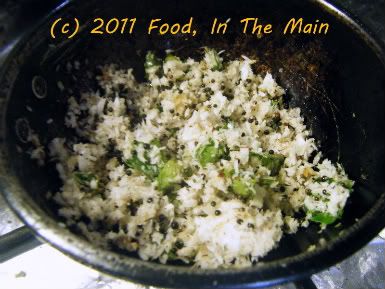 Fry on medium heat till the coconut is light brown and aromatic.
 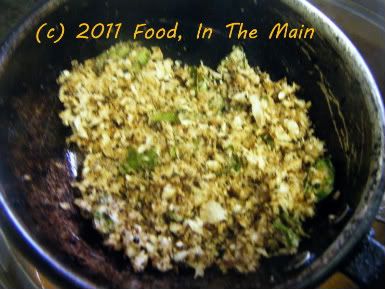 Remove from heat and set aside till required.
2. Put about a cupful of water in a pan along with the karela/bittergourd/pavakkai and turmeric powder.
 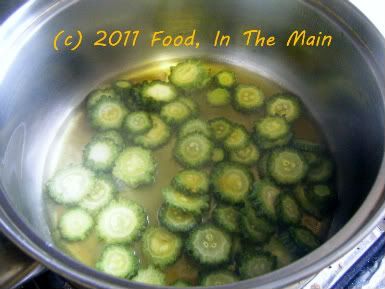 Let it cook till it becomes soft.
3. Dissolve the tamarind paste in 2 cup water and add it to the cooked karela/bittergourd/pavakkai.
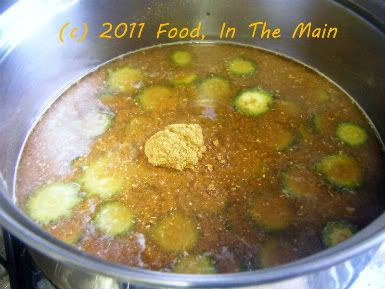
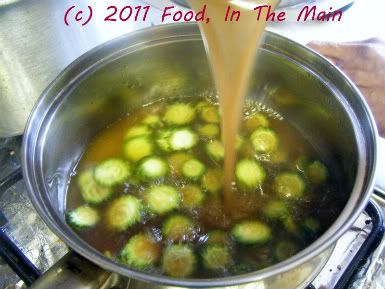 4. Bring this to a boil, then add the sambar powder and rice powder and stir till well mixed.
 5. Stir in the cooked masoor dal
 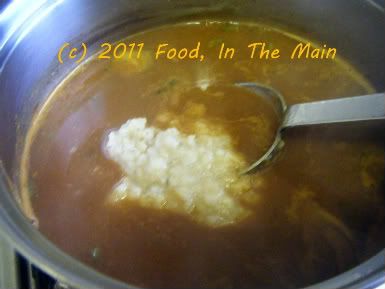 6. Add salt to taste along with the roasted coconut and mix in.
 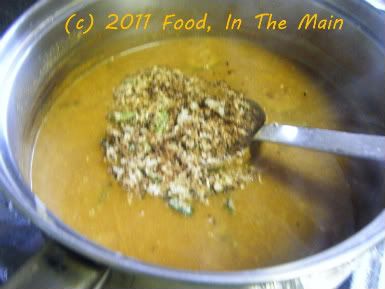 7. Boil the pitla for a few minutes longer till it thickens.
 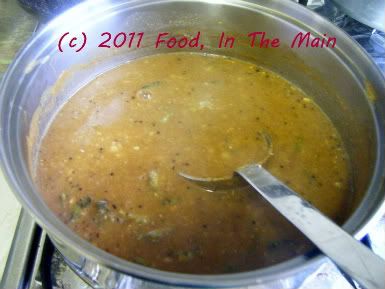 Serve hot with rice.
 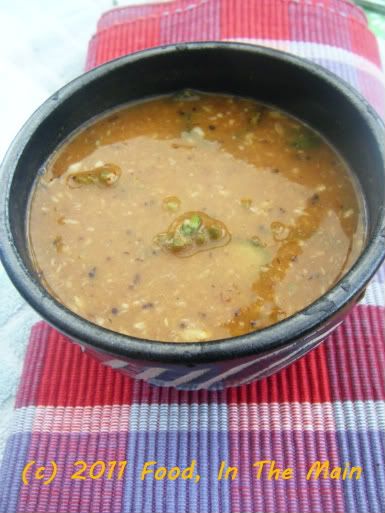 RECIPE: BITTERGOURD/KARELA/PAVAKKAI PITLA
Ingredients:
2 medium karela/bittergourd/pavakkai, sliced into rounds
1 tbsp tamarind paste
3 tsp gingelly oil (or any neutral cooking oil)
1 tsp mustard seeds
2 tbsp sambar powder
2 tbsp finely grated coconut
1/2 tsp asafoetida powder
1 tbsp rice flour
Salt to taste
a few fresh curry leaves, torn up
3-4 cups water
Method:
1. Heat the oil in a small pan and add the asafoetida powder, mustard seeds and curry leaves. Cover and let the seeds pop, then add the grated coconut. Fry on medium heat till the coconut is light brown and aromatic. Remove from heat and set aside till required.
2. Put about a cupful of water in a pan along with the karela/bittergourd/pavakkai and turmeric powder. Let it cook till it becomes soft.
3. Dissolve the tamarind paste in 2 cup water and add it to the cooked karela/bittergourd/pavakkai.
4. Bring this to a boil, then add the sambar powder and rice powder and stir till well mixed.
5. Stir in the cooked masoor dal.
6. Add salt to taste along with the roasted coconut and mix in.
7. Boil the pitla for a couple of minutes longer. Serve hot with rice.
Every day in every way I’m getting lazier and lazier.
This is not what I want to be confessing, dear reader. Believe me, I’d much rather be declaring the more conventional - and infinitely more impressive – version that goes “Every day in every way I’m getting better and better”.
The truth is that I have, at the very least, half a dozen recent recipes to post about and over a dozen older ones which have been ageing gracefully without seeing the light of publication. It’s so easy to take photos while cooking – that’s become second nature now – but it’s a lot less fun to have to edit them (even the simplest, most basic edit that I do which is basically adding my blog name to the photo). It’s infinitely less appealing still to write up the recipes step by step and match the correct photos every step of the way.
I know, nobody’s forcing me to do the whole step-by-step thing, and there wasn’t a gun held to my head when I began to write up the instructions this way. Call me short-sighted but I didn’t envisage a point where I would find it boring to continue doing it in such a painstakingly detailed way. More fool me, because it’s been ever thus with every single one of my enthusiasms over the years.
Don’t get me wrong, I’m not bored with cooking. I’m not even bored of taking photographs while cooking. (And I’m certainly not bored with eating – no fear.) I enjoy writing the posts too, 98% of the time - probably because I feel no urge to stick to the point and no pressure to be topical or even informative. So it’s just the recipe itself, with the ingredients and instructions.
I guess I could stop the step-by-step routine… but after so many years of my blog, I can’t bring myself to do that. (Apparently I can bring myself to ignore my blog and the recipes that are clamouring for release… apparently that isn’t wrong. But simplifying things so that I can bring myself to post more often – oh golly gee gosh, that would feel so wrong.) Look, I can’t explain why this is so – but that is how it is.
Anyway, I decided to post this fairly standard, easy, everyday recipe that I make often - I haven’t posted about it thus far because, you know, it’s fairly standard, easy… etc etc. However, it struck me recently that it might not be standard to everybody, and not everybody might make it this way. So in the interests of posterity, and so on.
I feel quite noble to be dragging myself out of my lethargy comfort zone just for the sake of posterity. How nice of me to do this.
If you’ve finished acknowledging my nobility and niceness, you may go on to the recipe. Which is actually a fairly standard, easy…
Oh. I’ve said this before.
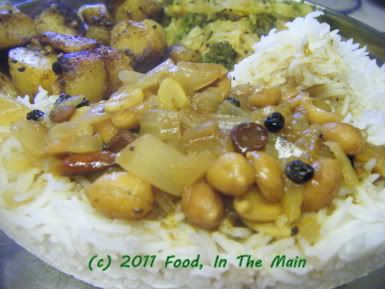
Recipe for: Vengaya vattha kuzhambu
 Ingredients:
2 tsp tamarind paste
4-5 cloves garlic, chopped
2 medium onions, chopped
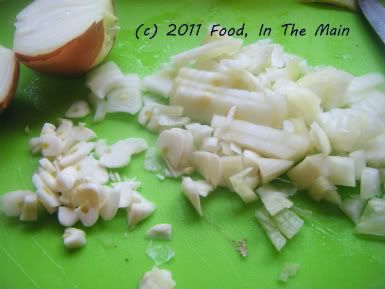 1/4 tsp vendhayam/fenugreek seeds
1 tbsp toor/tuvar dal
1 tbsp manathakkali vatthal
1 tbsp gingelly oil/nallennai
3-4 dried red chillies, broken in half (or to taste)
1 tsp mustard seeds
a few fresh/frozen curry leaves (optional)
1/2 tsp turmeric powder
1/4 tsp asafoetida powder
2-3 tsp sambar powder or vattha kuzhambu powder (if available)
2 tbsp rice flour
1/2 tsp black pepper powder
handful of roasted peanuts (optional)
Method:
1. Dissolve the tamarind paste in 5 cups water. Reserve.
2. Heat the oil and add the manathakkali vatthal, the tur dal, dried red chillies, mustard seeds, fenugreek seeds, curry leaves, asafoetida powder and turmeric powder.
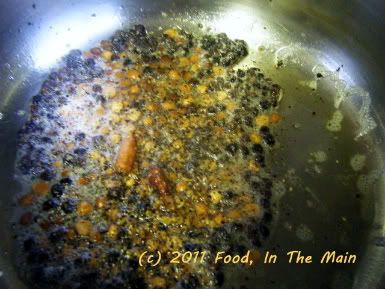 Fry all these for a couple of minutes on high heat, stirring to prevent burning.
3. Next, add the chopped onions and garlic and stir.
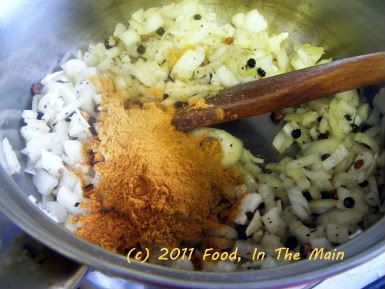
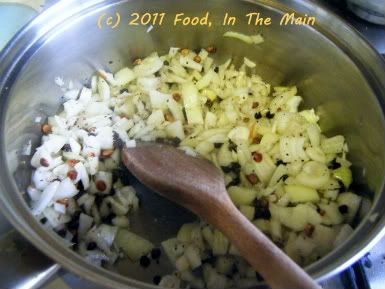 4. When the onions start to soften, add the sambar/vattha kuzhambu powder and stir it in, along with the black pepper powder.
 5. Now pour in the tamarind water.
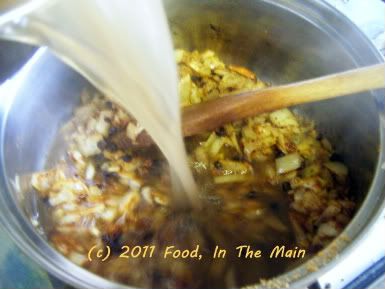 Bring to a boil on high heat, then turn it down to medium-low and let it simmer gently for 10 minutes or so.
6. Whisk together 2 tbsp rice flour with some water to make a thick, pourable paste and stir it into the kuzhambu. Let it boil for another 4-5 minutes until the kuzhambu thickens and becomes less watery.
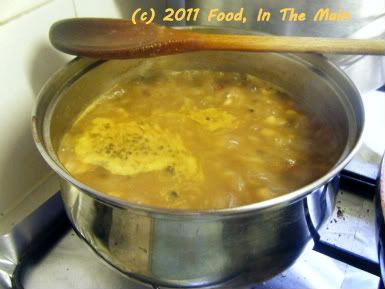 Add salt to taste and throw in the peanuts now, if using. Serve hot with steamed white rice and a dry vegetable curry.
RECIPE: VENGAYA VATTHA KUZHAMBU
Ingredients:
2 tsp tamarind paste
4-5 cloves garlic, chopped
2 medium onions, chopped
1/4 tsp vendhayam/fenugreek seeds
1 tbsp toor/tuvar dal
1 tbsp manathakkali vatthal
1 tbsp gingelly oil/nallennai
3-4 dried red chillies, broken in half (or to taste)
1 tsp mustard seeds
a few fresh/frozen curry leaves (optional)
1/2 tsp turmeric powder
1/4 tsp asafoetida powder
2-3 tsp sambar powder or vattha kuzhambu powder (if available)
2 tbsp rice flour
1/2 tsp black pepper powder
handful of roasted peanuts (optional)
Method:
1. Dissolve the tamarind paste in 5 cups water. Reserve.
2. Heat the oil and add the manathakkali vatthal, the tur dal, dried red chillies, mustard seeds, fenugreek seeds, curry leaves, asafoetida powder and turmeric powder. Fry all these for a couple of minutes on high heat, stirring to prevent burning.
3. Next, add the chopped onions and garlic and stir.
4. When the onions start to soften, add the sambar/vattha kuzhambu powder and stir it in, along with the black pepper powder.
5. Now pour in the tamarind water. Bring to a boil on high heat, then turn it down to medium-low and let it simmer gently for 10 minutes or so.
6. Whisk together 2 tbsp rice flour with some water to make a thick, pourable paste and stir it into the kuzhambu. Let it boil for another 4-5 minutes until the kuzhambu thickens and become less watery. Add salt to taste and throw in the peanuts now, if using. Serve hot with steamed white rice and a dry vegetable curry.
I guess I could have called this a vattha kuzhambu except for the fact that I carefully refrained from using manthakkali or chundakkai vatthal (dried berries). This puli kuzhambu tastes very nice, if you ask me. If, however, you DON'T want to ask me, I guess you'll have to make it and discover this fact for yourself, won't you?
Recipe for: Flaxseed puli kuzhambu (tamarind gravy)
 Ingredients:
2 tbsp dry-roasted flaxseeds
1 htbsp sambar powder
2 tsp rice flour
1/4 cup roasted peanuts
Lime-sized amount of tamarind/2 tsp tamarind paste
2 tsp tuvar dal
1 tsp mustard seeds
1/2 tsp vendhayam/fenugreek seeds
5-6 fresh/frozen curry leaves
1 tbsp gingelly oil/nallennai
Salt to taste
4-5 cups water
Method:
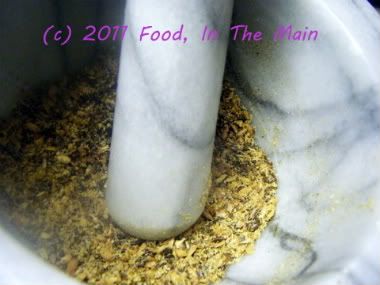
1. Pound or grind the flaxseeds to a fine powder.
 2. Dissolve the tamarind in 4 cups water (or extract the pulp from the dry tamarind). Reserve.
3. Heat the oil in a pan, add the asafoetida powder, tuvar dal, fenugreek seeds, curry leaves, and mustard seeds. Cover and let the seeds pop, let the dal turn golden brown,
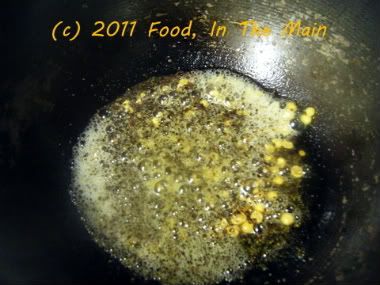 then pour in the tamarind water.
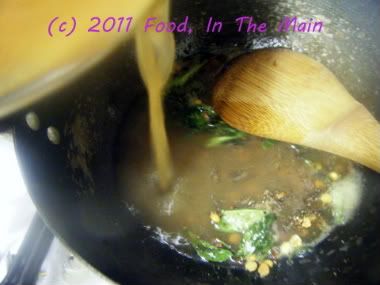 Let this come to a brisk boil.
4. While it is coming up to the boil, mix together the flaxseed powder, sambar powder and rice flour,
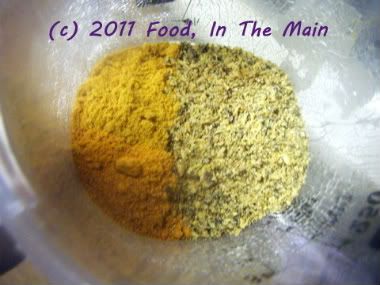 add 1/4 cup water and whisk to a pourable mixture without lumps.
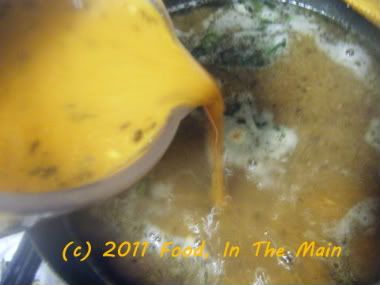
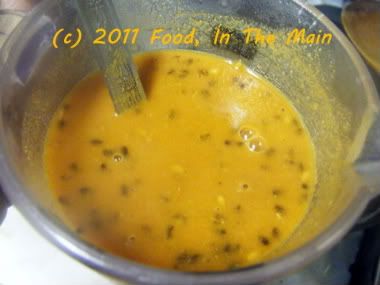 5. Now pour this into the tamarind water and stir it in, along with salt to taste.
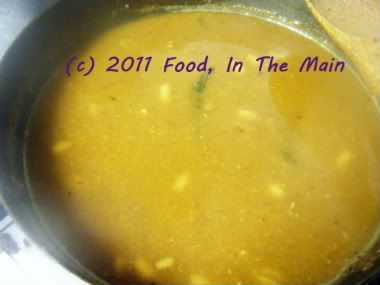
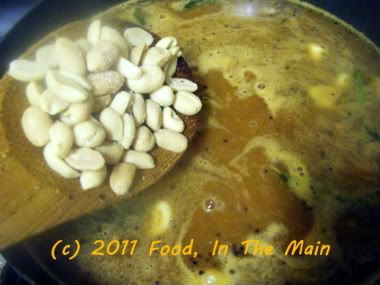
 6. Keep the heat on medium and let the kuzhambu simmer for 10 minutes to let the flavours come together, and for it to thicken. Then add the peanuts and allow the kuzhambu to boil for 5 minutes more.
 7. The longer the kuzhambu sits, the better it will taste. Reheat before serving, along with steamed rice and any kootu or vegetable curry.
RECIPE: FLAXSEED PEANUT PULI KUZHAMBU (TAMARIND GRAVY)
Ingredients:
2 tbsp dry-roasted flaxseeds
1 htbsp sambar powder
2 tsp rice flour
1/4 cup roasted peanuts
Lime-sized amount of tamarind/2 tsp tamarind paste
2 tsp tuvar dal
1 tsp mustard seeds
1/2 tsp vendhayam/fenugreek seeds
5-6 fresh/frozen curry leaves
1 tbsp gingelly oil/nallennai
Salt to taste
4-5 cups water
Method:
1. Pound or grind the flaxseeds to a fine powder.
2. Dissolve the tamarind in 4 cups water (or extract the pulp from the dry tamarind). Reserve.
3. Heat the oil in a pan, add the asafoetida powder, tuvar dal, fenugreek seeds, curry leaves, and mustard seeds. Cover and let the seeds pop, let the dal turn golden brown, then pour in the tamarind water. Let this come to a brisk boil.
4. While it is coming up to the boil, mix together the flaxseed powder, sambar powder and rice flour, add 1/4 cup water and whisk to a pourable mixture without lumps.
5. Now pour this into the tamarind water and stir it in, along with salt to taste.
6. Keep the heat on medium and let the kuzhambu simmer for 10 minutes to let the flavours come together, and for it to thicken. Then add the peanuts and allow the kuzhambu to boil for 5 minutes more.
7. The longer the kuzhambu sits, the better it will taste. Reheat before serving, along with steamed rice and any kootu or vegetable curry.
7. The longer the kuzhambu sits, the better it will taste. Reheat before serving, along with steamed rice and any kootu or vegetable curry.
RECIPE: FLAXSEED PEANUT PULI KUZHAMBU (TAMARIND GRAVY)
Ingredients:
2 tbsp dry-roasted flaxseeds
1 htbsp sambar powder
2 tsp rice flour
1/4 cup roasted peanuts
Lime-sized amount of tamarind/2 tsp tamarind paste
2 tsp tuvar dal
1 tsp mustard seeds
1/2 tsp vendhayam/fenugreek seeds
5-6 fresh/frozen curry leaves
1 tbsp gingelly oil/nallennai
Salt to taste
4-5 cups water
Method:
1. Pound or grind the flaxseeds to a fine powder.
2. Dissolve the tamarind in 4 cups water (or extract the pulp from the dry tamarind). Reserve.
3. Heat the oil in a pan, add the asafoetida powder, tuvar dal, fenugreek seeds, curry leaves, and mustard seeds. Cover and let the seeds pop, let the dal turn golden brown, then pour in the tamarind water. Let this come to a brisk boil.
4. While it is coming up to the boil, mix together the flaxseed powder, sambar powder and rice flour, add 1/4 cup water and whisk to a pourable mixture without lumps.
5. Now pour this into the tamarind water and stir it in, along with salt to taste.
6. Keep the heat on medium and let the kuzhambu simmer for 10 minutes to let the flavours come together, and for it to thicken. Then add the peanuts and allow the kuzhambu to boil for 5 minutes more.
7. The longer the kuzhambu sits, the better it will taste. Reheat before serving, along with steamed rice and any kootu or vegetable curry.


