Showing posts with label self-raising flour. Show all posts

Monday, January 31, 2011

Apple pie muffins

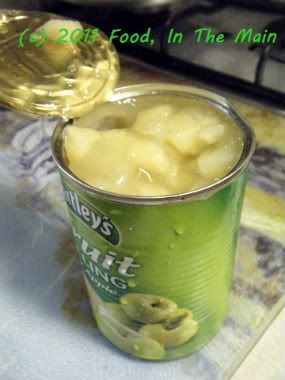
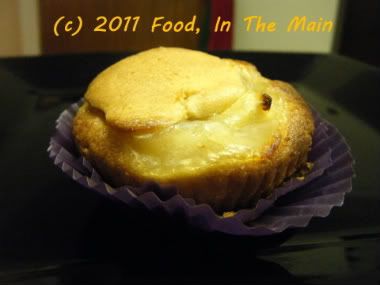
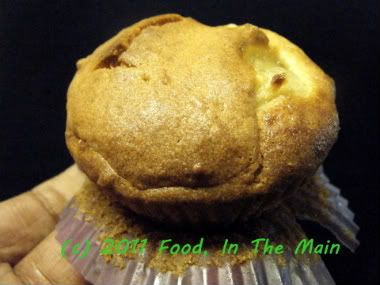
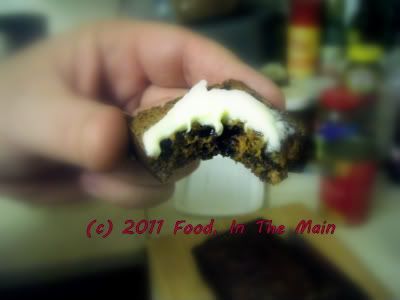
I call these “apple pie muffins” not because they use cinnamon or smell of apple pie – okay, they DO smell of apple pie because of the spices but that’s beside the point – but because they literally have apple pie filling in them. Bramley apple pie filling from a tin, to be precise. Pete had been asking me to make these muffins, but I’d been stalling as I didn’t think his suggestion would work out.
Photobucket
Wet apple pie filling in the middle of a muffin, I thought, would make them soggy after baking, so I offered to make apple muffins using chopped-up apples in the batter. But no, he didn’t want chopped-up-apple muffins, although (he hastened to add) those were pretty good the last time I’d made them. He wanted apple-pie filling IN the muffins, as filling.

So, since I could see no graceful way out of it, I made the muffins as specified, with apple pie filling plopped into the centre (and topped with a little more batter - my idea).

To my genuine surprise, the apple pie filling didn’t make the muffins soggy in the centre. The idea actually worked out really well, although next time I will add some cinnamon powder to the apple pie filling to freshen its rather bland taste. Well, it was tinned filling after all, not fresh.

The bottomline, though, is that Pete’s idea was a yummilicious success – and for that, hats off to him.

Recipe for: Apple pie muffins
Photobucket

Ingredients:

1/2 cup butter/margarine
1/3 cup sugar
4 tbsp cream
2 eggs
1 cup self-raising flour
1/2 tsp baking powder
1 tsp cinnamon/mixed spice
2 tsp vanilla extract
1/2 tin ready-made Bramley apple pie filling

Method:

1. In a large bowl, cream the butter and sugar till fluffy.

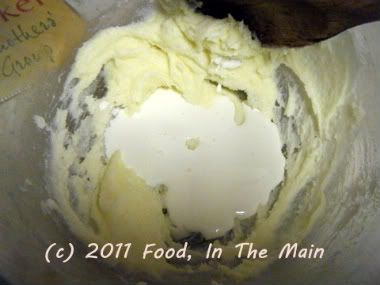
2. Beat in the cream.
Photobucket

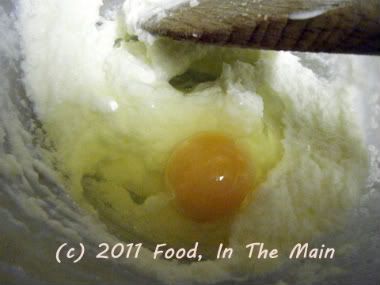
3. Beat in the eggs one at a time.
Photobucket

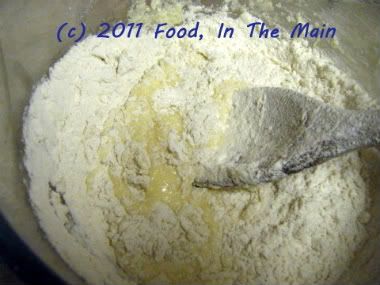
4. Lightly fold in the flour and baking powder.
Photobucket

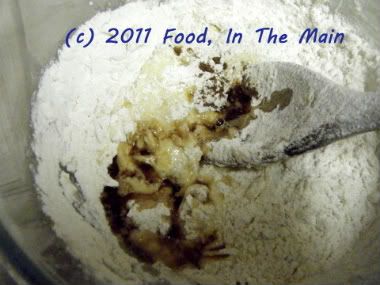
5. Add the mixed spice/cinnamon and vanilla and stir till the wet and dry ingredients are just mixed. The batter should be thick.
Photobucket

6. Place paper muffin cases in a muffin pan, and add the dough into each case by the rounded tablespoonful. Take a small spoon and make a dip in the middle of the dough.
Photobucket

7. Now place a teaspoonful of the apple filling in the dip, then a tsp of the dough on top of the filling.
Photobucket
Continue till all the cases are filled.
Photobucket

8. Bake the muffins at 180C for 20-25 minutes, testing after 20 minutes to see if they are cooked. The muffins should be golden on top.
Photobucket

9. Remove the tray from the oven and let the muffins cool. Serve warm.
Photobucket

RECIPE: APPLE PIE MUFFINS

Ingredients:

1/2 cup butter/margarine
1/3 cup sugar
4 tbsp cream
2 eggs
1 cup self-raising flour
1/2 tsp baking powder
1 tsp cinnamon/mixed spice
2 tsp vanilla extract
1/2 tin ready-made Bramley apple pie filling

Method:

1. In a large bowl, cream the butter and sugar till fluffy.
2. Beat in the cream.
3. Beat in the eggs one at a time.
4. Lightly fold in the flour and baking powder.
5. Add the mixed spice/cinnamon and vanilla and stir till the wet and dry ingredients are just mixed. The batter should be thick.
6. Place paper muffin cases in a muffin pan, and add the dough into each case by the rounded tablespoonful. Take a small spoon and make a dip in the middle of the dough.
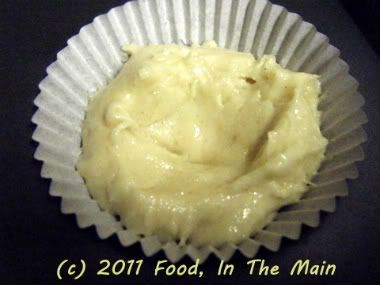
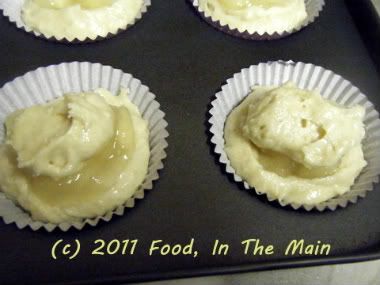
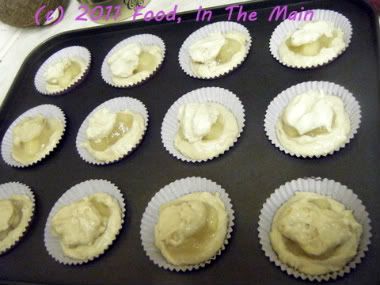
7. Now place a teaspoonful of the apple filling in the dip, then a tsp of the dough on top of the filling. Continue till all the cases are filled.
8. Bake the muffins at 180C for 20-25 minutes, testing after 20 minutes to see if they are cooked. The muffins should be golden on top.
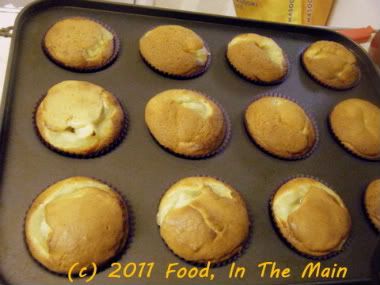
9. Remove the tray from the oven and let the muffins cool. Serve warm.
Tuesday, January 04, 2011

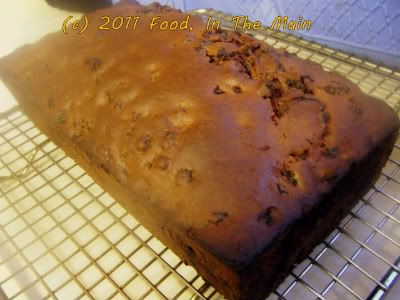
Bara brith (Welsh tea bread)

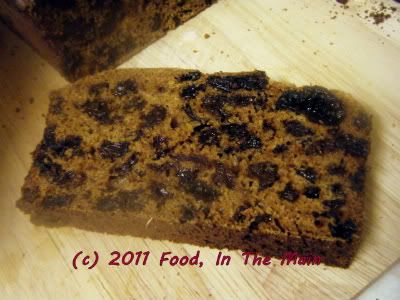
Photobucket
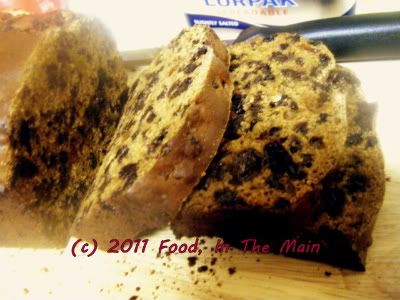
Bara brith in Welsh apparently means “speckled bread” – the “speckles” being the currants/raisins/sultanas that generously dot the bread. This is a tea bread – literally, because the dried fruit are soaked overnight in strong black tea, and also because it’s meant to be eaten at tea-time… or so I imagine. I can’t vouch for the second half of the previous sentence but I can tell you the first half is undoubtedly true. I got the recipe from a TV cookery competition show that I watched on and off (whenever I remembered) last year.
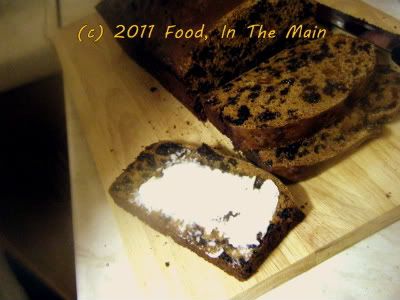
I don’t really know why this is regarded as a tea bread rather than a fruitcake. Texture-wise, the crumb was not really cake-y… not even fruitcake-y - insofar as you could see the crumb in between all that fruit, that is. (I might have overdone the dried fruits just a tad). I guess it was more like bread, somewhat denser than cake. Bara brith is meant to be eaten spread with butter, just like bread. It’s also meant to be yum, and it sure was. (Not that anybody would deliberately cook anything that wasn’t meant to be yum… but y’know it had to be said.) Easy-peasy recipe, too.  
Recipe for: Bara brith (Welsh tea bread)
Photobucket

Ingredients:

250gm mixed dried fruit (currants, sultanas and/or raisins)
100gm dark brown muscovado sugar
225ml strong hot tea (no milk)
1/4 tsp salt
1/4 tsp cinnamon powder
1/4 tsp nutmeg powder
1 large egg, beaten
250gm self-raising white or brown flour

Method:

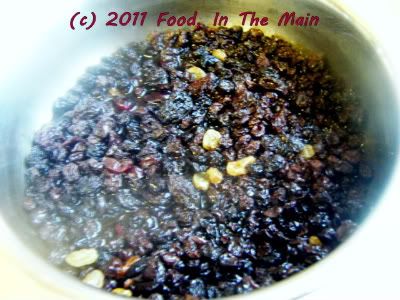
1. Put the dried fruit and sugar into a large mixing bowl. Pour over the hot tea and stir well. Cover the bowl and leave to soak overnight.
Photobucket

2. When you are ready to bake the bara brith, spray a 450gm loaf tin with Pam and set aside. Preheat oven to 160C.

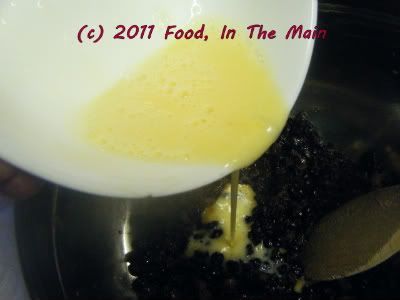
3. Drain any remaining tea from the fruit. Add the salt, cinnamon and nutmeg and stir well with a wooden spoon. Add the beaten egg and stir again.
Photobucket

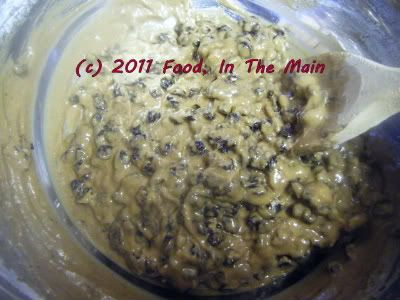
4. Mix in the flour and transfer the batter to the prepared loaf pan.
Photobucket

5. Bake in the heated oven for about an hour (but start checking at around 40 minutes) till the bara brith is done and a tester inserted in the centre comes out clean.
Photobucket

6. Leave the loaf in the tin for 15 minutes, then turn it out onto a wire cooling rack and let it cool completely.

7. Serve thickly sliced and buttered.
Photobucket

Photobucket

RECIPE: BARA BRITH (Welsh tea bread)

Ingredients:

250gm mixed dried fruit (currants, sultanas and/or raisins)
100gm dark brown muscovado sugar
225ml strong hot tea (no milk)
1/4 tsp salt
1/4 tsp cinnamon powder
1/4 tsp nutmeg powder
1 large egg, beaten
250gm self-raising white or brown flour

Method:

1. Put the dried fruit and sugar into a large mixing bowl. Pour over the hot tea and stir well. Cover the bowl and leave to soak overnight.
2. When you are ready to bake the bara brith, spray a 450gm loaf tin with Pam and set aside. Preheat oven to 160C.
3. Drain any remaining tea from the fruit. Add the salt, cinnamon and nutmeg and stir well with a wooden spoon. Add the beaten egg and stir again.
4. Mix in the flour and transfer the batter to the prepared loaf pan.
5. Bake in the heated oven for about an hour (but start checking at around 40 minutes) till the bara brith is done and a tester inserted in the centre comes out clean.
6. Leave the loaf in the tin for 15 minutes, then turn it out onto a wire cooling rack and let it cool completely.
7. Serve thickly sliced and buttered.

Wednesday, December 01, 2010

Lemon yogurt cake

I saw this recipe by Rachel Allen on one of her shows – I like her because she’s lovely and because she’s Irish and because of the way she talks with a gentle Irish accent (rather than a strongly incomprehensible – but still lovely - accent), and because those of her recipes that I’ve tried have worked well - according to my husband. I can’t personally attest to this because while I may cook non-vegetarian dishes for him, I don’t taste them at any point during the process.
Cooking on this basis, coupled with the fact that I’m not experienced in non-veg cookery, is very much a case of “man, I hope this doesn’t kill Pete or my guests”. I’m a bit more confident with cooking chicken now, but I’m not entirely sure about pork/beef unless I’ve pressure-cooked it, and I’m frankly absolutely terrified of fish.
So the one thing that I can happily try, and which usually work, are cakes – and as always, the easier the recipe, the happier it makes me.
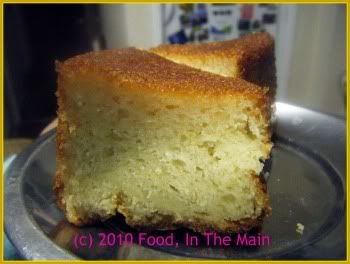
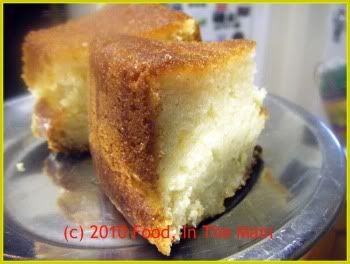
This cake, sharp and lemony and sweet and moist, with a very slightly grainy crumb because of the ground almonds, was so gorgeous that I’m tempted to experiment with making it again but this time without eggs, so that the non-egg eaters among my readers and family can also ooh and aah over it.
It’s easy enough to make, if slightly more time-consuming than my favourite put-all-the-ingredients-in-a-bowl-and-stir type of recipes. But the few extra minutes are SO worth it for this citrusy cake. The rosewater flavour in the soaking syrup is mild, though, even though I used rosehip syrup to try and boost the rose aroma and taste.
Oh well... at least I tried.
Recipe for: Lemon yogurt cake
Photobucket
Ingredients:

1-1/2 cups self-raising flour
1 tsp baking powder
1/2 cup ground almonds
3/4 cup caster sugar (I used Tate & Lyle's)
1/4 tsp salt
2 large eggs
1 tbsp honey
1-1/4 cup lightly stirred Greek yogurt (I used Total brand)
Zest of one large lemon
3/4 cup oil

For the syrup
3/4 cup sugar
1/2 cup water
Juice of one lemon (Use the one you zested)
10 drops rosehip syrup
1 tbsp rosewater (use 2 tbsp if you dont have rosehip syrup)

Tip: Make the syrup while the cake is cooking.

Method:


1. Sift together the self-raising flour and baking powder.
Photobucket

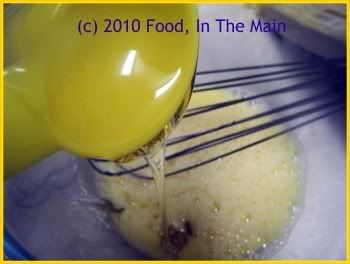
3. Whisk the eggs, add the honey
Photobucket

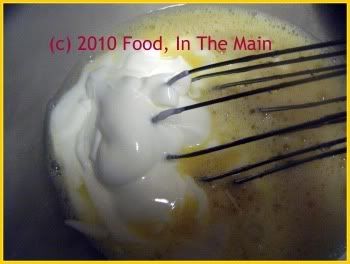
then add the yogurt,
Photobucket

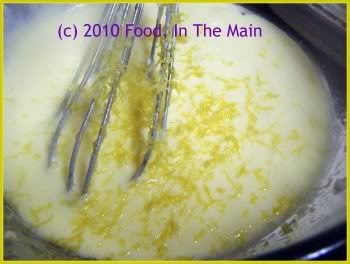
lime zest
Photobucket

and oil.
Photobucket

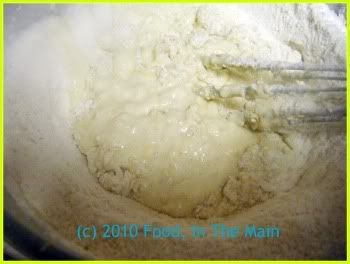
4. Add the dry ingredients to the wet and fold in till combined.

Photobucket

Do not beat. The batter will be quite thick.
Photobucket

5. Grease an 8” round baking tin with butter, or spray with Pam or other non-stick spray.

6. Pour the batter into the pan and smooth the top, occasionally dipping the spatula in warm water to make the smoothing process easier. Bake in a 180C/350F preheated oven till the cake is cooked (about 30 minutes, but check with a tester.) It should have pulled away slightly from the sides of the pan.

7. Let the cake rest in the tin for 5 minutes, then turn it out onto a wire tray placed over a plate.
Photobucket

8. Cool the cake for a bit, then while it’s still warm, poke holes all over it with a skewer, including the edges of the cake.
Photobucket

9. Spoon the lemon-rosewater syrup little by little evenly over the cake, waiting till it’s absorbed before adding more. Continue till the syrup is used up. Allow the cake to sit for 30 minutes before cutting.
Photobucket

Serve the cake at room temperature.
Photobucket

To make the syrup:

Place the sugar and water in a saucepan and heat till the sugar dissolves. Bring the sugar-water to a boil and let it bubble on medium-high for 7 minutes. Add the lemon juice, boil for 2 more minutes, then turn the heat off and let the syrup cool. When the syrup is cool, stir in the rosewater and rosehip syrup. Reserve till required.

RECIPE: LEMON YOGURT CAKE

Ingredients:
1-1/2 cups self-raising flour
1 tsp baking powder
1/2 cup ground almonds
3/4 cup caster sugar
1/4 tsp salt
2 large eggs
1 tbsp honey
1-1/4 cup lightly stirred Greek yogurt (I used Total brand)
Zest of one large lemon
3/4 cup oil

For the syrup:

3/4 cup sugar
1/2 cup water
Juice of one lemon (Use the one you zested)
10 drops rosehip syrup
1 tbsp rosewater (use 2 tbsp if you dont have rosehip syrup)

Tip: Make the syrup while the cake is cooking.

Method:

1. Sift together the self-raising flour and baking powder.
2. Stir in the ground almonds, caster sugar and salt.
3. Whisk the eggs, then whisk in the honey, yogurt, lime zest and oil.
4. Add the dry ingredients to the wet and fold in till combined. Do not beat. The batter will be quite thick.
5. Grease an 8” round baking tin with butter or spray Pam or other non-stick spray.
6. Pour the batter into the pan and smooth the top, occasionally dipping the spatula in warm water to  make the smoothing process easier. Bake in a 180C/350F preheated oven till the cake is cooked (about 30 minutes, but check with a tester.) It should have pulled away slightly from the sides of the pan.
7. Let the cake rest in the tin for 5 minutes, then turn it out onto a wire tray placed over a plate.
8. Cool the cake for a bit, then while it’s still warm, poke holes all over it with a skewer, including the edges of the cake.
9. Spoon the lemon-rosewater syrup little by little evenly over the cake, waiting till it’s absorbed before adding more. Continue till the syrup is used up. Allow the cake to sit for 30 minutes before cutting. Serve the cake at room temperature.

To make the syrup:


Place the sugar and water in a saucepan and heat till the sugar dissolves. Bring the sugar-water to a boil and let it bubble on medium-high for 7 minutes. Add the lemon juice, boil for 2 more minutes, then turn the heat off and let the syrup cool. When the syrup is cool, stir in the rosewater and rosehip syrup. Reserve till required.

Friday, April 16, 2010

Surprise powerhouse muffins

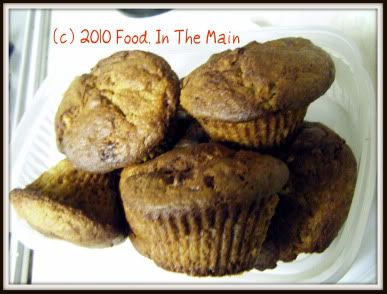
Powerhouse muffins - what else could you possibly call muffins that have, as part of the ingredients, peanut butter, mashed banana, fresh pineapple, flaxseed powder, toasted skin-on almonds, raw cauliflower...

Wait, what? Cauliflower? That smelly vegetable? In a sweet muffin? Oh yes, you read that right, people. This muffin recipe actually does have raw cauliflower as an ingredient. If you're like me, you'd be wondering why anybody would want to add cauliflower to a muffin. (If you're not like me and you routinely add inappropriate ingredients to your recipes and make a success of them, what are you doing reading this blog in the first place??? My conservative - in terms of mixing and matching food ingredients - blog will hold no surprises for you!)

But while I might not come up with weird and wonderful food ideas all on my own, I'm still capable of recognising weird and wonderful food ideas when I come across them on other blogs. And, assuming the weirdness and wonderfulness does not seem completely insane to me, I can be intrigued into trying out the weird and the wonderful for myself, just to see if the weird and the wonderful can actually come together and make something edible and tasty.

I really, really didn't think the muffins would turn out well - in the sense that they would appeal to my tastebuds, especially with me knowing about the cauliflower. (I would have preferred to make them without me knowing, to be honest, but I just couldn't bend reality enough. Should have tried harder, maybe...) I was doubtful about the muffins' edibility mainly because I'm not one of those people who eat dreadful-tasting things merely on the dubious grounds that they're "healthy". My healthy has to come strongly disguised as tasty, let me tell you.

Anyway, as I was saying, I was sufficiently taken up with the thought of trying out the muffins on Pete (what, did you think I'D actually eat one first???), so I went ahead and made them, with a couple of minor changes in ingredients and quantities.
(The original recipe can be found here.) As it turned out, even if I'd wanted to be the guinea pig, Pete didn't give me the chance. He sneaked one while it was quite hot and still cooling on the countertop, and pronounced them "lovely". To be fair, they smelt really rather nice.

I let him eat the muffin fully and start on another before I said: "The muffins are nice, are they?"

"Oh yeah, really soft and fruity."

"Oh good," I said, happily. "So do you want to know what's in them?"

He regarded me suspiciously, mid-bite. "What? I suppose you're going to say it's something dreadful?"

"Depends on what you'd consider dreadful." I grinned at him. "It's got pureed cauliflower in it!"

He looked at the half-eaten muffin in his hand like it was an apple in which he'd found half a worm.
"Cauliflower?" he repeated in pained disbelief. "What in god's name made you think of making muffins with cauliflower?"

"It was a recipe I saw on a blog," I said. "Obviously it works, because you couldn't taste or smell the cauliflower. Glad you tasted it first, though."

He made a few noises like he was going to be sick, while swallowing the rest of the muffin. "For god's sake, don't sppring this sort of thing on me!" he grumbled.

And then he went back to the kitchen to get himself another muffin.

Recipe for:
Powerhouse muffins

Photobucket

Ingredients:

1/2 (heaped) cup light brown sugar
1/4 cup peanut butter (I used chunky, and I'm glad I didnt use 1/2 cup as I found the peanut butter taste far too strong - and sort of overbaked, too, when I tasted a muffin)
1 large banana, mashed with a fork
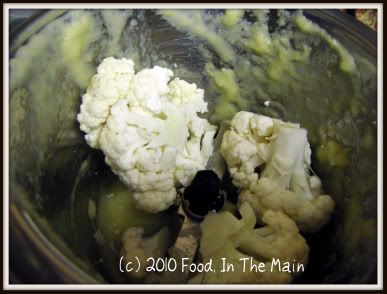
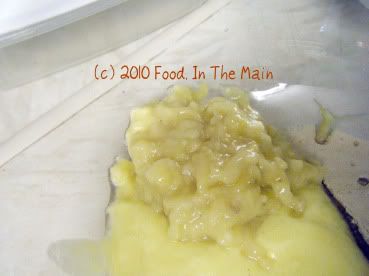
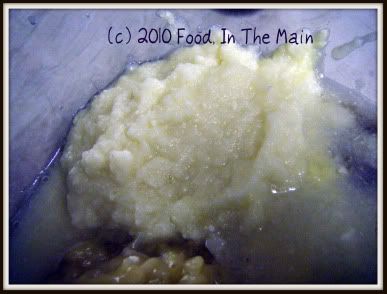
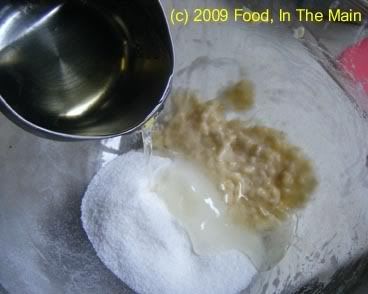
1/2 cup raw cauliflower puree (leave out the stem, use just the "flowers" in the puree)

Photobucket

1/4 cup fresh pineapple puree
1 large egg
1 cup whole-wheat self-raising flour
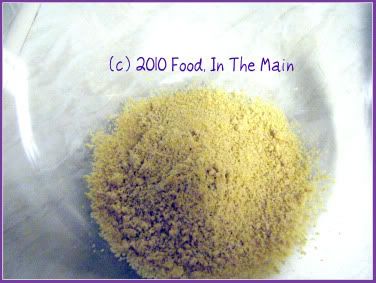
1/4 cup powdered flaxseeds
1/2 tsp baking powder
1/2 tsp baking soda
2 tsp vanilla extract
15-20 skin-on almonds (toasted and chopped)

Method:

1. Heat oven to 180C/350F. Spray 12-cup muffin tray with non-stick spray or use silicone liners (which I sprayed anyway).

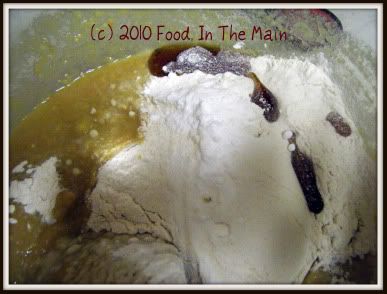
2. Mix brown sugar, flaxseed powder,

Photobucket

mashed banana, pineapple

Photobucket

and cauliflower purees,

Photobucket

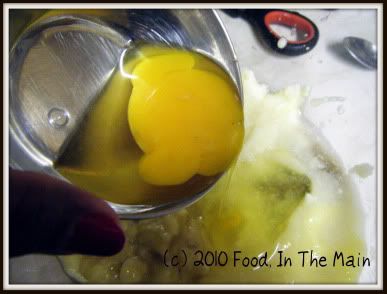
egg,

Photobucket

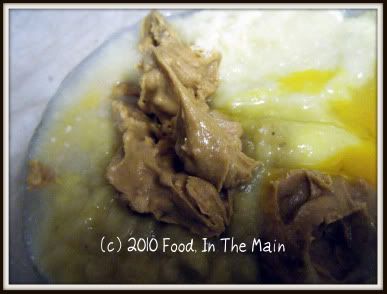
peanut butter,

Photobucket

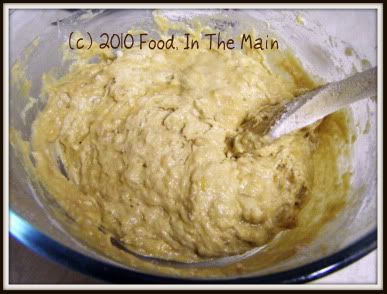
and vanilla extract. Mix well.

3. In a separate bowl, mix flour, baking power and baking soda.

Photobucket

Pour into puree mixture, stirring just until mixed. The batter will be lumpy.

Photobucket

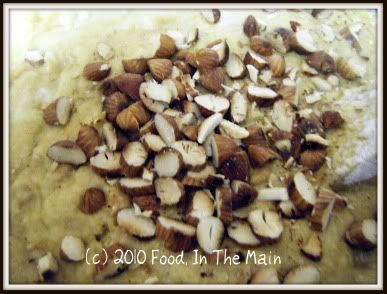
Lightly stir in the chopped toasted almonds.

Photobucket

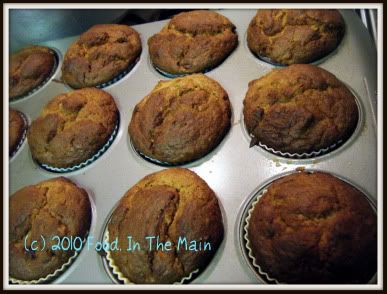
4. Divide batter into muffin cups and bake till the muffins are done (20 minutes or more, depending on your oven).

Photobucket

Test with a toothpick to check. Best served warm and fresh, but can be reheated to good effect in a microwave oven.

Monday, May 25, 2009

Eggless moist apple cake

After a long time, I'm really excited about an eggless cake. This was originally called "apple pound cake", and arrived in my inbox a few months back. It called for horrendous amounts of eggs and sugar and butter, and although I saved the recipe because I wanted to play around with the ingredients and quantities, I didn't feel like making the effort to turn idle thoughts into action.

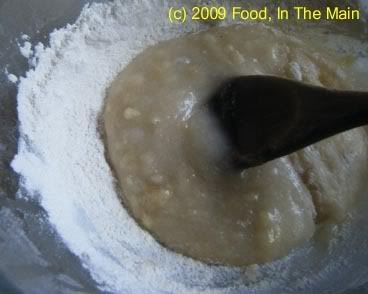
However, there were a few Granny Smith apples that had been in the refrigerator for weeks. They needed using up, but they didn't quite look appetising enough to eat (plus there were fresh eating apples which I'd bought, having forgotten about the Grannies!) So I hauled out my file book of "cakes to try" and chanced upon the apple pound cake recipe again... and my mother's presence here encouraged me to omit the eggs, so that she could eat the cake too. I used oil instead of butter, and substituted the eggs with mashed banana, and because I had run out of regular flour, I used self-raising flour. Then of course I wasnt sure how much baking powder/soda I should add to the flour to make up for the lack of eggs... all in all, let's say that I wasnt very certain of the cake's outcome.

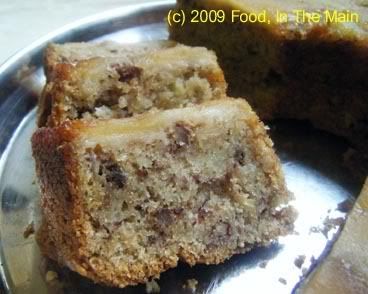
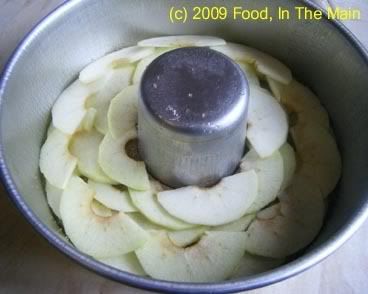
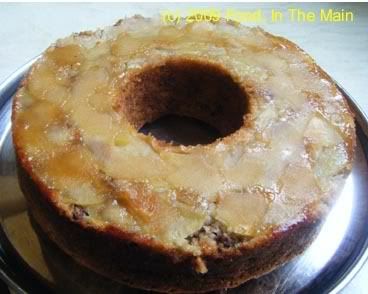
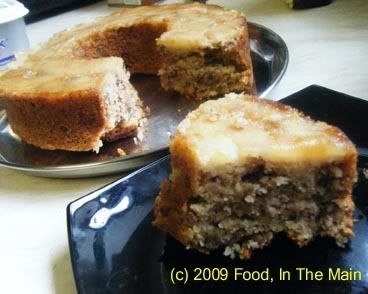
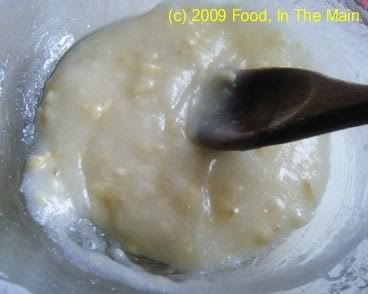
Surprisingly, and very pleasingly, it was super moist and wonderfully flavourful - the moistness from the grated apple and the flavour because I'd used cinnamon and cardamom rather than vanilla extract. The layer of apples at the bottom (which became the top when the cake was inverted - oh, did I forget to mention that I made it an upside-down apple cake?) had caramelised just the tiniest bit from the sprinking of demerara sugar I'd added to the cake pan at the first. About 98% of the apples unmoulded cleanly from the pan, but the bits that were left in the pan tasted unbelievably gorgeous - which I scarfed down as cook's perk, naturally...


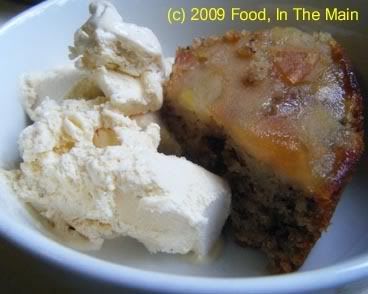
All in all, the cake was great on its own with a cup of tea, and just as gorgeous warmed slightly and served with vanilla icecream. All in all, one of the nicest eggless cakes I've made despite my meddling with the instructions and ingredients!
Recipe for:
Moist apple cake

Photobucket

Ingredients:

3 Granny Smith apples
1-1/2 cups self-raising flour
1/2 tsp baking soda
1/4 tsp salt
1/2 tsp cinnamon powder
1/4 tsp cardamom powder
3/4 cup vegetable/sunflower oil
3/4 cup white sugar
3 tbsp demerara sugar
1 small ripe banana (to make 1/4 cup mashed)
1/4 cup chopped walnuts
2-3 tbsp milk

Method:

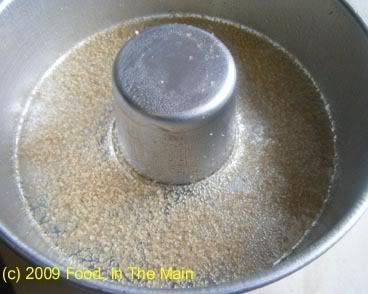
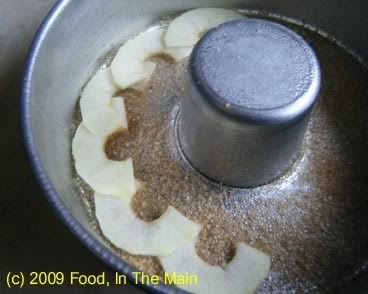
1. Grease an 8” tube pan. Sprinkle demerara sugar evenly over the bottom.
Photobucket

Preheat oven to 180C.

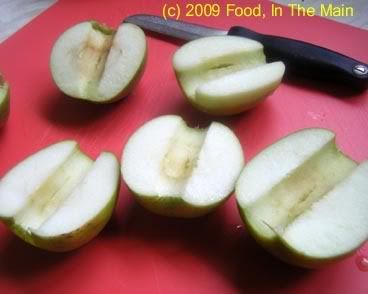
2. Peel and core apples.

Photobucket

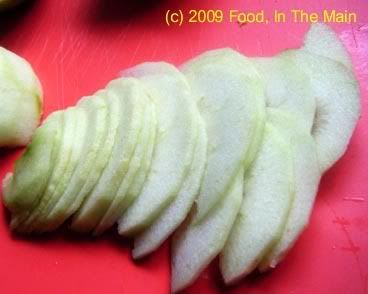
Slice one apple in half vertically, turn it a quarter circle and slice again into ¼ cm thick slices.

Photobucket

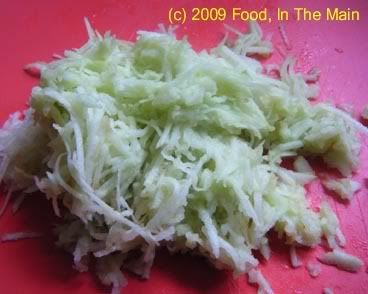
3. Grate the remaining apples and set aside, covered.

Photobucket

4. Combine flour, baking soda, cinnamon and cardamom powder and salt in a medium bowl.

5. In a large bowl, add the mashed banana, white sugar and vegetable oil.

Photobucket

Beat till well blended.

Photobucket

6. Add the flour in three or four stages, mixing well after each addition.

Photobucket

If the batter gets very thick, add a couple of tbsp milk to make it easier to mix. Don’t add too much milk, though - the grated apples will add enough moisture to the batter later.

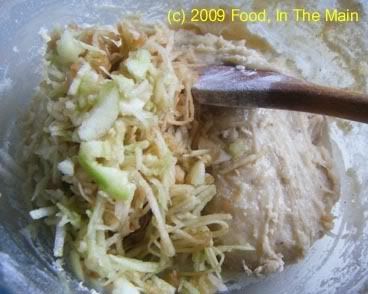
7. Fold in the shredded apples

Photobucket

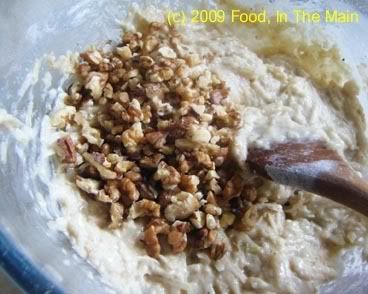
and chopped walnuts into the batter.

Photobucket

8. Arrange the sliced apples on the demerara sugar at the bottom of the pan, overlapping the slices slightly.

Photobucket

Photobucket

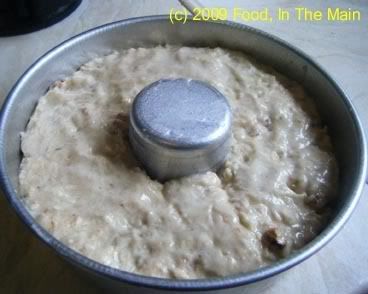
9. Spoon the batter evenly over the sliced apples and bake at 180C for 30 minutes.

Photobucket

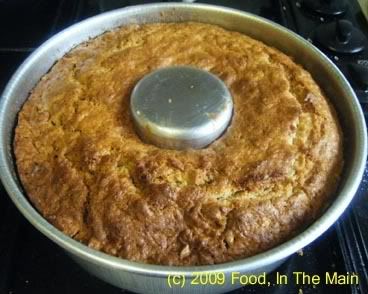
Check to see if the cake is done; if not, give it another five minutes (and a further 5 if required) and check again. The cake should have pulled away slightly at the edges.

Photobucket

10. Cool the cake in the pan for 15 minutes, then carefully turn out onto a serving plate.

Photobucket

Let cool completely before slicing carefully.

Photobucket

Serve with vanilla icecream or thick cream, if desired.

Photobucket