skip to main |
skip to sidebar
I’ve never made a gravy for paneer with just yogurt as the main ingredient, and it only happened because I didn’t have a tomato in the house. There must have been a blue moon in the sky because normally I’m NEVER without tomatoes – unfortunately I didn’t look out of the window to check. Not that looking out would have helped because it was a dreary, cold, rainy evening with nothing to look at but soggy, dripping vegetation. No self-respecting moon would have bothered to light up.
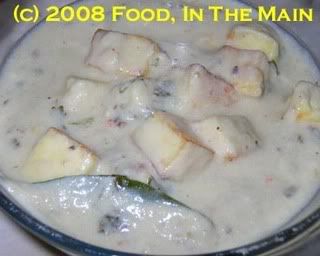
Anyway, this yogurty paneer was pretty good, although since the chilli levels were low on account of Pete, he liked the dish much more than I did. Besides, I kept having to fight off the feeling that I’d been cheated of something “real”, much as I did when, as a kid, my grandmother would make what we called “mor(u)-chaar(u)” – basically seasoned and tempered buttermilk - and serve that up as the first course of a meal. Usually this was when she hadn’t had enough time to make something more substantial, but what did I know or care about her kitchen dilemmas at that age! All that bothered me was that her quickfix solution was cheating me of a more interesting first course!
I usually put up a bit of a grumble because to me, the buttermilk wasn’t a “real” kuzhambu or gravy – not like sambar or even mor-kuzhambu (which has a spicy ground coconut masala to jazz it up). I guess my main gripe was that, with the curds only thinly disguised as the “chaar”, we ended up with curd rice for both courses. (My naaku was always neeLam – literally, that my tongue was always long… *heh* idiomatically, meaning that I had a keen sense for – and appreciation of - good food) right from when I was young.
Recipe for: Paneer in cashewnut-yogurt gravy
Ingredients:
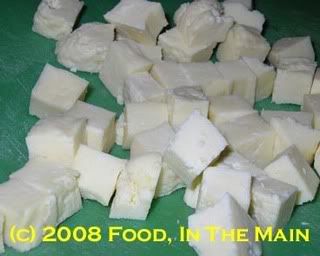
1-1/2 cups fresh-made paneer cut into ½” cubes
1” piece ginger
2-3 cloves garlic
1 tsp coriander seeds
1 cm piece cinnamon bark
2 dried red chillies (or to taste)
7-8 cashewnuts
2 onions quartered and separated
1-1/2 cups low-fat Greek yogurt
1 bay leaf
1 cup water
2 tsp oil
2 tbsp coriander leaves
Salt to taste
1. Fry the paneer in 1 tsp oil till golden, and reserve.
2. Put the onions in a saucepan and pour in just enough boiling water to cover them.
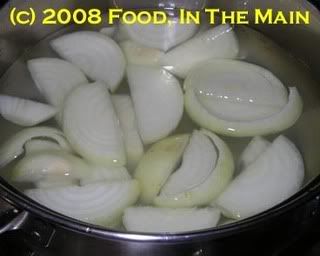
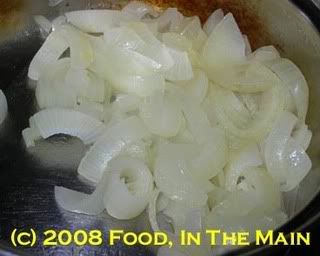
Cover the pan and simmer the onions for 6-7 minutes or till cooked (it will look transparent and soft). Cool (retain the cooking water if there is any left).
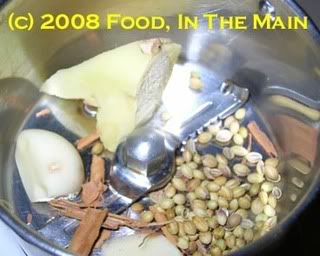
3. Grind the ginger, garlic, coriander seeds, cinnamon and red chillies if using into a fine paste. Reserve.
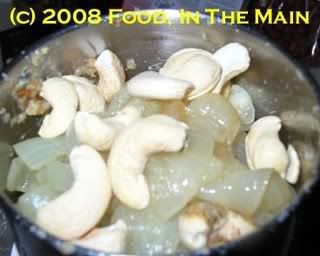
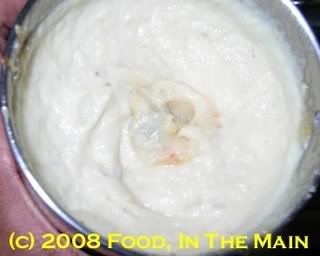
4. Next, grind the boiled onions with the cashewnuts to a smooth paste.
5. Heat the oil in a pan and fry the ginger-garlic paste for a minute or so. Add the bay leaf now.
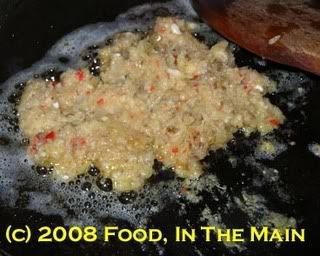
6. Then add the cashewnut paste and stir for another minute.

7. Pour in a ladleful of yogurt, stirring briskly, then add the rest of the yogurt and stir well to mix the contents thoroughly.
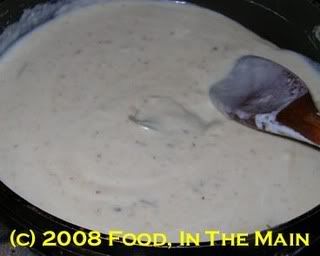
8. Add a cupful of water and stir, then bring the gravy to a gentle simmer. Add the paneer pieces and stir.
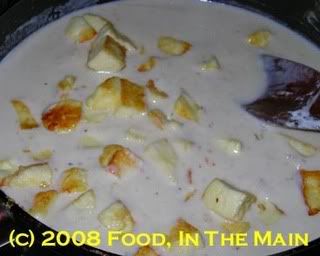
9. Simmer for 5-6 minutes, then sprinkle over the coriander leaves.
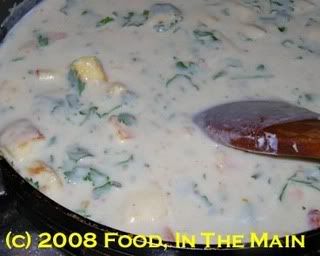
Serve hot with rotis.
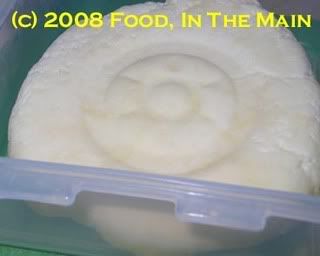
There are plenty of blogs that detail how to make paneer at home – and really it is the simplest thing, taking perhaps just a little time. A quick google (like I did) would show you what I mean. But because I’ve been literally inundated with a request (anonymous, but still a request) to post a recipe for home-made paneer, I thought I would add my bit to the information superhighway.
My extra tip is to NOT throw away the whey that’s left behind (as I regrettably did the first time), but to use it in place of water when cooking rice for pulao or biriyani. Whey can also be used to knead chapatti dough, but that doesn’t use up much whey really, unless you have a very large family which eats lots of chapattis! The whey stays good for 2-3 days (or maybe longer, but I haven’t tried it personally) in the fridge. Ditto the paneer.
Recipe for: Home-made paneer
Ingredients
2 litres milk (full fat or half-fat)
2-3 tbsp fresh lime juice or fresh curd/yogurt
Method:
1. Bring milk to a boil,
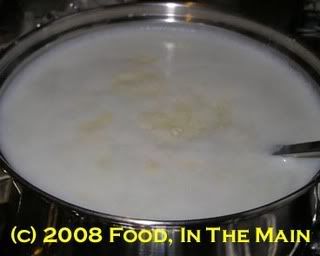
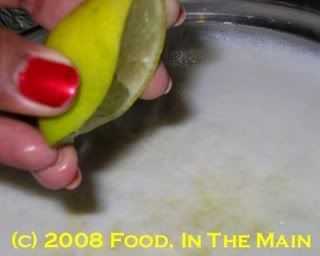
then add 2 tbsp lemon juice to it and stir, turning down the heat to medium.
2. Let the milk solids separate from the liquid (whey).
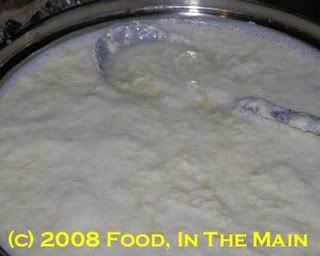
If the whey looks milky and not thin enough, add a little more lemon juice and simmer for a few minutes more.
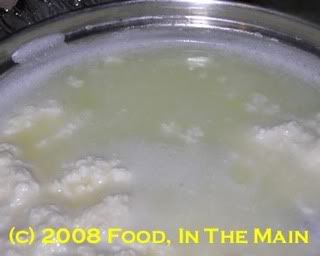
The whey should be almost transparent liquid.
3. Strain the paneer through a muslin cloth
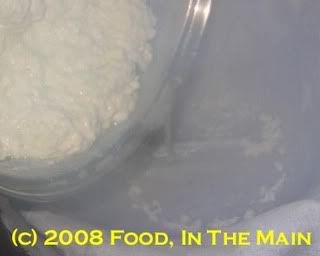
and let the whey drain into a vessel.
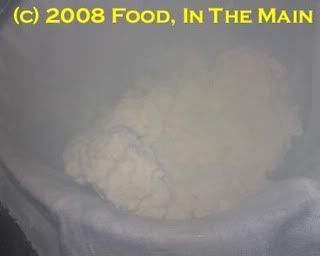
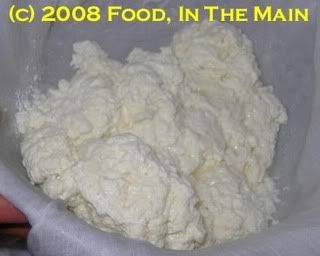
Hang up the paneer for 4-5 hours to let all the whey drip through…

or if you’re impatient like me, squeeze it through the cloth (when it’s cool enough to handle without discomfort) to help the whey on its whey out… er, I mean way out. (Yes. HAHAHA!)
4. Shape the paneer into a round or rectangle as best as possible and put it under a heavy weight for 2-3 hours (if you want to be able to cut it into pieces, and for the pieces to hold their shape).
There's too much spinach in the house at the moment... I know this is beginning to sound like whatever I cook is because I have too much of it lying around. This largesse of spinach wasn't Pete's fault, though (for a change - heheh). We spent Saturday night in Colchester and on our way back, Pete had the good idea of coming back via Birmingham so that I could pick up some Indian essentials and some fresh veg like okra, yam and green bananas. I also bought two bunches each of fenugreek leaves and coriander leaves, but I left the spinach alone. However, I wasnt destined to escape it, because the shopkeeper threw in two bunches of saag to make up the 6 bunches of greens that were selling for one pound. Bah. (I've just realised that I said "bunches" more times in the last couple of sentencesthan I've said them ever!)
Still, spinach isnt such a bad thing. I rather like it. And since there was lots of cooked rice left over from the previous night, the choice was clear about what to make for dinner - spinach rice. With cabbage, since there was half a cabbage in the fridge. It was a Savoy cabbage, but you can use any cabbage really. I prefer the green variety to the white, though. I dont know what would happen if you used red cabbage - speaking colour-wise, I mean.
With green cabbage and green spinach, the rice ends up almost emerald coloured. And it tastes very nice indeed, especially if you use a lot of cheese. This time I used grated paneer to mix with the rice, and medium-strong cheddar to sprinkle over the top, but I've also made it with just cheddar cheese throughout. It tastes just as nice in a slightly different way if you use only cheddar - the texture of the rice becomes stickier because cheddar melts and paneer doesnt.
I suppose this could be classified as some kind of fusion cooking, but I'm not sure what's fused. It's basically Indian, with some cheese added.
Oh, one thing to look out for - big green-toothed smiles after you finish eating!
PS. I took photos of this, but for some unknown reason they didnt register on my camera chip :( Will add a photo the next time I make this recipe again. I'm really bummed out over this because I dont know what I did wrong with the camera - so there's every chance that it will happen again. Bah.
Recipe for: Spinach rice with green cabbage and cheese
Ingredients:
1 cup basmati rice, cooked al dente and cooled
To puree -
3 cups spinach leaves
3 tbsp coriander leaves (optional)
1" piece ginger root
1 clove garlic
For the masala -
1 cup green cabbage (Savoy is ok), shredded
2 onions, sliced into thin strips
1 tsp cinnamon powder
2 whole cloves (or 1/4 tsp cloves powdered)
1 bay leaf
1 tsp coriander powder
1 tsp cumin seeds 4 tbsp lemon juice
1/2 cup grated medium-strong cheese - cheddar or similar (I used 1/4 cup grated paneer and 1/4 cup cheddar)
1/2 cup milk
3 tbsp oil/butter
Salt to taste
Method:
1. Puree the spinach, coriander, ginger and garlic to a smooth paste, using as little water as possible. Reserve.
2. In a flat-bottomed pan, heat the oil. Add the bay leaf, cloves, cinnamon and cumin seeds and fry briefly, then put in the onions and let them cook till they begin to turn brown.
3. Add the shredded cabbage and stir-fry for a minute or two, until the cabbage starts wilting. Then add the spinach puree.
4. Fry this mixture on high heat for a couple of minutes, stirring constantly. Then add half a cup of water and salt to taste, mix again and turn the heat down low. Cover and let cook for 3 minutes.
5. Stir in the coriander powder and take the masala off the heat, then pour in the lemon juice. At this point you can remove the bay leaf and the whole cloves, if you like.
6. Gently mix half the cheese with the rice, taking care not to mush the rice.
7. When the onion-cabbage masala has cooled, mix it with the rice until it's evenly distributed throughout.
8. Put the rice in an oven-proof casserole with a lid. Smooth the top, pour the milk over evenly and then sprinkle the rest of the cheese. You can add more cheese if you like.
9. Bake in a pre-heated 190C oven (375 F) for 20 minutes or so, until the cheese is melted and the rice is heated through. Serve hot with plain salted potato crisps on the side, or crushed and sprinkled on top. Add a dollop of Greek yogurt too, if you like.
Note: You can add green peas, shredded carrots or any other quick-cooking (or pre-cooked) vegetables you like to the onion-cabbage masala.
The first time I introduced paneer to Pete, I didnt tell him what he was eating. I just served it up for our dinner and waited for his reaction which, after a few thoughtful bites, was a puzzled: "This is yummy. Is it chicken? How did you mask the chickeny taste? Hey, are YOU eating chicken!?!" Nope I wasnt, I told him gleefully. He was eating - ta-DAH! - Indian cheese. Paneer, to be precise. Since then, I've made various paneer dishes and he's loved all of them.
And tonight, he asked if I could make something with paneer for dinner. That coincided rather nicely with my decision to use up the ready-bought 250gm-pack of paneer that was a bit past its best-by date. So tandoori paneer found itself on the menu, along with green peas pulau. And it was a very creditable success. The tandoori paneer turned out gorgeously crisp on the outside, its ginger-garlic marinade cut deliciously by the fresh lemon juice, and succulently soft on the inside.
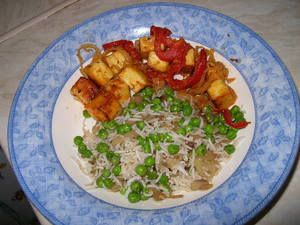
I dont know if this recipe would work as well on home-made paneer, because you really cant get it as firm as the store-bought stuff. But there are plenty of other recipes perfect for the softer texture of home-made paneer... I guess we'll be seeing some of those in future posts.
Recipe for Tandoori Paneer and Green Peas Pulau (to serve 2 persons):
Tandoori Paneer
Ingredients:
250gm firm paneer, cut into one-inch cubes
1 red bell pepper, deseeded, cut in thin rings
1 medium onion, cut in thin rings
1 tsp cooking oil
1/2 tsp salt or to taste
For the marinade:
2" piece fresh ginger
2-3 cloves of garlic
1-2 fresh green chillies, or to taste
2 tbsp fresh lemon or lime juice
1 tsp cumin seeds
1/2 tsp salt or to taste
Couple of drops of red or orange food colouring - optional. (I used 2 tsp of paprika to add a bit of colour.)
Pinch of ready-bought tandoori or chaat masala, for garnish - optional
Method:
1. Grind all the items for the marinade in a spice or coffee grinder to a paste.
2. Put the paneer pieces in a shallow dish and pour the marinade over, reserving a tsp of it. Turn the paneer pieces gently with your fingers until the pieces are more or less coated with the marinade.
3. Set aside for about an hour, minimum.
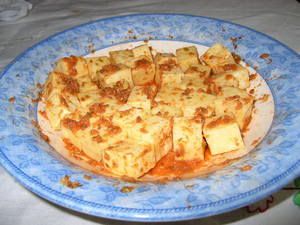
4. About 10 minutes before you want to serve the paneer, heat up the grill in your oven. Arrange the marinated paneer pieces on a greased tray or rack and grill, turning once or twice, until the paneer begins to turn golden on the surface.
5. While the paneer is grilling, heat 1 tsp oil in a wide frying pan and add the reserved teaspoon of marinade. Fry this for a few seconds, then put in the onion rings.
6. After about 4 minutes, add the bell pepper rings to the onion and cook the mixture for 3-4 minutes longer, or until the onion is translucent and the bell pepper is slightly wilted.
7. Toss the tandoori paneer with the bell pepper and onion mixture, and serve hot.
Green peas pulau
Ingredients
1 cup basmati rice, cooked al dente
1 cup green peas, cooked (fresh is best, frozen is ok too)
2 onions, sliced thin
1 tsp ginger-garlic paste
1 tsp whole cumin seeds
2 fresh green chillies, slit (fewer or more according to taste)
1-2 tbsp cooking oil
1 tsp garam masala (if available)
OR
mix of 1/2 tsp cinnamon powder, 1/2 tsp powdered black pepper, 1/2 tsp powdered coriander seeds
1 tbsp freshly chopped coriander leaves, for garnish - optional
Method:
1. Heat the oil in a big wok, add the whole cumin seeds, fresh green chillies and ginger-garlic paste. Fry this for about 30 seconds, stirring constantly.
2. Now add the sliced onions and the garam masala or spice mix. Cook the onions until they turn soft and begin to brown a little, then add the cooked green peas and rice.
3. Turn this mixture over carefully to distribute everything evenly. Take care not to break up the rice grains.
This can be made ahead and reheated in a microwave oven. Just before serving, garnish with freshly chopped coriander leaves.


