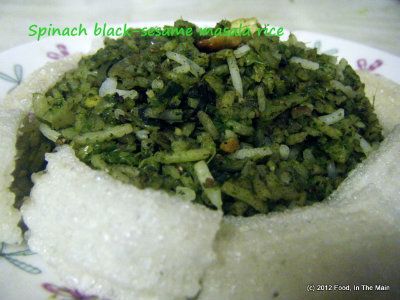
Oh, do you remember me saying that mustard just loves cheese? I proved it for the umptieth time with this recipe.
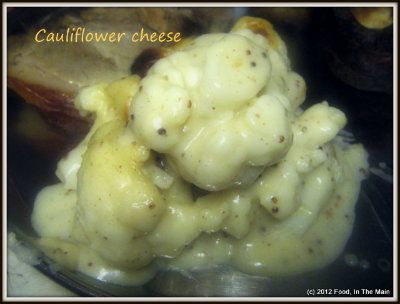
Recipe for: Cauliflower cheese
Ingredients:
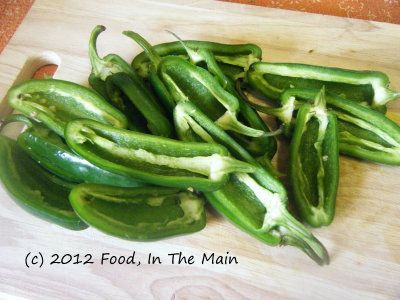
1/2 small cauliflower, separated into more or less evenly sized florets
1/2 cup + 2 cups milk + more as required
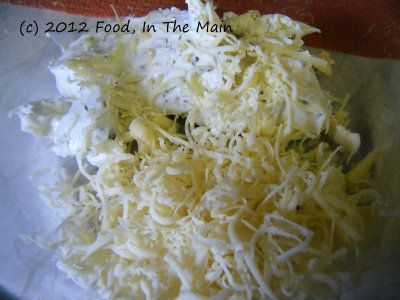
1/2 cup Cheddar cheese, grated
2 tbsp butter
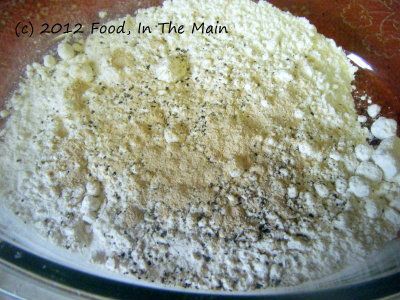
2 tbsp plain flour
1 tbsp wholegrain prepared mustard
freshly ground black pepper, to taste
sea salt, to taste
Method:
1. Cook the cauliflower with 1/2 cup milk and enough water to cover the florets, until done but not overcooked. (It is cooked when a skewer goes through the thickest part of the floret without too much resistance.
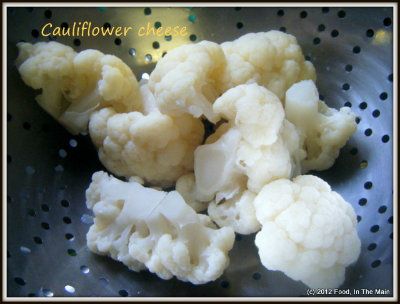
Drain and place in an oven-safe casserole dish.
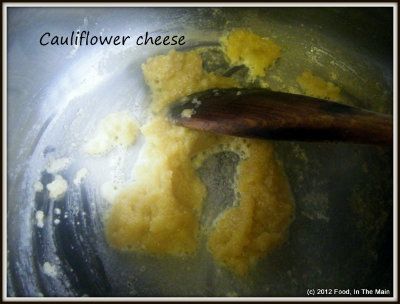
2. Heat a heavy-based saucepan and put the flour and butter in.
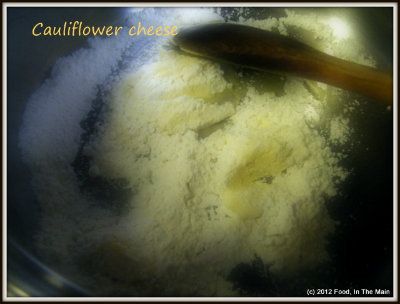
Cook it on medium heat, stirring continuously until the butter and flour are well incorporated and the flour smells good (3-4 minutes).
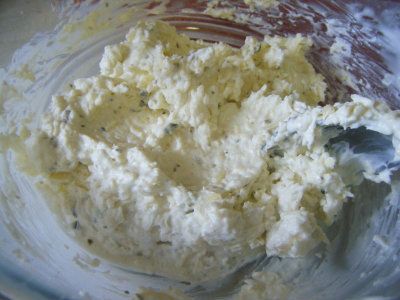
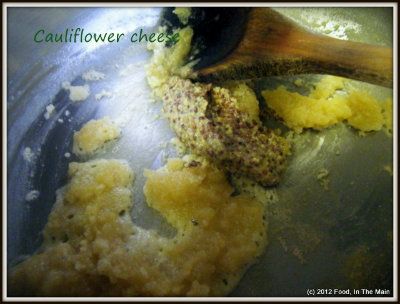
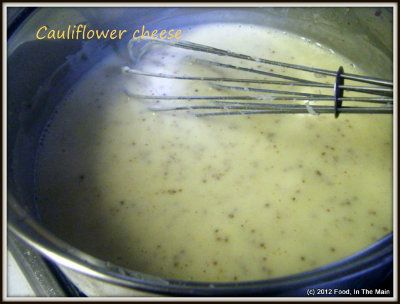
3. Stir in the mustard,
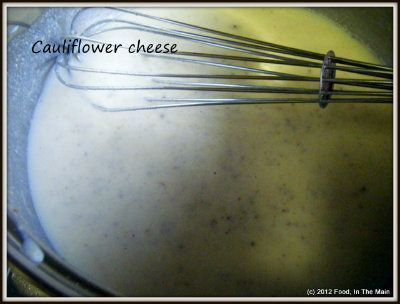
then add the remaining 2 cups milk all at once and whisk the mixture well so that there are no lumps.
Add the cheese and stir till it melts in.

5. Cook the sauce till it thickens and becomes glossy (about 5 minutes on medium-low heat), stirring it to stop it catching on the bottom.
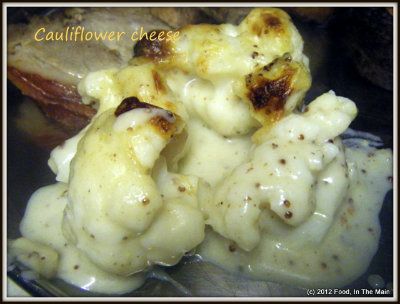
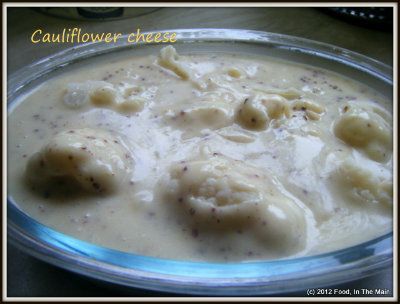
6. Add salt and pepper to taste. Pour the sauce over the cooked florets.
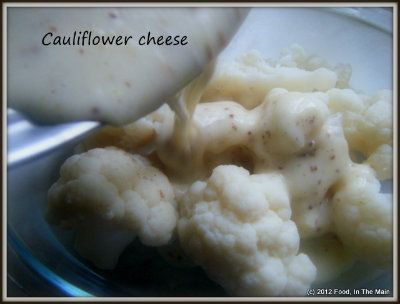
You can sprinkle on some more cheese now if you like.
7. Cook it at 180C/350F for 15-20 minutes until the sauce is bubbling and the top is golden brown.
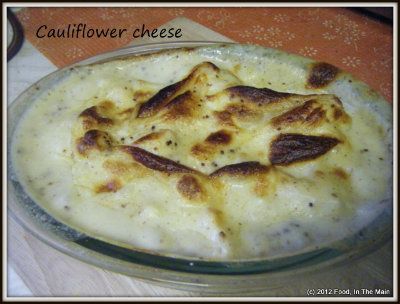
Let the cauliflower cheese rest for 2-3 minutes before serving it up.
RECIPE: CAULIFLOWER CHEESE
Ingredients:
1/2 small cauliflower, separated into more or less evenly sized florets
1/2 cup + 2 cups milk + more as required
1/2 cup Cheddar cheese, grated
2 tbsp butter
2 tbsp plain flour
1 tbsp wholegrain mustard
freshly ground black pepper, to taste
sea salt, to taste
Method:
1. Cook the cauliflower with 1/2 cup milk and enough water to cover the florets, until done but not overcooked. The cauliflower is cooked when a skewer goes through the thickest part of the floret without too much resistance. Drain and place in an oven-safe casserole dish.
2. Heat a heavy-based saucepan and put the flour and butter in. Cook it on medium heat, stirring continuously until the butter and flour are well incorporated and the flour smells good (3-4 minutes).
3. Stir in the mustard, then add the remaining 2 cups milk all at once and whisk the mixture well so that there are no lumps. Add the cheese and stir till it melts in.
5. Cook the sauce till it thickens and becomes glossy (about 5 minutes on medium-low heat), stirring it to stop it catching on the bottom.
6. Add salt and pepper to taste. Pour the sauce over the cooked florets. You can sprinkle on some more cheese now if you like.
7. Cook it at 180C/350F for 15-20 minutes until the sauce is bubbling and the top is golden brown. Let the cauliflower cheese rest for 2-3 minutes before serving it up.