skip to main |
skip to sidebar
 When I tasted cornbread for the first time (I made it myself) I have to say that I was not particularly impressed – it was so bland! Now, I know that at that point, I considered all foods bland that were not chilli-hot. That’s an attitude endemic to (most of) us Indians because so much of our food contains chillies and/or strong spices and flavourings. If you’re used to loading vegetables with lots of masala, for instance, plain boiled green beans with just salt and pepper would definitely be termed as “bland”. It’s not just vegetarians, either – even non-veg Indians find it difficult to face plain roasted chicken (or other meat)… they usually like their meat cooked in a spicy sauce or maybe coated in a fiery masala.
I remember going with my friend Lakshmi (or KiwiGee fame, such as it is) to a restaurant in Mount Road that specialised in “western” food (I cant remember the restaurant name now, it was many years ago while I was working in the Indian Express). We had been there before and enjoyed the vegetable au gratin – or maybe it was the sheer novelty of it, vegetables in a cheesy white sauce - and decided it was time we educated another colleague and friend in the ways of international cuisine.
Poor chap, he had the most awful struggle to get it down. He was through-and-through a traditional South Indian - he wasn't even really into North Indian cuisine, and he had probably never wanted to try anything European at all. But he was a sweet uncomplaining pal, and he let himself be forced by us into having a go. Two forkfuls into the gratin, and he turned green and said he couldn’t finish it. We, being cruel to be kind, perhaps – or maybe just determined to introduce him to “sophisticated” food - sat there, one on either side of him, insisting that he shouldn’t give up so easily. He sprinkled crushed red chillies, stirred in industrial quantities of chilli sauce, and in general did all he could to mask the blandness of the white sauce and the grilled cheese topping… but in the end, he just balked at eating any more of it. For quite a while after that I think he avoided any mention of “treats” from us…
What I didn’t realize then, I do now – that it takes a conscious effort to let your taste buds slow down and adjust to fewer spices, and enjoy the real flavour of whatever vegetable you’re eating... or even get used to the lack of chillies and the presence of unfamiliar spices and seasonings. Of course, in this I speak mostly for myself and my taste buds, which sadly did not grow up amidst authentic international cuisine and therefore were ignorant and inexperienced in many ways for the longest time.
So anyway, long story short, I did eventually learn to like vegetables that weren’t cooked to mush, steamed veg that had the most basic of seasonings - I may have mentioned this before, but fresh green beans cooked just so, eaten immediately with just a sprinkling of salt is probably one of my greatest pleasures now! - pasta that did not have crushed red chillies (at the very least) sprinkled all over it, cheese-on-toast without sliced green chillies on it… and so on. I tried to keep my mind and tastebuds open to new flavours and give new foods at least one good try before condemning them.
But this cornbread – plain cornbread without cheese or onions or anything else savoury... it literally WAS too bland and boring. It was just blah - and blah it remained despite my sternest lectures to myself to be open-minded. I didn’t bother with making cornbread again for ages, until I came across other recipes for it on the Net (this after I had started this food blog) and decided to give the whole thing another go.
Now of course I adore cornbread – as long as there’s no sweetness involved. I don’t understand or like the addition of honey or sugar. I do add onions, scallions, quick-cook vegetables like spinach, cheese (although not excessively) but, most important of all, green chillies. Yes, I'm aware that I lectured about chillies or the lack thereof, thanks - but there are SOME things which totally require heat. Cornbread, as far as I’m concerned, is one of those things. That’s how it has to be. It’s just one of those things.
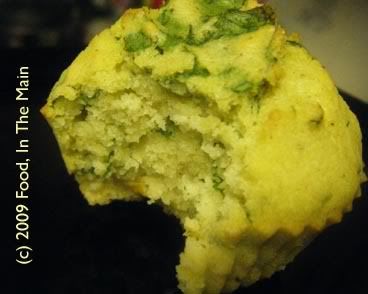
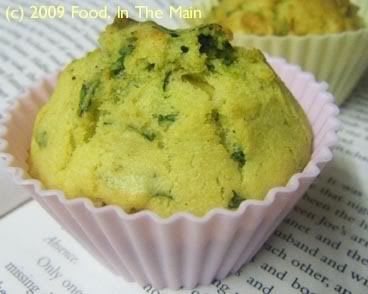
These muffins make a nice snack by themselves or, more traditionally, you could serve them with chili con (or sin, in my case) carne. I didnt use fresh chillies this time - I just chopped up some super-hot-but-fruity sliced manzano chillies in vinegar that were lurking in my fridge, and used those.
Recipe for: Spinach corn muffins
Ingredients:
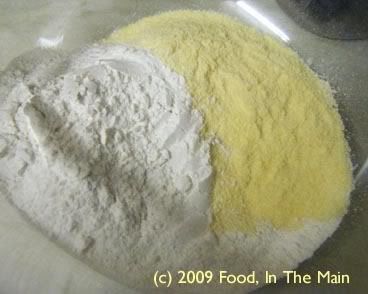
1 cup yellow cornmeal
1 cup plain flour
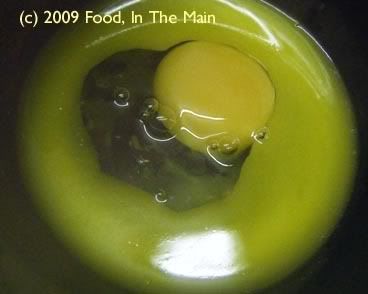
1 large egg
1 cup milk (I used semi-skim)
1/2 cup canned corn niblets
1/8 cup oil
1/2 cup spinach leaves, shredded
1 tbsp baking powder
1/2 tsp freshly milled black pepper
2 tsp finely chopped jalapeno peppers (I used manzano chillies)
salt to taste
Method:
1. In a medium mixing bowl, mix together the cornmeal, flour, baking powder and salt.
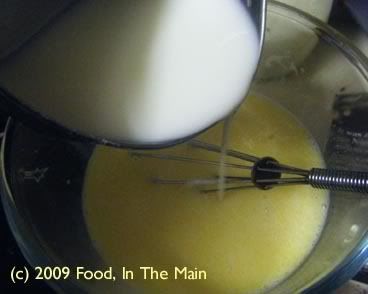
2. In another, smaller bowl, whisk together the oil and egg.
3. Pour in the milk and stir it in.
4. Pour the egg-milk mixture into the bowl containing the flour
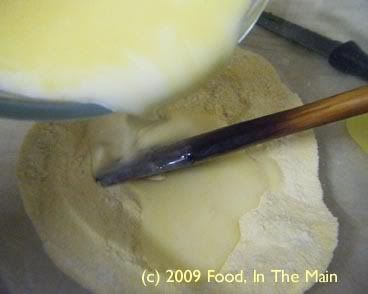
and stir till just combined. Do not beat.
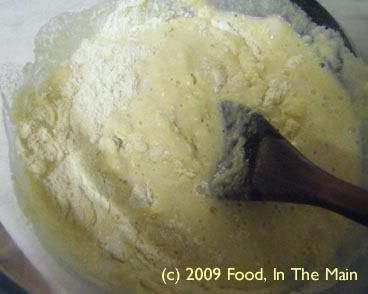
5. Add the corn and spinach and stir them in gently.
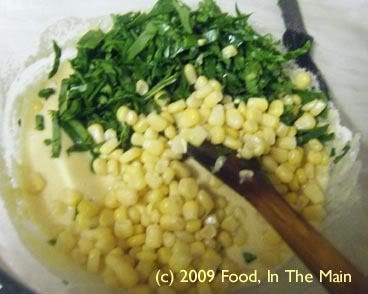
6. Sprinkle the ground pepper
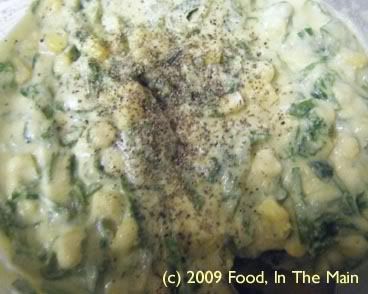
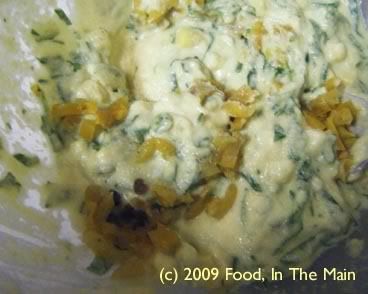
and add the jalapenos (if using), and stir them in.
7. Fill muffin pans with the batter about 3/4 of the way to the top and bake in a 180C/350F oven for about 15 minutes. Test to see if the muffins are done; if not, give them another 5 minutes. Let cool in the pan for 10 minutes, and serve warm.

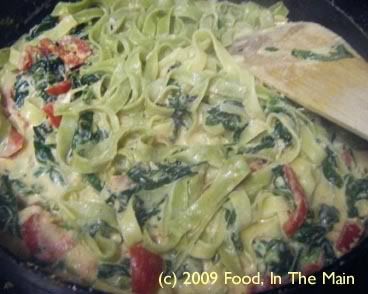
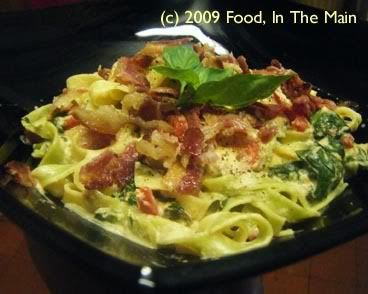
I'm not a great fan of cheesy pasta recipes - there's really only so much cheese I can take before my taste buds put their hands up in the air and beg for mercy. Cheese is something I can take on board only in small amounts - VERY small amounts. This applies to any cheese that has a pronounced flavour - cheddar, parmesan, feta, halloumi, whatever. Paneer doesnt figure on this list because it doesn't have a definite taste. And blue cheeses don't count as food, as far as I'm concerned... unless they're classified as "food that was once alive but is now putrefied". So, as far as pasta goes, my preference is for tomato-based sauces. I don't mind cream cheese, as long as it's mixed with herbs... and a recipe for a pasta sauce that combined tomatoes and cream cheese seemed doable. I would have added chillies, or possibly chilli sauce to the recipe, but since this was to be a quick-fix dinner for me and Pete, I had to keep the hot stuff at bay. The sauce was, as I'd suspected it would be, very nice with the flavour of tomatoes melding nicely with the cream cheese. I added lots of fresh basil (two types, both home grown, yay!), and a topping of crisp crumbled bacon for Pete and sort of crisp, crumbled facon (= fake bacon, or bacon-style strips) for me; and with a bottle of wine on the side, the pasta made a very pleasant meal. Recipe for: Tomato cream cheese pasta

Ingredients:
Wide egg noodles for two (approx 75 gm uncooked per person)
2-3 medium tomatoes
3-4 cloves garlic, chopped
1 small red pepper, deseeded and sliced
2 cups fresh spinach leaves
4 tbsp non-fat garlic-and-herb flavour cream cheese (or plain will do as well)
1/4 cup basil leaves, shredded
Salt and pepper to taste
2 tsp olive oil
2-3 strips bacon (or facon), cooked crisp and crumbled, for garnish
Method:
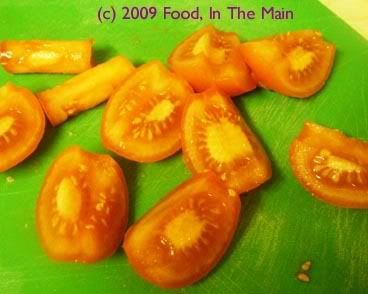
1. Put the pasta/noodles on to boil as per directions on the pack.
Quarter the tomatoes, then puree smooth.
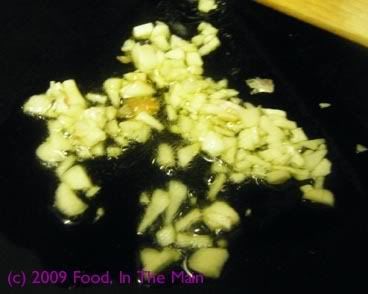
2. Fry the garlic in the olive oil till just soft, but not brown.
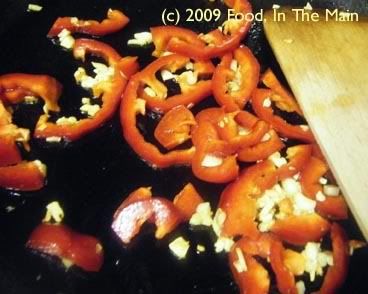
3. Add the sliced peppers.
4. Then add the spinach leaves,
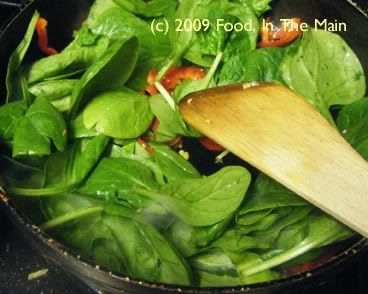
and stir till the leaves wilt and the pepper just begins to soften.

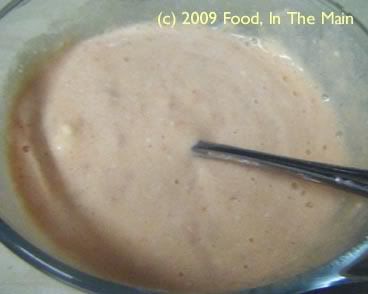
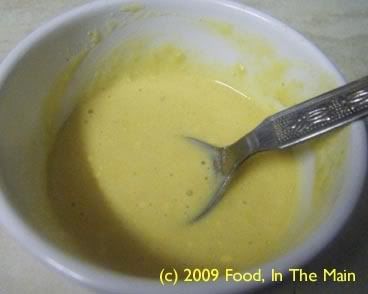
5. Add the cream cheese to the pureed tomato.
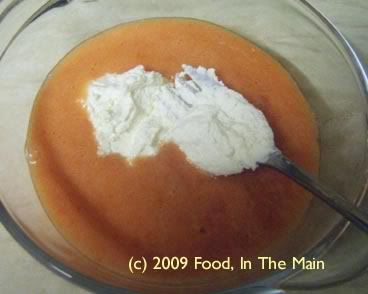
6. Whisk them well to form a sauce.
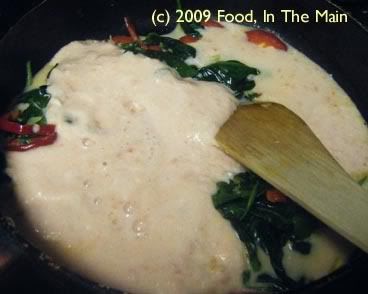
7. Add the cream-cheese tomato sauce to the pan with the vegetables and stir it in. Add salt and freshly ground black pepper to taste.
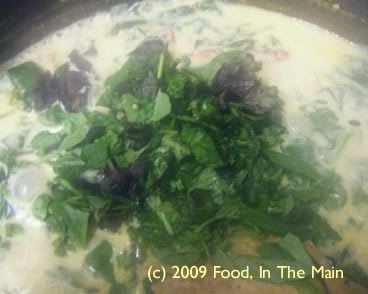
8. Stir in the chopped basil.
9. Drain the cooked pasta and add the pasta to the pan.
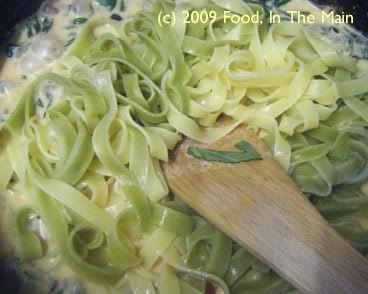
10. Gently mix it with the sauce and heat thoroughly but do not let it boil.
11. Serve in warm bowls with the crumbled bacon/facon on top as garnish and some fresh basil leaves.
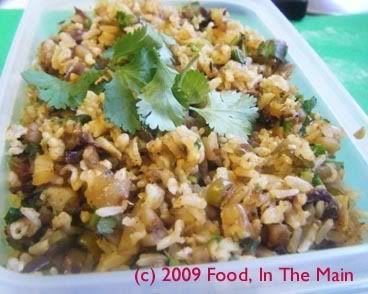
I've always been convinced that white rice is best for South Indian food - Sona Masoori rice, for preference. Even basmati rice, that queen of all rice, comes second here... if only because its own heavenly aroma and flavour tend to get downplayed by the competing flavours of the accompanying dishes. Sona masoori rice, however, is the perfect vehicle to exhibit the pungent, spicy, hot, sour and piquant flavours that are the trademark of South Indian dishes such as sambar, rasam, kootu etc, without itself taking centre stage. So with sona masoori and basmati rice in my pantry, I was not sure that brown rice would play a big role in my cooking. Still, when I came across a small packet of brown basmati rice in the supermarket, I impulsively bought it. It was surprising how long it took to cook the rice - way more than any white rice, and the typical aroma of basmati wasn't immediately evident either. Since I didn't quite know what to make with the cooked brown rice, I decided to make a sort of vegetable fried rice, only without too much of the frying. I have to say that I was pleasantly surprised by the taste of the brown basmati. It was chewy in a nice way, with a flavour reminiscent of "aval" or "poha" (beaten rice). I liked it a lot, and while it will not be replacing my beloved sona masoori or Tilda basmati any time soon for traditional Southie dishes, I think I will be using brown rice a lot more in other areas. It's nice to no longer be a brown rice virgin! Recipe for: Curried brown rice
Ingredients:
3 cups brown basmati rice, cooked and cooled
1/2 cup green beans, sliced into thin rounds1 medium potato, chopped into 1/2 cm pieces1 medium onion, sliced thin1 scallion, sliced thin2 green chillies, sliced vertically1 tsp cumin seeds1/2 tsp red chilli powder
1 tsp sambar powder2 tsp oilSalt to tasteFresh coriander leaves, to garnishMethod:
1. Heat the oil in a pan, add the cumin seeds and green chillies. Fry for 40 seconds or till the seeds turn a darker shade of brown. 2. Add the vegetables to the pan now and stir, then pour in 1/8 cup water, cover the pan, turn the heat down to medium-low, and let the vegetables steam-cook till done. 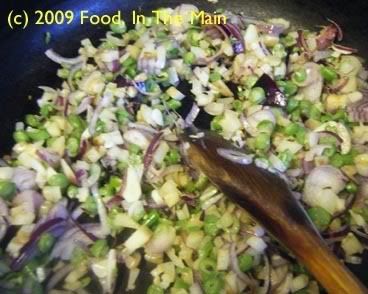
3. Now add the red chilli powder and sambar powder to the cooked vegetables along with salt to taste, and mix it well. Turn the heat up and let the vegetables caramelize a little. 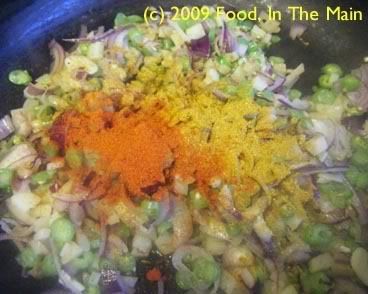
4. Throw in the cooked brown rice and stir till everything is well mixed. 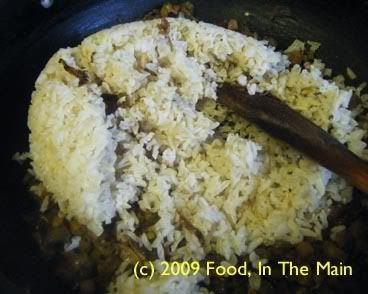
5. Add chopped coriander leaves and serve hot with a raita, if preferred. 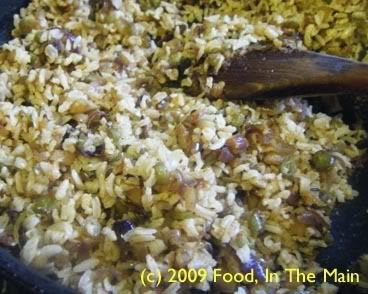
Maths doesn’t play much of a role in my life, other than when absolutely, utterly unavoidable. I go to great lengths to avoid such occasions, so when one does occur, you can bet your booty that it’s as rare as a 300 carat diamond. Only a lot less interesting, and involving much swearing and general blasphemy. That’s the only way I can get through it – that, and help begged from anybody capable of looking a math problem in the eye without flinching and bursting into tears.
What does maths have to do with a cooking blog, or this recipe, one may wonder. Happily, not much with the recipe itself – just a mention on the blog for the sake of getting some content for the post leading to the recipe. And this is a recipe for a home-made ready-mix powder used to make spicy flavoured rice. Kind of like paruppu podi, but different in the ingredients used. Paruppu podi doesn’t involve coriander seeds at all, and they play a big role in this powder. The shels life differs, too. This masala powder, containing raw garlic as it does, doesn't have the extended shelf life of paruppu podi.
So where does the maths bit come in?
Only in that this masala powder, redolent of garlic and coriander, adds up to much more than the sum of its component parts. My kind of mathematics, you see, because when I add up a column of figures, you can bet your bottom dollar or pound (or other currency of choice) that the sum will invariably exceed the total of the individual figures. Which is terrible for a maths problem, but very welcome in a recipe. PS: Original recipe here
Recipe for:
Garlic masala powder
Ingredients:
2 tbsp urad dal
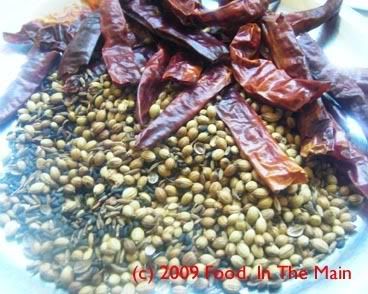
1/4 cup coriander seeds
2 tbsp cumin seeds
10-15 dried red chillies (depending on heat and to taste)
1 tbsp black sesame seeds
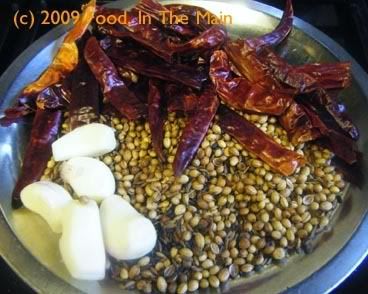
5 cloves garlic
Salt to taste
Method:
1. Dry roast the red chillies, urad dal, coriander seeds and sesame seeds over a medium fire, stirring frequently, till the dal is golden brown, the chillies turn a darker red and the coriander seeds are aromatic.
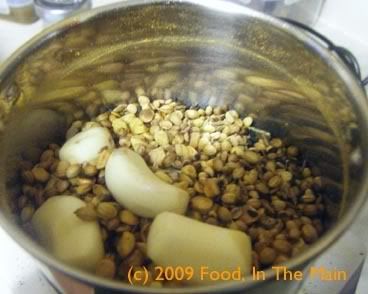
2. Let cool completely, then add the garlic cloves.
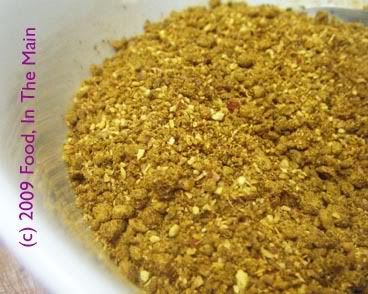
3. Pick out the red chillies and grind them to a fine powder separately, then grind the rest of the roasted ingredients to a fairly coarse powder. Add salt to taste and store in a tight-lidded container.
To eat, add the masala powder to taste to cooked cooled rice. Fry up a handful of peanuts and a few curry leaves in a tsp of ghee or gingelly oil, then mix with the masala rice. Serve hot with crisps or papads and a raita.
This recipe is totally inspired by – or rather, copied from - the lovely Nupur’s “samosas for breakfast” post. The filling I made has a few differences, of course, but the basic idea is entirely hers.
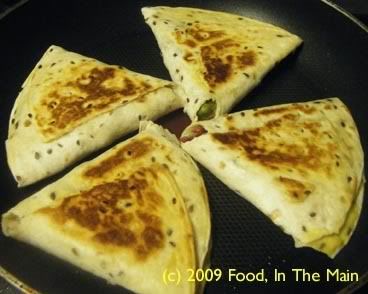
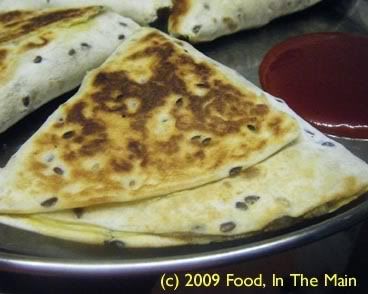
These tava samosas (as rechristened by me) are very, very acceptable stand-ins for the real thing, and they’re ever so much healthier for not being deep fried. Of course the flakiness of real samosa pastry can’t be achieved, because these are made with chapaties/tortilla wraps... but believe me, they taste wonderful all the same. I didn’t have the usual feeling of “damn, I wish I could get real samosas” after chomping down on one of these impromptu samosas – and that’s a rare thing.
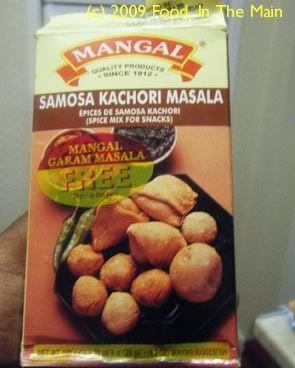
I used a readymade – and unfamiliar to me - brand of samosa/kachori masala which I got free with some shopping expedition long back, and to my surprise, when the spices had had a chance to mellow in the filling, the aroma was pretty authentic.
Anyway, the samosas were absolutely delightful hot off the tava, but they were just as good at lunch time the next day.
I don’t think I’ll bother with making “real” samosas at home ever again. This is much easier, much quicker and much healthier. Plus, you get to use up leftover stale chapaties or wraps. It's all good!
Recipe for: Tava samosa
Ingredients:
2-3 chapaties, tortillas or wholewheat wraps (I used seeded wholewheat)
2 medium potatoes, boiled, peeled and mashed coarsely into small lumps
1 medium onion , sliced thin
3-4 green chillies, sliced thin (option or to taste)
1/4 cup red bell pepper, thinly sliced
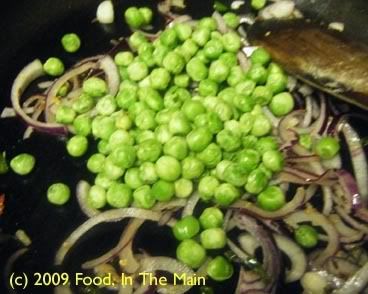
1/2 cup frozen green peas
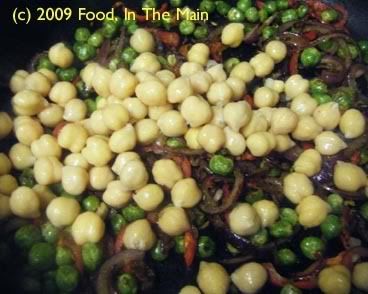
1/2 cup cooked chickpeas
1 tsp cumin seeds
1/4 tsp fennel seeds
1/s tsp red chilli powder
1 tsp samosa/kachori masala powder (or garam masala)
2 tsp oil
Salt to taste
Thick paste made with 2 tbsp gramflour (chickpea flour) and some water
Method:
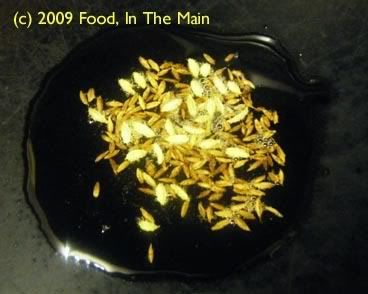
1. Heat the oil and toss in the cumin and fennel seeds, let fry for 30 seconds or till they turn a darker shade.
2. Add the green chillies if using and fry them for 30 seconds on medium heat.
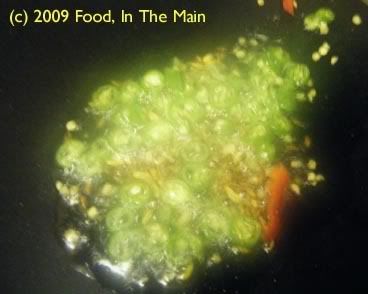
3. Now add the sliced onions and cook them till they begin to turn soft.

4. Next, add the cooked green peas,
the sliced red bell pepper
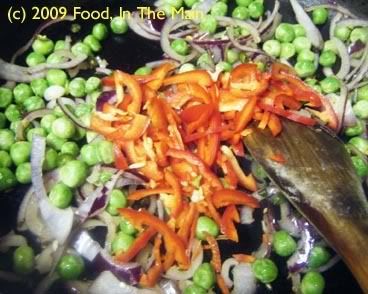
and the garam masala.

5. Stir the masala powder in, then add the chick peas, crushing some of them lightly.
6. Add the boiled mashed potatoes now,
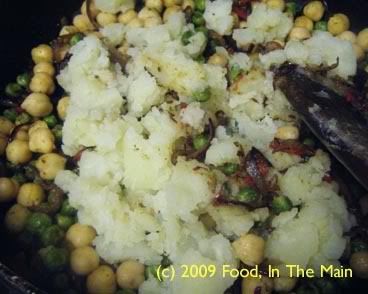
and the coriander leaves, along with salt and red chilli powder to taste.
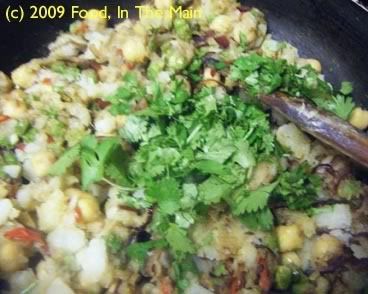
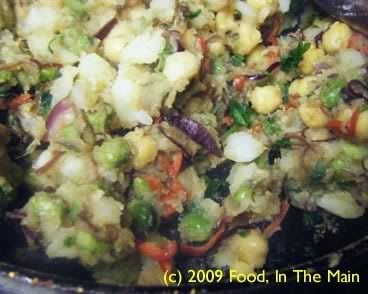
7. Stir everything till the ingredients are well incorporated. Fry this stuffing for 3-4 minutes on medium heat, stirring occasionally. Let cool.
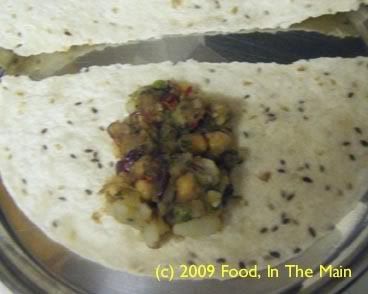
8. Cut the wrap/tortilla in half and put 2-3 tbsp of the stuffing in the centre.
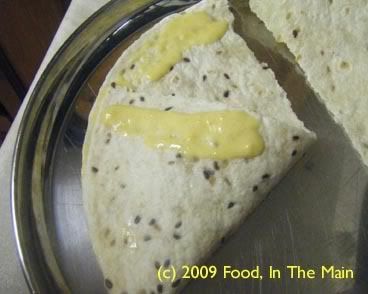
9. Fold one edge halfway across, spread some of the gramflour paste, then fold the other corner, pressing lightly so that the paste acts as a seal. Turn the samosa over so that the seam side is underneath.
10. Drizzle 1 tsp oil on a non-stick frying pan and spread it over the surface. Place the samosas on it and fry for 2-3 minutes on each side on medium heat, pressing down gently with a spatula to help the tortilla/wrap brown nicely.

11. When the samosas are golden brown on both sides, remove them from the heat. Serve hot with tomato ketchup and/or green chutney.