So, what do you think about spinach and green beans cooked with rice? You think it’s a divine idea too? I AM gratified to hear that, because – wait for it – that’s EXACTLY what I made a little while ago. I mean, really, it’s too good to be true, isn’t it? There you are, dreaming about a flavoured rice that involves spinach and green beans, and here I am, actually making your dream into reality.
I know what you’re thinking. You’re thinking: “There are more things in heaven and earth, Horatio, than are dreamt of in your philosophy.” You are thinking that too, aren’t you? I knew it. Nothing amazing there, given that our thoughts have agreed so awesomely perfectly for the previous couple of paragraphs. There can’t be anything to amaze you after that.
No, wait, I tell a lie. There IS possibly something that you might find amazing, even after all this… and that, dear you, is my gut feeling that if I’d written the dialogues for Hamlet, instead of ol’ Will Shakespeare, I might very possibly – not 100% certain here, to be fair, but very possibly – have written those exact same words that we were thinking of together in the previous paragraph.
Now tell me, is that amazing or is that amazing?
What’s that? Oh, you want the recipe. Well ok, here it is.
Hey, you forgot to tell me if that was amazing or if that was amazing…! Hello...? Are you there?
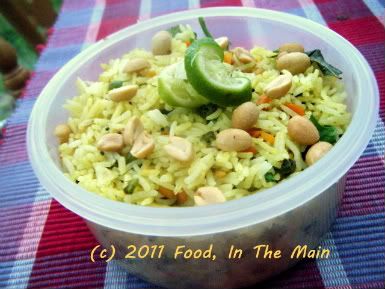
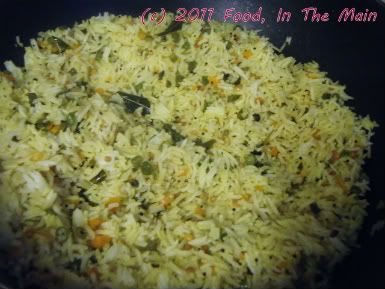
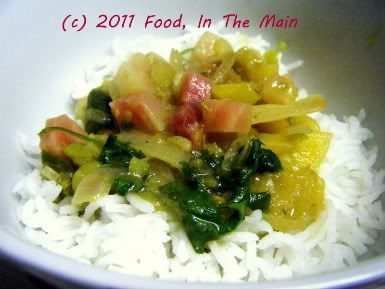
Recipe for: Spinach and green bean rice
Ingredients:
1 cup basmati rice, soaked for 15-30 minutes
1 cup spinach, chopped
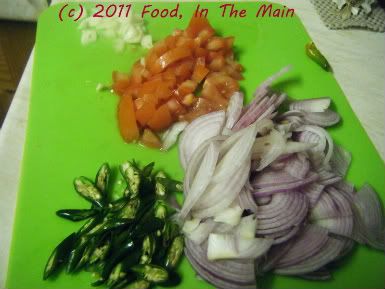
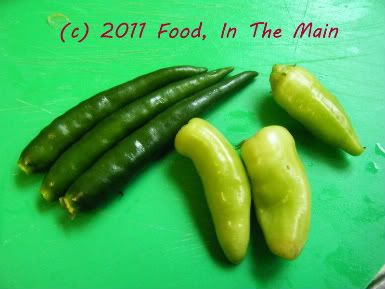
3-4 green chillies or to taste
3 cloves of garlic
1" piece ginger
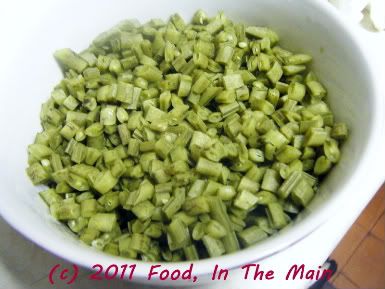
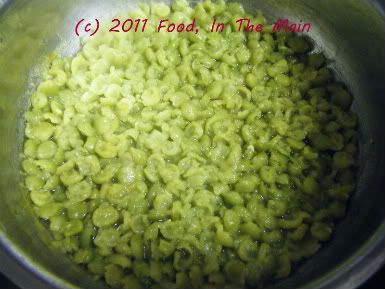
1 cup green beans, chopped fine

2 onions, sliced thinly
1 tsp cumin seeds
2 cups water
1 tbsp oil
Juice of one lime (optional)
Salt to taste
Method:
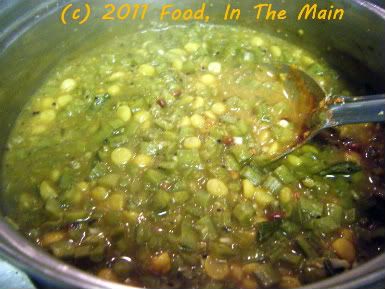
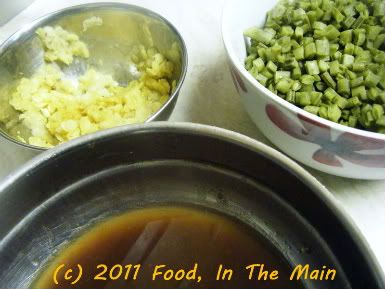
1. Grind the spinach, garlic, green chillies and ginger to a fine paste and set aside till required.
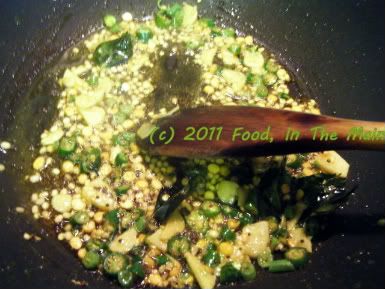
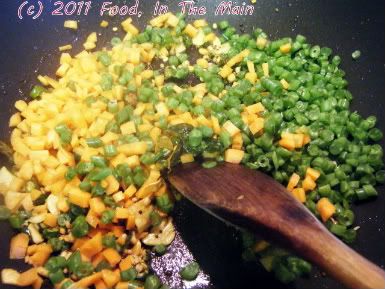
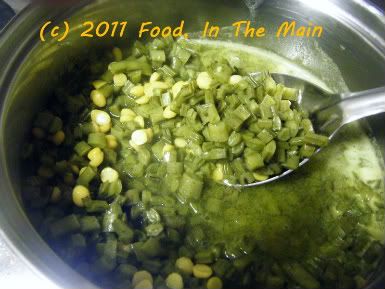
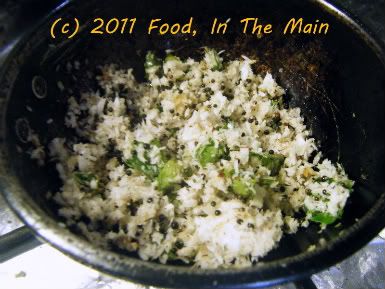
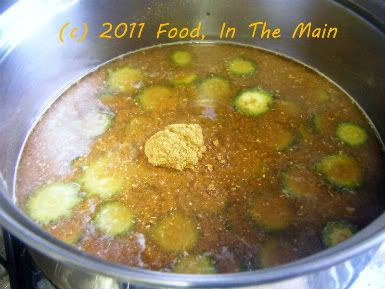
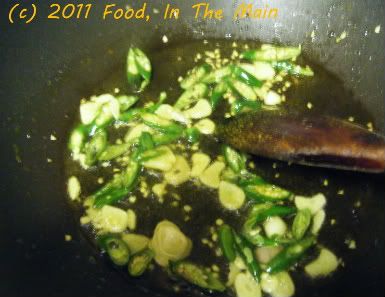
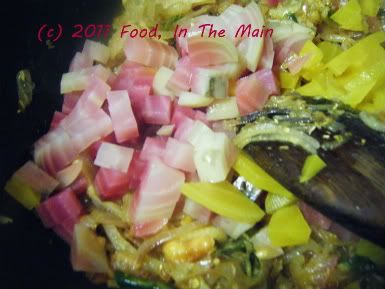
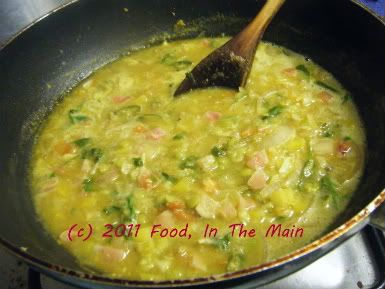
2. Heat the oil in a pan and sizzle the cumin seeds, then add the onions and green beans, and fry them till the onions begin to turn soft.

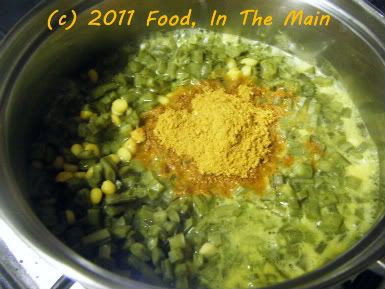
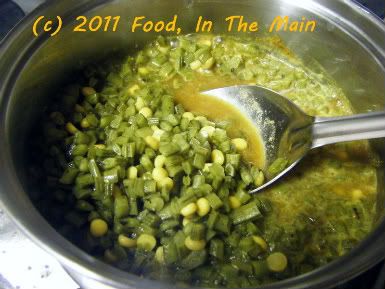
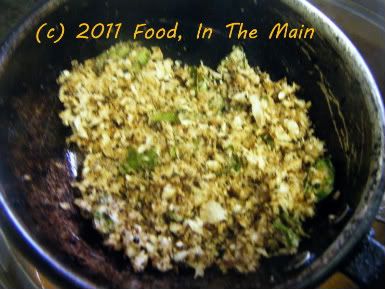
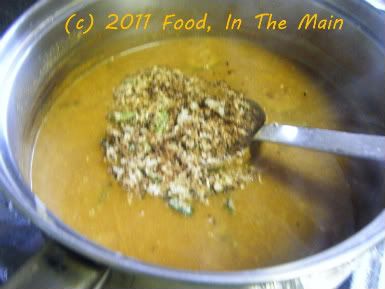
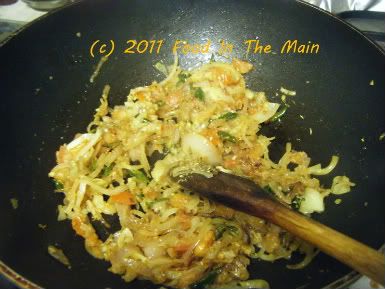
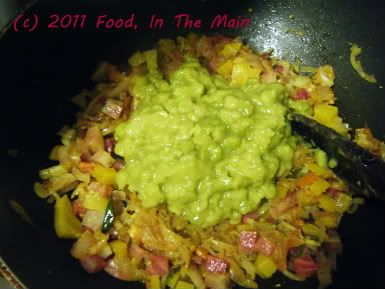
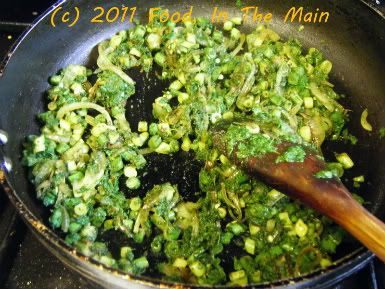
3. Stir in the spinach paste
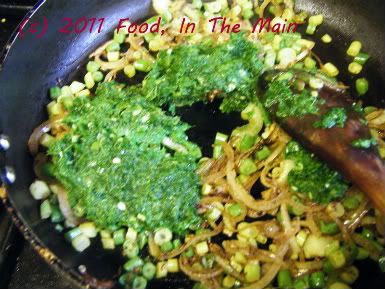
and fry it for 4-5 minutes, till the raw smell goes away.
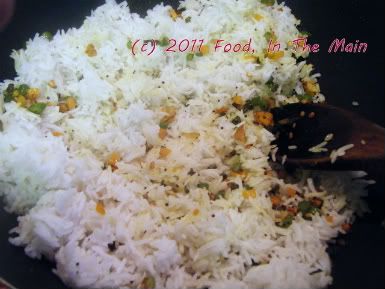
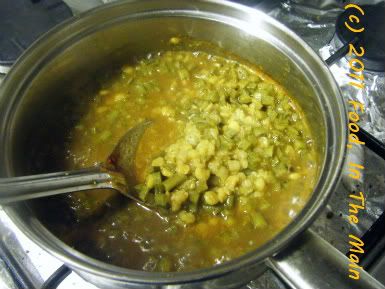
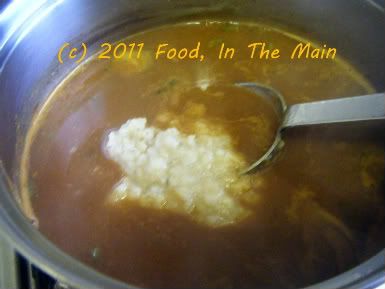
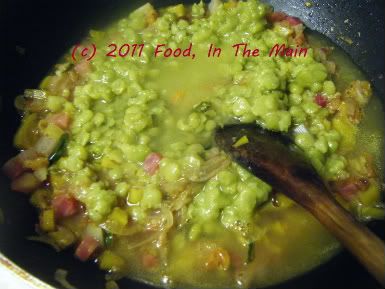
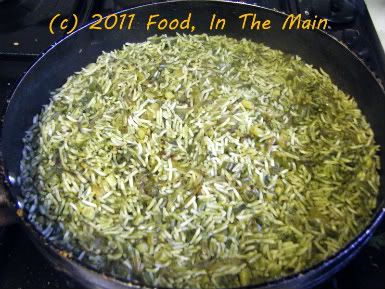
4. Now drain away the soaking water from the rice, and add the rice to the pan.
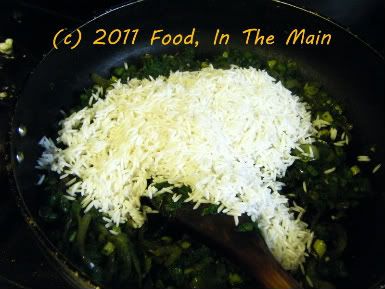
Add salt to taste and the two cups water and mix well.
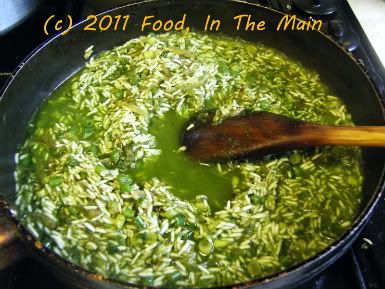
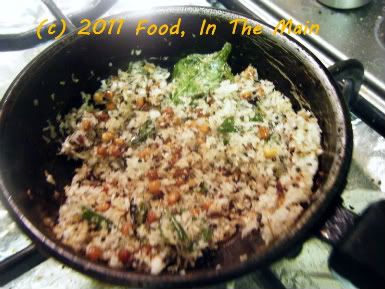
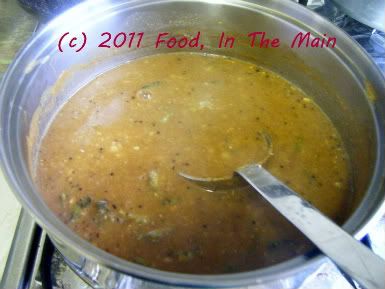
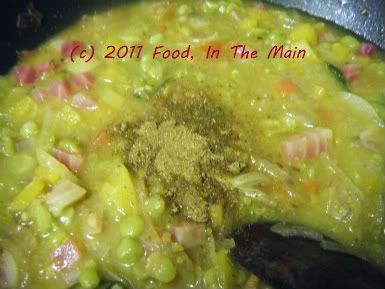
5. Bring the water to a boil, then turn the heat right down. Cover the pan with a tight fitting lid. If you like, you can place a towel over the pan before placing the lid on it, so that the condensation is soaked up by the towel. Let the rice cook for around 17 minutes, covered, until all the liquid has been absorbed. Fluff the rice with a fork and serve it hot, sprinkled with lime juice if you like, accompanied by any raita and potato crisps or papad.
RECIPE: SPINACH AND GREEN BEAN RICE
Ingredients:
1 cup basmati rice, soaked for 15-30 minutes
1 cup spinach, chopped
3-4 green chillies or to taste
3 cloves of garlic
1" piece ginger
1 cup green beans, chopped fine
2 onions, sliced thinly
1 tsp cumin seeds
2 cups water
1 tbsp oil
Juice of one lime (optional)
Salt to taste
Method:
1. Grind the spinach, garlic, green chillies and ginger to a fine paste and set aside till required.
2. Heat the oil in a pan and sizzle the cumin seeds, then add the onions and green beans, and fry them till the onions begin to turn soft.
3. Stir in the spinach paste and fry it for 4-5 minutes, till the raw smell goes away.
4. Now drain away the soaking water from the rice, and add the rice to the pan. Add salt to taste and the two cups water and mix well.
5. Bring the water to a boil, then turn the heat right down. Cover the pan with a tight fitting lid. If you like, you can place a towel over the pan before placing the lid on it, so that the condensation is soaked up by the towel. Let the rice cook for around 17 minutes, covered, until all the liquid has been absorbed. Fluff the rice with a fork and serve it hot, sprinkled with lime juice if you like, accompanied by any raita and potato crisps or papad.