skip to main |
skip to sidebar
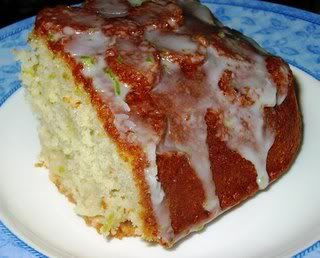
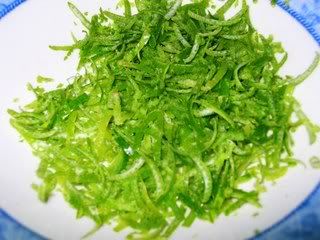 Another of those recipes that arrived by mail from my yahoo groups - I printed it off ages back but didnt get around to trying it. Eventually I DID try it out (or this post could never have been, could it?) but it's been a few weeks since that event as well.
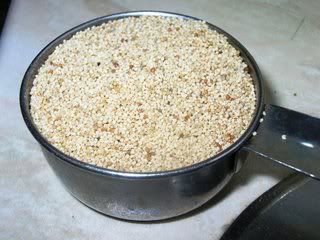
It's a nice lemony cake, but I dont really understand why it needed the poppyseeds. I've never used poppy seeds in a cake before and I'm not sure I will again, because there wasnt any value addition to the end product, in my opinion.
(Do I sound like an economist - or something like - or what! Mr P Ganesh, if ever you read this, you'll know that one of your ex-economics students has managed to remember a vaguely economical(!) phrase. Never think your efforts were entirely in vain!)
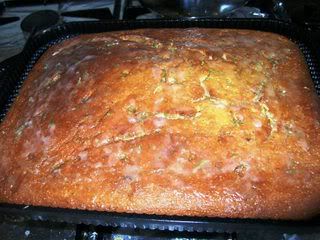
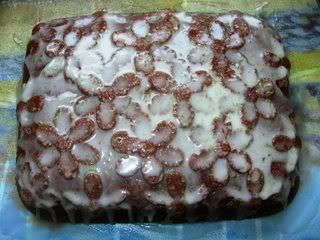
Basically I felt the poppy seeds gave the cake a gritty sort of texture when eating it, but that's only my opinion. Our friends decimated it quite quickly and even took some home - oh yeah, it's a large cake! And I didnt use a tube bundt pan because I dont have one. I used a large rectangular daisy-mould baking pan that I got along with my sunflower pan. Oddly enough, this cake, like the sunflower-shaped sponge, is a lemony one as well!
Baking artists like Archana of Spicyana would certainly have made better use of the daisies by colouring them with icing and making the cake look stunning... but I dont have the expertise (or the urge to learn, much as I'd like all the admiration and oohing and aahing from readers!), so I just poured the lemon glaze on top and decided that was enough.
One last thing - I dont know why it's called Tucson lemon poppyseed cake, unless it originated in Tucson or something.
Recipe for: Tucson lemon poppyseed cake
Ingredients:
2-1/2 cups flour
1-1/2 cups granulated sugar
1/2 cup margarine or butter, softened
3 eggs
1 tsp baking soda
1 cup buttermilk
1/4 cup poppy seeds
2 tbsp grated lemon peel
4 tbsp lemon juice
For the lemon glaze:
2 cups powdered sugar
2 tbsp grated lemon peel
1/4 cup lemon juice
Mix all ingredients and beat for 5 minutes. (The original recipe said to use 1/4 cup margarine but I omitted it. This is a simple glaze!)
Method:
1. Preheat oven to 180C. Grease and flour a 10" baking pan.
2. Beat sugar and margarine until light and fluffy. Beat in eggs, one at a time.
3. Sift together the flour and baking soda. Beat into sugar mixture alternately with buttermilk until well blended.
4. Stir in the poppyseeds, lemon peel and lemon juice. Spread in cake pan.
5. Bake for 45 minutes or until cake tests done.
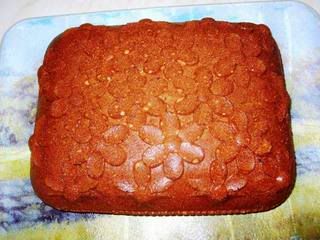
6. Immediately poke holes in the cake with a skewer. Pour 2/3 of the lemon glaze over the top and let the cake cool for 20 minutes in the pan.
7. Remove the cake from the pan and pour over the remaining icing on top.
It's been over two months since I tasted the best kurma I've ever had. It was at a dear friend's house and I unfortunately neglected to get the recipe from her mother who had made the dish. I've never been over-keen on kurma, really, but that day at my friend's house changed my mind. It's a wonderful dish if made right - so very nice that I decided I'd give it a go at home.
As always, there are dozens of recipes for kurma lurking on the Internet and as always, I reduced those down to the most basic and simple instructions. The kurma I made was, in my opinion, allright - kind of like the stuff you get in hotels. But not a patch on aunty's as I remember it. I hope to get the original recipe from her (or her daughter!) one of these days! Till then, this will do.
Recipe for: Potato-peas kurma

Ingredients:
1/4 kg baby red potatoes, boiled in their skin and halved
1/2 cup frozen peas
1 large onion - sliced thin
3 tomatoes, chopped
1 tbsp poppy seeds, soaked in 1 tbsp hot water for 10 minutes
1/4 cup fresh grated coconut
2 cloves garlic
1 tsp fennel seeds
2 cloves
seeds of one cardamom pod
2 green chillies (or to taste), split
Curry leaves - about 10
large pinch safoetida powder (optional)
2 tsp oil
Salt to taste
Coriander leaves for garnish
Method:
1. Grind the soaked poppy seeds, garlic, 1/2 fennel seeds, cardamom seeds, cloves and coconut to a smooth paste with 2-3 tbsp warm water.
2. Heat the oil in a pan. Add the remaining 1/2 tsp fennel seeds, asafoetida powder if using, the split green chillies and curry leaves, and fry for 30 seconds.
3. Then add the sliced onions and fry for 5 minutes or till the onion starts browning nicely.

4. Add the tomatoes now and let them cook till mushy.


5. Now pour in the ground paste and 1-1/2 cups water and mix well. Bring this mixture to a boil.

6. Add the potatoes and frozen peas to the sauce, as well as salt to taste.

7. Simmer the kurma until it thickens (add a tsp rice flour mixed with 2 tbsp hot water to help this process along). Garnish with coriander leaves and serve hot with chapaties or rice.
What do you do with smoked tofu? I bought it on impulse a few months (yes, months - I'm impulsive in buying, not in using!) back and it had been living in the freezer ever since it came home with me. About 3-4 days back I took it out of the freezer and put it in the fridge for it to thaw.(It doesnt take four days for frozen tofu to thaw, but please see previous paragraph for an explanation.)
What I discovered, when I finally looked at the actual pack, was the warning on the outer packaging that said something like: "Can be frozen, but texture and colour will change on defrosting."
Boy was THAT ever right! They certainly hadnt exaggerated there.
What had originally started out as firm tofu, that could be cut, ended up, when I opened up the inner sealed pack, looking brown, watery and quite a lot like sponge (not the cake kind but the stuff that is used in washing up) that had been crumbled. I cant say that the tofu looked in the least appetizing, but I was loath to throw the darn stuff away - it had been too long with me (albeit in the freezer) and I had formed a tenuous but strong (so sue me, I'm contradictory!) attachment with it.
Besides, it smelt nice and smoky - a flavour I love. So I decided I would use it SOMEhow - and luckily, I found a recipe on the Net which was perfect for my purposes.
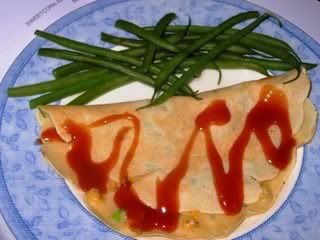
So here is the recipe, with a few modifications incorporated. I made some with a cheese filling and for Pete I used both sliced ham and cheese. You can of course vary the filling according to your taste. The pancakes had a wonderful smoky flavour from the tofu. If you dont have smoked tofu at hand, I would certainly suggest adding a couple of drops of Liquid Smoke just for that lovely smoky taste!
Recipe for: Savoury smoked tofu and sweetcorn pancakes
1 cup plain flour
2-1/2tsp baking powder
3 tbsp semolina
Salt to taste
1-1/4 cup milk
2 medium eggs, beaten
1 htsp butter or margarine
1/2 cup sweetcorn
4 spring onions, finely sliced
handful chopped parsley or chives
1 red chilli, de-seeded and finely chopped
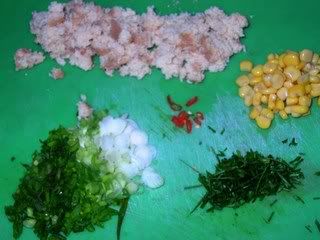
1/2 cup crumbled smoked tofu
Cheddar or other cheese of choice for filling (optional)
Method:
1. Melt the butter and let cool slightly.
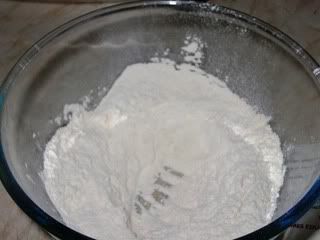
2. Sift the flour, baking powder, semolina and salt into a large bowl, make a well in the centre.
3. Add the melted butter,
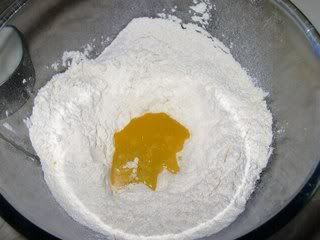
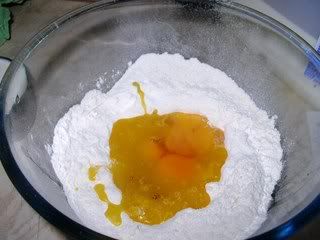
the eggs
and the milk
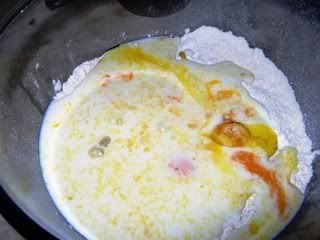
and whisk until smooth.
4. Add the sweetcorn, spring onions, chives, chilli and tofu. Mix well.
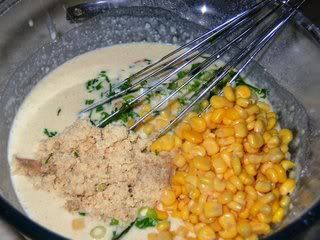
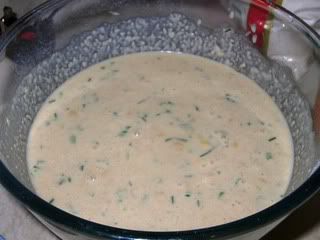
The batter should be thick enough to coat the back of a spoon without dripping.
5. Spray a tava or pan with butter-flavoured Pam. Pour a large ladleful of batter and tilt the pan so that the batter spreads.
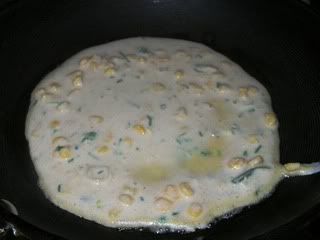
If you prefer smaller pancakes, drop 3 or 4 heaped tablespoonsful of batter on the tava, leaving a little space for them to spread.
6. Cook for about 2 minutes, until little bubbles appear and the underside is golden. The top shouldnt be wet.
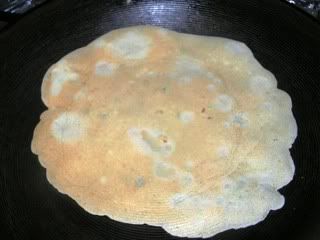
7. Flip the pancake over and cook on the other side.
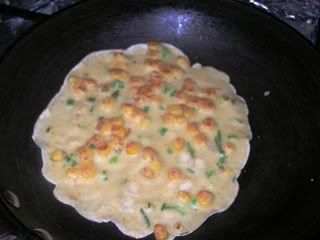
8. If you want the pancakes with filling, after Step 6, place some cheese (sliced or grated) on one half of the pancake and fold it over. Press down gently with the spatula to seal the pancake shut.
9. Turn the pancake over carefully and cook the other side for a minute, until the cheese is melted. Serve warm.
I like trying out strange new fruits and vegetables (strange and new to me, that is) when I go to the supermarket. Fairly recently I tried a pomelo, which turned out to be like a grapefruit except with lots more thick white skin with a quite sour tasting centre. It was ok but if I must eat sour fruit, I'd rather have a grapefruit.
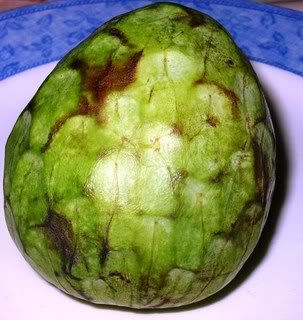
This time, though, I found something that was called a "cherimoya". I thought it looked a lot like a fruit I was familiar with from India - the sitaphal or custard apple - so I bought one just to try out. It was much smoother on the outside than the custard apples I remembered, so I wasnt sure if I was on the right track. But when I cut it open, I realised it WAS a variety of custard apple - only much sweeter and with a lovely, almost perfumey fragrance.
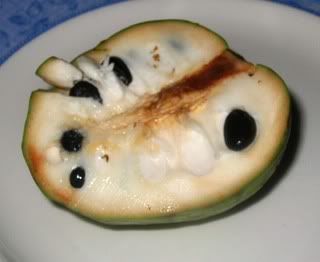
The problem with custard apples - or sugar apple, in this case - is the seeds. You cant eat them, so you have to keep spitting them out, which makes it difficult to get a decent mouthful of sweet flesh. But it's worth the effort to remove the flesh off the seeds, believe me. It tastes wonderful!
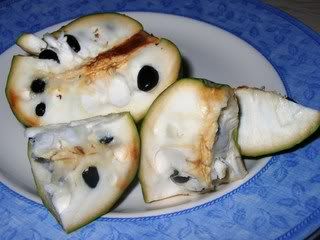
I was really happy to have found this fruit because I like it a lot. Next time I'll have to try recipes with this fruit. For now though, I'm content to eat it as is.
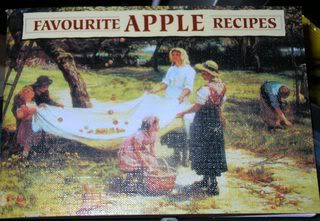 I got this traditional English recipe from this little cookbook I bought for £1 in a pound store - where everything in the shop sells for £1 or less. Yes, they sell things for less too. The last time I went there, they were having a "half-price sale" on certain items! 1/2 of £1 - wow, savings of 50p! *wink*
Anyway, I like the recipes because they use English apples - Cox Orange Pippin, for one. I would love to try local or traditional English varieties just to see how they turn out in the recipes.
There are a few recipes in this book that seem a bit weird to me - one or two are savoury ones using pork, which I am not really hankering to try. Most, however, are really basic and simple (assuming you have puff pastry or sweet shortcrust pastry at home, that is).
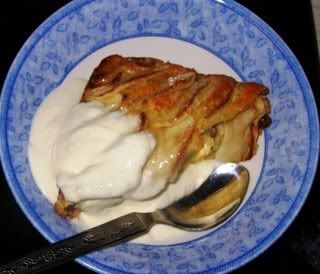
This apple sponge recipe is one of the quick and basic ones that didnt call for any kind of pastry. It was just right to use up two medium Granny Smith apples (I dont know if they're a special English variety, I used them because they were the only apples I had!), although the book does not specify any particular apple for this recipe - just any cooking variety would do.
According to my little cookbook, this sponge is best served warm with clotted cream. I'd go for the icecream, personally speaking.
Recipe for: Traditional apple sponge
Ingredients:
2 Granny Smith apples, peeled, cored and sliced to medium thickness (5mm)
1 cup self-raising flour
1/3 cup butter or margarine
1/3 cup caster (superfine) sugar
1/3 cup sultanas
1/4 tsp salt
2 eggs, beaten
1/4 cup milk (or as required)
2 tsp vanilla essence
2 tbsp demerara sugar mixed with 1/2 tsp cinnamon powder
Method:
1. Grease a 6" round pan lightly with cooking spray or butter. (I used a heart-shaped pan.) Heat the oven to 200degC.
2. Sift the flour and salt in a mixing bowl.
3. Rub in the butter or margarine, then stir in the caster sugar and sultanas.
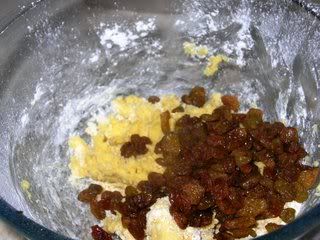
4. Add the beaten eggs and vanilla essence and mix, adding as much (or as little) milk as required to make a fairly stiff batter.
5. Spoon the batter into the prepared pan and level with the back of a flat spoon, dipping the spoon in water to stop the batter sticking to it.
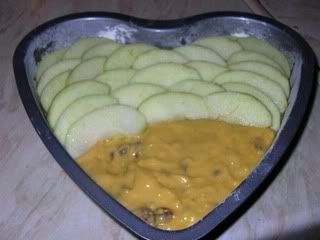
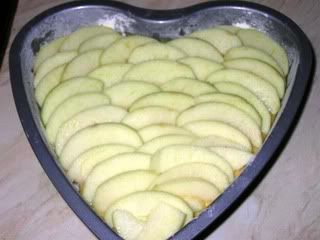
6. Arrange the sliced apples in a concentric overlapping pattern (if using a round pan) to cover the surface of the batter.
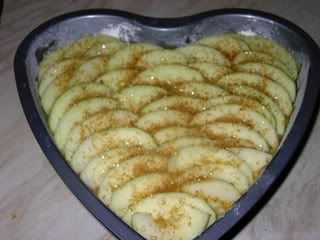
7. Sprinkle the cinnamon-demerara sugar mixture over the apples.
8. Bake in the pre-heated oven for 30-45 minutes or till the sponge tests done.
9. Let the sponge sit in the tin for 5 minutes,
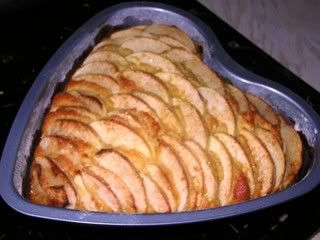
then turn it out onto a serving plate.
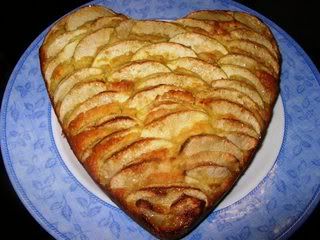
10. Serve warm with icecream or clotted cream.


