
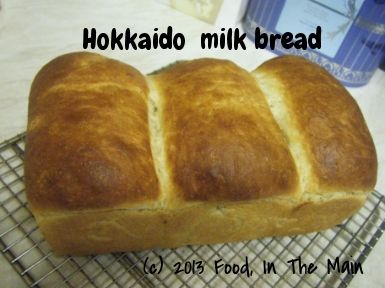
Last month's baking challenge saw me at my whiny worst, because the croissants that we were supposed to make nearly got the better of me. But I persevered, rather to my surprise, and at least I can say "I tried it". This month's challenge was much more in keeping with my ability and my interest, because I can make bread. I can knead dough. I've been experimenting with different types of bread, with different proportions of strong white, wholewheat, wholemeal spelt and wholemeal rye flours. Mostly they've been successful bakes.
That is why this Hokkaido bread didn't faze me. Yes, the dough was irritatingly sticky. Yes, I kneaded the dough by hand, because I don't have a machine to do the job... but to be fair, I didn't put my entire being into the kneading. That's because of the technique recommended by Dan Lepard of the Guardian newspaper (jeez, the number of times I've mentioned this man in my posts, he should be paying me a commission!).
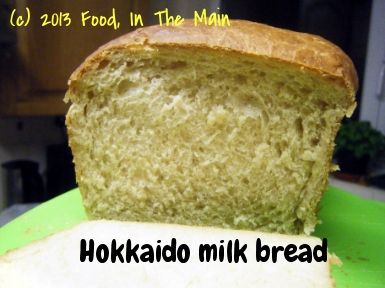
Anyway, I didn't do a 10-second knead with this dough, but I certainly didn't knead for 15 minutes at a time either. It turned out so soft and buttery, it was unbelievable. I made one big loaf, and some Nutella rolls and some with a spicy potato filling. They all turned out incredibly moreish. I'm planning to use the tangzhong technique with regular baking flours rather than just all-purpose. The tangzhong will continue to be made with AP flour, though. However, that's for another post. In the meantime, thank you once again, Aparna Balasubramanian, for introducing me to this bread technique that was completely new to me.
Recipe for: Hokkaido milk bread
(Original Recipe from 65 Degrees Tangzhong “65C Bread Doctor” by Yvonne Chen, and adapted from Kirbie’s Cravings)
http://kirbiecravings.com/2011/05/hokkaido-milk-toast.html
Ingredients:
For The Tangzhong (Flour-Water Roux)
1/3 cup all-purpose flour
1/2 cup water
1/2 cup milk
For The Dough:
2 1/2 cups all-purpose flour
3 tbsp sugar
1tsp salt
2 tbsp powdered milk
2 tsp instant dried yeast
1/2 cup milk (and a little more if needed)
1/8 cup cream (25% fat)
1/3 cup tangzhong (use HALF of the tangzhong from above)
1/4 tsp salt
25gm unsalted butter (cut into small pieces, softened at room temperature)
1/2 to 3/4 cup mini chocolate chips if making the rolls
Method:
The Tangzhong (Flour-Water Roux):
Whisk together lightly the flour, water and milk in a saucepan until smooth and there are no lumps. Place the saucepan on the stove, and over medium heat, let the roux cook till it starts thickening. Keep stirring/ whisking constantly so no lumps form and the roux is smooth.
If you have a thermometer, cook the roux/ tangzhong till it reaches 65C (150F) and take it off the heat. If like me, you don’t have a thermometer, then watch the roux/ tangzhong until you start seeing “lines” forming in the roux/ tangzhong as you whisk/ stir it. Take the pan off the heat at this point.
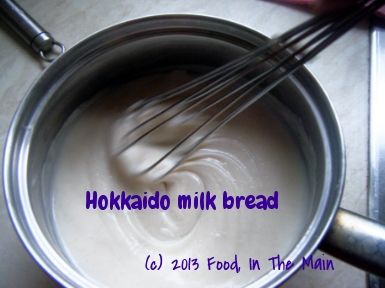
Let the roux/ tangzhong cool completely and rest for about 2 to 3 hours at least. It will have the consistency of a soft and creamy crème patisserie. If not using immediately, transfer the roux to a bowl and cover using plastic wrap. It can be stored in the fridge for about a day. Discard the tangzhong after that.
The Bread Dough:
I made this bread by hand. This dough dough is a bit sticky and can take some time and effort to knead by hand. If you have some sort of machine which will do the kneading for you, use it. Don’t punish yourself. And do not add more flour to make it less sticky either!
Put the flour, salt, sugar, powdered milk and instant yeast in a large bowl and pulse a couple of times to mix. In another small bowl mix the milk, cream and Tangzhong till smooth and add to the bowl. Mix with a wooden spoon until the dough comes together. Now add the butter and knead till you have a smooth and elastic dough which is just short of sticky.
The dough will start out sticky but kneading will make it smooth. If the dough feels firm and not soft to touch, add a couple of tsps of milk till it becomes soft and elastic. When the dough is done, you should be able to stretch the dough without it breaking right away. When it does break, the break should be form a circle.
Form the dough into a ball and place it in a well-oiled bowl turning it so it is well coated. Cover with a towel, and let the dough rise for about 45 minutes or till almost double in volume.
Place the dough on your working surface. You don’t need flour to work or shape this dough. This recipe makes enough dough to make one loaf (9” by 5” tin), 2 small loaves (6” by 4” tins) or 1 small loaf (6” by 4”) and 6 small rolls (muffin tins). Depending on what you are making, divide your dough. If you are making 1 loaf, divide your dough in 3 equal pieces. If you are making two smaller loaves, divide your dough into 6 equal pieces.
The shaping of the portions, whether for the loaf or the rolls, is the same.
Roll out each portion of the dough with a rolling pin into an oval shape, about 1/8” thick. If you are using a filling, spread it on the dough now, before shaping it into a ball with your hands, bringing the edges to cover the filling.
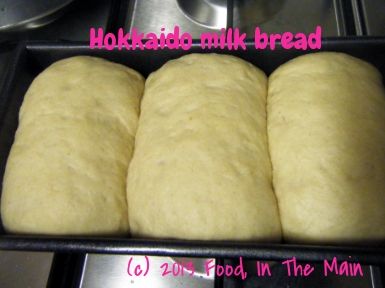
Roll this folded dough with the rolling pin so the unfolded edges are stretched out to form a rectangle. Roll the rectangle from one short edge to the other, pinching the edges to seal well. Do this with each of the three larger pieces and place them, sealed edges down, in a well-oiled loaf tin.
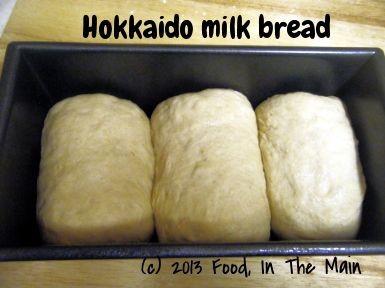
Cover with a towel and leave the dough to rise for about 45 minutes.
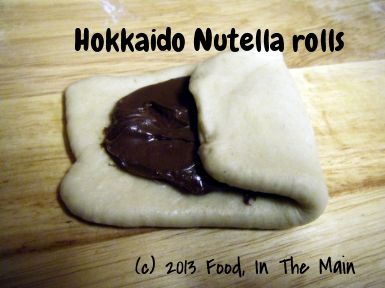
To make the rolls fold them in the same manner described above, but before rolling them up, put in the filling.
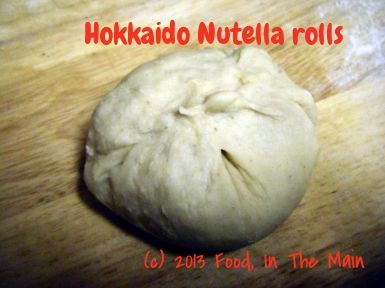
Turn the roll over so the seam side is down, and shape it with both hands, sort of cupping it so that the top is smooth and tight, and the underside is sealed.
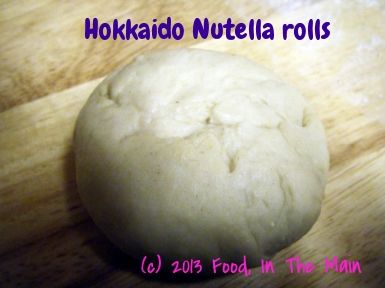
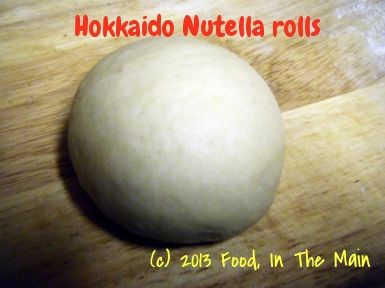
Carefully brush the tops of the rolls and the loaf with milk (or cream) and bake them at 170C (325F) for about 20 to 30 minutes till they are done (if you tap them they’ll sound hollow) and beautifully browned on top.
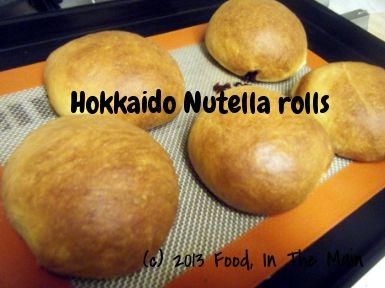
Let them cool on the tray for about 5 minutes and then transfer to a rack till slightly warm or cool.
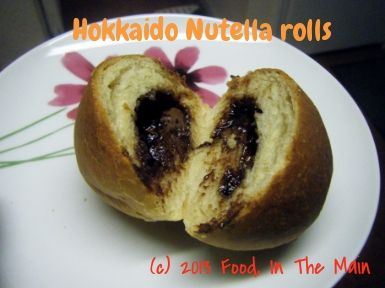
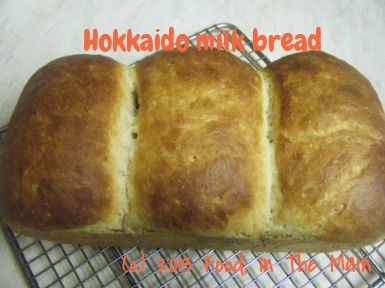
Serve or else store in a bread bin. This bread stays soft and delicious even the next day. This recipe makes enough dough to make one loaf (9” by 5” tin), 2 small loaves (6” by 4” tins) or 1 small loaf (6” by 4”) and 6 small rolls (muffin tins).


3 comments:
The bread is of different idea for bun. It's nice and superb recipe. Great :D
Love the nutella filled buns...sheer pleasure
I actually have a bread-making machine. All you "knead" to do is to mix all the ingredients together and switch on - it takes care of the kneading, the fermenting and the baking.
No - I have never even tried it once. If only you lived nearer - I'd send it to you :-)
Post a Comment