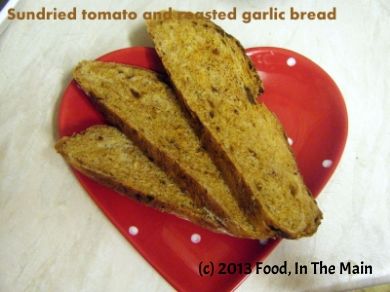
The bread loaves get sliced - and I'm getting pretty good at cutting even, thin slices, even if I do say so myself - divided into half-loaves and fed to the freezer, stored in bags labelled with the date of baking. That way I get to
Now that you've all been made aware of my weekend baking activities and the resulting follow-ons - which information I'm sure has been of great interest, by the way - let's get to the sundried tomato and roasted garlic bread that is today's recipe. By rights it should have been posted two months back, because that's about when I made it... but never mind that. The bread is really nice with soup, but I was happy to eat it by itself, with no adornments, because it was that tasty. Can't say better than that, can I?
By the way, if you don't like a strong garlic flavour, use less of the roasted garlic paste... and if your thing is to wilt every living thing within a 10-metre radius with your breath, by all means use MORE garlic paste, as much as you want. At least Dracula won't get you.
Recipe for: Sundried tomato and roasted garlic bread

Ingredients:
3-1/2 cups (15 oz) strong white bread flour
2-3 tbsp olive or other oil of choice
2 tbsp double concentrated tomato paste
1 tbsp roasted garlic, roughly mashed
1/4 cup chopped sundried tomatoes in oil (but leave out the oil)
1 htsp salt
About 300 ml warm water
1/2 tbsp instant yeast
Method:
1. Place the flour in a deep bowl and mix in the instant yeast and salt.
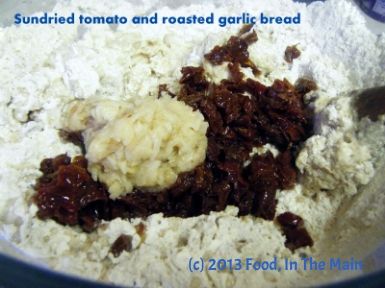
2. Then add the roasted garlic, tomato paste, and chopped sundried tomatoes

along with 250 ml of the warm water and mix together till the flour begins to form a rough dough. Cover and let it rest for 10 minutes to absorb the water.
3. Now knead again, adding as much of the remaining 50ml water as required, to make a dough that is not exactly sloppy but also not hard or dry either.
4. Pour 1 tbsp olive oil on your worktop (make sure your worktop is clean first!) or kneading board and spread it around a bit. Turn the dough out onto the oil and start kneading, pushing the dough away from you with the heel of your hand, turning it a quarter, then repeating the pushing/turning movement. Add more oil to the worktop if the dough starts sticking again, and continue kneading. Occasionally scrape your hand clean of dough.
5. After about 8-10 minutes, the dough should be elastic and only a little tacky. Now grease a large bowl (I use Pam spray, but you can use more oil if you like) and place the dough in it, turning it around to completely coat it in the oil. Cover the bowl and place in a warm place for the dough to rise and more or less double in volume. This can take between 1-2 hours, or even longer - there's no way to accurately predict how long it might take, so I can't give you a precise time.
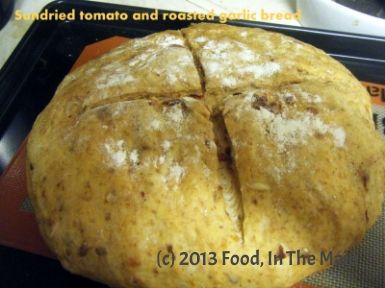
6. Once the dough is risen, punch it back down. Sprinkle a couple of tbsp extra flour on your workspace and put the dough on it. Shape it into a round ball, place on a baking tray (flour the top of the dough lightly if you like) and cover with a clean tea-towel. Let the dough rise again for 45 min to an hour. Use a sharp knife to slash a 1-cm deep cross into the top.

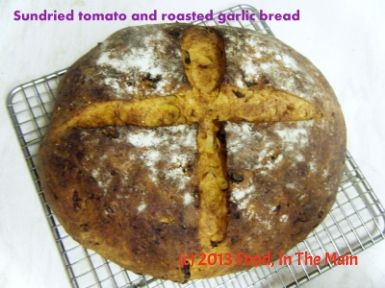
7. Preheat your oven to 180C/350F and put the dough in to bake. Let it bake for 25-30 minutes - the top should be a nice golden brown and the bottom should sound hollow when tapped.

Remove the loaf to a wire cooling rack and let cool completely. Serve sliced, with soup.


1 comment:
Hey Shammi! When I first got to Michigan and was looking for work, I had alot of time on my hands and I started baking bread too! It's a little too hot to think of it today, but I'm glad to see I'm not alone in conquering the yeastie beasties, as Laurel of Laurel's Kitchen fame once coined it. Your sundried tomato and garlic loaf looks awesome!!
Post a Comment