
It’s one thing for a newbie baker to be well-informed about the recipe and what the yeast should or shouldn’t be doing – but when the yeast too appears to have read and digested the same recipe (so to speak) as its user, and knows its role in the whole process and, what’s more, executes that role perfectly... well, the satisfaction felt by the baker just about defies description. But if you want an inkling of how it feels, just think of an artist with his or her masterpiece, an author with his or her completed novel, a parent with a perfect child... it’s like that, only the process is easier, and better still, the satisfaction goes just as deep. (It does with me, at any rate.)
I made pav buns fairly recently (yes, still mentioning it, thanks) with great success. The same recipe, doubled to make a (very) large loaf, didn’t stay soft. It made fantastic toast for 3-4 days, but was too dry for sandwiches.
When I tried it with one cup whole-wheat flour and 2 cups of strong white bread flour, it made a reasonable loaf, but I found it rather heavy. I have to admit that I really don’t care for (health-freaks please stop reading here and move on to next para) whole-wheat bread much. I quite like bread with seeds in, and I love German rye bread... but whole wheat bread especially with oats in really doesn’t do anything to endear itself to my taste buds.
So I decided to try and work through a few recipes for white bread (which I will try one by one over the next few weeks or so), using unbleached enriched strong white bread flour, to see which one proved (baking pun there, ahaha, yes I had to point it out in case it was missed due to its feebleness) to be the best in terms of taste and texture.
The first recipe from my collection turned out to have an egg among its ingredients. An egg! For plain white bread! I’d never heard of an egg used in baking regular bread, although I do know that special breads like brioche and challah require eggs. Still, I thought I would give it a go and see how the bread turned out.
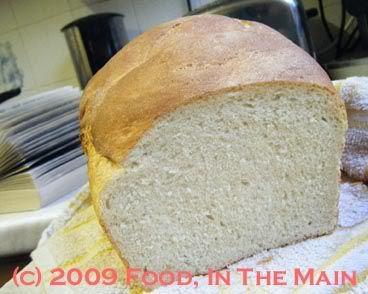
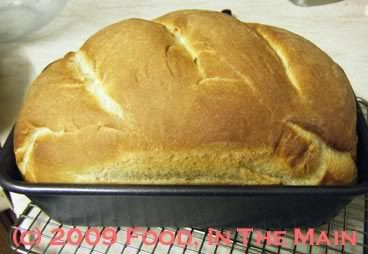
The loaf was quite good, actually – there was no eggy aftertaste, although the inside seemed ever so slightly yellow... but I put that down to the fact that the egg I used had a remarkably yellow yolk, thanks to the corn-fed hen (one of many many) raised by a friend on his smallholding.
The texture of the bread was a bit heavy, I thought, but not unduly so. It wasn’t airy and light, certainly, but perhaps I’ve been used to store-bought bread which certainly has no weight to it. (That fluffy weightlessness is one of the reasons why I’ve preferred to buy bread from a proper, stand-alone, independent bakery whenever possible. Bread isn’t meant to be feather-light, I don’t think.)
Anyway, you certainly wouldn’t have wanted to use the loaf I baked as a brick. It sliced simply beautifully and also made quite good toast. It didn’t dry out quickly either. All in all, not a bad start to my bread baking... but this recipe is also not The Ultimate White Bread recipe for me. I still can't really get my head around the fact that regular bread needs eggs in the ingredients... so on to Trial 2 next week!
Recipe for: White bread (Trial 1)
Ingredients:
4-3/4 cups very strong white bread flour
1-1/2 tsp salt
1-1/2 tbsp sugar
2 tsp yeast
1 large egg, slightly beaten so that the egg yolk amalgamates with the egg white
2-1/2 tbsp butter/margarine/oil
1-3/4 cups buttermilk (I mixed 3/4 cup non-fat Greek yogurt with 3/4 cup water and 1 tbsp vinegar because I didnt have buttermilk)
Method:
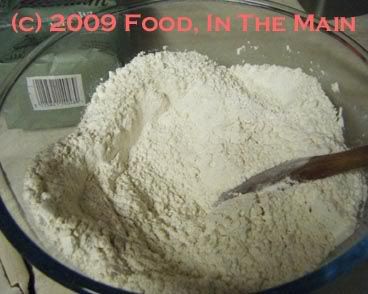
1. Mix flour, salt, sugar and yeast in a large bowl.
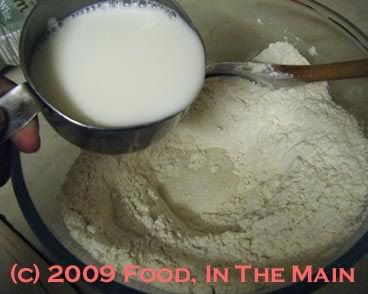
2. Make a well in the centre and pour in the buttermilk
beaten egg
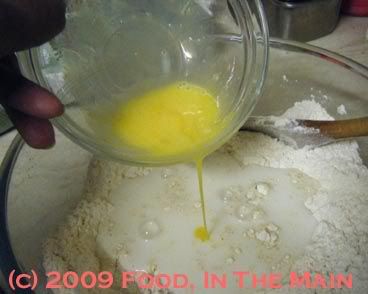
butter/margarine/oil (if using butter or margarine, melt it and cool it a little)
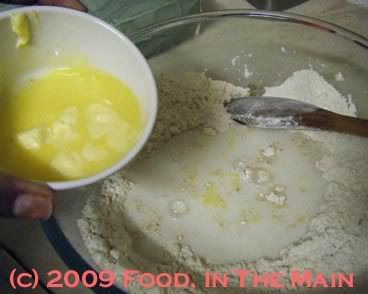
and stir with a wooden spoon
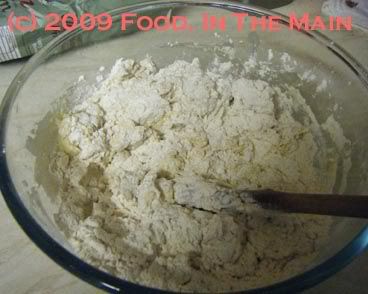
to bring the dough together.
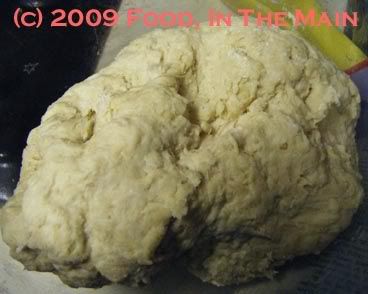
3. Turn the dough out onto a lightly floured worktop and knead for 6-8 minutes till it becomes smooth and soft. It's ok if it's slightly sticky, but it shouldn't be too dry.
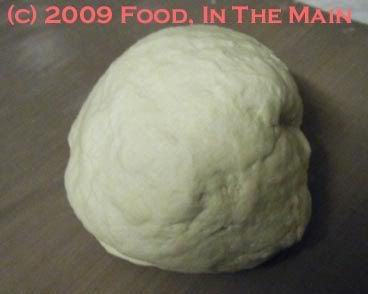
4. Place the dough in a large, lightly oiled bowl and turn it over once or twice to coat it. Cover the bowl with clingwrap
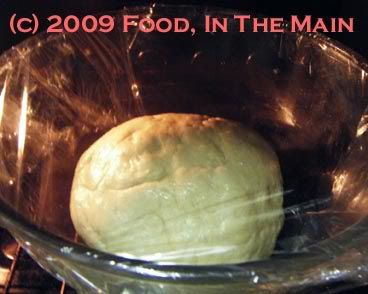
and place in a warm draught-free place (mine was in the oven with the light on) till the dough is doubled in volume. (About 2 hours or so)
5. Now punch the dough down gently and knead lightly for a minute, shaping it to fit in a lightly greased loaf pan that can take a 2-pound loaf of bread.
6. Spray the top of the loaf lightly with non-stick spray and cover loosely with clingwrap. Let the dough rise again (30-45 minutes) till it rises above the rim of the pan.
7. Bake in a 180C oven for 30-40 minutes or till the loaf is golden on top.
The bread can be considered to be done if it sounds hollow when tapped on the bottom (you'll have to remove it from the pan first!).
8. Let cool for a few minutes in the pan,
then remove and wrap the loaf in a clean tea towel till required.

Slice when cool.

3 comments:
i like my bread (white bread especially) on the heavy side! and it looks lovely.
Hi Shammi -- I think my recent comments here have been swallowed up in the great ether -- but nevermind -- I'm back to try again! Your bread looks amazing -- what a rise! If you toasted that and dunked it in the roasted tomato soup.... I'll be right over :)
I'm surprised that it needs egg. Looks absolutely stunning!!
Post a Comment