
The post is basically a pictorial, so for a change I’ll let the photos do the talking. One photo equals a thousand words, to quote an oft-repeated phrase, so … er (hoping my maths skills are up to the task) ... I guess that means I’ve written some 18,000 words, not counting the words in this paragraph. A pretty good effort, all said, wouldn’t you agree?
In pictures, then:
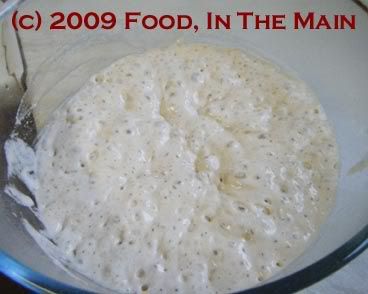
The bubbly result of one cup of flour, one cup of warm water and 2.5 tsp yeast, mixed well and left to ferment in the oven for about an hour with the pilot light turned on.
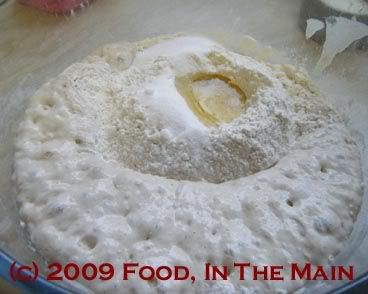
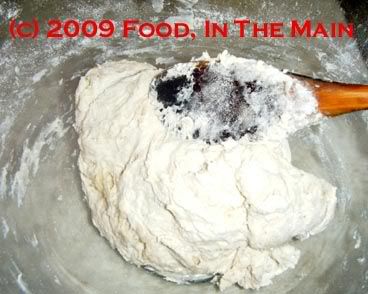
Adding the remaining 2 cups flour, 1 tbsp melted butter, salt and sugar.
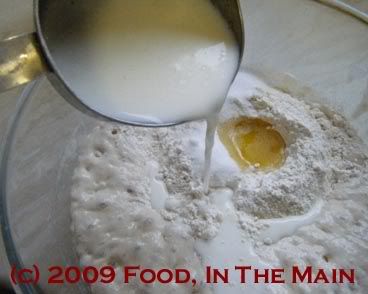
1/2 cup buttermilk going into the bowl now...
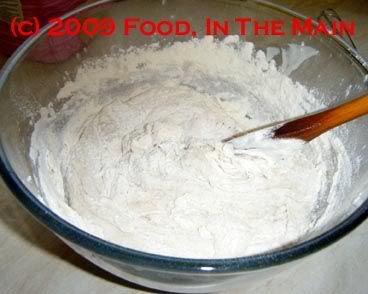
Stirring the whole thing with a wooden spoon to bring the ingredients into a rough dough.
Now that the dough has come together reasonably well, time for some kneading.
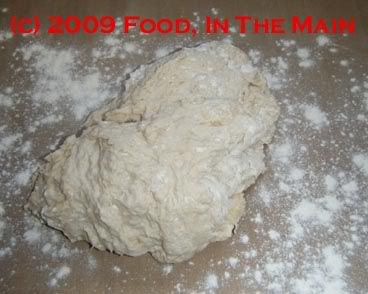
Remove the dough to a lightly floured surface.
This is hungry dough - it's taken up the extra flour from the kneading surface.
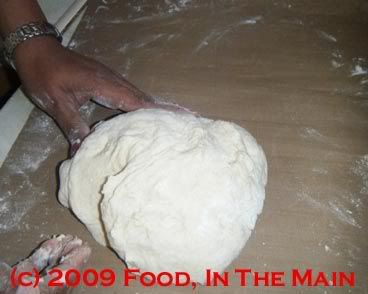
Don't be afraid to scatter more flour on the surface - like so - while kneading.
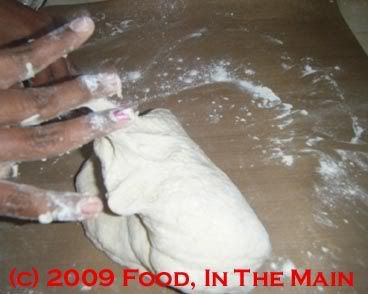
Fold the dough towards you while kneading
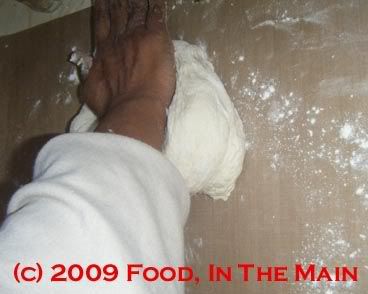
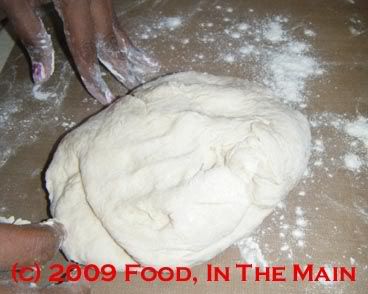
Then push it away from you with the heel of your hand. Turn the dough a quarter circle, then repeat the folding-pushing maneouvre for 6-8 minutes.
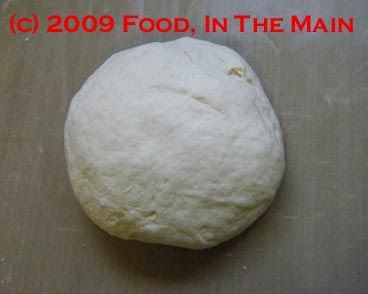
At last - the dough is now elastic and smooth, ready for the next step.
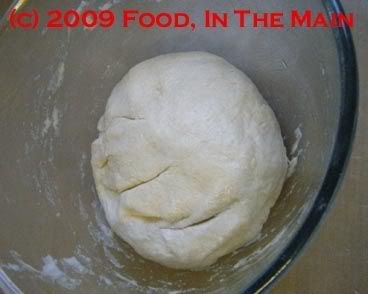
The dough now back in the greased bowl, covered with cling film, for 1-1/2 to 2 hours in the pilot-light-lit oven.
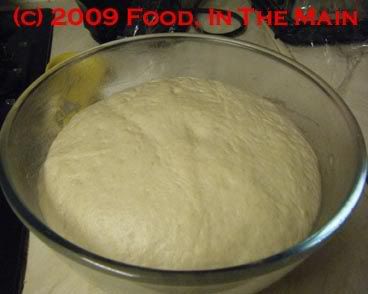
After about 1 hour 45 minutes - the dough has risen nicely to double the original volume.
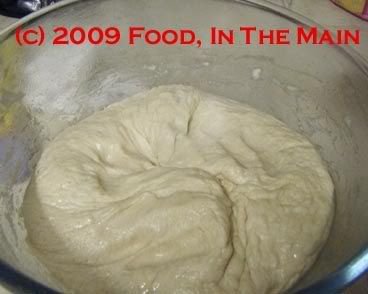
Punch it down gently.

Put the dough back on the kneading surface to be pinched off and rolled into bun shapes, ready for the second rising. (Nothing to do with religion!)
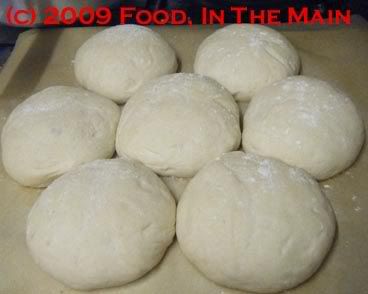
After 45 minutes in the oven, the bun-shaped dough balls have risen again and filled the gaps to stick together. Sprinkle extra flour on them before baking.
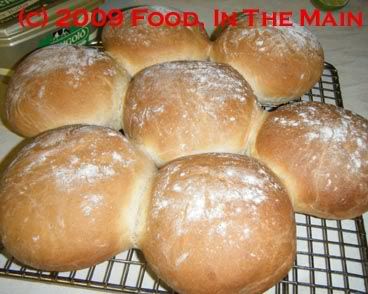
Golden-brown sandwich baps, fresh from the oven. These took about 30 minutes to bake at 180C.
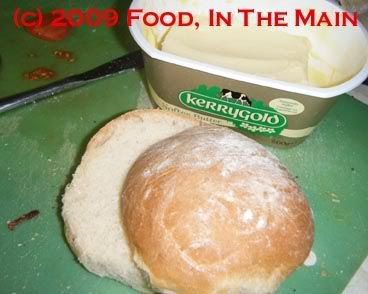
Sliced and ready to become a sandwich - use a filling of your choice, and enjoy the soft, yeastily aromatic bread baked by your own hands!

10 comments:
Oh my..Shyam you really have explained it so well..er the photos I mean..;-)Great entry and I love the way you've made the recipe sound so simple..got to try..hope/wish it will rise(pun intended)to my expectations..;-)
thnks for the step by step pictorial,..bun looks yum,.;-)
thnks for the step by step pictorial,..bun looks yum,.;-)
This looks so easy and cool.. to make our own bread, I am so going to try this. Very well presented..
Your bread looks perfect, there's not much better than homemade bread!
made your tomato thokku recipe last night, in advance for tonight's dinner - was so tasty I promptly finished some on slices of bread. I fear I might have to make some more before dinner tonight!
Shammi, you're giving me courage to create my very own pav. Cold winter days are perfect for pav bhaji! Thanks for the super pictorial and a very Happy New Year to you folks! :)
This is a great recipe, I have made bread before but never thought to make my own pav. Will have to give it a go.
I also like your other blogs, your embroidery did not work :(
I am glad you were inspired to carry on with this blog.
This is a good recipe, I have made bread before but never thought of making pav, will be making this for sure.
I like your blogs, wish your embroidery one was working ! Keep up the good work
hi Shyam,
I'm from Malaysia, and I tried baking this at home yesterday. i tried your pavs step by step, and baked two batches.
Well, the I had the over at 30min for 180 celcius, and the burns came out too brown and hard on the surface. It seems really crusty and hard (sounded like a rock when hit) on the top, and soft inside. Thus, for the 2nd batch, I had it at 15 mins and same temperature. It turned out much better than before. Thus, I have a question. How can I make my pavs softer?
Post a Comment