skip to main |
skip to sidebar
I wish I had something witty and clever to say about green beans (or French beans, as they are also known), but I don’t. All I can say is that I love them – the fresher they are, the better. I could never have imagined myself eating plain boiled vegetables – I always thought that would be too bland and boring. But what do you know, the yellow French beans that I’ve grown this summer have mostly been eaten exactly like that... picked from the plant, washed, boiled, sprinkled with a little salt and absentmindedly nibbled down while doing other things.
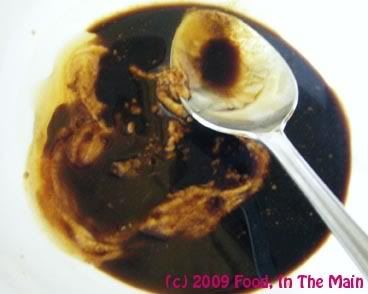
Given that I liked green beans at their plainest, I had no qualms about not liking them roasted in the oven – although, to be fair, it would NEVER have occurred to me to actually roast green beas. It was Nupur’s post on addictive green beans that set me on that particular track... and the recipe is 99% like hers, except that I used a balsamic vinegar reduction (left over from a previous recipe I’d tried).
Pete was dubious about the edibility of roasted green beans, but I made him try them anyway... and I think perhaps that the balsamic vinegar syrup tilted the balance in favour of the beans. What a lovely recipe!
Recipe for: Roasted green beans

Ingredients:
500gm green beans, topped and tailed
1 tsp olive oil
Salt and pepper to taste
For the dressing:
1 tbsp Dijon mustard
1 tsp honey
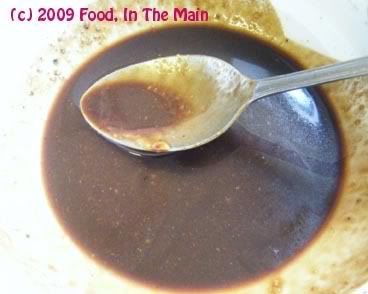
2 tbsp balsamic vinegar syrup
Method:
1. Toss the green beans with the olive oil, salt and pepper. Roast at 180C on a baking sheet till they acquire black spots.

Remove from the oven and let cool for 5 minutes.
2. Place the dressing ingredients in a small bowl and whisk together.
Adjust the flavour to suit your taste, if required.
3. Place the beans on a serving plate and pour on the dressing, then serve immediately.
It’s been a while since I’ve had idlis - three whole months, in fact. The beginning of this shortfall can be pinpointed with absolute precision to exactly a week from the day my mother left for Seattle. (Because that’s how long it lasted, the idli batter she had thoughtfully made prior to her departure.)
So anyway, my craving for idlis finally overcame my laziness at having to grind the batter… but no, it’s not the actual batter grinding that gets my *ruminant of the hircine kind, it’s getting the batter off the damn grinding stones that’s a pain.
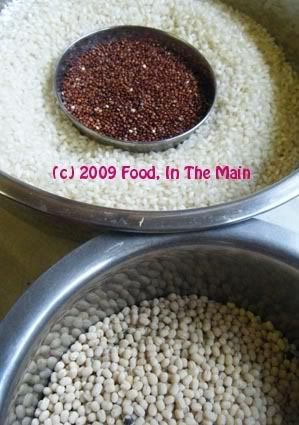
Where was I? Oh yes, idlis. And since I had an open packet of red quinoa lurking nearby, on an impulse I threw in a generous handful to soak with the rice. After all, if it worked, I’d have marginally more nutritious idlis; if not, I’d have nutritious dosas. It wasn’t really a losing situation.
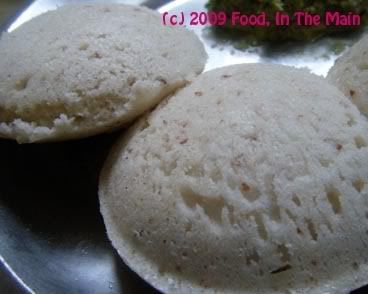
In the event, the idlis came out incredibly soft and fluffy, with tiny pinkish specks from the quinoa. I’ve no idea if they were so good because of the quinoa, or because I used iced water while grinding the urad dal into a batter, and also for grinding the idli rice. (Actually I'm not even sure if the texture of the idlis was inspite of the quinoa rather than because of it.) The only difference I noted in the batter (at least I think there was a slight difference) was that it seemed just a wee bit gooier than usual. Maybe it was the quinoa, maybe it was just my imagination.
The point is that the idlis were perfect. I drowned them in sambar and added some cooked tomato-shallot coconut chutney on the side and INDULGED myself. That’s what I call a weekend well spent!
*What? I’m always striving to learn new things and increase my knowledge base. For instance, I knew bovine = cow, porcine = pig - and now I know that hircine = goat, something I did not know before this post. Did you, dear reader(s)?
Recipe for: Idlis with quinoa

Ingredients:
1 cup whole urad dal
4 cups idli rice
1 cup red quinoa
Salt to taste
Ice-cold water for grinding
Method:
1. Soak the quinoa and the rice in a big vessel and soak the urad dal separately, for 8 hours or so.
2. Grind the urad dal to a fluffy thick batter, using ice-cold water (sparingly) to keep the grinding stones moving smoothly. Once it's done, remove as much of the batter as possible to a big bowl.
3. Now grind the rice-quinoa, again using ice-cold water, till they are ground to a smooth batter that feels slightly gritty to touch.
4. Mix the two batters together
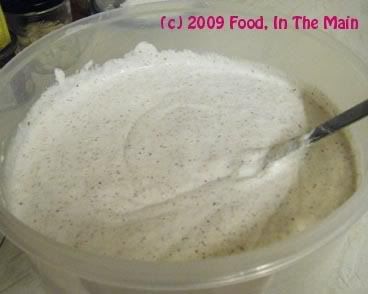
and let rise overnight in a warm place, covered.

5. When the batter has fermented and risen, add salt to taste and mix it in well.
6. Grease an idli mould with Pam spray and fill the depressions with a ladleful of batter.

6. Steam without using the weight in a pressure cooker for 10 minutes,

let rest in the cooker itself for 10 minutes before unmoulding with a large spoon.
serve warm with chutney and piping hot sambar.
So, say you were cooking bulgur wheat. Say you were also reading a book. Say you got distracted and added way more water to the bulgur than was necessary. Say you ended up (after an unspecified amount of time which you can't specify because you didn't look at the clock because you were reading a book) with bulgur that was way too gloppy for the recipe which you had planned to make with that bulgur that should have been fluffy (but wasn't because see previous few sentences).
What do you make with gloppy cooked bulgur?
Cool, refreshing, savoury, seasoned bulgur "curd rice", that's what.
Recipe for: Bulgur "curd rice"

Ingredients:
2 cups cooked bulgur wheat (gloopy not strictly desirable but doesn't matter)
about 2 cups good thick curds (I used Greek yogurt, as always)
1/2 tsp oil
a pinch of asafoetida powder
2 green chillies (sliced, chopped or slit as per preference)
1 tsp mustard seeds
A few fresh curry leaves
1 tsp minced coriander leaves
A little salt
Method:
1. Mix the cooked bulgur with the curds/yogurt and a little salt.
2. Heat the oil in a pan and add, in this order: asafoetida, green chillies, mustard seeds, curry leaves.
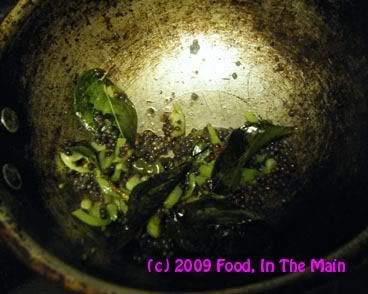
Cover the pan and let the seeds pop.
3. Pour this tempering immediately over the bulgur-yogurt mix.
4. Sprinkle the coriander leaves, and mix well.
5. Serve cold or at room temperature at the end of a South Indian meal, along with a spicy pickle if desired. (Or eat it by itself because it just tastes sooooo good! Tempered like this, curd rice - or curd bulgur - doesnt need any accompaniments.)

