The recipe was interesting, though - I'd never come across a seasoned chickpea flour filling for chapaties, nor even heard of such. The filling was simple enough to make, and certainly I found it a lot easier to handle while rolling out the chapaties. (Wetter fillings have been known to squirt out annoyingly no matter how gently I wielded the belan (rolling pin).)
Until now I've only had the western-type pastry rolling pin, very large and very heavy and the same width from end to end, compared to the Indian ones which are far lighter and tapered towards the ends. I've recently acquired one of the latter kind, so yaaay! I'll have to see if they make a difference while rolling out chapaties. It could well be that my faulty technique, and not the rolling pin, is the factor that brings the filling leaping so joyfully and messily out of the chapati dough...
Anyway, what I discovered while rolling out these chickpea-flour-filled chapaties is that I got a few air pockets at the start... but some light pressure while rolling them out ensured that the air leaked away gently instead of literally tearing its way out of the dough. That's my kitchen tip for the day.
PS. The term "kitchen tip" does NOT imply that my kitchen is a rubbish area. Just so you're aware.
Recipe for: Chapaties with gram flour filling
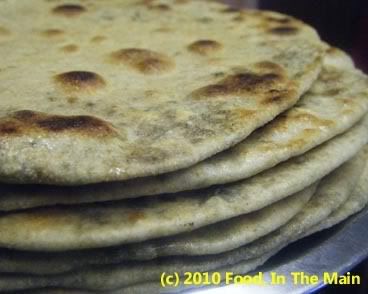
Ingredients:
3 cups wheat flour
Salt to taste
water as required
For the filling:
1 cup chickpea/gram flour
5-6 green chillies, chopped finely
1 tbsp coriander powder
1/2 tsp cumin powder
2 tbsp dried fenugreek leaves (kasoori methi)
1 tsp red chilli powder
3-4 tbsp water
1 tbsp oil
Salt to taste
Pam or other non-stick spray (or oil for cooking)
Method:
1. Put the flour into a deep mixing bowl, add a little salt and knead to a smooth pliable dough using as much water as required. Cover the dough and let it rest for 15-20 minutes.
2. Heat the oil in a frying pan and add the green chillies, coriander powder, cumin powder and kasoori methi.
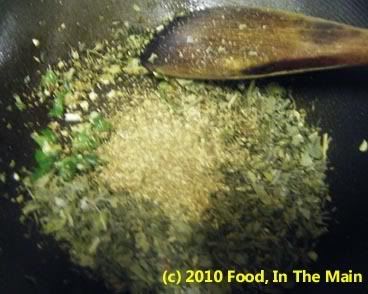
3. Stir-fry them for 30 seconds on high heat.
4. Add the besan (gramflour/chickpea flour), stir till the ingredients are well mixed.
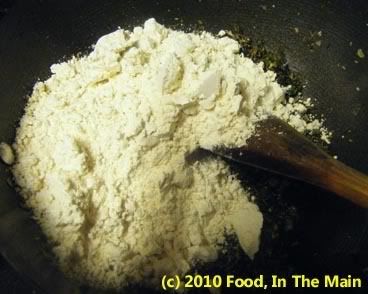
5. Continue stir-frying on medium heat, till the flour turns a darker shade and emits a roasted aroma. Be careful not to burn the flour.
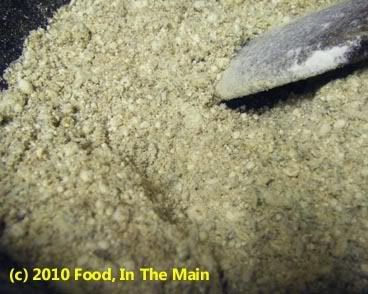
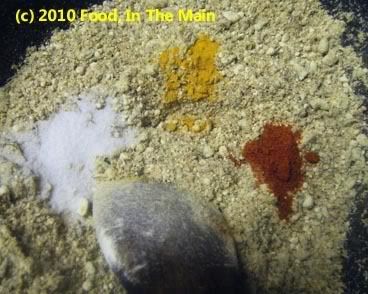
6. Add the turmeric powder, red chilli powder and salt to taste, and mix well.
7. Now add water, tbsp by tbsp, stirring between each addition,
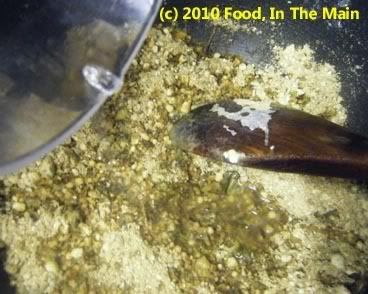
until the roasted flour begins to come together in clumps.

Only add enough water to lightly moisten all the flour, but it's better to stop while the flour is still a bit dry than to add too much and make it sticky wet. If that happens, the best thing to do is start over. Let the filling cool completely once it has become moist.
8. To make the chapaties, pinch off a ping-pong ball sized piece of dough. Flatten it in a saucer of dry flour, shake off the excess flour, then roll the dough out into a 4" circle. Place 2 tbsp of the filling in the centre.
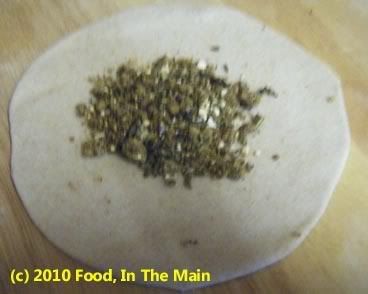
Bring the edges of the chapati together to enclose the filling completely.
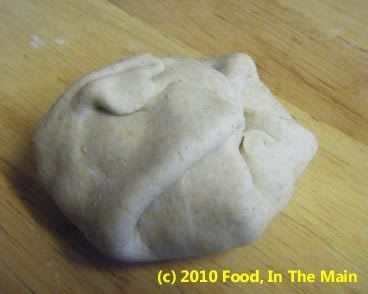
Turn it over so that it lies seam-side down, then start rolling it out again. If any air pockets are visible (the puffed up area), continue rolling but do it more gently, so as to get rid of the air.
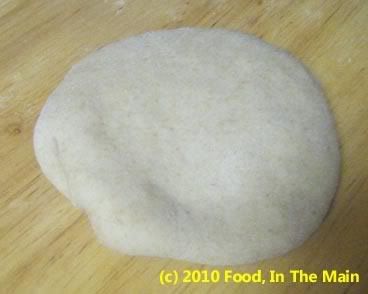
Continue rolling out the chapati till it is evenly thin all over.

9. Heat a tava or frying pan on medium heat, then place a chapati on the tava for 10-15 seconds, or till small brown spots appear.
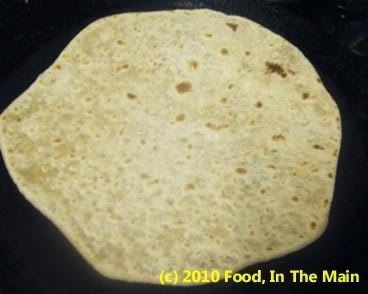
Turn it over and spray the partially cooked side with Pam, then flip it over again to spray that side as well.
10. Cook on medium heat for about 2 minutes for each side, pressing down with a spatula to let the chapati cook evenly all over. Keep the cooked chapaties covered and warm in a clean cloth-lined plate while you make the rest of the chapaties the same way. They can be cooked till very crisp (which will take longer), almost like a cracker, if you like.
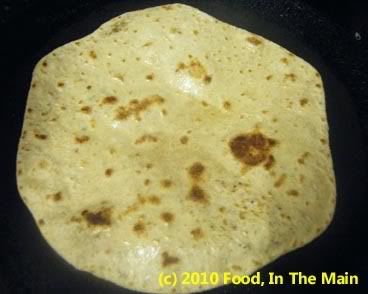
11. Serve hot with a curry, or with pickles and yogurt.


2 comments:
hey, i am glad u tried this one..and so nice of u to mention me there..
Cheers
Jyoti
www.theveggiehut.blogspot.com
The chapatis look very tempting...love the filling as well...will def try this one
Post a Comment